I’ve recently explored the intriguing world of Brown Butter Dutch Kerstkransje Cookies, and I must say, their rich, nutty essence is captivating. These wreath-shaped delights not only look festive but also bring warmth to any gathering. With a perfect balance of sweetness and nuttiness, they might just become your new holiday favorite. Curious about how to make them or what to serve alongside? Let’s uncover those details together.
What kind of recipe is it?
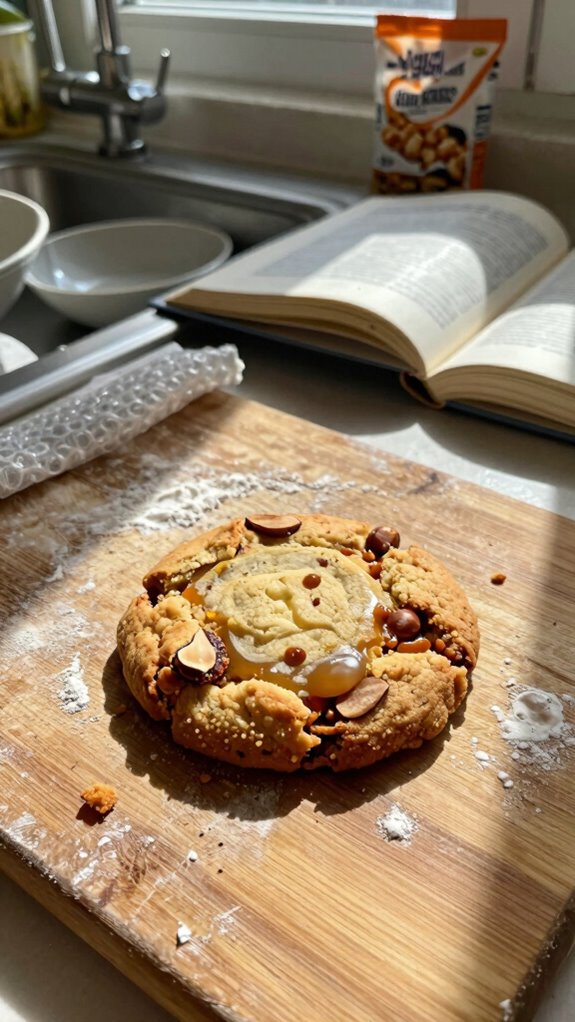
The Brown Butter Dutch Kerstkransje Cookie is a delightful holiday treat, characterized by its rich, nutty flavor derived from brown butter and a delicate texture that melts in your mouth.
This festive cookie is typically shaped into charming wreaths, adorned with glaze and colorful sprinkles, making it a visual feast as well.
Perfect for baking enthusiasts and families alike, these cookies are ideal for celebrating the holiday season, whether shared at gatherings or gifted to loved ones.
Indulge in this delightful dish and elevate your festive baking!
Preparation Time
| Aspect | Details |
|---|---|
| Difficulty of the Recipe | Moderate |
| Preparation Time | 30 minutes |
| Number of Servings | Approximately 24 cookies |
Ingredients
| Ingredient | Quantity |
|---|---|
| Unsalted Butter | 1 cup (2 sticks) |
| Granulated Sugar | 1 cup |
| Brown Sugar | 1/2 cup |
| Large Eggs | 2 large |
| Vanilla Extract | 1 teaspoon |
| All-Purpose Flour | 2 1/2 cups |
| Baking Powder | 1 teaspoon |
| Salt | 1/2 teaspoon |
| Ground Cinnamon | 1 teaspoon |
| Chopped Nuts (optional) | 1/2 cup (e.g., walnuts, pecans) |
| Decorating Sugar or Sprinkles | For dusting |
This table includes the necessary ingredients along with their specific quantities for preparing the Brown Butter Dutch Kerstkransje Cookie.
Essential Kitchen Equipment
| Tool/Equipment | Purpose | Alternative Option |
|---|---|---|
| Mixing Bowls (Large & Medium) | Used for combining dry and wet ingredients; the large bowl allows for mixing larger quantities while the medium bowl can be used for smaller batches or specific components. | Any large container like a pot or even a clean kitchen sink. |
| Measuring Cups (Dry & Liquid) | Essential for accurately measuring the ingredients. Dry cups for flour/sugar, liquid cups for eggs and vanilla extract. | Coffee cups for dry ingredients, a clear plastic bottle for liquids (with markings). |
| Measuring Spoons | Necessary for measuring smaller quantities (e.g., baking powder, salt, cinnamon). | Tablespoons or teaspoons from your regular cutlery. |
| Stand Mixer or Hand Mixer | Helps to cream the butter and sugars smoothly and mix in eggs, which can save time and effort. | Whisking by hand with a whisk can be a solid alternative, though more labor-intensive. |
| Rubber Spatula | Used for scraping down the sides of the bowl and folding in ingredients without deflating the mixture. | Wooden spoon or any spatula you have on hand. |
| Wooden Spoon | Useful for mixing ingredients effectively, particularly in larger batches. | A sturdy plastic spoon can also work. |
| Baking Sheets (2-3) | Required for placing the cookie dough before baking; provides a flat surface for even cooking. | Use any flat, heat-safe baking sheets or even a large plate for smaller batches. |
| Parchment Paper or Silicone Mats | Line the baking sheets to prevent cookies from sticking and to allow for easy removal. | Just grease the baking sheets well if you don’t have parchment or mats. |
| Cookie Scoop or Spoon | Ideal for portioning out cookie dough evenly for uniform baking. | Any large spoon can suffice; just eyeball the portion sizes. |
| Cooling Rack | Used for cooling the cookies after baking, ensuring they don’t steam or become soggy. | A plate or countertop can work if you don’t have a cooling rack. |
| Oven Thermometer | Ensures the oven is at the correct temperature for baking cookies evenly. | An everyday kitchen thermometer can be used to check if your oven’s temperature is accurate, or you can rely on preheating your oven properly before use. |
Cooking Steps
- Preheat the oven to 180°C (350°F). Position the oven rack in the middle to ensure even baking. If using convection, reduce the temperature to 165°C (325°F).
- Prepare two baking sheets (size: 40 cm x 30 cm / 16 in x 12 in) by lining them with parchment paper or silicone baking mats. If you don’t have these, generously grease the sheets.
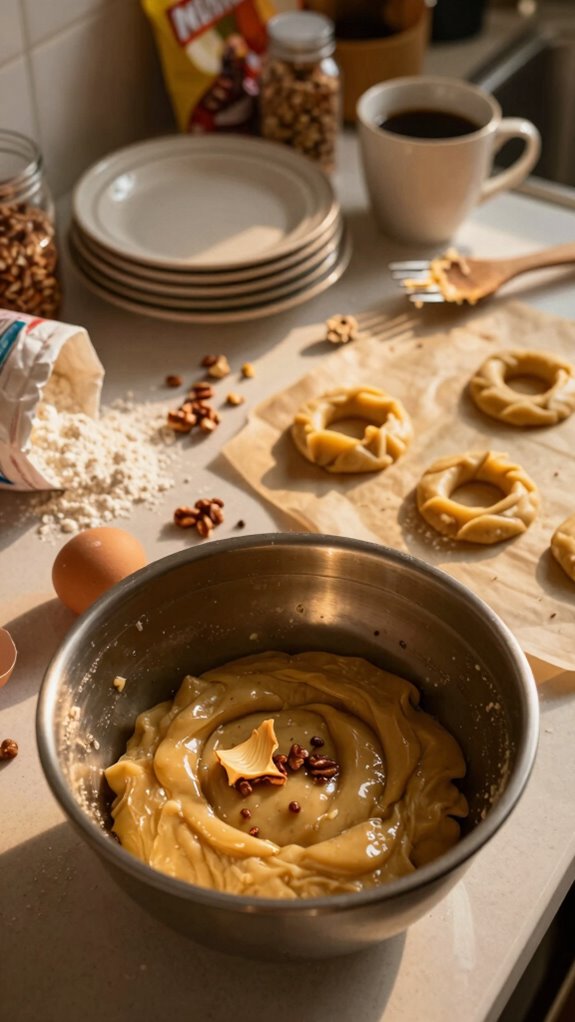
- In a large mixing bowl, brown 120 g (½ cup) of unsalted butter over medium heat in a saucepan. Cook until the butter begins to foam and then turns a golden brown color, stirring constantly (approximately 4-6 minutes).
- Remove from heat and allow to cool slightly, about 5 minutes.
- In a medium mixing bowl, whisk together 200 g (1 ½ cups) of all-purpose flour, 60 g (½ cup) of granulated sugar, 30 g (¼ cup) of powdered sugar, 5 g (1 teaspoon) of baking powder, and a pinch of salt.
- Pour the browned butter into the large mixing bowl. Add 1 large egg and 5 ml (1 teaspoon) of vanilla extract whilst using a stand mixer fitted with the paddle attachment (or a hand mixer) on medium speed for about 1-2 minutes until combined.
- Gradually add the dry ingredients from the medium bowl into the wet mixture while mixing on low speed until just combined.
- Don’t overmix; stop once you see no dry flour.
- Using a rubber spatula, fold in any optional add-ins, like 50 g (½ cup) of chopped nuts or 50 g (½ cup) of chocolate chips, until evenly distributed.
- Scoop out 30 g (2 tablespoons) of dough and roll it into a ball. Place onto the prepared baking sheet, spacing them about 5 cm (2 inches) apart.
- Bake in the preheated oven for 12-15 minutes. Cookies should be lightly golden around the edges but still soft in the center; they’ll firm up as they cool.
- Remove from the oven and let cookies cool on the baking sheet for 5 minutes before transferring to a wire cooling rack to cool completely.
- Allow the cookies to cool for at least 10 minutes on the rack to avoid steaming. If using cooling racks, make sure they’re well spaced so air circulates around the cookies.
- Store cooled cookies in an airtight container at room temperature for up to one week.
Variations
- Cocoa Twist: Add 30 g (¼ cup) of unsweetened cocoa powder to the dry ingredients for a chocolate variation.
- Nutty Delight: Substitute 30 g (¼ cup) of flour with ground almonds for an almond-flavored cookie.
- Gluten-Free Goodness: Replace all-purpose flour with a gluten-free baking mix (use same quantity) to make a gluten-free version.
- Dairy-Free Option: Use coconut oil instead of butter in equal quantities for a dairy-free alternative.
- Vegan Version: Substitute the egg with 60 ml (¼ cup) of unsweetened applesauce and use dairy-free butter for a vegan option.
- Spiced Autumn: Incorporate 5 g (1 teaspoon) of ground cinnamon and 2 g (½ teaspoon) of nutmeg into the dry ingredients for a fall-inspired flavor.
- Pumpkin Spice: Add 100 g (½ cup) of canned pumpkin puree and reduce the butter to 90 g (⅜ cup) for a seasonal twist.
- Air Fryer Method: Cook at 160°C (320°F) for 8-10 minutes in an air fryer, spacing cookies for optimal air circulation.
Tips on plating and presentation
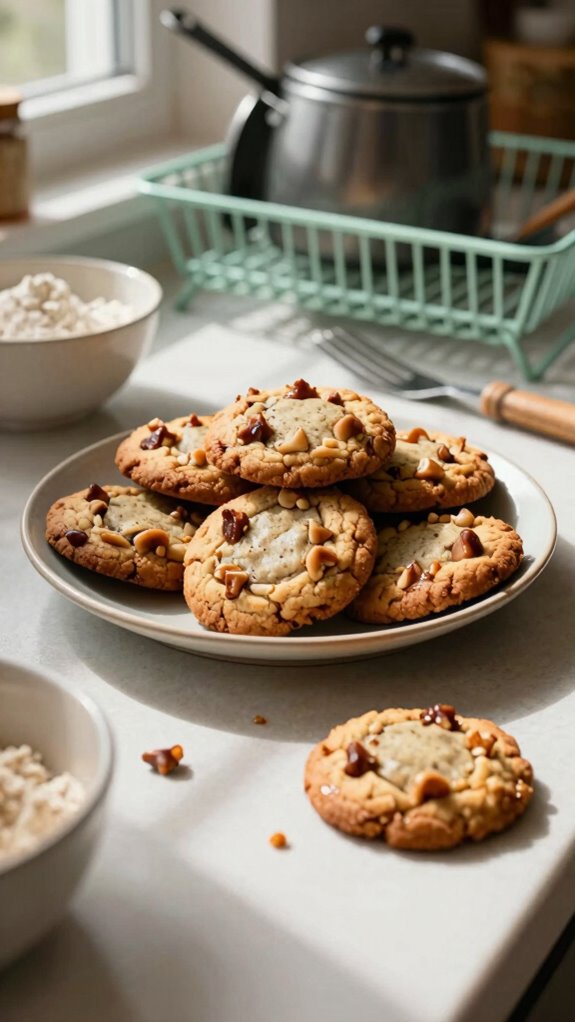
While you might be tempted to simply pile your Brown Butter Dutch Kerstkransje Cookies on a plate, taking a little extra time with plating can elevate the experience.
Try using various plating techniques, like stacking or leaning, to create dimension. Incorporating presentation styles such as adding a dusting of powdered sugar or fresh herbs can also enhance visual appeal and impress your guests.
What other dishes can I pair it with?

Pairing your Brown Butter Dutch Kerstkransje Cookies with complementary dishes can create a delightful spread that delights the senses.
I love to serve them alongside rich chocolate truffles or spiced pumpkin pie for festive desserts.
A sprinkle of candied nuts also makes excellent cookie accompaniments, enhancing the nutty flavors.
Trust me, these pairings will elevate your holiday treat offerings!
What drinks can I pair it with?
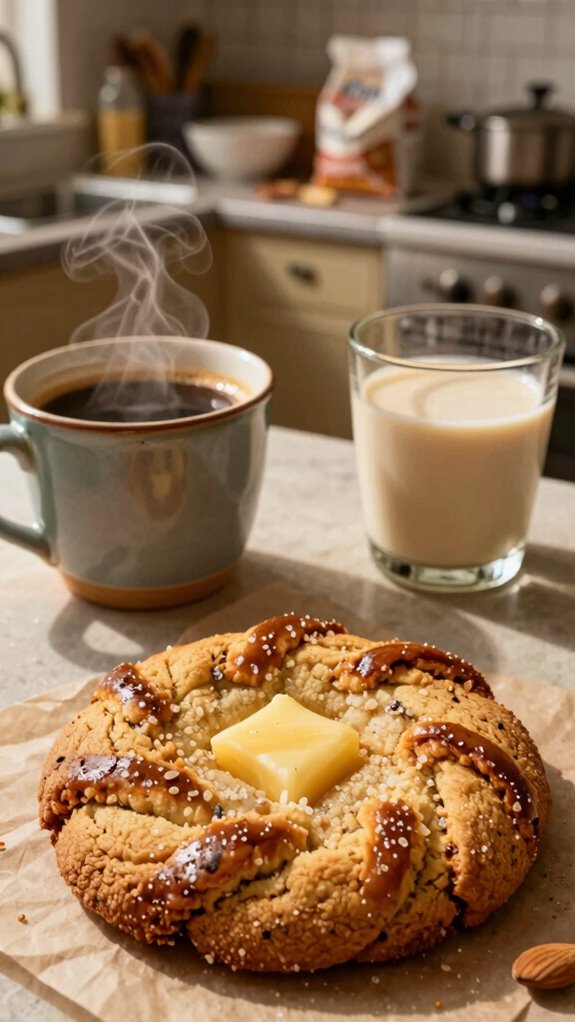
To complement the rich flavors of your Brown Butter Dutch Kerstkransje Cookies, consider serving them with a variety of delightful drinks.
A warm spiced chai or a smooth vanilla latte makes for perfect cookie pairings, enhancing those nutty notes.
If you prefer something festive, try a glass of mulled wine or a creamy eggnog—they’ll elevate your holiday gathering beautifully!
Frequently Asked Questions
Are There Any Gluten-Free Alternatives for This Recipe?
Absolutely! I’ve had great success using gluten-free flours like almond or coconut. They give a lovely cookie texture while keeping it gluten-free. Just adjust the ratios for the perfect consistency, and you’ll be delighted!
Can I Freeze the Brown Butter Dutch Kerstkransje Cookies?
Absolutely, I freeze my cookies all the time! For freezing, I recommend wrapping them tightly in plastic wrap. Keep them in an airtight container for best storage advice. They’ll taste delicious when thawed!
How Long Do These Cookies Last Once Baked?
These cookies last about a week when stored properly in an airtight container. Their shelf life decreases if left out, so I always make sure to keep them sealed for maximum freshness and flavor!
What Is the Origin of the Kerstkransje Cookie?
The kerstkransje cookie has roots in Dutch traditions, celebrating festive occasions with various cookie variations. I love exploring how these tasty treats symbolize togetherness and joy during the holidays, adding warmth to our gatherings.
Can I Substitute Brown Butter With Regular Butter?
Sure, you can substitute brown butter with regular butter, but you’ll notice a difference in flavor and cookie texture. Brown butter adds richness and nuttiness that regular butter doesn’t quite replicate. I recommend using it!