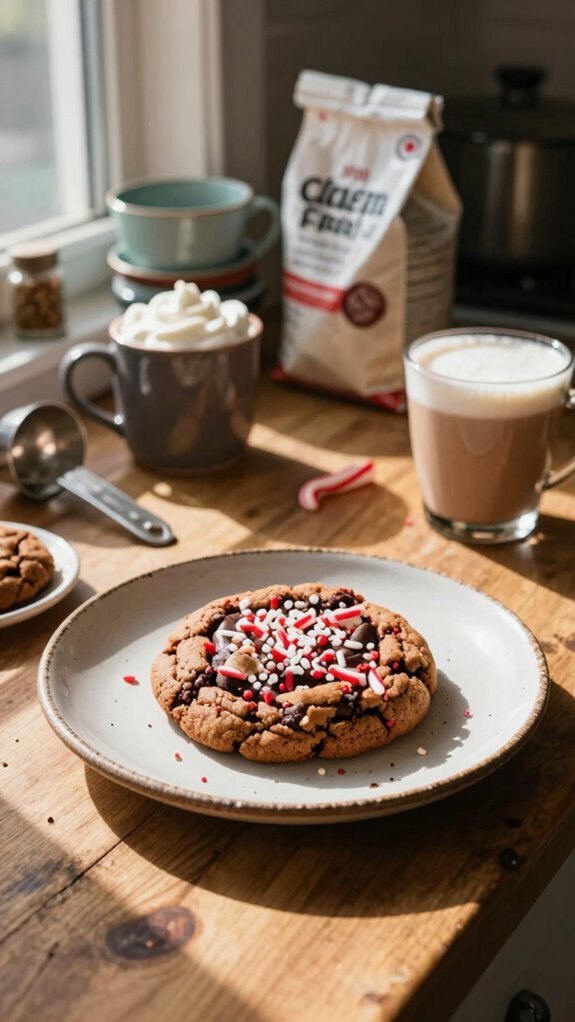
When I first tried the gluten-free peppermint mocha cookie, I was pleasantly surprised by how well the flavors blended together. The rich chocolate paired perfectly with the refreshing peppermint and a hint of coffee, creating a satisfying treat. If you’re looking for a festive dessert that everyone can enjoy, this cookie might be just what you need. But there’s more to consider than just the taste—let’s explore how to make these cookies shine in your next gathering.
What kind of recipe is it?
The Gluten-Free Peppermint Mocha Cookie is a delightful dessert that combines the rich flavors of chocolate, coffee, and refreshing peppermint in a soft, chewy cookie.
Perfect for those with gluten sensitivities, this treat is made without traditional flour, ensuring everyone can enjoy its festive appeal.
Its unique flavor profile makes it an ideal holiday treat or a cozy year-round indulgence for cookie lovers.
Aimed at both gluten-free dieters and chocolate enthusiasts, this cookie is a delicious way to celebrate any occasion.
Preparation Time
| Parameter | Details |
|---|---|
| Difficulty | Easy |
| Preparation Time | 15 minutes |
| Number of Servings | 24 cookies |
Ingredients
| Ingredient | Quantity |
|---|---|
| Gluten-free all-purpose flour | 2 cups |
| Cocoa powder | 1/4 cup |
| Baking soda | 1 tsp |
| Baking powder | 1/2 tsp |
| Salt | 1/4 tsp |
| Unsweetened chocolate | 4 oz (chopped) |
| Unsalted butter | 1/2 cup (1 stick) |
| Granulated sugar | 1 cup |
| Brown sugar | 1/2 cup |
| Eggs | 2 large |
| Vanilla extract | 1 tsp |
| Peppermint extract | 1/2 tsp |
| Semi-sweet chocolate chips | 1 cup |
| Crushed peppermint candies | 1/2 cup |
| Powdered sugar (for dusting) | Optional, for dusting |
Total Ingredients Required:
24 cookies
Essential Kitchen Equipment
| Tool/Equipment | Purpose | Alternative Option |
|---|---|---|
| Mixing Bowls (Large and Medium) | Used to combine the dry ingredients in one bowl and the wet ingredients in another before mixing them together. | Any large serving bowl or pot can serve as a mixing bowl. |
| Measuring Cups (Dry and Liquid) | Essential for accurately measuring flour, cocoa powder, liquids, and other ingredients to ensure proper ratios. | Use standard coffee mugs or other containers with known volumes for dry ingredients. |
| Measuring Spoons | Used for measuring smaller quantities of ingredients like baking powder, baking soda, and extracts. | Use a standard tablespoon or teaspoon from your kitchen. |
| Stand Mixer or Hand Mixer | Helps whisk eggs, butter, and sugars together effortlessly and ensures a uniform mixture; also great for creaming butter and sugar. | Whisk by hand using a sturdy whisk or wooden spoon (though it requires more effort). |
| Rubber Spatula | Useful for scraping down the sides of the bowl and folding ingredients together without deflating the batter. | A wooden spoon or silicone scraper can be a budget-friendly substitute. |
| Wooden Spoon | Ideal for mixing thicker doughs or batters that require more elbow grease. | A sturdy plastic spoon can work as a substitute for stirring. |
| Baking Sheets (2-3) | Necessary for placing and baking the cookies in the oven; multiple sheets allow for batch baking. | Use any flat oven-safe tray or dish, but be mindful of non-stick properties. |
| Parchment Paper or Silicone Mats | Provides a non-stick surface for baking cookies and simplifies cleanup. | Grease baking sheets lightly with butter or oil as an alternative, though it may not prevent sticking as effectively. |
| Cookie Scoop or Spoon | Helps portion out evenly sized cookies, ensuring uniform baking. | Use a tablespoon to scoop out dough, though it may result in slightly larger or smaller cookies. |
| Cooling Rack | Allows cookies to cool evenly after baking, preventing them from becoming soggy. | Use the back of a baking sheet or an upside-down cooling rack (if available) to cool cookies. |
| Oven Thermometer | Checks the accuracy of your oven’s temperature, ensuring baked goods are cooked properly. | Most people don’t have alternatives, but you can use a reliable oven with a built-in thermometer if your oven is often inaccurate. |
This essential kitchen equipment will ensure you have all you need to successfully bake delicious gluten-free peppermint mocha cookies!
Cooking Steps
1. Mise en Place: Gather all ingredients: gluten-free flour, cocoa powder, baking soda, baking powder, salt, butter (softened), brown sugar, granulated sugar, eggs, vanilla extract, peppermint extract, and chocolate chips. Pre-measure and set aside.
2. Preheat Oven: Preheat the oven to 180 °C (350 °F). Position the oven rack in the center.
3. Prepare Baking Sheets****: Line 2-3 baking sheets (preferably rimmed) with parchment paper or silicone mats to prevent sticking.
4. Combine Dry Ingredients: In a medium mixing bowl, sift together 240 g (2 cups) of gluten-free flour, 40 g (1/3 cup) of cocoa powder, 1 tsp (5 g) of baking soda, 1 tsp (5 g) of baking powder, and 1/2 tsp (2.5 g) of salt. Set aside.
5. Mix Wet Ingredients: In a large mixing bowl, using a stand mixer or hand mixer on medium speed, beat together 170 g (3/4 cup) of softened butter, 150 g (3/4 cup) of brown sugar, and 100 g (1/2 cup) of granulated sugar until the mixture is light and fluffy, approximately 2-3 minutes.
6. Add Eggs and Extracts: Lower mixer speed, add 2 large eggs one at a time, then incorporate 1 tsp (5 ml) of vanilla extract and 1/2 tsp (2.5 ml) of peppermint extract. Mix on low speed until combined.
7. Combine Mixtures: Gradually add the dry ingredient mixture to the wet mixture while mixing on low speed until just combined. Don’t overmix to maintain the cookie’s texture.
8. Fold in Chips: Using a rubber spatula, gently fold in 150 g (1 cup) of chocolate chips until evenly distributed in the dough.
9. Scoop Cookies: Use a cookie scoop or spoon to portion out roughly 30 g (about 2 tablespoons) of dough for each cookie, placing them 5 cm (2 inches) apart on the prepared baking sheets.
10. Bake: Place the baking sheets in the preheated oven. Bake for 10-12 minutes or until the edges appear set and the tops are slightly cracked. The cookies should smell fragrant and have a soft center upon removal.
11. Cool Cookies: Once baked, remove the cookies from the oven and let them cool on the baking sheets for 5 minutes.
Then transfer to a cooling rack to cool completely, about 15-20 minutes, allowing air to circulate.
12. Check for Doneness: The cookies should be soft but not doughy, maintaining a slight sheen on the surface and firming up as they cool.
Variations
- Nutty Chocolate Chip: Add 100 g (1 cup) of chopped nuts like walnuts or pecans for added crunch and flavor.
- Dairy-Free Delight: Substitute butter with 170 g (3/4 cup) of coconut oil for a dairy-free version, and use dairy-free chocolate chips.
- Vegan Version: Replace eggs with 60 g (1/4 cup) of unsweetened applesauce per egg and use coconut oil instead of butter for a fully vegan recipe.
- Peppermint Bark Twist: Mix in 100 g (1 cup) of chopped peppermint bark into the dough for extra peppermint flavor and texture.
- Seasonal Spices: Add 1 tsp (5 g) of cinnamon and 1/2 tsp (2.5 g) of nutmeg to the dry ingredients for a warm, spiced twist suitable for holidays.
- Coconut Chocolate Cookies: Incorporate 50 g (1/2 cup) of shredded coconut into the dough for a tropical flavor and chewy texture.
- Flour Alternative: Use 240 g (2 cups) of almond flour or a gluten-free 1:1 flour blend for a nutty taste and gluten-free texture.
- Slow Cooker Version: Bake the cookie dough in a slow cooker on low for 2-3 hours for a chewy, cake-like cookie texture.
Tips on plating and presentation
How can you make your gluten-free peppermint mocha cookies truly stand out on the plate?
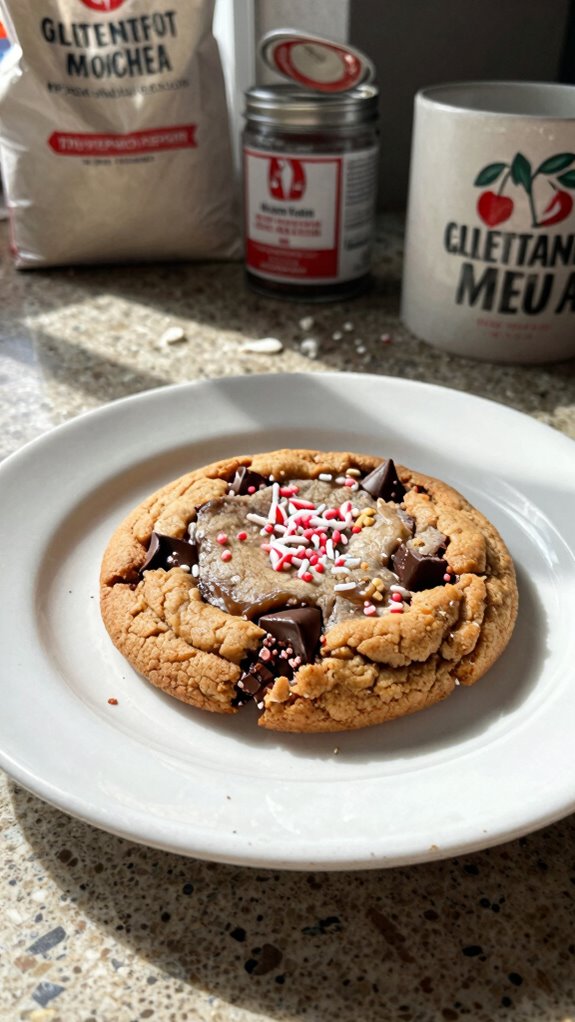
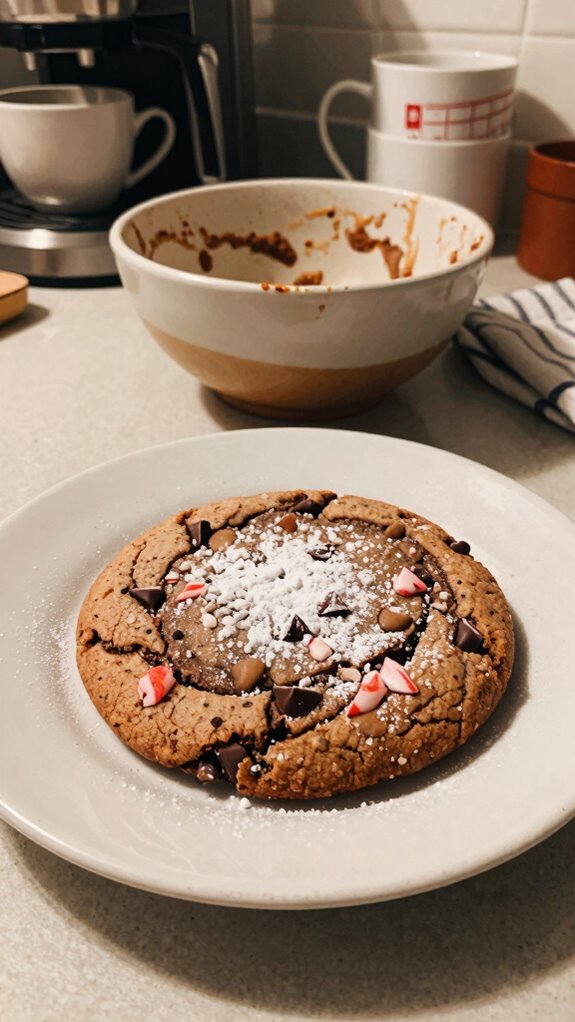
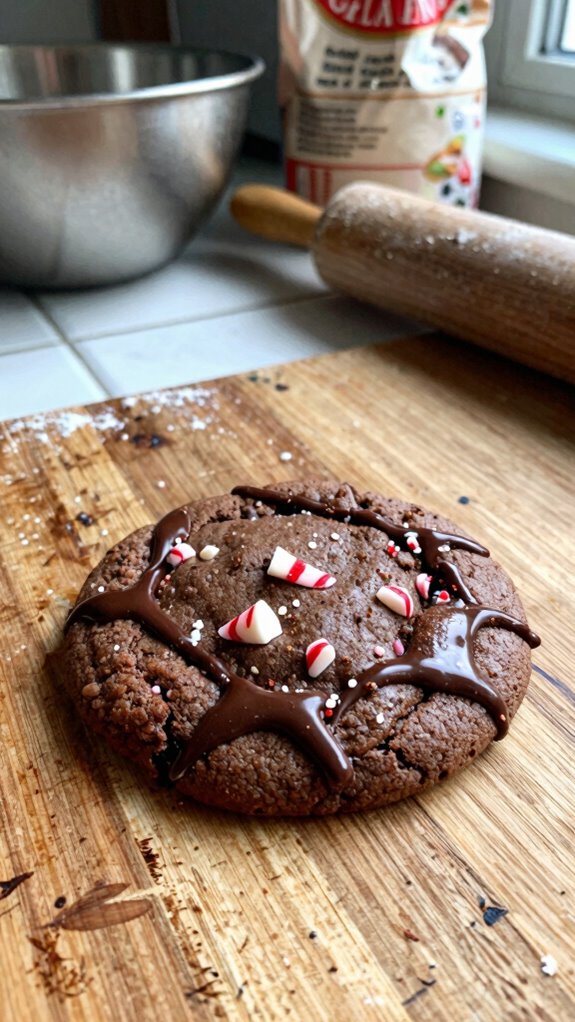
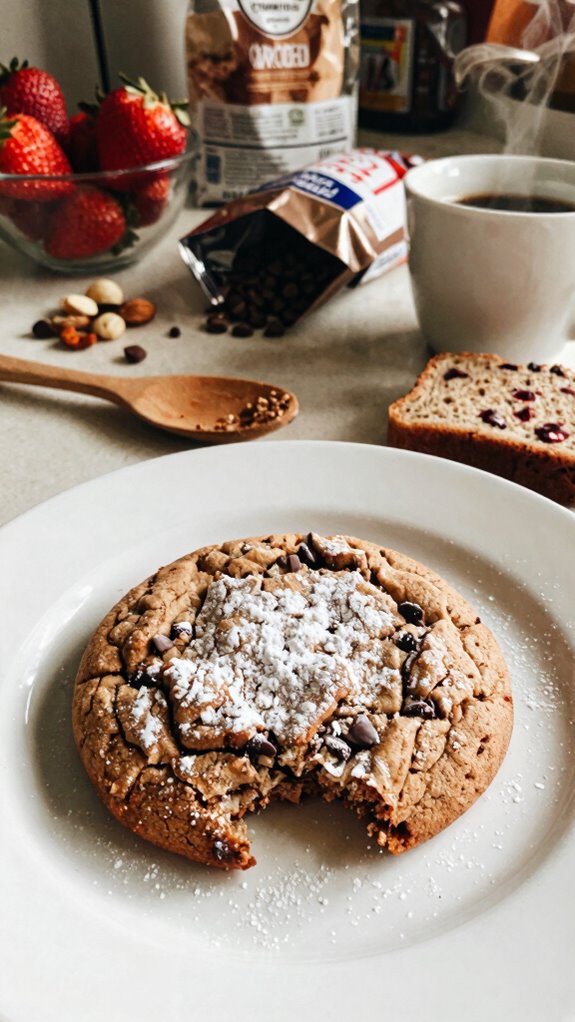
I recommend employing various garnish techniques like a sprinkle of crushed peppermint or a drizzle of melted chocolate.
For cookie styling, arrange them in a staggered pattern on a festive platter, and consider adding accents like cocoa dust or a seasonal sprig of mint for an extra pop of color.
What other dishes can I pair it with?
While enjoying your gluten-free peppermint mocha cookies, consider pairing them with a rich, creamy hot chocolate or a spiced chai latte for a cozy vibe.
These dessert pairings elevate the experience, making them perfect holiday treats to share with loved ones.
You could even serve them alongside some fresh fruit or a scoop of dairy-free ice cream for added delight!
What drinks can I pair it with?
When I’m enjoying my gluten-free peppermint mocha cookies, I love to sip on a steaming cup of freshly brewed coffee or a frothy cappuccino.
For a festive touch, I also consider pairing them with seasonal beverages like spiced chai lattes or hot chocolate.
These cookie pairings enhance the flavors, making each bite of cookie taste even better alongside my chosen drink.
Frequently Asked Questions
Can I Use Almond Flour Instead of Gluten-Free Flour?
Yes, I’ve used almond flour instead of gluten-free flour before. Its nutty flavor and moisture enhance baked goods. For best results, mix it with a binder like eggs to improve texture. Happy baking!
How Do I Store Leftover Cookies?
I store leftover cookies in an airtight container for proper sealing. This keeps them fresh and tasty. After they cool completely, I stack them with parchment paper between layers to prevent sticking. Enjoy them later!
Are These Cookies Safe for People With Nut Allergies?
These cookies can be safe for people with nut allergies if I use nut-free substitutes. Always check ingredient labels and consider allergy considerations to ensure a safe treat for everyone. Safety’s key when baking!
Can I Make This Cookie Vegan?
Yes, I can make these cookies vegan! I use vegan substitutes like flax eggs and dairy-free chocolate. Just adjust the ingredient ratios for the right texture, and you’re all set for delicious vegan cookies!
How Long Do These Cookies Stay Fresh?
These cookies stay fresh for about a week if stored properly. I recommend sealing them in an airtight container to maximize freshness. Keeping them cool also extends their cookie lifespan. Enjoy your delicious treats!