I recently tried my hand at making Brown Butter Molasses Cookies, and I must say, they embody the comfort of fall and winter in every bite. The combination of browned butter and molasses creates a chewy texture that’s hard to resist. If you’re curious about how to achieve this delightful treat or perhaps even want some tips for enhancing the flavors, stick around. You might just find your new favorite recipe.
What kind of recipe is it?
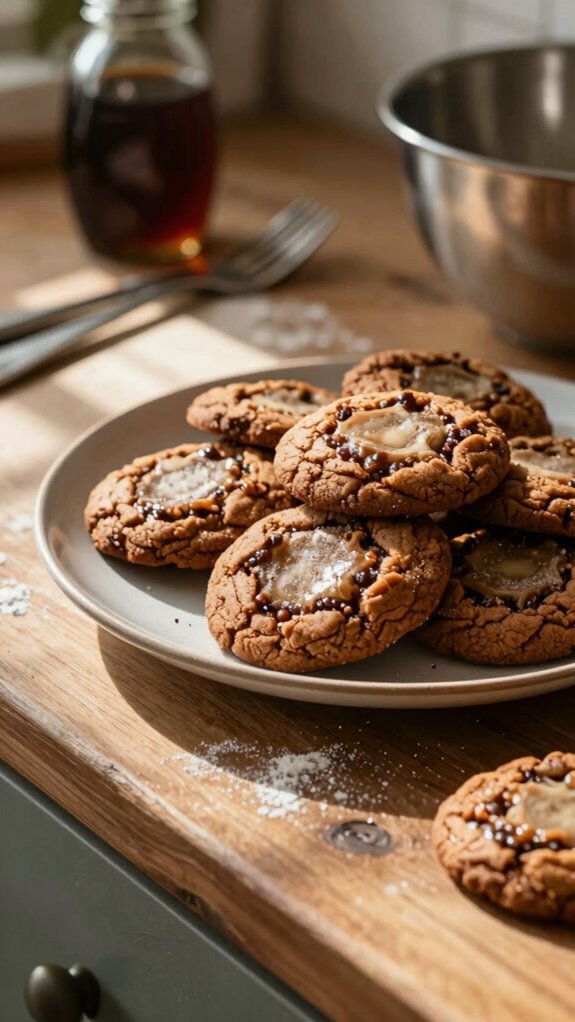
Brown Butter Molasses Cookies are a delightful twist on a classic treat, combining the rich, nutty flavor of browned butter with the deep sweetness of molasses.
These cookies stand out for their chewy texture and warming spices, making them perfect for cozy gatherings during fall and winter.
Ideal for both novice bakers and seasoned chefs, this recipe offers an opportunity to impress with minimal fuss.
Enjoy them fresh from the oven or share them as a heartwarming gift to friends and family.
Preparation Time
| Aspect | Details |
|---|---|
| Difficulty of the Recipe | Moderate |
| Preparation Time | 15 minutes |
| Number of Servings | Approximately 24 cookies |
Ingredients
| Ingredient | Quantity |
|---|---|
| Unsalted Butter | 1 cup (2 sticks) |
| Brown Sugar | 1 cup packed |
| Granulated Sugar | ½ cup |
| Molasses | ¼ cup |
| Large Eggs | 1 |
| All-Purpose Flour | 2 ¼ cups |
| Baking Soda | 1 teaspoon |
| Ground Cinnamon | 1 teaspoon |
| Ground Ginger | 1 teaspoon |
| Ground Cloves | ½ teaspoon |
| Salt | ½ teaspoon |
| Vanilla Extract | 1 teaspoon |
This table outlines the ingredients needed for making Brown Butter Molasses Cookies, with detailed quantities for each component.
Essential Kitchen Equipment
| Tool/Equipment | Purpose | Alternative Option |
|---|---|---|
| Mixing Bowls (Large and Medium) | Used to combine the ingredients, allowing for efficient mixing and measuring. The large bowl is ideal for dough, while the medium bowl can be used for smaller mixes like spices or wet ingredients. | Any large and medium bowls you have on hand (plastic or glass work well). |
| Measuring Cups (Dry and Liquid) | Essential for accurately measuring ingredients, which is crucial in baking to ensure correct ratios and textures. Dry cups are used for flour and sugar, while liquid cups are used for molasses and eggs. | Use standard kitchen cups or convert using a kitchen scale (if available). |
| Measuring Spoons | Used to measure small amounts of ingredients like baking soda, spices, and vanilla extract, ensuring precision in flavor and chemical reactions. | Use any small spoon (e.g., teaspoon or tablespoon from your kitchen) as a rough guide, though it may not be as accurate. |
| Stand Mixer or Hand Mixer | Aids in creaming the butter and sugars together smoothly, which is crucial for incorporating air into the dough, resulting in lighter cookies. | A whisk and some elbow grease can substitute; however, it requires more effort and time. |
| Rubber Spatula | Perfect for scraping down the sides of the mixing bowl to ensure that all ingredients are incorporated evenly. It is also great for folding in ingredients gently. | A wooden or silicone spoon can work too, though they are less flexible. |
| Wooden Spoon | Useful for mixing tough doughs and folding in dry ingredients with wet. Offers durability and good leverage when stirring. | Use a sturdy plastic spoon or any strong kitchen utensil that can handle thick mixtures. |
| Baking Sheets (2-3) | Provides a surface for placing the cookie dough during baking. Having multiple sheets allows for batching and cooling. | Use any flat baking tray or shallow oven-safe dish if baking sheets are unavailable. |
| Parchment Paper or Silicone Mats | Creates a non-stick surface for baking cookies, ensuring they do not stick to the baking sheets, and makes for easier cleanup. | Lightly greasing the baking sheets with butter or oil can work as an alternative. |
| Cookie Scoop or Spoon | Ideal for portioning cookie dough into uniform balls, ensuring even baking and consistency in size. | Use two spoons – one for scooping and another to push the dough off – though it may take more time. |
| Cooling Rack | Allows cookies to cool evenly and prevents them from becoming soggy by promoting airflow around them. | A wire rack from a roasting pan or even a plate can work if needed, though airflow will be less effective. |
| Oven Thermometer | Measures the internal temperature of the oven for accuracy, ensuring that cookies bake at the right temperature for the correct time. | If unavailable, simply run the oven empty for 10-15 minutes and assess the heating based on the preheat light (not as precise but usable). |
Cooking Steps
- Preheat your oven to 180°C (350°F). Position the oven rack in the center to ensure even baking.
- Prepare two baking sheets (approximately 30 cm x 40 cm or 12 in x 16 in). Line each sheet with parchment paper or silicone mats to prevent sticking and facilitate easy cleanup.
- In a medium mixing bowl, combine 240 ml (1 cup) of unsalted butter. Melt the butter slowly over low heat in a saucepan or microwave, stirring frequently until it turns a rich amber color and has a nutty aroma, about 5–7 minutes for stovetop or 1–2 minutes in the microwave.
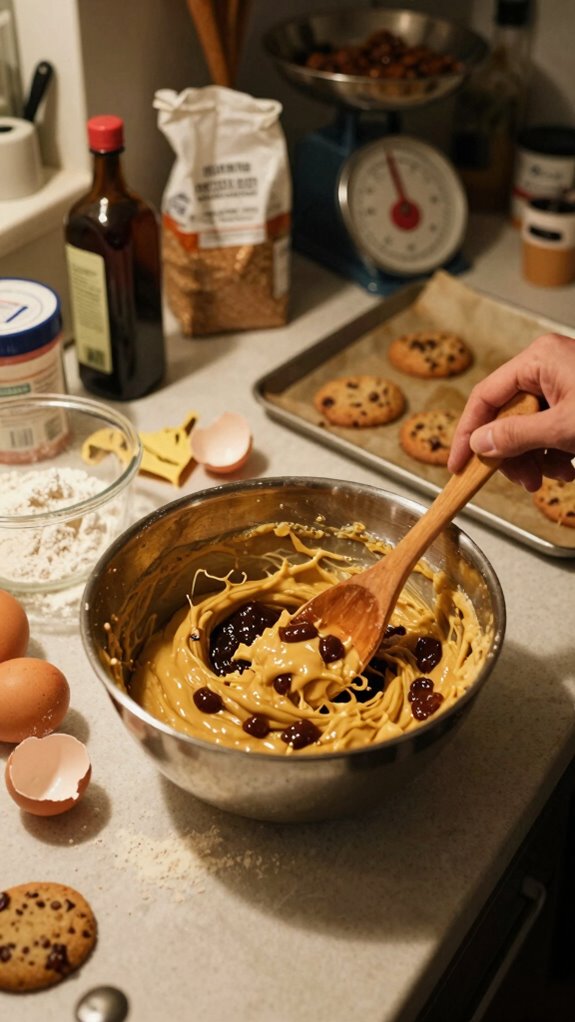
- Once the butter is browned, let it cool slightly for 5 minutes. In a large mixing bowl, combine the browned butter with 200 g (1 cup) of brown sugar and 100 g (1/2 cup) of granulated sugar. Using a stand mixer fitted with the paddle attachment or a hand mixer, mix on medium speed until fully combined and smooth, about 2 minutes.
- Add 120 ml (1/2 cup) of molasses, 1 large egg (room temperature), and 5 ml (1 tsp) of vanilla extract to the butter and sugar mixture. Mix on low speed until just incorporated, about 30 seconds.
- In a separate bowl, whisk together 300 g (2 1/2 cups) of all-purpose flour, 5 g (1 tsp) of baking soda, 5 g (1 tsp) of baking powder, 2 g (1/2 tsp) of salt, and 2 g (1/2 tsp) of ground cinnamon.
- Gradually add the dry ingredients to the wet mixture, mixing on low speed until just combined to avoid overmixing, about 1 minute. The dough should be thick and sticky.
- Use a rubber spatula to fold in any additional add-ins, if desired (such as chocolate chips or nuts), ensuring they’re evenly distributed throughout the dough.
- Using a standard cookie scoop or tablespoon, portion out the dough onto the prepared baking sheets, spacing the balls about 5 cm (2 inches) apart to allow for spreading.
- Bake the cookies in the preheated oven for 10–12 minutes or until edges are lightly golden, and the centers look slightly underbaked (they will firm up while cooling). Rotate the baking sheets halfway through for even baking if necessary.
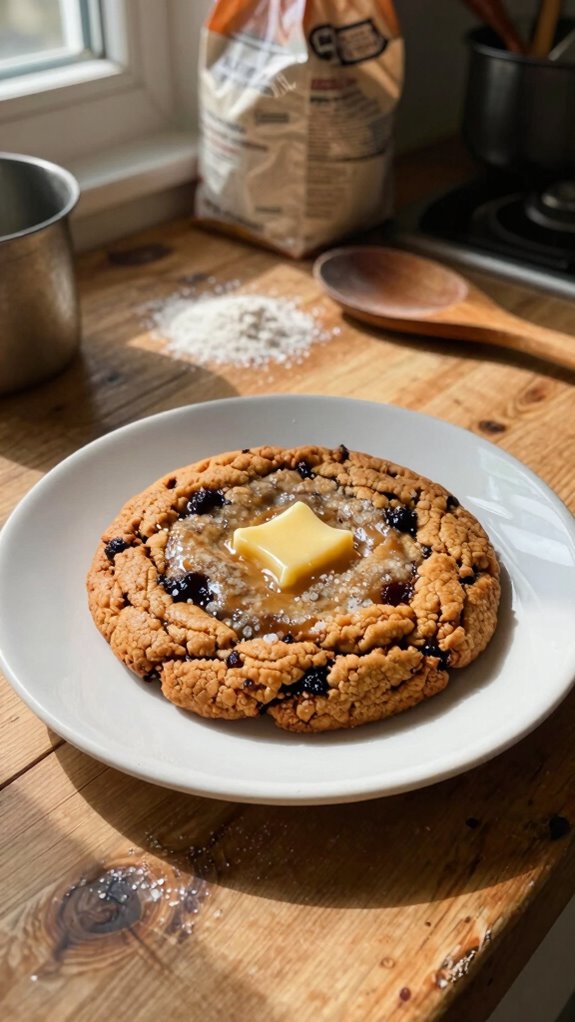
- Remove the cookies from the oven and let them cool on the baking sheets for 5 minutes before transferring them to a wire rack to cool completely. They should feel soft but set, with a slight crispness on the edges.
- Let the cookies cool on the rack for at least 15 minutes before serving. If storing, ensure they’re fully cooled before placing them in an airtight container.
Variations
- Spiced Molasses Cookies: Add 5 g (1 tsp) of ground ginger and 5 g (1 tsp) of ground nutmeg to the dry ingredients for a warming spice blend.
- Gluten-Free Version: Substitute the all-purpose flour with 300 g (2 1/2 cups) of a gluten-free flour mix to accommodate gluten sensitivities.
- Vegan Cookies: Replace the butter with 240 ml (1 cup) of coconut oil and use a flax egg (1 tbsp flaxseed meal mixed with 2.5 tbsp water) instead of the large egg for a dairy-free, egg-free option.
- Dairy-Free Option: Use 240 ml (1 cup) of dairy-free butter or margarine in place of unsalted butter for a completely dairy-free cookie.
- Chocolate Hazelnut Delight: Fold in 150 g (1 cup) of chopped hazelnuts and 100 g (1/2 cup) of dark chocolate chips for added texture and flavor.
- Pumpkin Spice Twist: Mix in 120 g (1/2 cup) of pumpkin puree (reduce molasses slightly by 30 ml/2 tbsp) and add 5 g (1 tsp) of pumpkin pie spice for a seasonal treat.
- Cranberry Orange: Incorporate 100 g (1 cup) of dried cranberries and the zest of 1 orange into the dough for a bright, fruity flavor.
- Air Fryer Cookies: Use an air fryer preheated to 160°C (320°F) and cook for about 8-10 minutes, checking frequently to ensure they don’t overbake.
Tips on plating and presentation
When it comes to presenting Brown Butter Molasses Cookies, a little creativity goes a long way in making them visually appealing.
I love cookie stacking for a towering effect, adding height to your display. For extra flair, consider using decorative toppings like a drizzle of chocolate or a sprinkle of sea salt.
These little touches make the cookies irresistible and elevate your overall presentation.
What other dishes can I pair it with?

After presenting those delightful Brown Butter Molasses Cookies, you might wonder what dishes pair well with them.
I love serving these cookies alongside a creamy pumpkin cheesecake or a spiced apple crisp for perfect dessert pairings.
The warm, rich flavors create wonderful flavor combinations that complement my cookies, making every bite a cozy, delicious experience.
Trust me; you’ll want to try this!
What drinks can I pair it with?
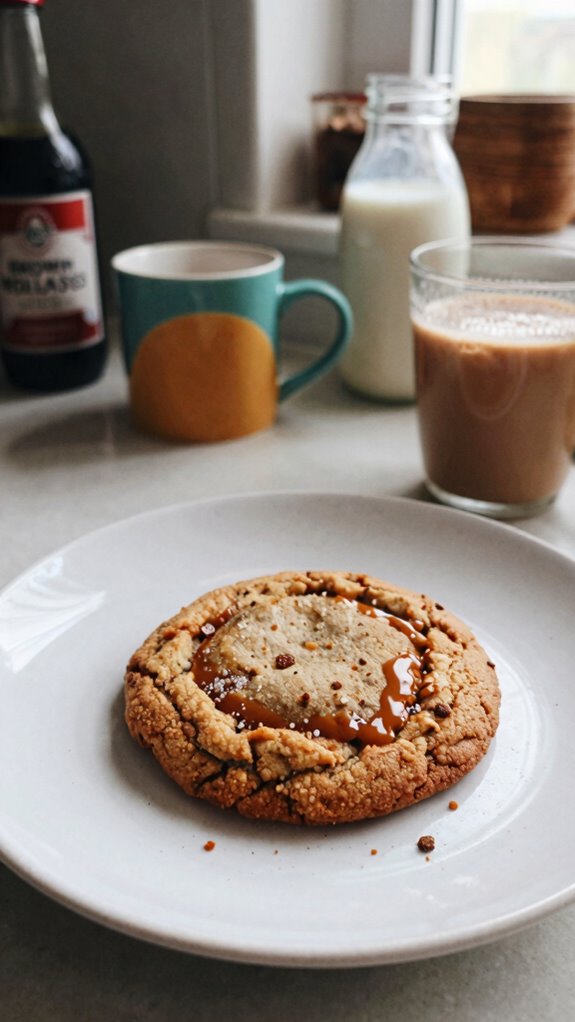
Have you ever wondered what drinks complement the warm, rich flavors of Brown Butter Molasses Cookies?
I find that a nice cup of coffee pairs perfectly, bringing out the buttery notes.
If you prefer something creamier, try a milk alternative like oat milk or almond milk—they add a lovely creaminess without overpowering the cookie’s unique taste.
Enjoy experimenting with these delicious combinations!
Frequently Asked Questions
Can I Substitute Brown Sugar for White Sugar in This Recipe?
Yes, I often substitute brown sugar for white sugar in recipes. The brown sugar benefits include added flavor and moisture, plus it creates a lovely chewy texture that enhances my baked goods beautifully.
How Should I Store Leftover Brown Butter Molasses Cookies?
I store leftover cookies in an airtight container at room temperature for up to five days. For longer cookie longevity, I find refrigeration tips helpful—just make sure to let them come back to room temperature before enjoying!
Are These Cookies Suitable for Freezing?
Absolutely, I’ve frozen these cookies before! For freezing tips, let them cool completely, then wrap them tightly to preserve texture. Thaw them at room temperature, and they’ll taste just as amazing as fresh!
Can I Use Alternative Flours for This Recipe?
Absolutely, you can use alternative flour options! Just remember that flour texture differences might alter the cookies’ chewiness or crispiness. I recommend experimenting with almond or oat flour for delicious results. Give it a try!
How Do I Know When the Cookies Are Fully Baked?
I know cookies are fully baked when they’re golden brown around the edges but still soft in the center. Use these baking tips to ensure you achieve the perfect cookie textures every time!