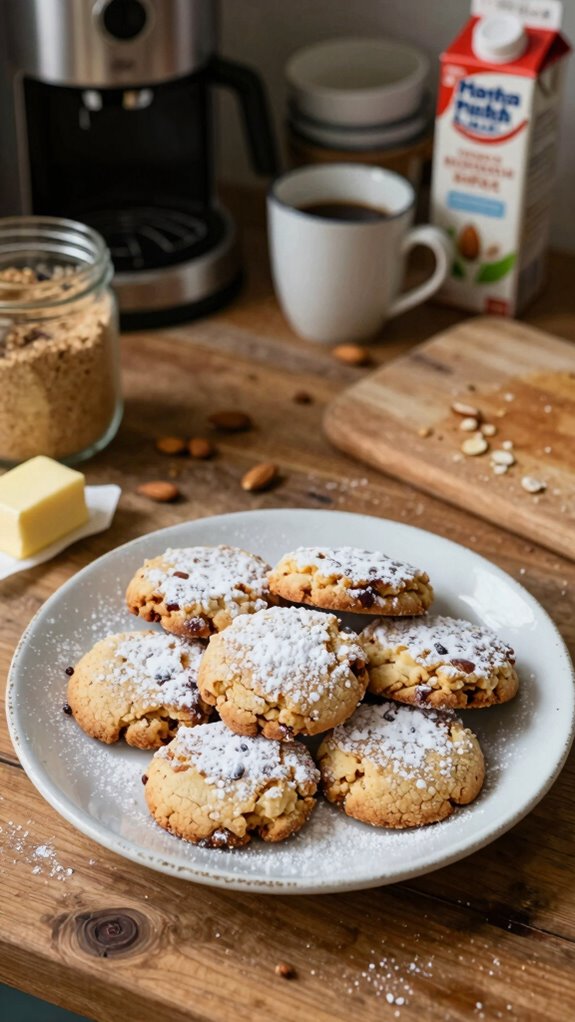
I recently tried my hand at making gluten-free shortbread using almond flour, and it turned out beautifully. The buttery richness combined with a subtle nuttiness was surprisingly delightful. This recipe not only caters to those avoiding gluten but also offers a unique twist on a beloved classic. I can’t wait to share some variations and tips that can elevate this simple treat even further. You’ll want to keep this in mind for your next gathering.
What kind of recipe is it?
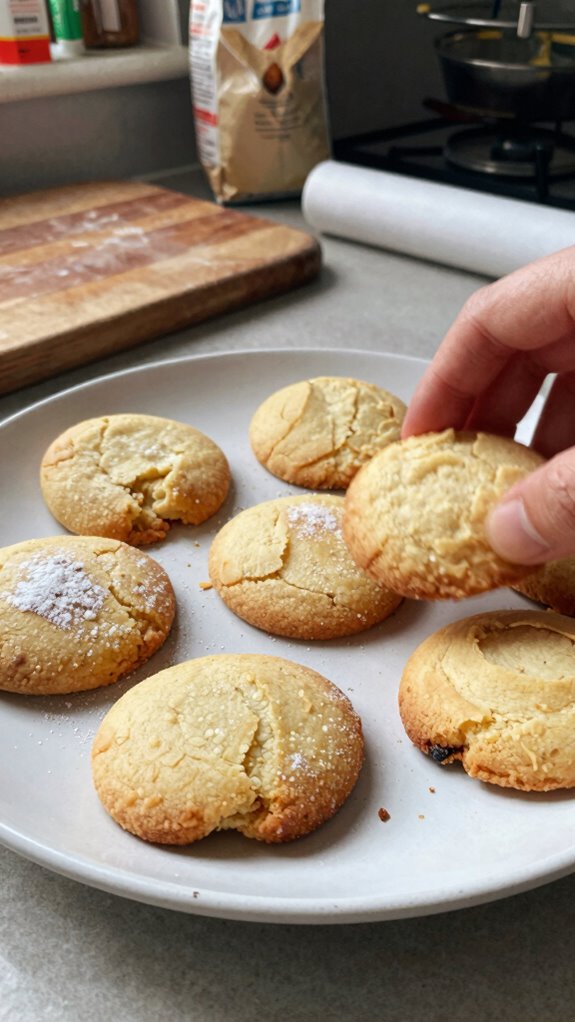
Gluten-Free Shortbread is a delightful twist on the classic buttery treat, perfect for those with gluten sensitivities or celiac disease. Made with alternative flours like almond or rice flour, this recipe retains the signature crumbly texture and rich flavor of traditional shortbread, while being safe for gluten-free diets.
Its simplicity and ease of preparation make it an ideal option for both novice and experienced bakers. Perfect for holidays, tea time, or satisfying sweet cravings, it’s a treat everyone can enjoy!
Preparation Time
| Aspect | Details |
|---|---|
| Difficulty of Recipe | Easy |
| Preparation Time | 15 minutes |
| Number of Servings | Approximately 12-16 cookies |
Ingredients
| Ingredient | Quantity |
|---|---|
| Gluten-Free Flour | 2 cups |
| Unsalted Butter | 1 cup (softened) |
| Powdered Sugar | 1/2 cup |
| Vanilla Extract | 1 teaspoon |
| Salt | 1/4 teaspoon |
| Xanthan Gum (optional) | 1/2 teaspoon |
| Cornstarch | 1/4 cup |
Details of Ingredients:
- Gluten-Free Flour: A blend of various gluten-free flours can be used, or a pre-mixed gluten-free flour package can work well for consistent results.
- Unsalted Butter: Ensure the butter is softened for easier mixing.
- Powdered Sugar: This adds sweetness and a smooth texture to the cookies.
- Vanilla Extract: Use pure vanilla extract for the best flavor.
- Salt: Enhances the sweetness and overall flavor.
- Xanthan Gum: Optional, but can help to bind the ingredients together in gluten-free recipes.
- Cornstarch: Helps create a lighter texture in the shortbread.
Essential Kitchen Equipment
| Tool/Equipment | Purpose | Alternative Option |
|---|---|---|
| Mixing Bowls (Large & Medium) | Used for mixing ingredients and dough; larger bowl for combining all ingredients, smaller for creaming butter and sugar. | Any bowl from your kitchen that is large enough to hold the mixture. |
| Measuring Cups (Dry & Liquid) | Essential for accurately measuring flour, butter, and other ingredients to ensure the right texture and taste. | Use any clear cup with volume markings (for liquid) or a regular cup with approximate measurements (for dry). |
| Measuring Spoons | For precise measurement of smaller ingredients like vanilla extract and salt. | Use a regular teaspoon for smaller measurements if precise measurement is not critical. |
| Stand Mixer or Hand Mixer | Efficiently mixes butter and sugar until creamy, and combines dough easily without manual labor. | A whisk can suffice, but requires more effort. |
| Rubber Spatula | Ideal for scraping down the sides of the bowls and mixing ingredients thoroughly without damaging them. | A wooden spoon or any spatula can be used, though it may not scrape as effectively. |
| Wooden Spoon | Handy for mixing the dough and can also be used for creaming butter and sugar initially. | A sturdy plastic or silicone spoon can work as a substitute. |
| Baking Sheets (2-3) | Provides a flat surface for baking the cookies evenly. | Any flat pan or tray that can withstand baking temperatures. |
| Parchment Paper or Silicone Mats | Prevents cookies from sticking to baking sheets and allows for easy removal. | Greasing the baking sheet with butter or oil can serve as a substitute, although it may not prevent sticking as effectively. |
| Cookie Scoop or Spoon | Used for portioning dough to create uniform cookies for even baking. | A tablespoon or any spoon can be used to drop dough, though results may vary in size. |
| Cooling Rack | Allows cookies to cool down evenly and prevents them from becoming soggy due to steam. | A wire rack or any raised surface to allow airflow can serve as an alternative. |
| Oven Thermometer | Ensures your oven is at the correct temperature for baking; a critical tool for baking success. | If unavailable, you can rely on the oven’s built-in thermometer, though calibrations may vary. |
This set of essential kitchen equipment will enable you to successfully create your gluten-free shortbread while providing alternative options for budget-conscious bakers.
Cooking Steps
1. Mise en Place: Gather all ingredients—150 g (1 ¼ cups) gluten-free all-purpose flour, 60 g (½ cup) powdered sugar, 150 g (¾ cup) unsalted butter at room temperature, and ½ tsp vanilla extract.
Prepare your tools: large mixing bowl, medium bowl, rubber spatula, baking sheets, and parchment paper.
2. Preheat Oven: Preheat the oven to 160 °C (325 °F). Position the oven rack in the center to ensure even baking.
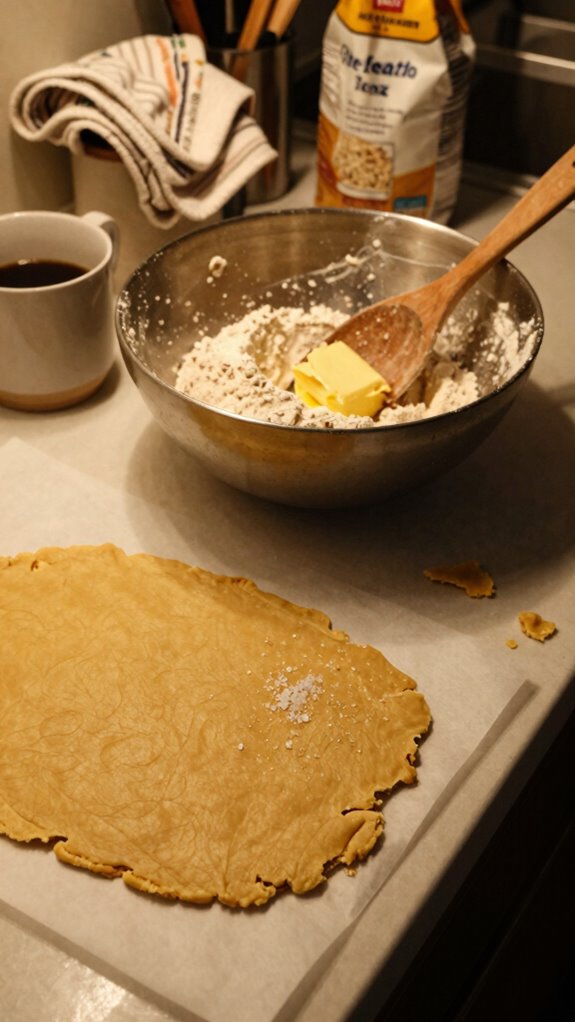
3. Cream Butter and Sugar: In a medium mixing bowl, combine 150 g (¾ cup) unsalted butter and 60 g (½ cup) powdered sugar.
Using a stand mixer or hand mixer on medium speed, cream together for 3-5 minutes until the mixture is light and fluffy, with a pale color and smooth texture.
4. Incorporate Vanilla: Add ½ tsp vanilla extract to the creamed mixture and mix on low speed for about 30 seconds until fully combined.
5. Mix Dry Ingredients: In the large bowl, sift 150 g (1 ¼ cups) gluten-free all-purpose flour to aerate.
Gradually add the flour into the wet mixture, mixing on low speed until just combined—approximately 1-2 minutes.
Don’t overmix; the dough should be soft but not sticky.
6. Shape Cookies: Using a cookie scoop or spoon, portion out 15-20 g (1 tablespoon) of dough.
Roll into balls and place them on a baking sheet lined with parchment paper, spaced about 5 cm (2 inches) apart.
Flatten each ball slightly with your fingers to form discs about 1.25 cm (½ inch) thick for even baking.
7. Chill (Optional): For a firmer texture, chill the cookie discs in the refrigerator for 15-30 minutes before baking to help maintain shape.
8. Bake: Transfer the baking sheets to the preheated oven.
Bake for 16-20 minutes or until the edges are lightly golden.
The cookies should have a slight firmness when pressed and will smell fragrant but not overly browned.
9. Cooling: Once baked, remove cookies from the oven and let them cool on the baking sheet for 5 minutes.
Then, transfer them to a cooling rack to cool completely—this prevents them from becoming soggy.
10. Store: Once cooled, Store shortbread in an airtight container at room temperature for up to 1 week or in the refrigerator for extended freshness.
Enjoy the buttery aroma and crisp texture.
Variations
- Citrus Shortbread: Add the zest of 1 lemon or orange (about 15 g) to the creamed butter and sugar for a refreshing citrus twist.
- Chocolate Chip Shortbread: Fold in 100 g (¾ cup) dairy-free chocolate chips to the dough before shaping for a sweet chocolatey flavor.
- Nutty Almond Shortbread: Substitute 50 g (½ cup) of gluten-free flour with ground almonds for a nutty texture and flavor enhancement.
- Vegan Shortbread: Replace unsalted butter with 150 g (⅔ cup) coconut oil or a vegan butter alternative, and use aquafaba (3 tbsp) as a binding agent instead of the vanilla extract.
- Herbed Shortbread: Incorporate 1 tbsp of finely chopped fresh rosemary or thyme into the dough for a savory herb-infused version.
- Matcha Green Tea Shortbread: Add 1-2 tbsp (about 10-20 g) of matcha powder to the dry ingredients for a vibrant green color and unique flavor.
- Spiced Cinnamon Shortbread: Mix in 1 tsp of ground cinnamon or a spice blend (like cardamom) with the dry ingredients for a warm, aromatic shortbread.
- Chocolate-Dipped Shortbread: After baking and cooling, dip half of each cookie into melted dark chocolate (about 100 g) for an added indulgent touch.
Tips on plating and presentation
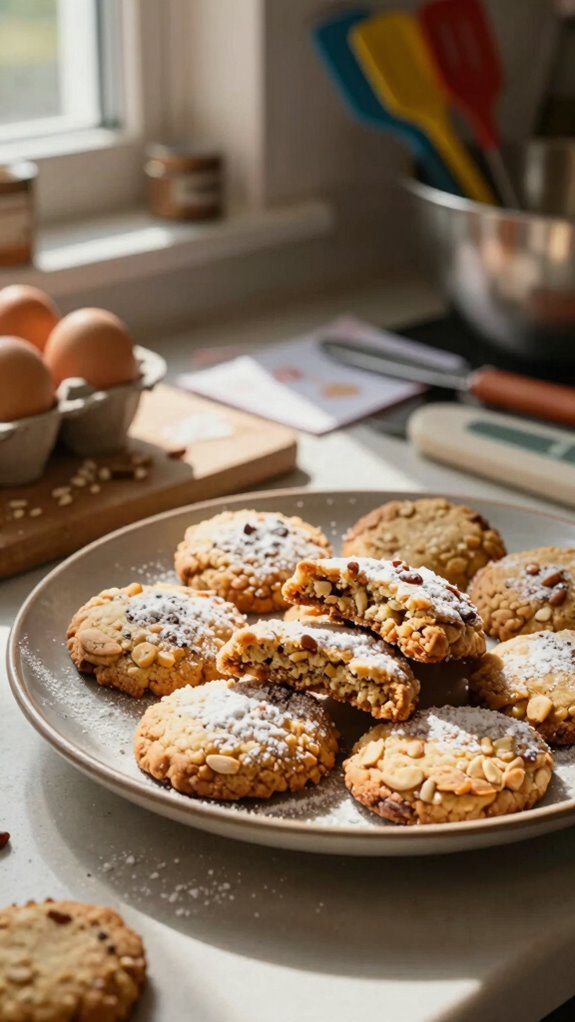
While serving gluten-free shortbread, I love to think about how presentation can elevate the experience.
Using simple plating techniques, I arrange the shortbread on a colorful plate, emphasizing its golden hue.
I often add garnish ideas like fresh berries or a dusting of powdered sugar.
This not only looks inviting but also enhances the flavors, making each bite even more delightful!
What other dishes can I pair it with?
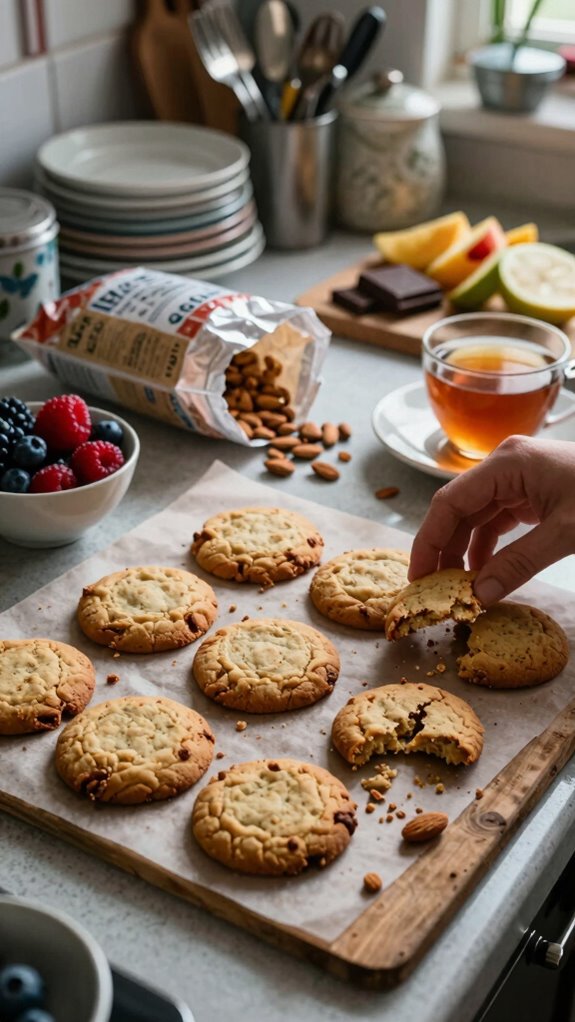
After presenting the gluten-free shortbread beautifully, it’s important to think about what other dishes can complement it.
I love pairing it with fresh berries, which add a burst of color and flavor, or a scoop of vanilla ice cream for a delightful dessert pairing.
You can’t go wrong with rich chocolate ganache as a sweet accompaniment, either—it’s pure indulgence!
What drinks can I pair it with?
Wondering what drinks pair well with gluten-free shortbread?
I love enjoying a cup of herbal tea, like chamomile or earl grey, alongside my shortbread for a comforting afternoon treat.
For a more celebratory mood, I recommend a chilled dessert wine, which enhances the buttery flavors.
Both options elevate the experience and make every bite of shortbread even more delightful!
Frequently Asked Questions
Can I Use Other Flours Instead of Almond Flour?
Absolutely, you can use other flours like coconut flour or oat flour instead of almond flour. Just remember to adjust the liquid in your recipe, as they absorb moisture differently. Happy baking!
How Long Can I Store the Shortbread?
I store my shortbread in an airtight container, and it lasts up to two weeks at room temperature. For longer shelf life, I keep it in the freezer, where it stays fresh for about three months.
Is This Recipe Suitable for Vegan Diets?
Yes, this recipe can be suitable for vegan diets! I use vegan substitutions like coconut oil and dairy alternatives like almond milk, making it easy to enjoy delicious shortbread without any animal products.
Will These Cookies Crumble Easily?
Yes, these cookies do have a delicate cookie texture, so the crumble factor is pretty high. I’ve found they tend to crumble when handled too roughly, but they’re deliciously buttery and perfect with care!
Can I Freeze Gluten-Free Shortbread?
Yes, you can freeze gluten-free shortbread cookies! I use simple freezing techniques: wrap them tightly in plastic wrap, then store them in an airtight container. This ensures freshness and protects against freezer burn. Enjoy!