When I first tried the Dark Chocolate White Chocolate Raspberry Bark Cookie, I was intrigued by the combination of flavors. The rich dark chocolate, creamy white chocolate, and fruity raspberry create a unique experience. It’s easy to prepare and impresses guests effortlessly. But there’s something more about this cookie bark that keeps you coming back for more. Let’s explore what makes it truly special and how you can elevate it further.
What kind of recipe is it?
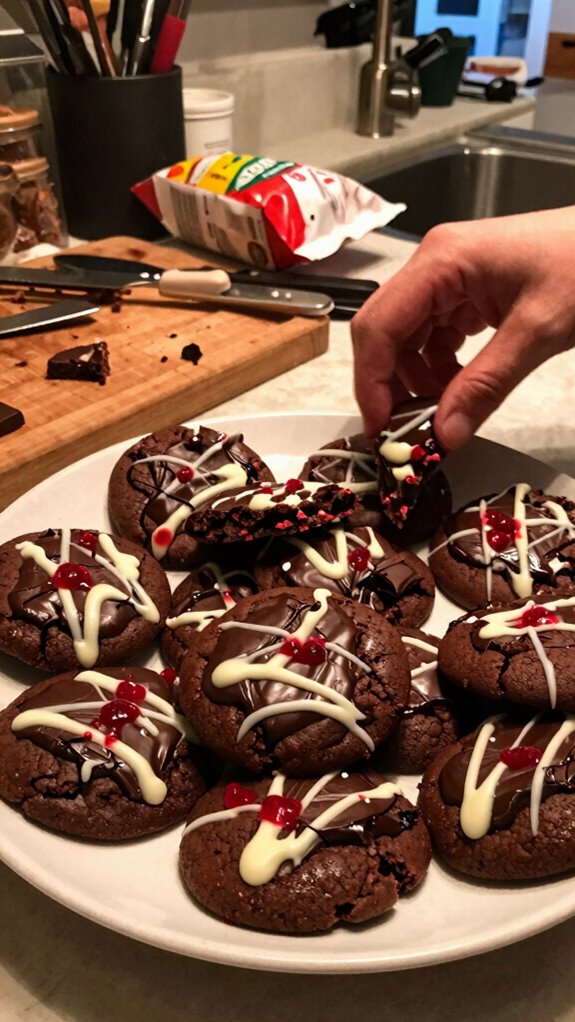
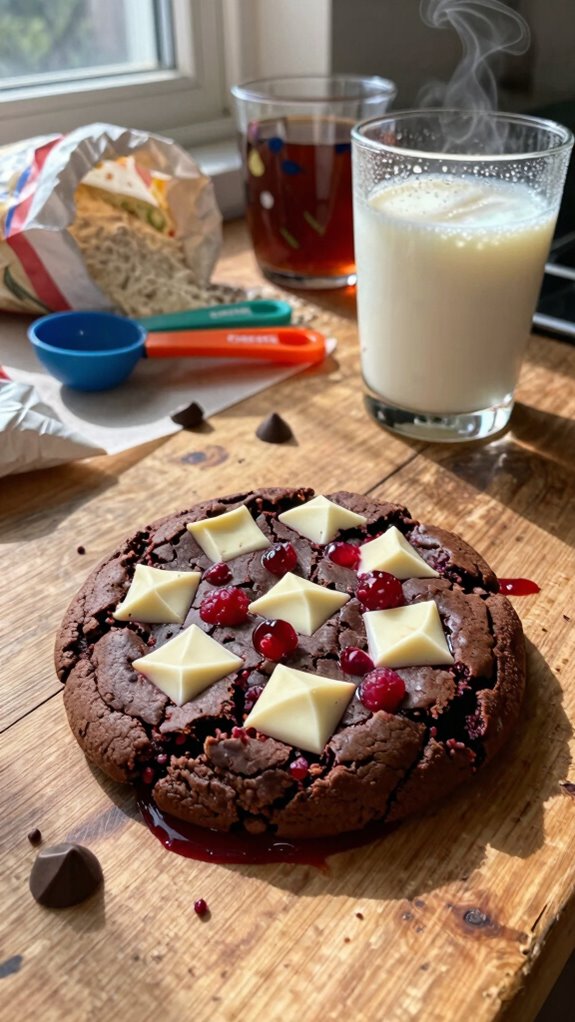
Dark Chocolate Raspberry Bark Cookie is a delightful fusion of rich chocolate and tangy raspberry flavors, making it an indulgent yet sophisticated treat.
This recipe showcases the contrast of smooth dark chocolate against crunchy cookie bark, adorned with bursts of fruity raspberry, offering both texture and taste.
Perfect for chocolate lovers and dessert enthusiasts, it’s an ideal choice for celebrations, parties, or simply as a self-indulgence.
Elevate your baking repertoire with this easy-to-make recipe that promises to impress family and friends alike.
Preparation Time
| Attribute | Details |
|---|---|
| Difficulty of the Recipe | Easy to Moderate |
| Preparation Time | 30 minutes |
| Number of Servings | 12 servings |
Ingredients
| Ingredient | Quantity |
|---|---|
| Dark chocolate (70% cocoa) | 12 oz (340 g) |
| Raspberries | 1 cup (fresh or frozen) |
| Granulated sugar | 1/4 cup (50 g) |
| All-purpose flour | 1 cup (120 g) |
| Unsweetened cocoa powder | 1/4 cup (25 g) |
| Baking soda | 1/2 teaspoon |
| Baking powder | 1/2 teaspoon |
| Salt | 1/4 teaspoon |
| Unsalted butter | 1/2 cup (1 stick or 113 g) |
| Brown sugar | 1/2 cup (100 g) |
| Egg | 1 large |
| Vanilla extract | 1 teaspoon |
| Rolled oats | 1/2 cup (45 g) |
| Chopped nuts (optional) | 1/2 cup (75 g) |
This table outlines the ingredients and their corresponding quantities required to make Dark Chocolate Raspberry Bark Cookie. Adjust quantities as necessary based on preferences or allergies.
Essential Kitchen Equipment
| Tool/Equipment | Purpose | Alternative Option |
|---|---|---|
| Mixing Bowls (Large & Medium) | Used for mixing dry and wet ingredients separately as well as combining them together for the cookie dough. | Any large bowls or containers you have at home can be used instead. |
| Measuring Cups (Dry and Liquid) | Essential for accurately measuring flour, sugar, and liquids to ensure the right proportions are used. | Use standard cups or even a scale if you have one. |
| Measuring Spoons | Needed for measuring small quantities of ingredients like baking powder, baking soda, and salt. | Use regular spoons (e.g., a tablespoon or teaspoon) with a careful eye on measurements. |
| Stand Mixer or Hand Mixer | Ideal for creaming butter and sugar together and mixing the batter evenly. Makes the process easier and faster. | A whisk and some elbow grease can do the job, though it may take longer. |
| Rubber Spatula | Perfect for scraping down the sides of the mixing bowl and folding ingredients without deflating them. | A sturdy wooden spoon can be an alternative, but may not be as effective for scraping. |
| Wooden Spoon | Useful for mixing ingredients together and is especially good for thicker doughs. | A sturdy fork or a spatula can work in a pinch. |
| Baking Sheets (2-3) | Needed for placing cookie dough to bake in the oven; allows even baking and easy removal. | Any flat, oven-safe tray or pan can be used, but avoid using glass. |
| Parchment Paper or Silicone Mats | Prevents cookies from sticking to the baking sheets and helps achieve an evenly baked bottom. | You can grease the baking sheets lightly with butter or oil instead. |
| Cookie Scoop or Spoon | Provides uniform portion sizes for cookies, ensuring even cooking and a uniform look. | A regular tablespoon can be used to scoop out dough, though the cookies may vary in size. |
| Cooling Rack | Allows cookies to cool evenly after baking, preventing them from becoming soggy. | You can use a plate or countertop lined with paper towels as a makeshift cooling area. |
| Oven Thermometer | Ensures your oven is at the proper temperature for baking, which is critical for baking success. | If an oven thermometer is not available, preheat the oven for the recommended time, though this is less accurate. |
This table covers the essential kitchen equipment needed for making Dark Chocolate Raspberry Bark Cookies, highlighting their specific roles and suggesting alternative options for those on a budget.
Cooking Steps
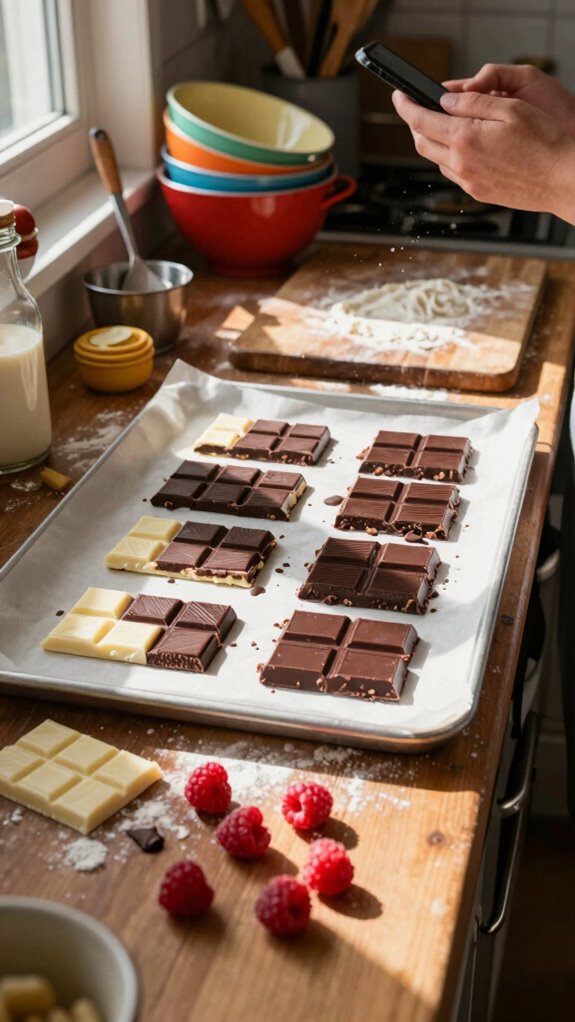
1. Mise en Place: Gather all ingredients including flour, sugar, baking powder, baking soda, salt, butter, eggs, vanilla extract, dark chocolate, raspberries, and any additional toppings. Ensure all dry ingredients are measured accurately using measuring cups and spoons.
2. Preheat the Oven: Preheat your oven to 180°C (350°F), positioning the rack in the center. If using a convection oven, set it to 165°C (325°F).
3. Prepare Baking Sheets: Line two baking sheets (approximately 43 cm x 30 cm or 17 in x 12 in each) with parchment paper or silicone mats to prevent sticking.
4. Cream Butter and Sugar: In a large mixing bowl, add 115 g (½ cup) of unsalted butter and 100 g (½ cup) of granulated sugar.
Using a stand mixer or hand mixer, cream on medium speed for 2-3 minutes until the mixture is light and fluffy.
5. Incorporate Eggs and Vanilla: Add 1 large egg and 5 ml (1 tsp) of vanilla extract to the creamed mixture.
Mix on low speed until just combined.
6. Combine Dry Ingredients: In a separate medium mixing bowl, whisk together 190 g (1½ cups) of all-purpose flour, 5 g (1 tsp) of baking powder, 5 g (1 tsp) of baking soda, and 2 g (½ tsp) of salt until well blended.
7. Blend Wet and Dry Mixes: Gradually add the dry ingredients to the wet mixture, mixing on low speed until just combined.
Don’t overmix; the dough should be soft and slightly sticky.
8. Add Chocolate and Raspberries: Fold in 150 g (5.3 oz) of chopped dark chocolate and 100 g (¾ cup) of fresh raspberries using a rubber spatula until evenly distributed.
9. Portion Cookies: Using a cookie scoop or spoon, drop 30 g (about 2 tablespoons) of dough onto the prepared baking sheets, leaving 5 cm (2 in) of space between each cookie.
10. Bake Cookies: Place the baking sheets in the preheated oven on the center rack.
Bake for 10-12 minutes until the edges are golden and the middles appear set but slightly soft.
11. Cool Cookies: Remove the baking sheets from the oven and allow the cookies to cool on the baking sheet for 5 minutes.
Then transfer them to a cooling rack to cool completely.
12. Check Doneness: The cookies should appear slightly crisp on the edges and soft in the center.
Allow them to rest for additional flavor development and carryover cooking before serving.
Variations
- Peanut Butter Chocolate Bark: Substitute half of the butter with 115 g (½ cup) of peanut butter for a nutty flavor infusion.
- Gluten-Free Delight: Use 190 g (1½ cups) of gluten-free all-purpose flour instead of regular flour to cater to gluten-free diets.
- Vegan Chocolate Raspberry Cookies: Replace butter with 115 g (½ cup) of coconut oil and use flax eggs (1 tbsp ground flaxseed mixed with 3 tbsp water) for an egg substitute.
- Minty Chocolate Bark: Add 5 ml (1 tsp) of peppermint extract to the wet ingredients for a refreshing mint flavor twist.
- Coconut Macadamia Version: Incorporate 100 g (¾ cup) of chopped macadamia nuts and 50 g (½ cup) of shredded coconut for a tropical flair.
- Autumn Spiced Cookies: Add 5 g (1 tsp) of cinnamon and a pinch of nutmeg to the dry ingredients for a warm and cozy seasonal touch.
- White Chocolate Raspberry Bark: Swap out dark chocolate for 150 g (5.3 oz) of white chocolate chips for a sweeter variation.
- Air Fryer Cookies: Cook the cookie dough in an air fryer at 180°C (350°F) for 8-10 minutes for a quick and healthier cooking method.
Tips on plating and presentation
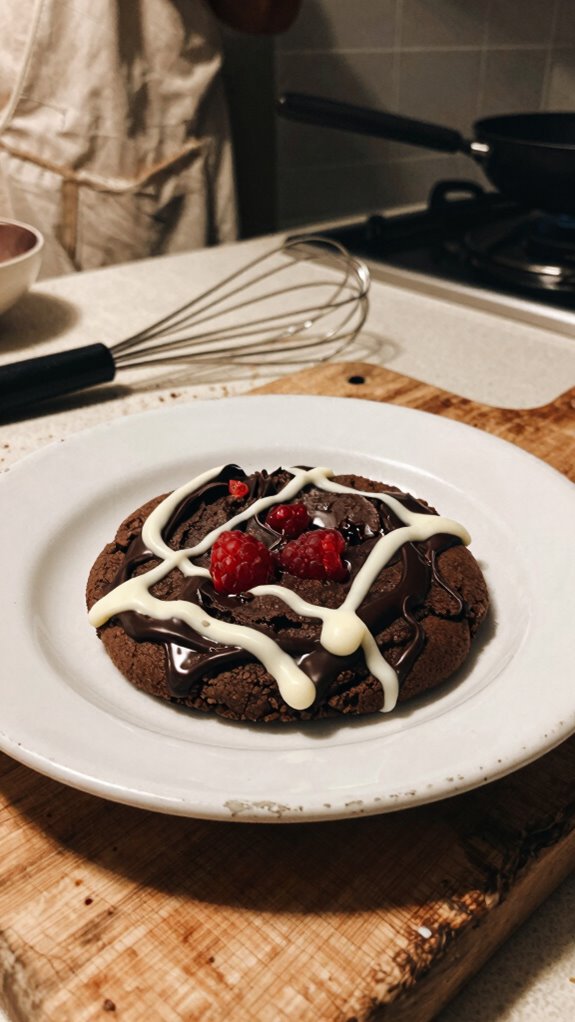
For an appealing presentation of your Dark Chocolate Raspberry Bark Cookies, I recommend using a few simple techniques to elevate the dish visually.
Start by arranging them on a vibrant plate to contrast with the cookies’ dark tones. Use edible flowers or fresh raspberries for color accents, and consider stacking a couple for height.
These plating techniques and presentation tips will surely impress your guests!
What other dishes can I pair it with?
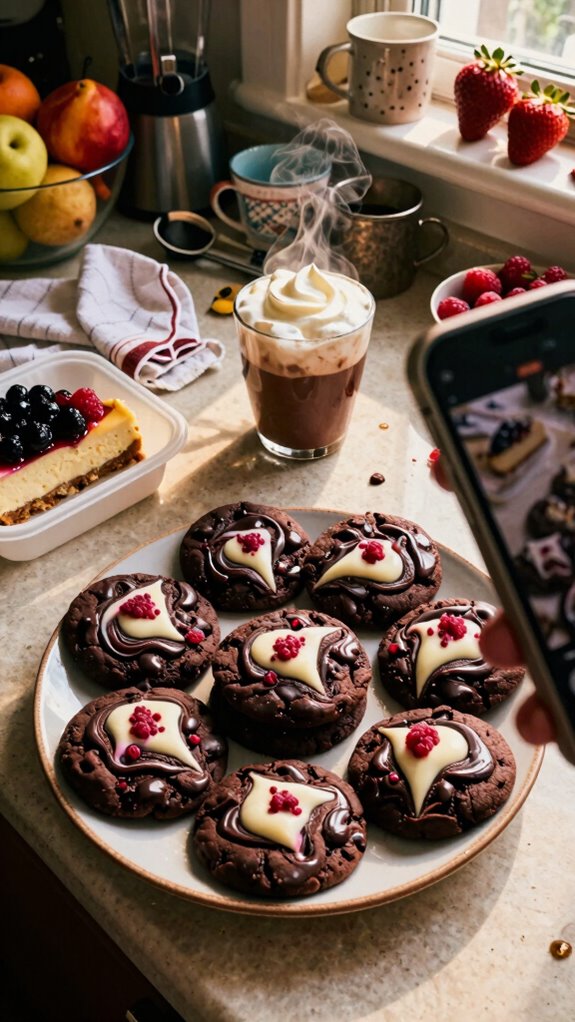
After your beautifully plated Dark Chocolate Raspberry Bark Cookies have dazzled your guests, consider rounding out the experience with some delightful pairings.
I love combining them with creamy vanilla ice cream for a rich contrast.
You might also try serving them alongside tangy lemon bars; the flavor contrasts are fabulous.
These dessert pairings elevate your treat, making the entire experience unforgettable!
What drinks can I pair it with?
What’s the best way to enhance the rich flavors of Dark Chocolate Raspberry Bark Cookies? I love pairing them with a full-bodied red wine, like a Cabernet Sauvignon, which complements the chocolate pairings perfectly.
Alternatively, a smooth raspberry lemonade can contrast beautifully with the chocolate’s richness, highlighting its flavor profiles. Each sip elevates the experience, creating a delightful harmony you won’t want to miss.
Frequently Asked Questions
Can I Use Milk Chocolate Instead of Dark Chocolate?
You can definitely use milk chocolate instead of dark chocolate! I love its creaminess and the way it creates flavor contrasts. Plus, milk chocolate’s benefits include being sweeter and more approachable for many folks.
How Should I Store Leftover Cookie Bark?
I store leftover cookie bark in an airtight container to keep it fresh. I also make sure to place it in a cool place, avoiding heat, so it stays delicious for longer.
Is This Recipe Suitable for Vegan Diets?
This recipe isn’t vegan, but I’ve used ingredient substitutes like dairy-free chocolate and coconut cream before. If you switch to those vegan alternatives, you’ll create a delicious, plant-based treat everyone can enjoy!
Can I Add Nuts or Other Toppings?
Absolutely! I love adding nut combinations or alternative toppings to my creations. Experimenting with almonds, walnuts, or even dried fruits really enhances the flavor and texture. Just mix and match to find your perfect topping!
How Long Does the Cookie Bark Stay Fresh?
I’ve found that if you store cookie bark properly, it’s good for about two weeks. For optimal cookie preservation, keep it in an airtight container away from heat to extend its shelf life.