I’ve always found joy in baking, but there’s something special about Dark Chocolate Mexican Wedding Cookies. Their buttery texture and rich chocolate flavor create a perfect balance that’s hard to resist. Plus, the addition of chopped nuts adds an unexpected crunch. If you’re looking to impress at your next gathering or simply want a treat for yourself, these cookies might be just what you need. Let’s explore the details and see how you can make this indulgent delight.
What kind of recipe is it?
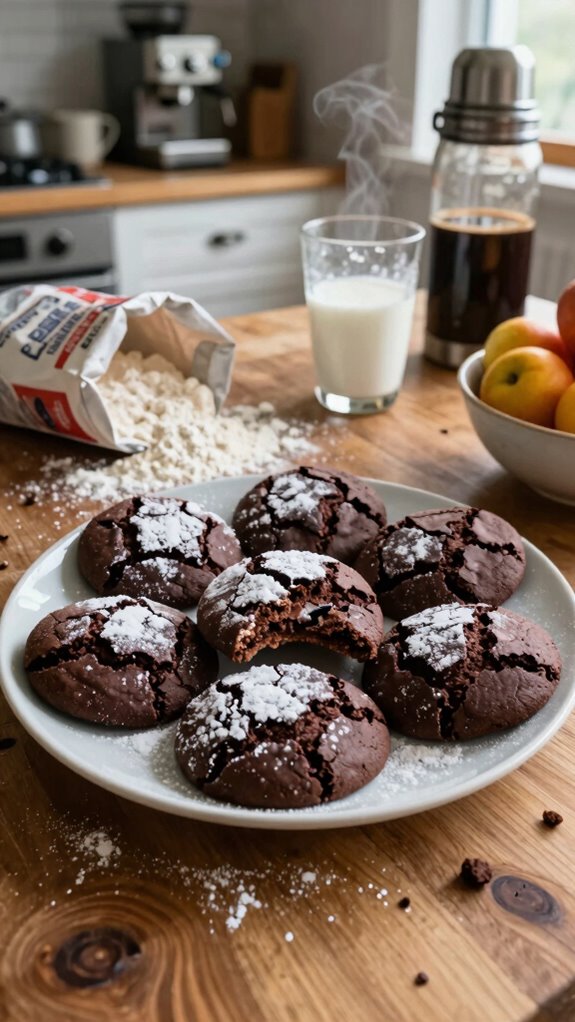
Dark Chocolate Mexican Wedding Cookies are a delightful twist on a classic treat, merging rich dark chocolate with traditional buttery, crumbly cookie goodness.
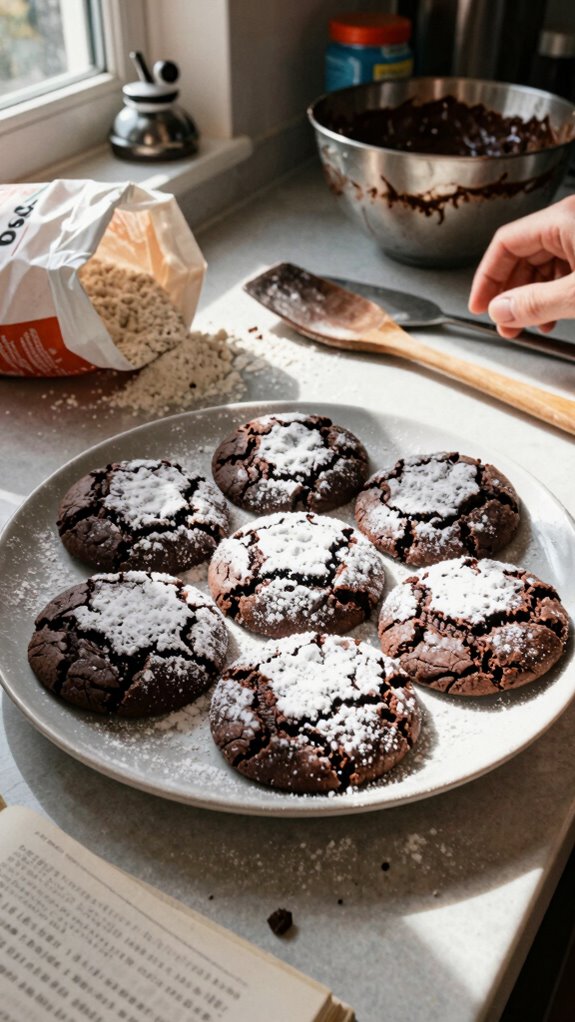
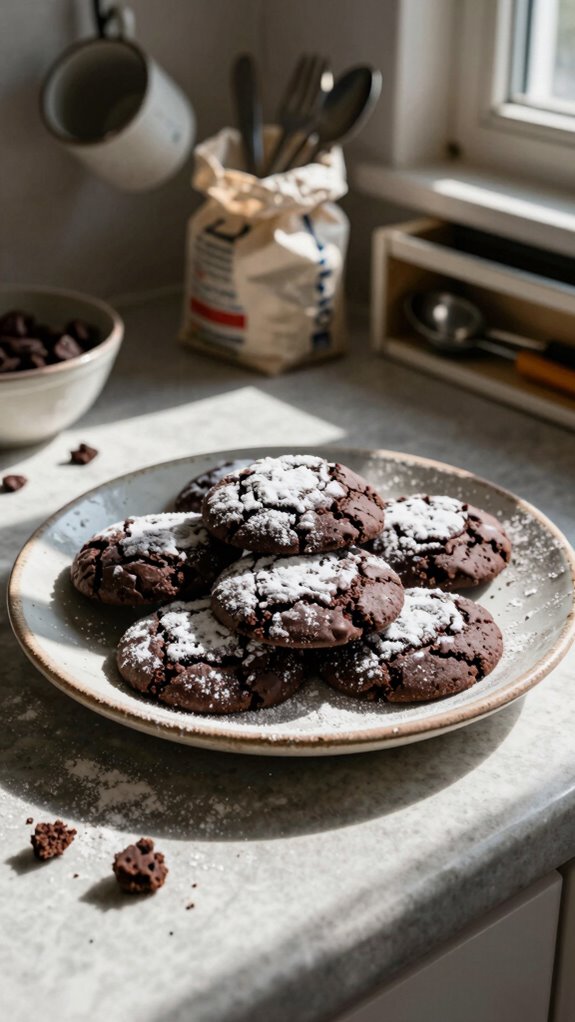
These delectable confections are characterized by their delicate texture and dusting of powdered sugar, making them both visually appealing and irresistibly tasty.
Ideal for festive occasions or as a cozy treat at home, they cater to chocolate lovers and anyone looking to impress guests with a unique dessert.
Cook these cookies to savor the fusion of flavors or share the joy during celebrations!
Preparation Time
| Recipe Detail | Information |
|---|---|
| Difficulty of the Recipe | Easy |
| Preparation Time | 20 minutes |
| Number of Servings | Approximately 24 cookies |
Ingredients
| Ingredient | Quantity |
|---|---|
| Dark chocolate chips | 1 cup (about 6 ounces) |
| Unsalted butter | ½ cup (1 stick), softened |
| Powdered sugar | ¾ cup |
| All-purpose flour | 1 ¾ cups |
| Pecans or walnuts (chopped) | 1 cup |
| Salt | ¼ teaspoon |
| Vanilla extract | 1 teaspoon |
| Ground cinnamon | ½ teaspoon |
| Baking powder | ½ teaspoon |
| Additional powdered sugar (for dusting) | ½ cup |
Make sure all ingredients are measured accurately to ensure the best results in your Dark Chocolate Mexican Wedding Cookies!
Essential Kitchen Equipment
| Tool/Equipment | Purpose | Alternative Option |
|---|---|---|
| Mixing Bowls (Large and Medium) | Used for combining ingredients; a larger bowl for dry ingredients, a medium bowl for wet ingredients. | Any large bowl or even a deep plate can work in a pinch. |
| Measuring Cups (Dry and Liquid) | Essential for accurately measuring flour, liquid ingredients, and sugar to ensure proper ratios in the recipe. | Use empty yogurt cups or a standard coffee cup for rough estimates (ensuring the ratios remain the same). |
| Measuring Spoons | Used for measuring smaller quantities of ingredients such as vanilla extract, baking powder, and salt. | Eye-balling with a regular spoon can work, but may alter the outcome slightly. |
| Stand Mixer or Hand Mixer | Facilitates easy mixing of butter and sugar; helps achieve a creamy texture without much effort. | A whisk or a sturdy wooden spoon can work with a bit more exertion. |
| Rubber Spatula | Ideal for scraping down the sides of bowls and ensuring all ingredients are fully mixed. | A wooden spoon can also be used to mix, though scraping may be less effective. |
| Wooden Spoon | Great for mixing heavier doughs and folding in ingredients like nuts and chocolate chips. | Any sturdy spoon will suffice, though a wooden spoon is preferable for its durability. |
| Baking Sheets (2-3) | Used for placing the cookie dough to bake in the oven; may need multiple sheets for batch baking. | If you have only one sheet, bake cookies in batches. |
| Parchment Paper or Silicone Mats | Prevents sticking and allows for easy removal of cookies from the baking sheet. | Grease the baking sheet lightly if parchment or silicone is unavailable. |
| Cookie Scoop or Spoon | Helps to portion out uniform cookie sizes for even baking. | A regular spoon can be used, just be mindful of cookie size consistency. |
| Cooling Rack | Allows cookies to cool evenly without getting soggy on the bottom. | A plate can be used to cool cookies, but flipping them may be necessary to prevent sogginess. |
| Oven Thermometer | Ensures the oven is at the right temperature for baking, preventing over or under-baked cookies. | If unavailable, preheat the oven and use an oven safe food thermocouple to check temperature. |
These essential kitchen tools are important for achieving the best results in your Dark Chocolate Mexican Wedding Cookies, but budget-friendly alternatives can be used to get the job done effectively!
Cooking Steps
1. Mise en Place: Gather all ingredients: 160 g (1 ¼ cups) all-purpose flour, 80 g (⅓ cup) powdered sugar, 60 g (½ cup) unsweetened cocoa powder, 120 g (½ cup) unsalted butter (softened), 1 tsp vanilla extract, and a pinch of salt. Pre-measure ingredients for efficiency.
2. Preheat Oven: Preheat your oven to 175 °C (350 °F) and position the oven rack in the middle. If using a convection oven, adjust the temperature to 160 °C (320 °F).
3. Prepare Baking Sheets: Line two baking sheets with parchment paper or silicone mats to prevent sticking. Set aside for later use.
4. Mix Dry Ingredients: In a large mixing bowl, sift together 160 g (1 ¼ cups) all-purpose flour, 80 g (⅓ cup) powdered sugar, 60 g (½ cup) unsweetened cocoa powder, and a pinch of salt. Whisk until ingredients are well combined and evenly mixed.
5. Cream Butter and Sugar: In a medium mixing bowl, use a stand mixer or hand mixer on medium speed to combine 120 g (½ cup) softened unsalted butter and 60 g (½ cup) powdered sugar until light and fluffy, about 2-3 minutes.
When finished, scrape down the bowl to ensure even mixing.
6. Add Liquid Ingredients: Add 1 tsp vanilla extract to the butter-sugar mixture and mix just until incorporated.
7. Combine Mixtures: Gradually add the dry mixture to the creamed butter and sugar. Mix on low speed until the dough comes together, about 1-2 minutes. The texture should be soft but not sticky.
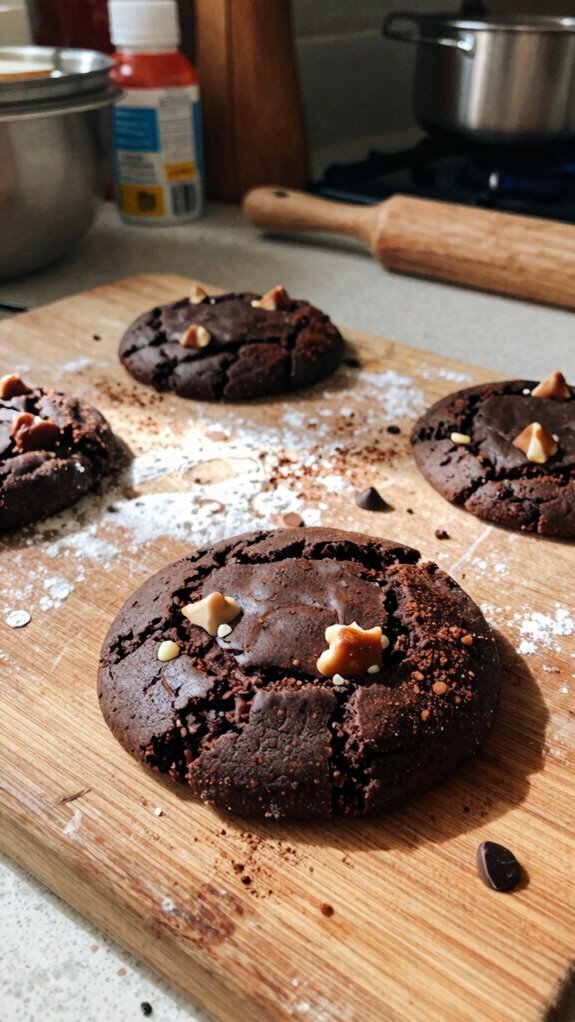
8. Scoop Dough: Using a cookie scoop or a regular spoon, portion out about 30 g (2 tablespoons) of dough for each cookie. Place them spaced 5 cm (2 inches) apart on the prepared baking sheets.
9. Bake Cookies: Place the baking sheets in the preheated oven and bake for 12-15 minutes, until the edges are set and the tops appear slightly cracked.
The cookies shouldn’t brown excessively; they should remain soft.
10. Cool Cookies: Once baked, remove the baking sheets from the oven and let the cookies cool on the sheets for 5 minutes.
Then transfer them to a cooling rack using a spatula and cool for at least 20 minutes.
11. Check Cookie Doneness: Cookies should be soft to the touch but firm at the edges. They’ll continue to set as they cool. Enjoy the rich aroma of chocolate as they cool and set.
Remember to clean your tools and workspace while waiting for the cookies to cool, ensuring everything is tidy for any future baking endeavors.
Variations
- Spiced Cocoa: Add 1 tsp ground cinnamon and a pinch of cayenne pepper for a warm, spicy kick.
- Nutty Delight: Incorporate 75 g (½ cup) finely chopped nuts (hazelnuts or walnuts) into the dough for added texture and flavor.
- Dairy-Free: Substitute 120 g (½ cup) unsalted butter with 120 g (½ cup) coconut oil to make the cookies dairy-free.
- Vegan Version: Use 120 g (½ cup) coconut oil and substitute 1 tsp vanilla extract with 1 tbsp flaxseed meal mixed with 2.5 tbsp water for a vegan option.
- Gluten-Free: Replace all-purpose flour with 160 g (1 ¼ cups) gluten-free all-purpose flour blend for a gluten-free treat.
- Mint Chocolate: Add ½ tsp peppermint extract to the mixture and mix in 30 g (1 oz) of crushed peppermint candies before baking for a refreshing twist.
- Seasonal Pumpkin: Substitute 60 g (½ cup) of cocoa powder with 60 g (½ cup) pumpkin puree and add 1 tsp pumpkin spice for a fall-themed cookie.
- No-Bake Option: Create a no-bake version by combining all ingredients and chilling the dough, then rolling into balls and coating in powdered sugar.
Tips on plating and presentation
After exploring the delightful variations of Dark Chocolate Mexican Wedding Cookies, let’s focus on how to beautifully present them.
I recommend using minimalist plating techniques, like a simple white plate to emphasize the cookies. Consider dusting them with powdered sugar for contrast.
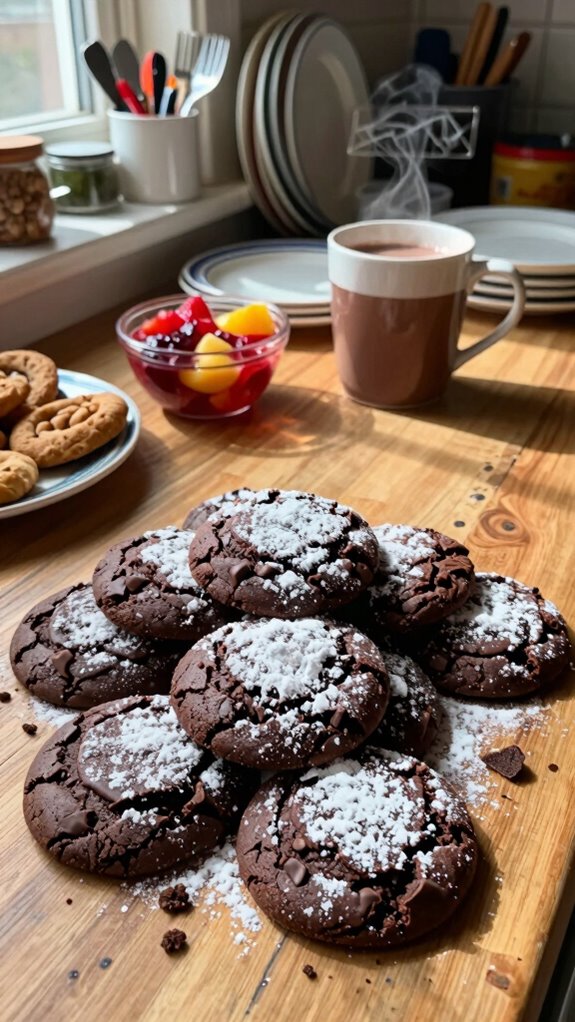
For presentation styles, arrange the cookies in a cluster or tiered display, adding a sprig of mint for a pop of color.
What other dishes can I pair it with?
What should I serve alongside Dark Chocolate Mexican Wedding Cookies to create a delightful dessert experience?
I recommend pairing them with a light, tangy citrus tart, offering refreshing flavor contrasts.
Alternatively, a rich vanilla panna cotta complements the deep chocolate perfectly.
Think about a scoop of creamy vanilla ice cream too; these dessert pairings enhance the cookie’s flavor and bring balance to the overall experience.
What drinks can I pair it with?
Have you ever thought about how the right drinks can elevate your experience of Dark Chocolate Mexican Wedding Cookies?
I love pairing these cookies with a rich red wine, like a Malbec, which complements the chocolate’s depth.
For coffee choices, a smooth espresso or a spiced mocha enhances the flavors beautifully.
Both options create a delightful balance you won’t want to miss!
Frequently Asked Questions
Can I Use Different Types of Flour for This Recipe?
Absolutely, I’ve experimented with alternative flours in my baking. You’ll want to adjust the liquid slightly since they behave differently. Just remember, some flours can alter the texture, so keep that in mind! Happy baking!
How Should I Store Leftover Cookies?
To store leftover cookies, I use a proper container with an airtight seal. Keeping them in a cool temperature helps maintain their texture and flavor, ensuring they stay delicious for longer. Enjoy those treats!
Is It Possible to Make These Cookies Gluten-Free?
Absolutely, I’ve found that using gluten substitutes like almond flour or oat flour can work wonders. Just remember, you might need to adjust the ratios to keep your cookie texture perfect and delightful.
How Long Do These Cookies Last After Baking?
After baking, I find these cookies maintain their freshness for about a week if stored properly. For optimal shelf life, keep them in an airtight container at room temperature, away from direct sunlight.
Do These Cookies Freeze Well?
Absolutely, these cookies freeze well! I use these freezing tips: wrap them tightly in plastic and place inside an airtight container. This ensures texture preservation, so they’ll taste fresh when you’re ready to enjoy them.