I’ve been experimenting with a twist on the classic snickerdoodle cookie, and I think you’ll appreciate the addition of brown butter. It adds a nutty richness that takes these cookies to another level. Plus, the warm cinnamon sugar coating is hard to resist. If you’re curious about how to recreate this delightful treat, let’s explore the steps and ingredients together. You might just find your new favorite cookie.
What kind of recipe is it?
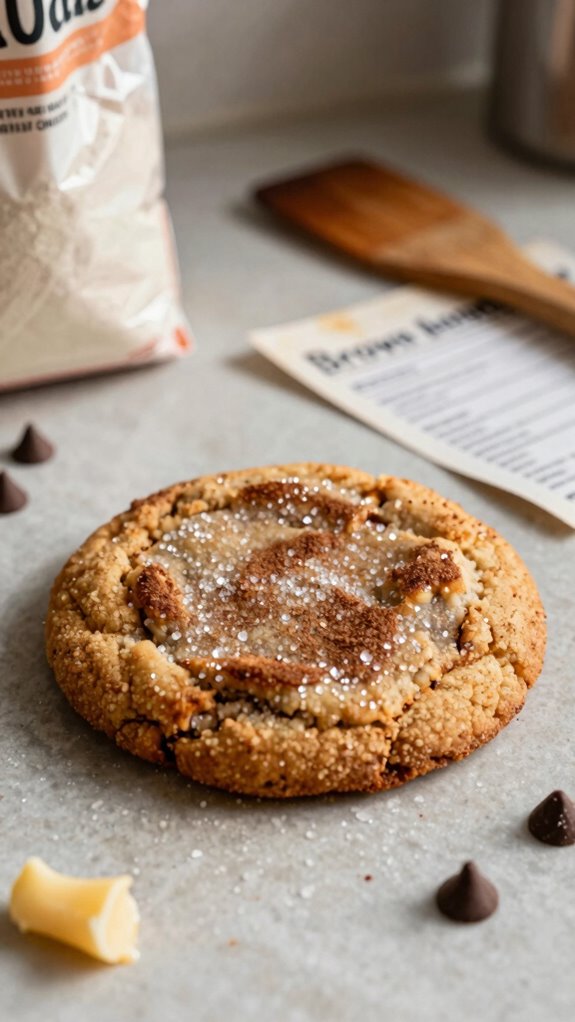
The Brown Butter Snickerdoodle Cookie is a delightful twist on the classic snickerdoodle, featuring the rich, nutty flavor of browned butter that elevates its taste profile.
These soft, chewy cookies are rolled in cinnamon sugar, adding a perfect balance of sweetness and spice.
Ideal for cookie lovers and baking enthusiasts, this recipe is perfect for sharing at gatherings, holidays, or simply enjoying on a cozy afternoon.
The unique flavor and comforting texture make it a must-try treat for anyone seeking a nostalgic yet gourmet dessert experience.
Preparation Time
| Aspect | Details |
|---|---|
| Difficulty of the Recipe | Intermediate |
| Preparation Time | 30 minutes |
| Number of Servings | 24 cookies |
Ingredients
| Ingredient | Quantity |
|---|---|
| Unsalted butter | 1 cup (2 sticks) |
| Granulated sugar | 1 cup + 2 tablespoons |
| Brown sugar | 1/2 cup |
| Large eggs | 2 |
| All-purpose flour | 2 3/4 cups |
| Baking soda | 1 teaspoon |
| Cream of tartar | 1 teaspoon |
| Salt | 1/2 teaspoon |
| Ground cinnamon | 1 tablespoon |
| Granulated sugar (for rolling) | 1/4 cup |
| Ground cinnamon (for rolling) | 2 teaspoons |
Essential Kitchen Equipment
| Tool/Equipment | Purpose | Alternative Option |
|---|---|---|
| Mixing Bowls (Large & Medium) | Used for combining ingredients and mixing dough. A large bowl is essential for the dough, while a medium bowl can be used for mixing rolling ingredients. | Any large and medium-sized bowl you have at home, like a salad bowl and a small mixing bowl. |
| Measuring Cups (Dry & Liquid) | Essential for accurately measuring ingredients like flour, sugar, and liquid ingredients (e.g., eggs). Proper measurements ensure the right cookie texture. | Use a kitchen scale for dry ingredients if you’re familiar with weight measurements. |
| Measuring Spoons | Needed for measuring small amounts of ingredients, such as baking soda, salt, and spices. | Any small spoon can work, but be consistent with the spoon size you choose. |
| Stand Mixer or Hand Mixer | Aids in creaming butter and sugars together, making it easier to achieve a smooth batter. A hand mixer is more budget-friendly. | Mixing by hand with a wooden spoon or whisk, though it may take more effort. |
| Rubber Spatula | Used for scraping down the sides of bowls to ensure all ingredients are fully incorporated and for folding in flour. | A silicone spatula can also work well if available. |
| Wooden Spoon | Helpful for mixing and combining ingredients by hand, especially the dough. | Any sturdy spatula or even a whisk can serve as an alternative. |
| Baking Sheets (2-3) | Provides a sturdy base for baking cookies while allowing even heat distribution. It’s ideal to have multiple sheets for batch baking. | Any flat oven-safe tray can be used as a baking sheet, but ensure it’s not too small. |
| Parchment Paper or Silicone Mats | Prevents cookies from sticking to the baking sheets and makes cleanup easier. Helps cookies bake evenly. | Lightly greasing the baking sheet with butter or cooking spray can serve as an alternative. |
| Cookie Scoop or Spoon | Ensures even portioning of cookie dough for uniform size and even baking. | Two spoons can be used to scoop dough, but a cookie scoop is more efficient. |
| Cooling Rack | Allows cookies to cool evenly after baking, preventing them from becoming soggy on the bottom. | A large plate can be used, but cooling racks provide better air circulation. |
| Oven Thermometer | Ensures your oven is at the correct temperature for baking, which is crucial for cookie texture. | If unavailable, preheating your oven according to a reliable guide may suffice. |
This table provides an overview of the essential equipment needed for making Brown Butter Snickerdoodle Cookies and offers budget-friendly alternatives to help you prepare effectively.
Cooking Steps
1. Begin with mise en place: measure 240 g (2 cups) all-purpose flour, 5 g (1 teaspoon) baking soda, 5 g (1 teaspoon) cream of tartar, and 2 g (1/2 teaspoon) salt into a medium bowl. Set aside.
2. In a large mixing bowl, combine 170 g (3/4 cup) unsalted butter in a medium saucepan over medium heat (around 175 °C/350 °F) until melted.
Continue cooking, stirring frequently, until the butter turns a golden brown and develops a nutty aroma, about 5-7 minutes. Remove from heat and let cool slightly.
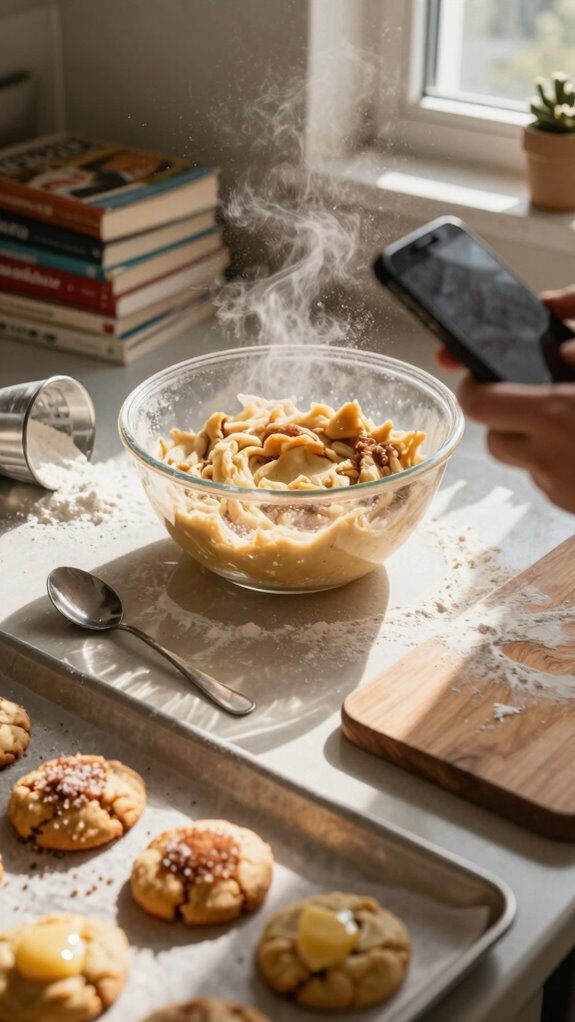
3. To the same mixing bowl with the browned butter, add 200 g (1 cup) granulated sugar and 100 g (1/2 cup) packed brown sugar.
Using a stand mixer with a paddle attachment or a hand mixer, beat at medium speed until creamy and well combined, about 2 minutes.
4. Add 1 large egg and 1 teaspoon vanilla extract to the bowl.
Continue mixing on medium speed until fully incorporated, about 1 minute.
5. Gradually add the flour mixture from step 1 to the wet ingredients.
Using a rubber spatula or wooden spoon, mix just until a soft dough forms; avoid overmixing.
6. Chill the dough in the refrigerator for at least 30 minutes to help firm up the texture, which will result in better shape during baking.
7. Preheat the oven to 180 °C (350 °F), positioning the racks in the center.
Line 2 baking sheets with parchment paper or silicone mats.
8. Once the dough is chilled, use a cookie scoop or spoon to portion out about 30 g (2 tablespoons) of dough for each cookie; roll them into balls.
Place onto the prepared baking sheets, spacing them about 5 cm (2 inches) apart.
9. In a small bowl, combine 50 g (1/4 cup) granulated sugar and 5 g (1 teaspoon) ground cinnamon.
Roll each cookie ball in the cinnamon-sugar mixture to coat.
10. Bake the cookies on the center rack for 10-12 minutes, or until the edges are lightly golden and the centers look set but still soft.
The cookies should have a slightly puffy appearance.
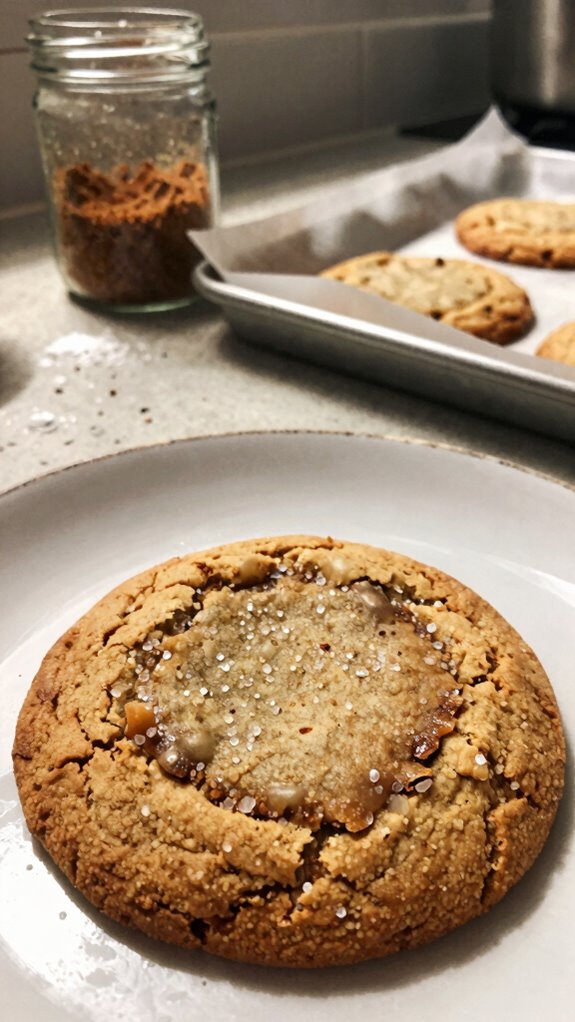
11. Remove the baking sheets from the oven and let the cookies cool on the sheets for 5 minutes before transferring them to a cooling rack to cool completely.
The cookies will firm up as they cool.
12. Allow the cookies to rest at room temperature for at least 10 minutes before serving to let the flavors develop further.
For the best flavor and texture, enjoy the cookies warm, or store them in an airtight container for up to one week.
Variations
- Pumpkin Spice Snickerdoodles: Add 120 g (1/2 cup) pure pumpkin puree and 2 g (1/2 teaspoon) pumpkin pie spice to the dough for a seasonal twist.
- Chocolate Chip Snickerdoodles: Fold in 100 g (1/2 cup) semi-sweet chocolate chips for an indulgent chocolatey variation.
- Gluten-Free Snickerdoodles: Substitute 240 g (2 cups) all-purpose flour with gluten-free flour blend to create a gluten-free version.
- Vegan Snickerdoodles: Replace the egg with 60 g (1/4 cup) unsweetened applesauce and the butter with 170 g (3/4 cup) coconut oil for a dairy-free and egg-free treat.
- Coconut Snickerdoodles: Mix in 50 g (1/2 cup) shredded unsweetened coconut into the dough for a tropical flavor.
- Chai Snickerdoodles: Incorporate 2 g (1/2 teaspoon) ground cardamom and 2 g (1/2 teaspoon) ground ginger into the cinnamon-sugar mixture for a chai-inspired flavor profile.
- Brown Butter Pecan Snickerdoodles: Add 100 g (1 cup) chopped toasted pecans into the dough for added crunch and nuttiness.
- Air Fryer Snickerdoodles: Cook the cookies in an air fryer at 160 °C (320 °F) for 8-10 minutes for a quicker and less oily baking option.
Tips on plating and presentation
Although the taste of your Brown Butter Snickerdoodle Cookies is paramount, how you present them can elevate the entire experience.
I love cookie stacking for an impressive display—start with a base layer and alternate sizes for visual interest.
To finish, I sprinkle a few decorative garnishes like cinnamon sugar or drizzles of caramel. It’s all about making those cookies irresistible!
What other dishes can I pair it with?

While your beautifully presented Brown Butter Snickerdoodle Cookies will undoubtedly steal the spotlight, they can also shine even brighter when served alongside complementary dishes.
I love pairing these cookies with a rich chocolate mousse or a tangy lemon tart for perfect dessert pairings.
These cookie desserts balance each other beautifully, enhancing the flavors and creating a delightful experience for your guests.
What drinks can I pair it with?
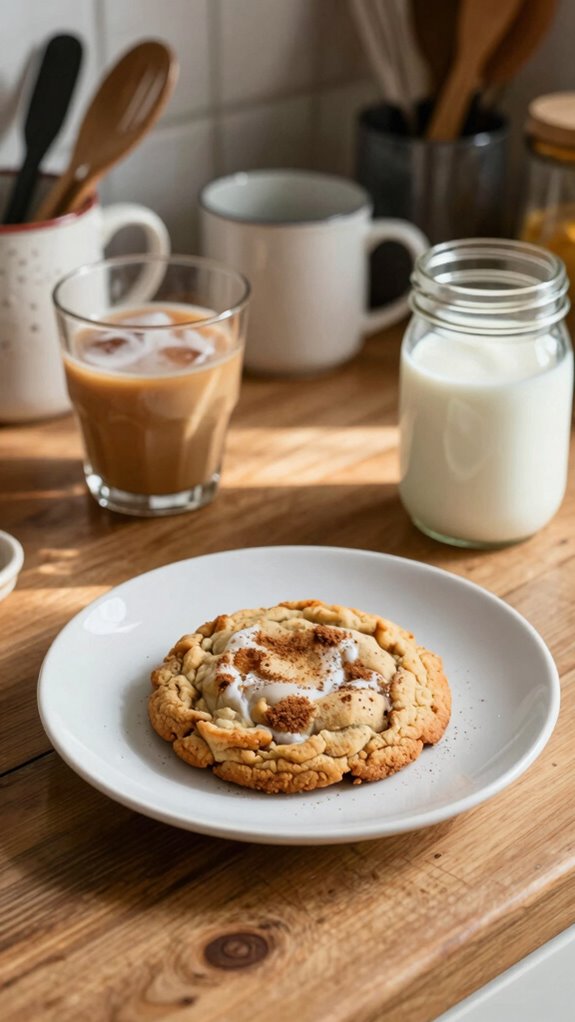
When it comes to drinks that elevate the enjoyment of Brown Butter Snickerdoodle Cookies, I often find that a glass of cold milk is a classic choice that never disappoints.
For a twist, I’ve enjoyed pairing them with a warm chai latte or a light vanilla-flavored tea. These cookie drinks create delicious flavor pairings that enhance the buttery goodness of the cookies beautifully.
Frequently Asked Questions
Can I Use Gluten-Free Flour for This Recipe?
Yes, I often use gluten-free flour for baking. It can work well, but the flour texture may differ. I recommend blending it with other gluten alternatives for better results. Experimenting’s part of the fun!
How Can I Store Leftover Cookies?
I like storing leftover cookies in an airtight container. Glass or plastic works great! Just let them cool completely first. They stay fresh longer that way, and the flavors remain delicious for days. Enjoy!
Can I Freeze Baked Snickerdoodle Cookies?
Yes, you can freeze baked snickerdoodle cookies! I wrap them tightly in plastic wrap or a freezer bag, ensuring they retain their cookie texture. Just thaw them at room temperature before enjoying. They’ll taste great!
What Causes Cookies to Spread Too Much?
Cookies spread too much due to improper ingredient ratios. I’ve found that too much fat or sugar can lead to excess spreading. Always measure carefully to keep those perfect cookie shapes during baking!
How Do I Know When the Cookies Are Done Baking?
I usually check for doneness indicators like golden edges and a slightly soft center. If they’re set but still a bit puffy, I know they’re perfect after the recommended baking time. Timing is everything!