When it comes to festive treats, I’ve found that No-Bake Reindeer Cookie Bites offer a unique twist that’s both simple and enjoyable to make. Combining peanut butter, oats, and a touch of sweetness, these bites capture the holiday spirit without the fuss of an oven. Want to learn the step-by-step process and discover how to elevate their presentation? Let’s explore the delicious details ahead.
What kind of recipe is it?
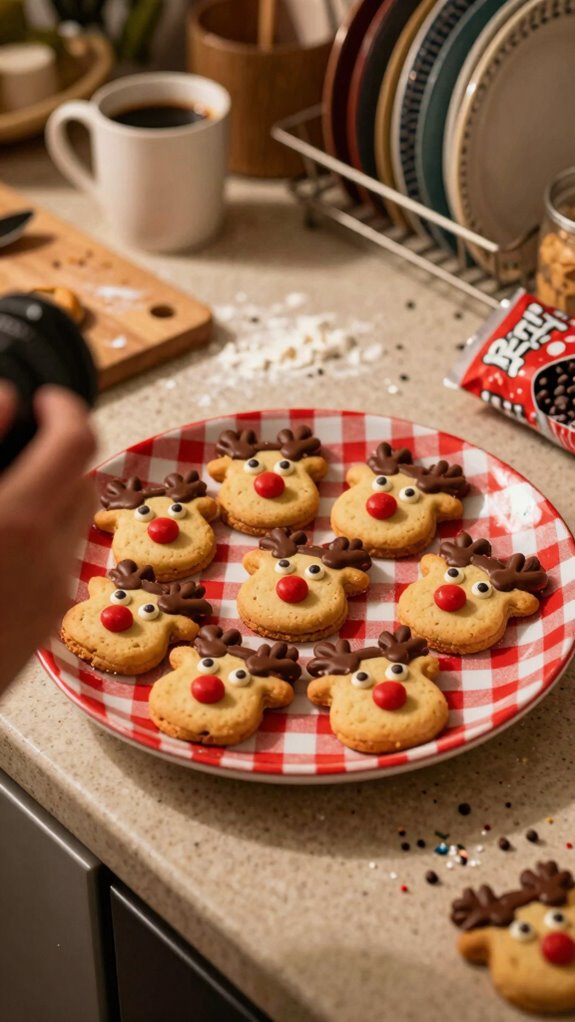
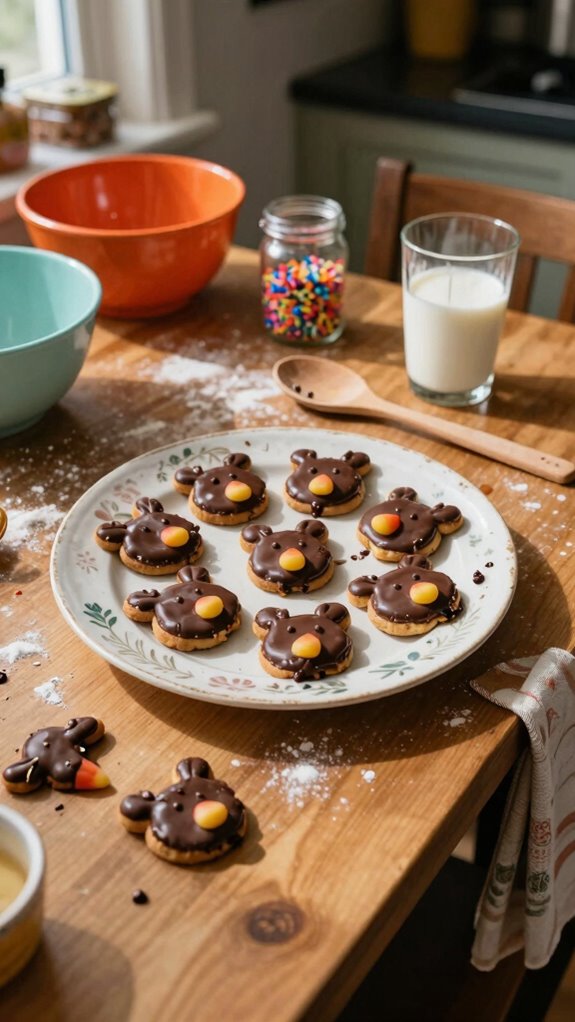
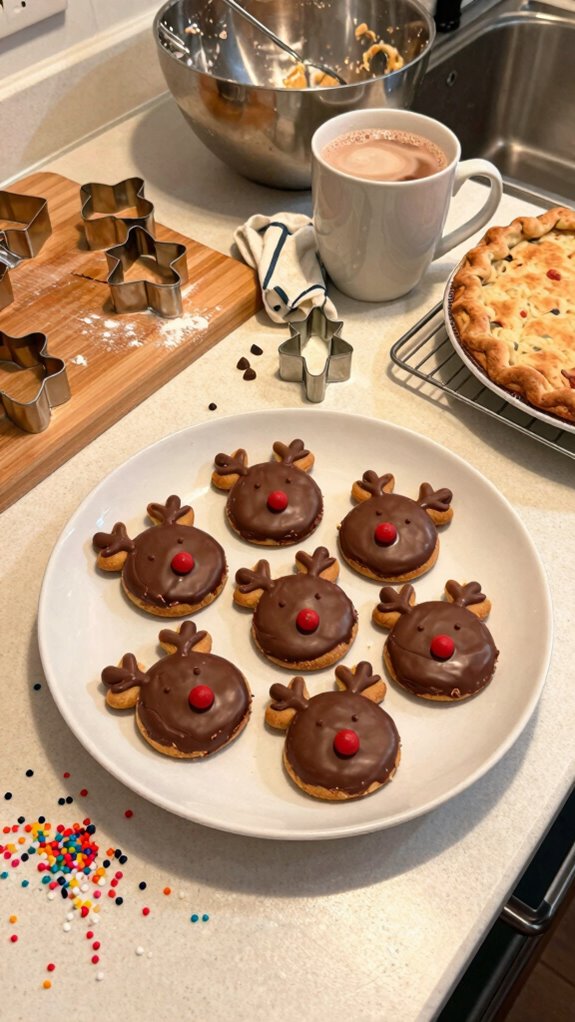
No-Bake Reindeer Cookie Bites are a fun and festive treat perfect for holiday gatherings or family activities.
These delightful little desserts combine the sweetness of chocolate, peanut butter, and oats, creating a chewy texture that kids and adults alike will love.
With no baking required, they’re quick and easy to make, making them ideal for busy schedules or last-minute party preparations.
Targeted especially at families and holiday enthusiasts, these cookie bites bring creativity and joy to your festive celebrations.
Preparation Time
| Detail | Description |
|---|---|
| Difficulty of the Recipe | Easy – This recipe is straightforward and can be made by both children and adults with minimal cooking experience. |
| Preparation Time | Approximately 30 minutes – This includes time for mixing the ingredients and shaping the cookie bites. Note that chilling time is not included, as they are ready to serve immediately after preparation. |
| Number of Servings | Makes about 24 cookie bites – Depending on the size of the bites, this recipe yields a generous quantity perfect for sharing at holiday gatherings. |
Ingredients
| Ingredient | Quantity | Description |
|---|---|---|
| Creamy Peanut Butter | 1 cup | Use a smooth variety for easy mixing and a creamy texture. |
| Rolled Oats | 2 cups | These provide texture and help bind the ingredients together. Use quick or old-fashioned oats, but avoid instant oats. |
| Honey or Maple Syrup | ½ cup | Acts as a natural sweetener and helps hold the mixture together. |
| Semi-Sweet Chocolate Chips | 1 cup | For dipping the cookie bites, enhancing flavor and adding a festive touch. |
| Mini Pretzels | 24 pieces | These are used for the reindeer antlers. You’ll need one for each cookie bite. |
| Red Candy or M&M’s | 24 pieces | These will serve as the noses, giving the reindeer a cute appearance. Choose red-colored candies for a classic look. |
| Mini Marshmallows | 24 pieces | These can be used as the eyes for the reindeer, adding a fun touch. |
This table provides an outline of all the ingredients required, along with the specifics of their quantities and a brief description of their purpose in the recipe.
Essential Kitchen Equipment
| Tool/Equipment | Purpose | Alternative Option |
|---|---|---|
| Large Mixing Bowl | For combining the creamy peanut butter, oats, and sweetener to form the cookie mixture. | Any large bowl can work, like a salad bowl. |
| Medium Mixing Bowl | For mixing smaller quantities, such as melted chocolate for dipping. | Any medium bowl or a large measuring cup could work. |
| Dry Measuring Cups | To accurately measure out dry ingredients like oats and peanut butter. | Use a standard cup if dry measuring cups are unavailable. |
| Liquid Measuring Cups | To accurately measure honey or maple syrup. | Any clear measuring container with marked measurements. |
| Measuring Spoons | For measuring smaller quantities of ingredients. | Use a regular spoon with approximate measurements (e.g., 1 tablespoon, 1 teaspoon). |
| Stand Mixer or Hand Mixer | To easily mix the ingredients together and ensure a thorough combination. | Mixing by hand with a wooden spoon can work, it just requires more effort. |
| Rubber Spatula | To scrape down the sides of the mixing bowl and incorporate all ingredients effectively. | A silicone or plastic spatula can serve similarly. |
| Wooden Spoon | To mix the dough by hand, especially if it becomes too thick for your mixer. | Any large spoon can work if a wooden spoon is not available. |
| Baking Sheets (2-3) | For placing the cookie bites on to set and cool after assembly. | An oven-safe tray or platter can be used in a pinch. |
| Parchment Paper or Silicone Mats | To line baking sheets, preventing sticking and making for easy cleanup. | Aluminum foil can work, though it may not prevent sticking as well. |
| Cookie Scoop or Spoon | For portioning out even amounts of the cookie mixture to ensure uniformity in size. | A tablespoon or regular spoon can be used to scoop out the dough. |
| Cooling Rack | To allow cookie bites to cool after being formed and dipped in chocolate. | A clean countertop or cutting board can be used to cool them. |
| Oven Thermometer | To ensure your oven is at the correct temperature for any required baking (if applicable). | If you don’t have one, check your oven’s manual for its accuracy. |
This table outlines the essential kitchen equipment needed for making No-Bake Reindeer Cookie Bites, along with their specific roles in the recipe, and budget-friendly alternatives when possible.
Cooking Steps
1. Prepare all ingredients by measuring out 240 ml (1 cup) of creamy peanut butter, 150 g (1½ cups) of old-fashioned oats, and 120 ml (½ cup) of honey or maple syrup.
Set aside a small bowl with 120 g (1 cup) of chocolate chips for melting later. Ensure you have all tools ready: large mixing bowl, medium mixing bowl, measuring cups, measuring spoons, and a spatula.
2. In a large mixing bowl, combine the creamy peanut butter, oats, and honey (or maple syrup). Use a stand mixer on medium speed or a hand mixer to combine the mixture for 2-3 minutes until uniform and well blended.
The mixture should be thick and slightly sticky.
3. Once the mixture is combined thoroughly, scoop out about 30 g (2 tablespoons) of the cookie mixture, rolling it into a ball with your hands.
Repeat until all the mixture is formed into balls, placing them on a baking sheet lined with parchment paper or silicone mats. Ensure the bites are evenly spaced, approximately 2.5 cm (1 inch) apart.
4. Chill the cookie bites in the refrigerator for at least 30 minutes to set.
The bites should firm up and hold their shape but remain soft to the touch.
5. While the cookie bites chill, melt the chocolate chips. Place 120 g (1 cup) of chocolate chips in a medium mixing bowl.
Microwave in 30-second intervals at medium power (50%) for about 1-2 minutes. Stir after each interval until the chocolate is smooth and glossy.
Alternatively, use a double boiler on medium heat, stirring frequently until melted and smooth.
6. Once the cookie bites have chilled, remove them from the refrigerator. Dip each cookie bite into the melted chocolate, ensuring they’re fully coated.
Use a fork to lift them out, allowing excess chocolate to drip off.
7. Place the coated cookie bites back onto the parchment-lined baking sheet.
Optionally, sprinkle a pinch of sea salt on top of each bite before the chocolate sets, adding flavor contrast.
8. Allow the chocolate to set at room temperature for about 30-60 minutes until firm.
For quicker setting, place the baking sheet in the refrigerator for 15 minutes.
9. Once the chocolate is fully set, transfer the cookie bites to a cooling rack or airtight container.
Store them in the refrigerator for up to one week or freeze for longer storage, separated with parchment paper, for up to three months.
Variations
- Cocoa Delight: Add 15 g (2 tablespoons) of unsweetened cocoa powder to the mixture for a chocolate-flavored twist.
- Nutty Protein Boost: Replace half of the peanut butter with almond butter and add 30 g (1/4 cup) of protein powder for extra protein.
- Gluten-Free Joy: Substitute the old-fashioned oats with gluten-free oats to make a gluten-free version of the cookie bites.
- Vegan Treats: Use maple syrup instead of honey and replace chocolate chips with dairy-free chocolate chips for a vegan adaptation.
- Festive Cranberry: Stir in 60 g (1/2 cup) of dried cranberries for a seasonal flavor and a hint of tartness.
- Spiced Pumpkin: Mix in 120 g (1/2 cup) of pumpkin puree and 1 teaspoon of pumpkin spice for a fall-inspired cookie bite.
- No-Bake Energy Bites: Form the mixture into more bite-sized balls (about 15 g / 1 tablespoon) and enjoy them without the chocolate coating for a healthy snack.
- Cookie Dough Flavor: Add 60 g (1/2 cup) of mini chocolate chips and a splash of vanilla extract for a cookie dough-inspired flavor.
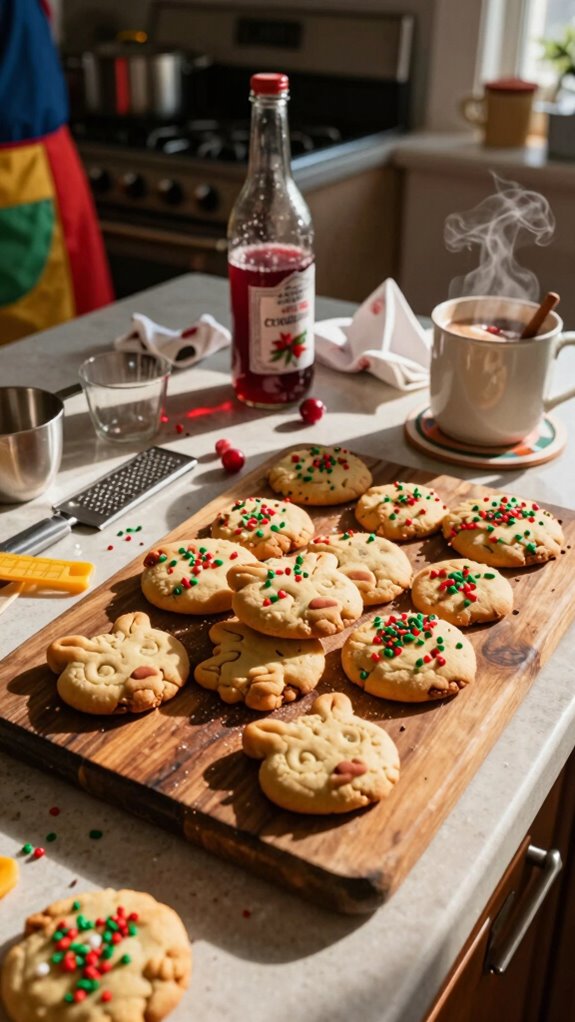
Tips on plating and presentation
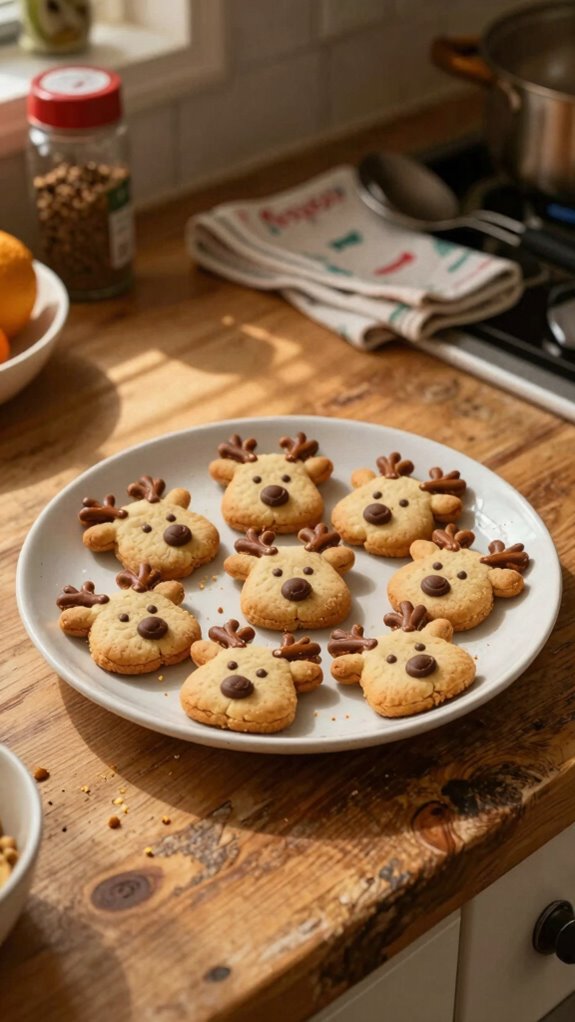
Creating an inviting presentation for your no-bake reindeer cookie bites can elevate their appeal during holiday gatherings.
I love using festive garnishes like crushed peppermint or edible glitter to add a touch of sparkle.
For serving suggestions, try arranging them on a red or green platter, and complementing with seasonal fruits or nuts.
This makes the display pop and enhances the festive spirit!
What other dishes can I pair it with?
While you might be tempted to serve your no-bake reindeer cookie bites on their own, pairing them with other festive dishes can truly enhance the holiday experience.
I love combining them with gingerbread men or peppermint bark for delightful cookie pairings. Add some cheese and crackers for a savory touch, or include fruit skewers for a colorful display of festive snacks.
What drinks can I pair it with?
When you’re looking to elevate your no-bake reindeer cookie bites with the perfect drinks, consider what flavors will complement those rich, chocolatey treats.
I love pairing them with festive beverages like spiced apple cider or a creamy peppermint hot chocolate.
For something with a kick, holiday cocktails such as chocolate martinis or eggnog work beautifully.
Enjoy your delightful snack experience!
Frequently Asked Questions
Can I Make These Cookie Bites Ahead of Time?
Yes, you can make these cookie bites ahead of time! I always prep my ingredients and store them in the refrigerator for a convenient holiday treat. It’s an easy way to get ahead during the festivities.
How Long Do Reindeer Cookie Bites Last in the Fridge?
I’ve found that cookie bites last about five to seven days in the fridge. For best quality, make sure to store them in an airtight container. Their shelf life might vary depending on ingredients used.
Are There Allergy-Friendly Options Available for This Recipe?
Yes, there’re plenty of allergy substitutions for this recipe! I’ve successfully used ingredient alternatives like nut butters, dairy-free chocolate, and gluten-free oats, making it delicious and safe for those with dietary restrictions. Give it a try!
Can I Freeze No-Bake Reindeer Cookie Bites?
Yes, I can freeze them! When I do, I use freezing tips like placing them in an airtight container. Just keep in mind, texture changes slightly after thawing, but they still taste great!
What’s the Best Way to Store These Cookie Bites?
I recommend using an airtight container for the best storage. You can layer parchment paper between cookie bites to prevent sticking. Keep them in the fridge for freshness, but I wouldn’t freeze them. Trust me!