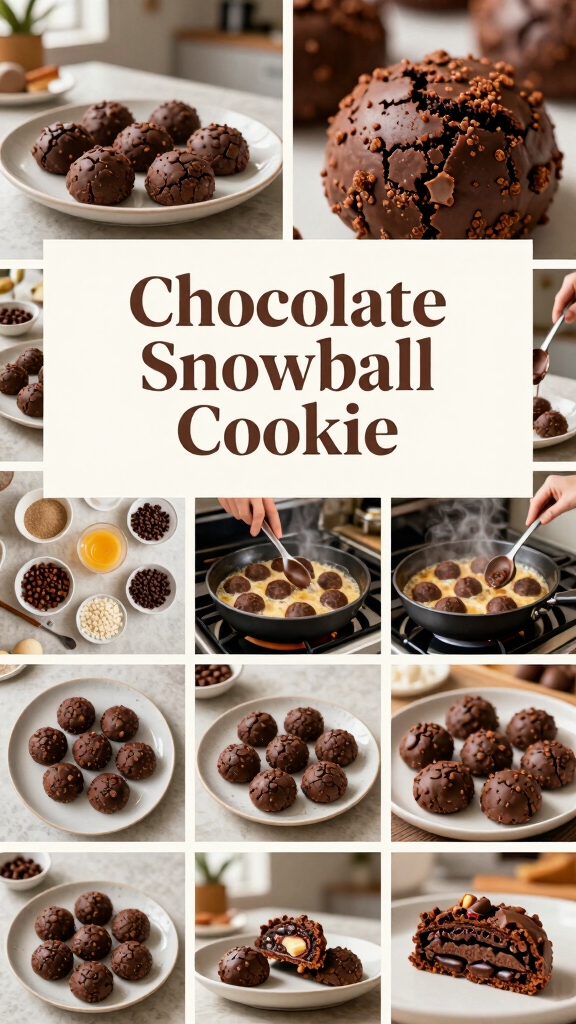
When I first encountered Chocolate Snowball Cookies, their unique appearance caught my attention. These cookies boast a rich chocolate flavor and a tender texture that’s perfect for celebrations. What I appreciate the most is how simple they are to make, yet they bring a touch of elegance to any gathering. If you’re curious about the preparation process and the ingredients needed, you’ll find it quite interesting. Let’s explore this delightful recipe together.
What kind of recipe is it?
Chocolate Snowball Cookies are delectable treats that offer a delightful combination of rich chocolate flavor and a soft, melt-in-your-mouth texture.
Coated in powdered sugar, these cookies resemble snowy orbs, making them perfect for festive occasions and holiday celebrations. Their simplicity in ingredients and preparation makes them accessible for bakers of all skill levels.
Ideal for chocolate lovers, these cookies are also great for sharing with friends and family, ensuring everyone enjoys a taste of sweet indulgence in every bite.
Preparation Time
| Description | Details |
|---|---|
| Difficulty of the Recipe | Easy |
| Preparation Time | 15 minutes |
| Number of Servings | Approximately 24 cookies |
Ingredients
| Ingredient | Quantity |
|---|---|
| All-purpose flour | 2 cups |
| Unsweetened cocoa powder | ½ cup |
| Powdered sugar | 1 cup |
| Granulated sugar | ¾ cup |
| Baking powder | 1 teaspoon |
| Salt | ½ teaspoon |
| Unsalted butter | ½ cup (1 stick), softened |
| Egg | 1 large |
| Vanilla extract | 1 teaspoon |
| Chopped nuts (optional) | ½ cup (e.g., walnuts or pecans) |
| Additional powdered sugar for rolling | As needed |
This table outlines the necessary components to successfully prepare delicious Chocolate Snowball Cookies. Adjustments can be made based on personal preferences, such as substituting nuts or using different types of sugar.
Essential Kitchen Equipment
| Tool/Equipment | Purpose | Alternative Option |
|---|---|---|
| Mixing Bowls (Large and Medium) | Used for mixing ingredients together, allows for ample space for combining and incorporating air. | Any large bowls available at home (stainless steel, glass, or plastic) can be used. |
| Measuring Cups (Dry and Liquid) | Essential for accurately measuring ingredients; dry for flour and cocoa, liquid for vanilla extract or melted butter. | A standard coffee mug or a glass measuring jug can serve as a substitute, keeping in mind that measurements may vary. |
| Measuring Spoons | Used for measuring smaller quantities of ingredients such as baking powder, sugar, and salt for precision. | Tablespoon and teaspoon from your kitchen can be used if you need to estimate the measurements. |
| Stand Mixer or Hand Mixer | Efficiently combines and aerates the cookie dough; makes the mixing process quicker and easier. | Mixing by hand with a wooden spoon can be a great workout and also works fine! |
| Rubber Spatula | Helps in scraping down the sides of the bowl and folding in ingredients without knocking out air. | A flexible plastic scraper or a wooden spoon can serve a similar purpose. |
| Wooden Spoon | Handy for mixing doughs and batters; sturdy and won’t scratch mixing bowls. | Any sturdy spoon (like a metal or silicone one) can suffice for mixing. |
| Baking Sheets (2-3) | The surface on which to place the cookies for baking; they ensure even heat distribution. | Any flat oven-safe tray or pan can be used, but avoid using aluminum foil directly on the oven. |
| Parchment Paper or Silicone Mats | Provides a non-stick surface for baking cookies, prevents sticking and makes cleanup easier. | Lightly greasing the baking sheets with a bit of butter or oil can be an alternative. |
| Cookie Scoop or Spoon | Used to portion out uniform amounts of dough, ensuring even baking and consistency in cookie size. | A regular spoon can work if you aim for the same size when scooping. |
| Cooling Rack | Allows cookies to cool evenly by providing airflow around them, preventing sogginess. | Placing cookies on the counter or using a platter can be an alternative, though they may take longer to cool. |
| Oven Thermometer | Ensures your oven is at the correct temperature for baking, which is crucial for achieving the right texture. | Familiarize yourself with your oven’s behavior, as you can gauge temperature over time. |
This table provides an overview of the essential kitchen equipment needed to successfully prepare Chocolate Snowball Cookies, along with budget-friendly alternatives for each item.
Cooking Steps

1. Mise en Place: Gather all ingredients: 240 ml (1 cup) unsalted butter, 200 g (1 cup) granulated sugar, 200 g (1 cup) brown sugar, 2 large eggs, 1 tsp vanilla extract, 120 g (1 cup) all-purpose flour, 50 g (1/2 cup) unsweetened cocoa powder, 1 tsp baking powder, 1/2 tsp salt, and powdered sugar for coating.
Pre-measure and set aside each ingredient for quick access.
2. Preheat Oven: Preheat your oven to 175 °C (350 °F) and adjust the oven rack to the center position. If using a convection setting, reduce the temperature by 15 °C (30 °F).
3. Prepare Baking Sheets****: Line 2 to 3 baking sheets with parchment paper or silicone mats to prevent sticking. Alternatively, lightly grease the baking sheets with unsalted butter.
4. Mix Wet Ingredients: In a large mixing bowl, use a stand mixer fitted with a paddle attachment or a hand mixer on medium speed to cream together 240 ml (1 cup) softened unsalted butter, 200 g (1 cup) granulated sugar, and 200 g (1 cup) brown sugar until light and fluffy, about 2-3 minutes.
5. Add Eggs and Vanilla: Add 2 large eggs, one at a time, mixing well after each addition. Incorporate 1 tsp vanilla extract, mixing until combined.
6. Combine Dry Ingredients: In a separate medium bowl, whisk together 120 g (1 cup) all-purpose flour, 50 g (1/2 cup) unsweetened cocoa powder, 1 tsp baking powder, and 1/2 tsp salt until evenly distributed.
7. Incorporate Dry Mixture: Gradually add the dry ingredient mixture to the wet ingredients, mixing on low speed or by hand with a rubber spatula until just combined. Avoid over-mixing to maintain a soft texture.
8. Chill Dough: Cover the bowl with plastic wrap and refrigerate the dough for 30 minutes. This will help the cookies maintain their shape during baking.
9. Scoop Dough: After chilling, use a cookie scoop (about 30 ml or 2 tbsp) to portion out dough onto the prepared baking sheets, spacing them about 5 cm (2 inches) apart.
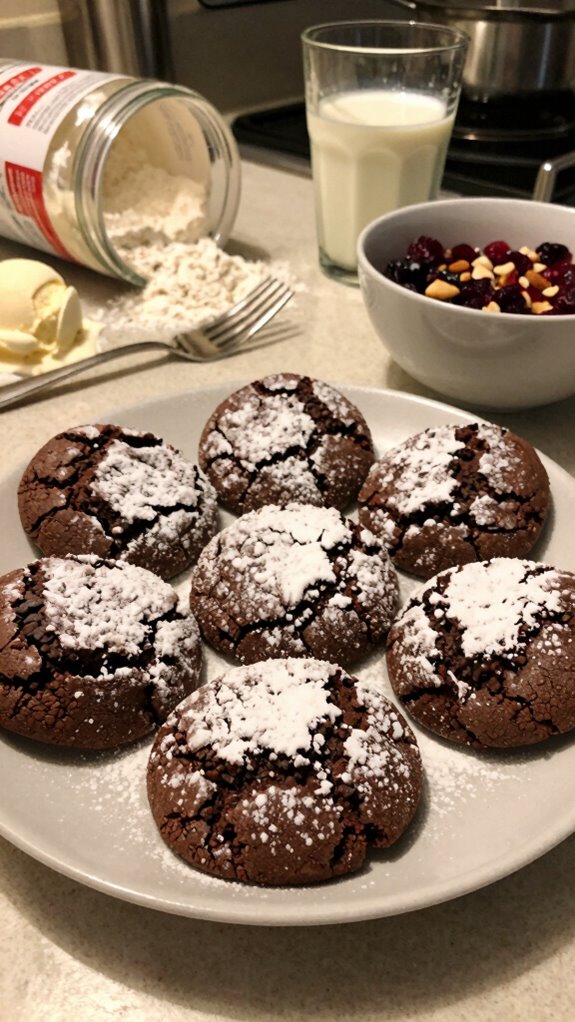
10. Bake Cookies: Place the baking sheets in the preheated oven. Bake for 10-12 minutes or until the edges are set but the centers are still slightly soft.
They should have a matte surface and a rich chocolate aroma.
11. Cooling Cookies: Once baked, remove the cookies from the oven and let them cool on the baking sheets for 5 minutes. Then, transfer to a cooling rack to cool completely.
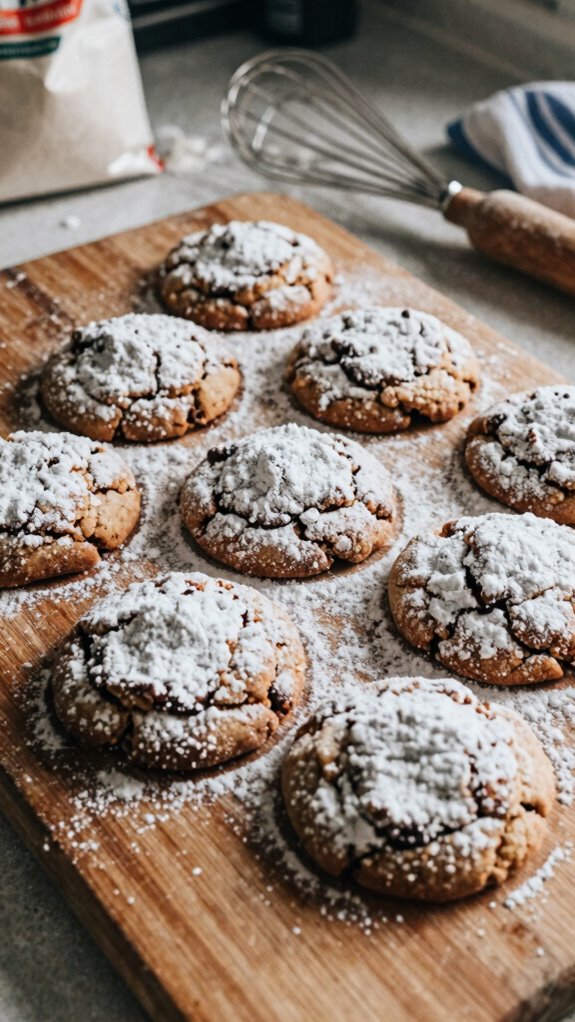
12. Coat Cookies: Once cooled, roll the cookies in powdered sugar until fully coated.
Optionally, repeat the coating for an extra snowy appearance.
13. Serve and Store: Enjoy the cookies fresh, or store them in an airtight container at room temperature for up to 5 days.
Variations
- Mint Chocolate Snowballs: Add 1 tsp peppermint extract and fold in 100 g (1 cup) chocolate chips for a refreshing minty flavor.
- Nutty Chocolate Snowballs: Incorporate 100 g (1 cup) chopped walnuts or pecans into the dough for added crunch and flavor.
- Gluten-Free Chocolate Snowballs: Substitute 120 g (1 cup) all-purpose flour with a 1:1 gluten-free flour blend to cater to gluten sensitivities.
- Dairy-Free Chocolate Snowballs: Use dairy-free butter substitutes and replace eggs with 60 ml (1/4 cup) unsweetened applesauce or a flax egg for a vegan version.
- Pumpkin Spice Chocolate Snowballs: Mix in 120 g (1/2 cup) canned pumpkin puree and add 1 tsp pumpkin spice for a seasonal twist.
- Coconut Chocolate Snowballs: Add 50 g (1/2 cup) shredded coconut and roll the baked cookies in a mixture of powdered sugar and desiccated coconut for a tropical flair.
- Spicy Chocolate Snowballs: Add a pinch of cayenne pepper or chili powder to the dry ingredients for a subtle heat that complements the chocolate.
- Air-Fryer Chocolate Snowballs: Form the dough into balls and air-fry at 160 °C (320 °F) for 8-10 minutes for a quicker cooking method.
Tips on plating and presentation
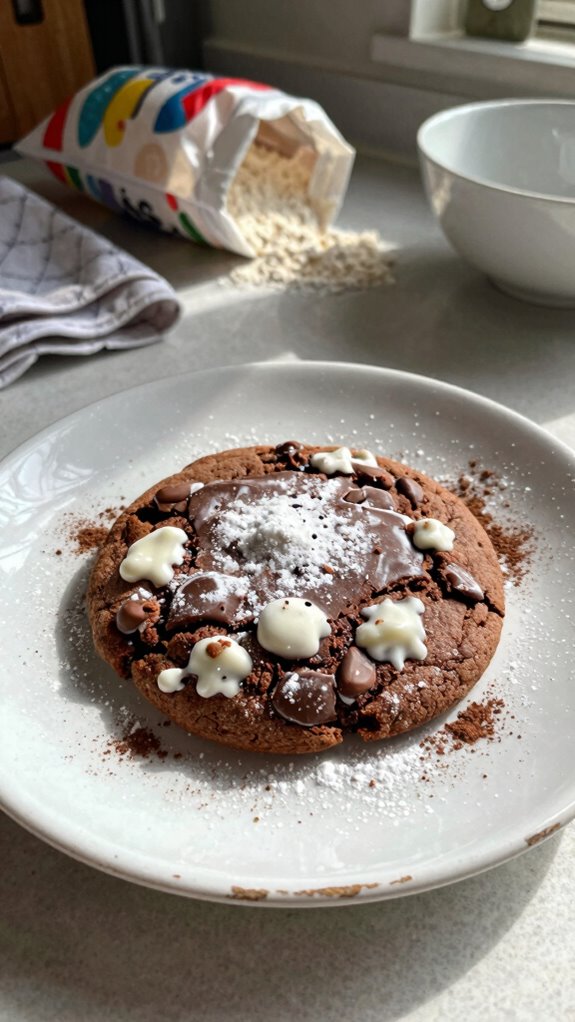
When you’ve baked a batch of delightful chocolate snowball cookies, it’s time to make them visually enticing.
I love using simple plating techniques, like stacking the cookies in a tiered arrangement, or placing them on a vibrant platter to boost their visual appeal.
A dusting of powdered sugar on top enhances their charm, making them irresistible to anyone who sees them!
What other dishes can I pair it with?
If you’re looking to create a delightful dessert spread, chocolate snowball cookies pair wonderfully with a variety of dishes.
For great cookie pairings, consider serving them alongside raspberry tarts or lemon bars.
You can also add creamy cheesecake brownies for a rich twist.
These dessert suggestions will elevate your spread and satisfy every sweet tooth at your gathering!
What drinks can I pair it with?
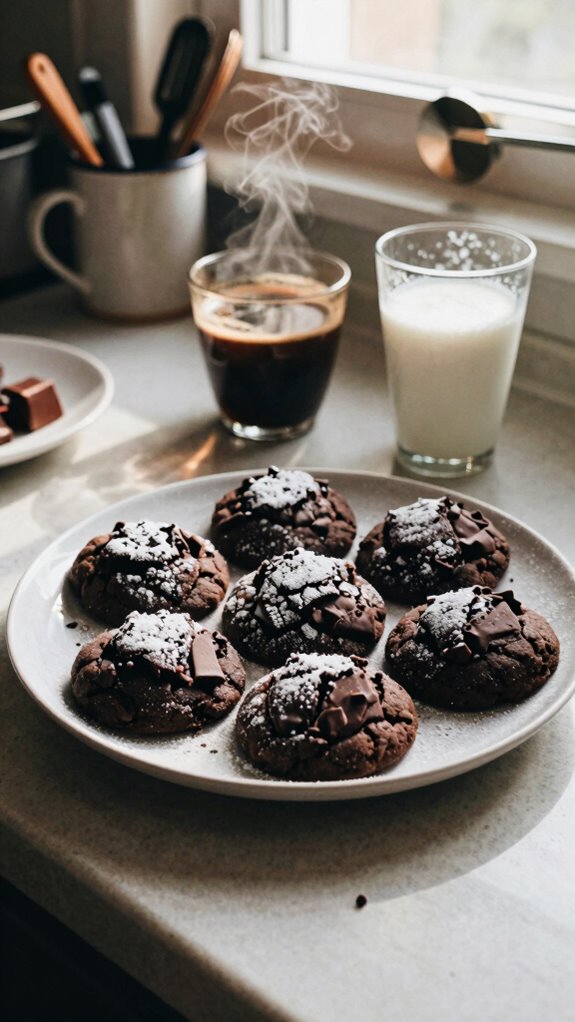
While enjoying chocolate snowball cookies, you might want to enhance the experience with a perfectly matched drink.
I love pairing these cookies with a rich hot chocolate that amplifies their sweetness.
Alternatively, a smooth coffee blend adds a delightful contrast, balancing the sweetness while enhancing the chocolate flavors.
Either option makes for a cozy, indulgent treat that’s hard to resist!
Frequently Asked Questions
Can I Freeze Chocolate Snowball Cookies for Later Consumption?
Yes, you can freeze them for later consumption! Just store them in an airtight container. When you’re ready to enjoy, let them defrost at room temperature to maintain their delicious flavor and texture.
How Long Do Chocolate Snowball Cookies Stay Fresh?
I’ve found that cookies stay fresh for about a week when stored in an airtight container at room temperature. For longer chocolate storage, consider freezing them; they’ll stay good for about three months!
Are Chocolate Snowball Cookies Gluten-Free?
Yes, chocolate snowball cookies can be gluten-free! I’ve used gluten-free substitutes like almond flour and coconut flour. These options not only taste great but also offer health benefits, making my treats a delicious choice for everyone.
Can I Substitute Chocolate in the Recipe?
Absolutely, you can substitute chocolate in the recipe! I’ve tried several chocolate alternatives, like carob and white chocolate, and they add unique flavor variations. Experimenting with these options can lead to delicious surprises in your baking!
What Is the Origin of Chocolate Snowball Cookies?
I’ve discovered that chocolate snowball cookies likely evolved from various cookie variations inspired by chocolate history, blending traditional recipes with creativity over time. The cookies celebrate rich flavors while offering delightful textures that we all enjoy.