I’ve always found joy in baking, especially when it comes to charming cookies like buttery jam thumbprints. These delightful treats, filled with apricot preserves, combine a tender texture with a burst of fruity flavor. They’re not only easy to make, but they also elevate any occasion. Let’s explore how to perfect this recipe and make your gatherings a little sweeter. You’ll want to discover the best tips and tricks to achieve the perfect cookie.
What kind of recipe is it?
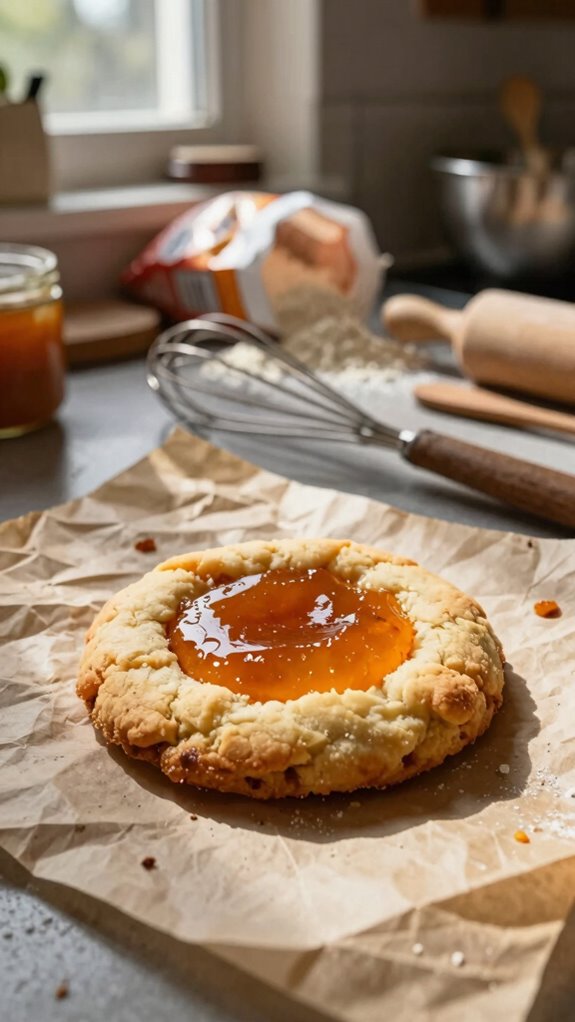
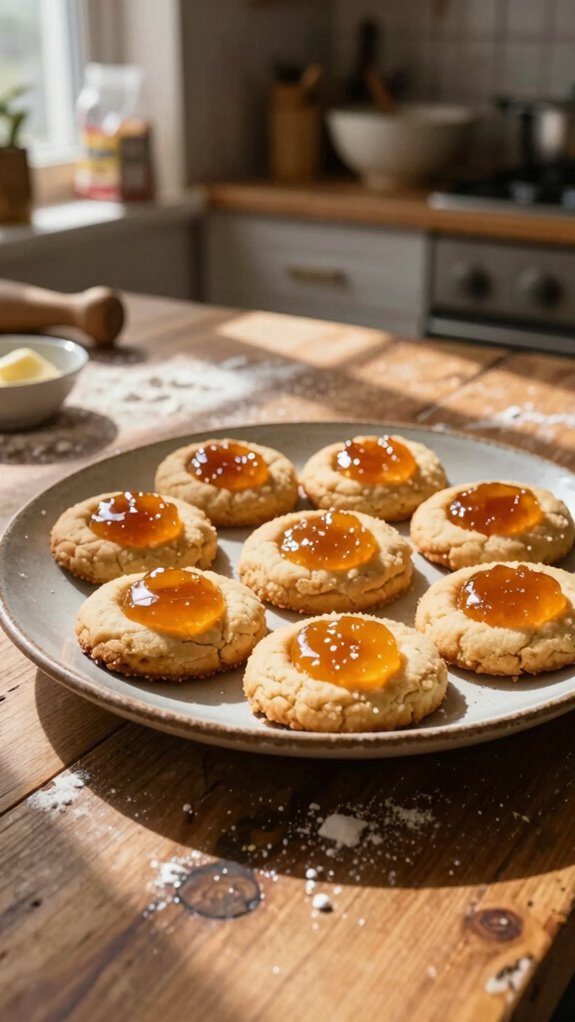
Jam thumbprint cookies are a delightful treat that combines buttery, crumbly dough with a sweet and fruity jam filling. Known for their signature thumbprint indentation, these cookies aren’t only visually appealing but also offer a perfect balance of flavors.
Ideal for bakers of all skill levels, they make for a wonderful addition to holiday cookie platters, tea time snacks, or simply to enjoy with a cup of coffee. These cookies appeal to those who appreciate homemade desserts and classic flavors that evoke nostalgia.
Preparation Time
| Aspect | Details |
|---|---|
| Difficulty of the Recipe | Easy |
| Preparation Time | 20 minutes |
| Number of Servings | Approximately 24 cookies |
Ingredients
| Ingredient | Quantity |
|---|---|
| All-purpose flour | 2 cups |
| Granulated sugar | 3/4 cup |
| Unsalted butter | 1/2 cup (1 stick) |
| Egg yolk | 1 large |
| Vanilla extract | 1 teaspoon |
| Baking powder | 1/2 teaspoon |
| Salt | 1/4 teaspoon |
| Fruit preserves or jam | 1/2 cup (your choice, e.g., raspberry, strawberry, or apricot) |
| Optional powdered sugar | For dusting (as desired) |
Essential Kitchen Equipment
| Tool/Equipment | Purpose | Alternative Option |
|---|---|---|
| Mixing Bowls (large and medium) | Used for combining dry and wet ingredients. A large bowl is ideal for mixing the dough, while a medium bowl can hold smaller ingredients. | Any large, deep bowl can work; a pot can substitute for a large bowl. |
| Measuring Cups (dry and liquid) | Essential for accurately measuring flour, sugar, and liquid ingredients like jam or egg yolk. | Use a standard cup or use a kitchen scale for weight measurements. |
| Measuring Spoons | Needed to measure small quantities of baking powder, salt, and vanilla extract precisely. | Use a regular spoon with careful approximations or convert to grams if using a scale. |
| Stand Mixer or Hand Mixer | Helps to cream the butter and sugar together and thoroughly mix the dough. | Whisk by hand with a sturdy whisk to mix ingredients manually. |
| Rubber Spatula | Perfect for scraping down the sides of mixing bowls to incorporate all ingredients evenly. | A wooden spoon or sturdy plastic spoon can be used to scrape the bowl. |
| Wooden Spoon | Great for mixing the dough, especially when it becomes thick or heavy. | Any sturdy spoon can serve this purpose. |
| Baking Sheets (2-3) | Required for placing and baking the cookies in the oven. | Any flat, oven-safe pan can be used, like a pizza stone or an old sheet pan. |
| Parchment Paper or Silicone Mats | Provides a non-stick surface for baking cookies, helping to release them easily after baking. | Grease the baking sheets lightly with butter or oil if not using parchment. |
| Cookie Scoop or Spoon | Helps portion out uniform cookie dough onto baking sheets for even baking. | Use a regular tablespoon to scoop and drop the dough. |
| Cooling Rack | Allows cookies to cool evenly post-baking, helping to prevent sogginess. | Place cookies on a plate or countertop but monitor carefully to avoid moisture buildup. |
| Oven Thermometer | Ensures your oven is at the correct temperature for baking, which is critical for cookie texture. | Regularly check your oven’s temperature settings or borrow one from a friend. |
Cooking Steps

1. Gather all ingredients and tools: Prepare 240 ml (1 cup) of unsalted butter, 200 g (1 cup) of granulated sugar, 1 large egg yolk, 5 ml (1 teaspoon) of vanilla extract, 300 g (2 ½ cups) of all-purpose flour, 2 g (½ teaspoon) of baking powder, 1 g (½ teaspoon) of salt, and your choice of jam for filling.
Ensure you have large and medium mixing bowls, a stand or hand mixer, measuring cups and spoons, a rubber spatula, a wooden spoon, baking sheets, parchment paper, a cookie scoop or spoon, a cooling rack, and an oven thermometer.
2. Preheat the oven to 175 °C (350 °F) and position the rack in the center of the oven.
3. Line two baking sheets with parchment paper, ensuring that the sheets are flat against the surface to prevent curling.
4. In a large mixing bowl, using the stand or hand mixer, cream together 240 ml (1 cup) of softened unsalted butter and 200 g (1 cup) of granulated sugar on medium speed until the mixture is light and fluffy (approximately 2-3 minutes).
5. Add in the egg yolk and 5 ml (1 teaspoon) of vanilla extract; continue mixing on medium speed until fully incorporated (about 1 more minute).
6. In a medium mixing bowl, whisk together 300 g (2 ½ cups) of all-purpose flour, 2 g (½ teaspoon) of baking powder, and 1 g (½ teaspoon) of salt until well combined.
7. Gradually add the dry mixture to the wet mixture, mixing on low speed just until a soft dough forms. Use the rubber spatula to scrape down the sides of the bowl and ensure even mixing.
8. Using a cookie scoop or tablespoon, portion out the dough, rolling each piece into a ball (approximately 30 g or 2 tablespoons).
Place the dough balls onto the prepared baking sheets, spacing them about 5 cm (2 inches) apart.
9. With your thumb (or the back of a measuring spoon), gently press into the center of each dough ball to create a small well for the jam filling.
10. Fill each well with about 5 g (1 teaspoon) of your chosen jam, ensuring not to overfill to prevent spilling onto the baking sheet.
11. Bake the cookies in the preheated oven at 175 °C (350 °F) for 12-15 minutes, or until the edges are lightly golden and the centers feel set.
The aroma of baked cookies should fill your kitchen.
12. Remove the baking sheets from the oven and allow the cookies to cool on the sheets for about 5 minutes before transferring them onto a cooling rack to cool completely.
13. Allow the cookies to rest on the cooling rack for at least 20 minutes before serving.
The cookies should have a soft texture and the jam should be slightly bubbly but not overflowing.
14. Store any leftovers in an airtight container at room temperature for up to one week or freeze for longer storage.
Variations
- Chocolate Chip Jam Thumbprints: Fold in 100 g (1 cup) of chocolate chips to the dough for a delightful chocolate twist.
- Nutty Variation: Add 100 g (1 cup) of finely chopped nuts (walnuts or almonds) to the dough for added texture and flavor.
- Citrus Zest: Incorporate the zest of 1 lemon or orange into the dough for a refreshing citrus flavor.
- Gluten-Free Jam Thumbprints: Substitute all-purpose flour with 300 g (2 ½ cups) of gluten-free flour blend for a gluten-free option.
- Dairy-Free Thumbprints: Replace unsalted butter with 240 ml (1 cup) of coconut oil or dairy-free margarine for a dairy-free treat.
- Vegan Jam Thumbprints: Use 60 ml (¼ cup) of ground flaxseed mixed with 180 ml (¾ cup) of water as an egg substitute and swap butter for a vegan alternative.
- Seasonal Pumpkin Spice: Mix in 150 g (1 ¾ cups) of pumpkin puree and 5 g (1 teaspoon) of pumpkin pie spice for a fall-inspired treat.
- Air Fryer Thumbprints: Prepare the dough as directed, then cook in an air fryer preheated to 160 °C (320 °F) for 10-12 minutes for a quicker, crispier finish.
Tips on plating and presentation
Although the taste of jam thumbprint cookies is undoubtedly the highlight, their presentation can elevate them even further.
I love using simple plating techniques like arranging the cookies in a tiered stand for visual appeal.
As for garnish ideas, a dusting of powdered sugar or a sprig of mint adds freshness and color.
The key is to keep it elegant yet inviting!
What other dishes can I pair it with?
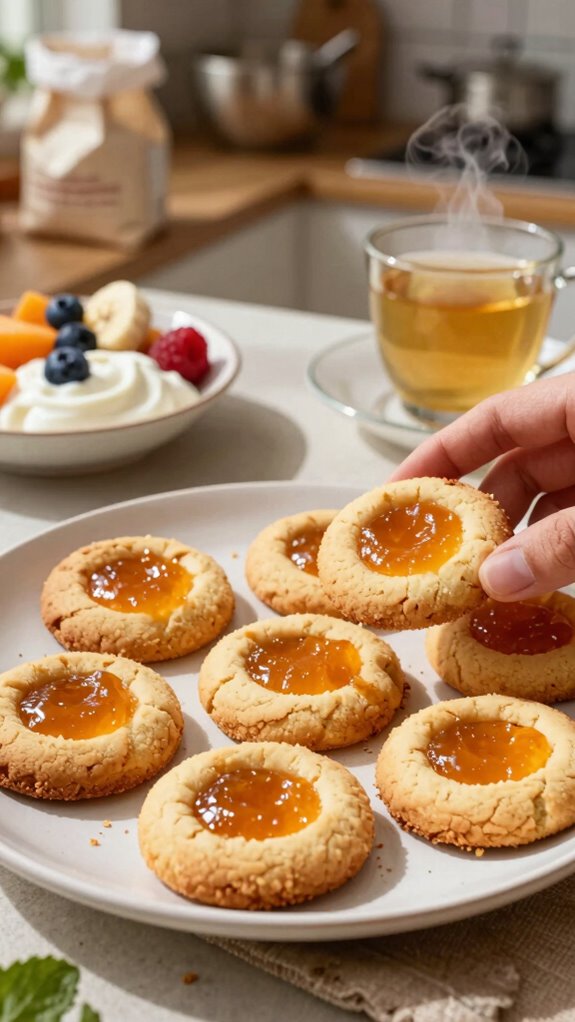
When planning a delightful gathering, I love pairing jam thumbprint cookies with a variety of complementary dishes to enhance the experience.
I often serve them alongside rich cheese pairings like brie or goat cheese, which balance the sweetness perfectly.
Dipping sauces like chocolate or caramel add an indulgent touch, inviting guests to explore different flavors while enjoying these delicious cookies.
What drinks can I pair it with?
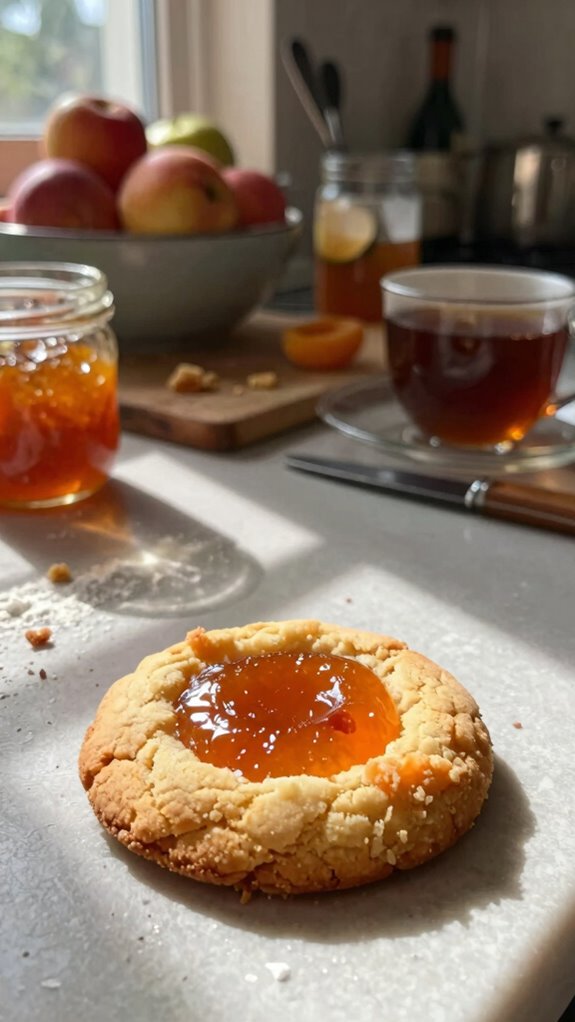
While enjoying jam thumbprint cookies, I love to enhance the experience with refreshing drinks that complement their sweet and fruity flavor. A light wine pairing, like a Moscato, works wonderfully.
For coffee options, a smooth cappuccino balances the sweetness just right. I also enjoy various tea choices, especially chamomile.
And for milk alternatives, almond milk brings a delightful nuttiness to each bite!
Frequently Asked Questions
Can I Use Other Types of Preserves for This Recipe?
Absolutely, I love experimenting with alternative preserves! You can use raspberry, strawberry, or even peach for delicious flavor variations. Each option brings a unique twist, making the cookies fun and exciting every time I bake them!
How Should I Store Leftover Cookies?
I store leftover cookies in an airtight container at room temperature to maintain cookie freshness. If I want them to last longer, I’ll freeze them, ensuring proper storage keeps them delicious for future indulgence.
Are These Cookies Suitable for Freezing?
Yes, I’ve found that these cookies freeze well! Using proper freezing techniques, they maintain their texture beautifully. Just wrap them tightly in plastic before placing them in an airtight container. Enjoy them later!
What Dietary Restrictions Does This Recipe Accommodate?
This recipe can easily accommodate gluten-free options and vegan alternatives. I’ve enjoyed experimenting with different ingredients, ensuring everyone can indulge without worry, making delicious cookies that fit various dietary restrictions while satisfying my sweet tooth.
Can I Make the Dough in Advance?
Yes, you can make the dough in advance! I usually prepare the toppings separately and refrigerate the dough. It makes baking fresh cookies super easy whenever I’m ready to enjoy them later.