I’ve always appreciated the elegance of shortbread cookies, but when I stumbled upon the concept of brown butter, everything changed. The rich, nutty flavor it brings is simply unmatched and transforms the ordinary into extraordinary. I can’t wait to share the details of this recipe with you, including the key techniques and tips for achieving that perfect crumbly texture. Let’s explore how to elevate your cookie game in a way that’ll impress everyone.
What kind of recipe is it?
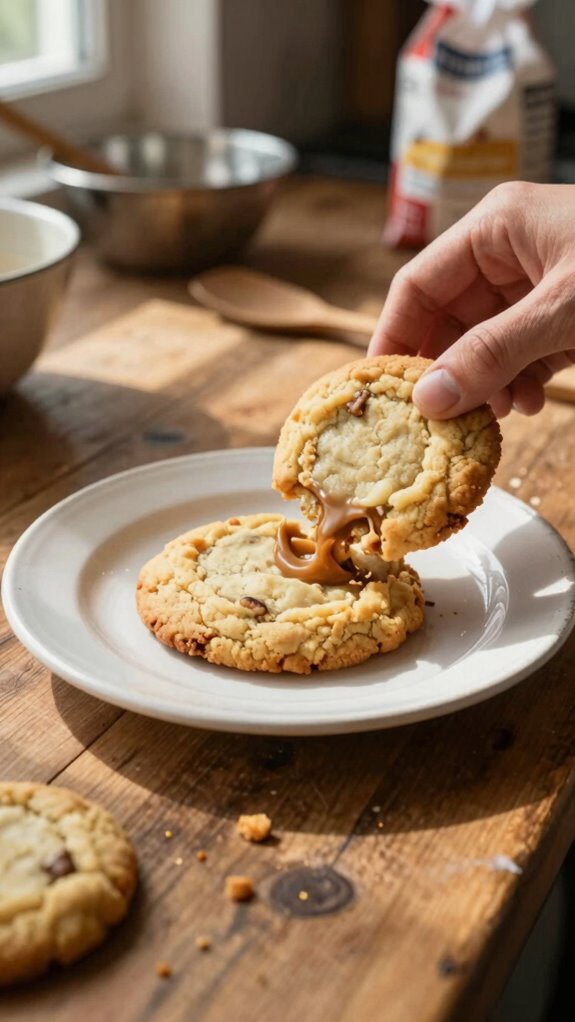
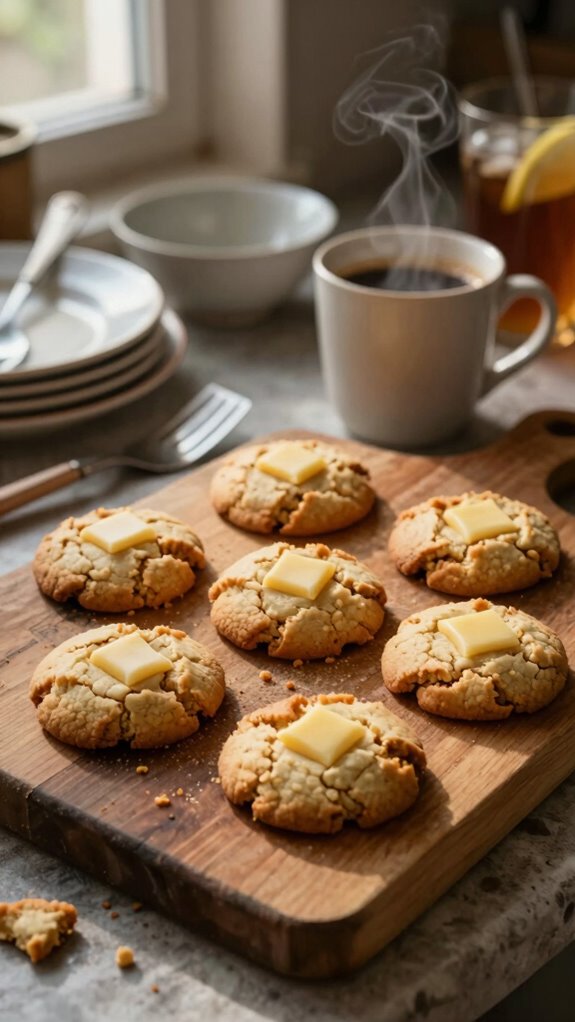
Brown Butter Shortbread Cookies are a delightful twist on the classic shortbread, characterized by their rich, nutty flavor and crumbly texture derived from browned butter.
This cookie recipe is perfect for baking enthusiasts looking to elevate their dessert offerings with minimal ingredients and effort.
The unique flavor profile appeals to both casual bakers and gourmet chefs alike, making it a versatile treat for gatherings, special occasions, or simply indulging yourself.
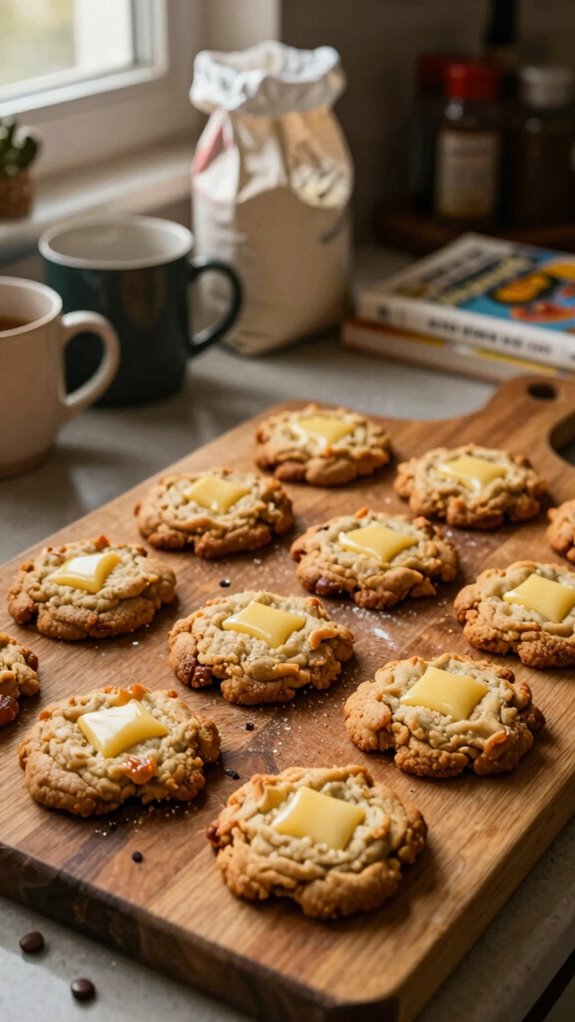
Enjoy these cookies with tea or coffee, or share them as a thoughtful gift!
Preparation Time
| Aspect | Details |
|---|---|
| Difficulty of the Recipe | Easy |
| Preparation Time | 15 minutes (plus cooling time) |
| Number of Servings | Approximately 24 cookies |
Ingredients
| Ingredient | Quantity |
|---|---|
| Unsalted butter | 1 cup (2 sticks) |
| Granulated sugar | 3/4 cup |
| Powdered sugar | 1/4 cup |
| All-purpose flour | 2 cups |
| Salt | 1/2 teaspoon |
| Vanilla extract | 1 teaspoon |
| Optional mix-ins (e.g., chocolate chips, nuts) | 1/2 cup (if desired) |
Essential Kitchen Equipment
| Tool/Equipment | Purpose | Alternative Option |
|---|---|---|
| Mixing bowls (large and medium) | Used for combining the ingredients. The larger bowl is for mixing the dry ingredients; the medium bowl can be used for creaming butter and sugars. | Any large bowl or pot can work, even a clean container. |
| Measuring cups (dry and liquid) | Essential for accurately measuring flour, sugar, and liquids. Dry measuring cups are for powders, while liquid cups are for liquids. | Use any standard cup for approximate measurements, but consistency is key. |
| Measuring spoons | Used to measure small quantities of ingredients like salt and vanilla extract. | Any small spoon can be used for rough measurements, though this may affect accuracy. |
| Stand mixer or hand mixer | Makes it easy to cream butter and sugar and mix the dough. A stand mixer can handle larger batches more efficiently. | Mix by hand with a wooden spoon or whisk; it requires more effort but works fine. |
| Rubber spatula | Effective for scraping down the sides of the bowl and incorporating ingredients. | A wooden spoon or any flexible spoon can serve in its place, although it may not scrape as cleanly. |
| Wooden spoon | Good for mixing ingredients by hand, especially when combining dry ingredients with wet ones. | Any sturdy utensil can be used if you don’t have a wooden spoon; a plastic or metal spoon works too. |
| Baking sheets (2-3) | Metal trays on which cookies are baked; they allow for even heat distribution. | An oven-safe glass or ceramic dish can be used, though baking times may vary. |
| Parchment paper or silicone mats | Prevent sticking and ensure easy removal of the cookies after baking. They also make for easier cleanup. | Greasing the baking sheets with butter or oil can be an alternative, though it may require additional cleaning. |
| Cookie scoop or spoon | Helps in evenly portioning the cookie dough for uniform cookie sizes. | A tablespoon can be used to drop dough onto the baking sheet, but consistency may vary. |
| Cooling rack | Used to allow cookies to cool properly after baking, ensuring they don’t become soggy. | A plate or another heat-safe surface can serve in a pinch, though airflow may be limited. |
| Oven thermometer | Ensures that the oven temperature is accurate for baking, which is crucial for good results. | If unavailable, you can bake without it, but keep an eye on the baking time as it may vary. |
Cooking Steps
1. Gather all ingredients: unsalted butter, granulated sugar, confectioners’ sugar, all-purpose flour, cornstarch, and salt.
Ensure butter is at room temperature, about 21°C (70°F), for easy creaming.
2. Preheat the oven to 165°C (325°F), positioning the oven rack in the center.
If using a convection oven, reduce the temperature to 150°C (300°F).
3. Line two baking sheets (standard size, approximately 30 × 40 cm or 12 × 16 inches) with parchment paper or silicone mats to prevent sticking.
4. In a medium mixing bowl, combine 120 g (1 cup) of all-purpose flour, 40 g (1/3 cup) of cornstarch, and 1 g (1/4 teaspoon) of salt.
Whisk together to blend.
5. In a large mixing bowl, using a stand mixer fitted with the paddle attachment, beat 170 g (3/4 cup) of room temperature unsalted butter on medium speed until creamy and smooth, about 1–2 minutes.
6. Gradually add 100 g (1/2 cup) of granulated sugar and 50 g (1/4 cup) of confectioners’ sugar to the butter.
Continue mixing on medium speed until the mixture is light and fluffy, approximately 3–5 minutes.
7. Reduce mixer speed to low and gradually add the flour mixture to the creamed butter and sugar.
Mix until just combined, approximately 1–2 minutes.
Avoid over-mixing to maintain tenderness.
8. Scrape the sides of the bowl with a rubber spatula to ensure even mixing.
The dough should be soft and slightly sticky.
9. Scoop tablespoon-sized portions of dough onto the prepared baking sheets, placing them approximately 5 cm (2 inches) apart to allow for spreading.
Use a cookie scoop for uniform sizes.
10. Gently flatten each dough ball with the tines of a fork or your hands, about 1 cm (1/2 inch) thick.
11. Bake in the preheated oven for 15–20 minutes or until the edges are lightly golden and the centers appear set.
The cookies should give off a rich, nutty aroma, indicating the butter is browning.
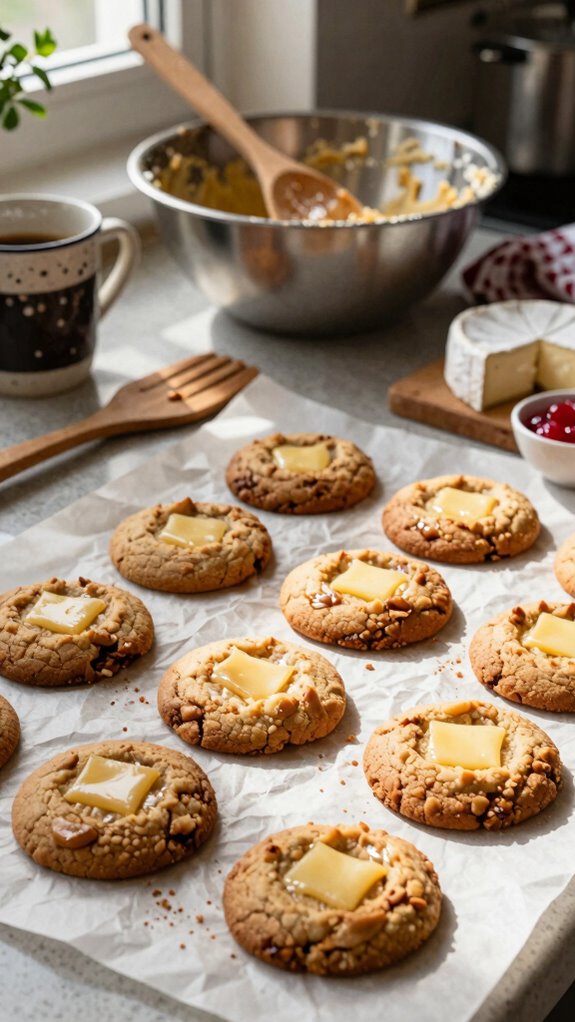
12. Remove from the oven and allow the cookies to cool on the baking sheets for 5 minutes before transferring them to a cooling rack using a metal spatula.
Let them cool completely, about 15–20 minutes.
13. For best flavor and texture, let the cookies rest for at least 30 minutes before serving, allowing the flavors to develop and the cookies to firm up.
Variations
- Nutty Brown Butter Shortbread: Add 50 g (1/2 cup) of finely chopped toasted nuts (like walnuts or pecans) to the dough for added texture and flavor.
- Chocolate Chip Shortbread: Stir in 100 g (1 cup) of semi-sweet chocolate chips into the dough for a sweet, chocolatey twist.
- Vegan Shortbread: Replace unsalted butter with 170 g (3/4 cup) of coconut oil or dairy-free butter and use a flax egg (1 tablespoon ground flaxseed mixed with 3 tablespoons water) instead of eggs.
- Gluten-Free Shortbread: Substitute all-purpose flour with 160 g (1 1/2 cups) of a gluten-free flour blend and ensure all other ingredients are gluten-free.
- Citrus Zest Shortbread: Add the zest of 1 lemon or 1 orange into the dough for a bright, fragrant twist.
- Seasonal Pumpkin Spice Shortbread: Incorporate 50 g (1/4 cup) of pumpkin puree and 1 teaspoon of pumpkin pie spice for a seasonal flavor.
- Matcha Green Tea Shortbread: Mix in 10 g (2 tablespoons) of matcha powder into the flour mixture for a subtle herbal flavor and vibrant green color.
- S’mores Shortbread: Fold in 50 g (1/2 cup) of mini marshmallows and 30 g (1/4 cup) of crushed graham crackers for a campfire-inspired treat.
Tips on plating and presentation
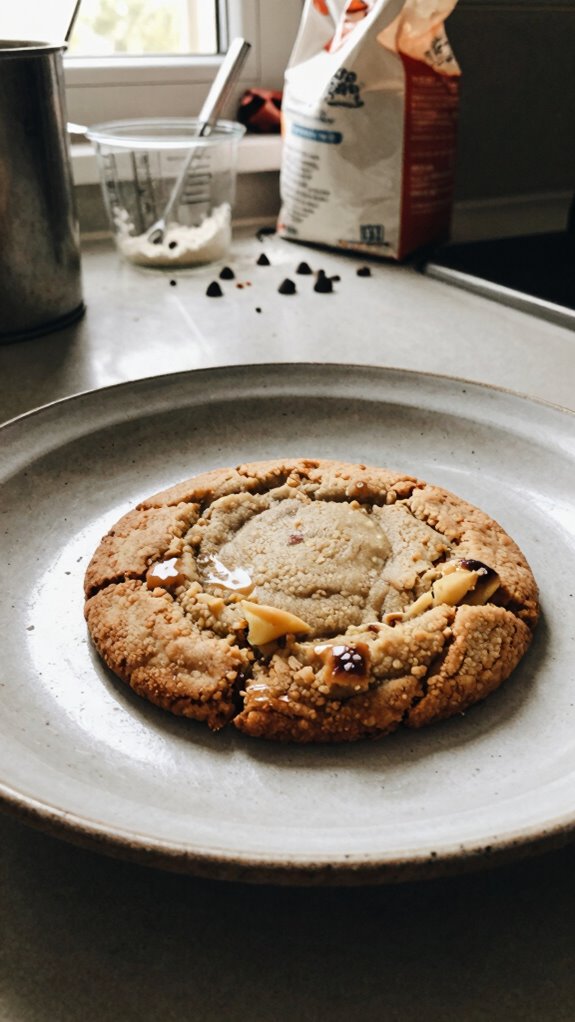
Although the taste of your Brown Butter Shortbread Cookies is the main attraction, how you plate and present them can elevate the experience.
I love using simple plating techniques like stacking cookies or arranging them in a decorative pattern. Adding cookie garnishes, such as a sprinkle of sea salt or edible flowers, offers a visual pop that makes these treats even more appealing.
What other dishes can I pair it with?
A beautifully plated Brown Butter Shortbread Cookie can be the perfect standout on any dessert table, but to truly elevate your tasting experience, consider pairing it with complementary dishes.
I love combining it with rich chocolate mousse or tangy lemon tart. These dessert pairings create delightful flavor combinations that enhance the cookie’s nuttiness, making each bite memorable and satisfying.
What drinks can I pair it with?
When I’m enjoying a Brown Butter Shortbread Cookie, I find that a warm cup of earl grey tea complements its rich, nutty flavors perfectly.
For those who prefer coffee pairings, you can’t go wrong with a smooth latte or a rich espresso—both enhance the cookie’s buttery goodness.
Experiment with different tea selections too; a chai can add an exciting twist to your experience!
Frequently Asked Questions
Can I Make This Recipe Gluten-Free?
Absolutely, you can make this recipe gluten-free! I love using nut-free alternatives like almond flour or coconut flour blended with gluten-free flours. It’s a game changer for texture and taste, trust me on this!
How Long Do the Cookies Stay Fresh?
The cookies stay fresh for about a week. I recommend storing them in an airtight container at room temperature. For longer freshness duration, try refrigerating them, but they taste best at room temperature!
Can I Freeze the Brown Butter Shortbread Cookies?
Absolutely, I can freeze the cookies! For best results, I wrap them tightly in plastic wrap to maintain their texture. When I’m ready to enjoy, I just thaw them, and they taste fantastic!
What Is the Origin of Shortbread Cookies?
Shortbread cookies have roots in Scottish heritage, dating back to the 12th century. I love their simplicity and use of traditional recipes, often blending butter, sugar, and flour to create that delightful crumbly texture.
Are There Any Nut Allergies to Consider?
Yes, I always consider nut allergies. Nut allergy symptoms can range from mild to severe, and I take cross-contamination risks seriously. It’s vital to communicate ingredient sources when baking for anyone with allergies.