I’ve always been a fan of holiday baking, and this Dark Chocolate Oreo Dipped Christmas Cookie recipe stands out. Combining rich 60% cocoa dark chocolate with the classic crunch of Oreos creates a memorable treat. These cookies are not just delicious but also perfect for sharing during festive gatherings. Want to know how to make them shine on your dessert table this season? Let’s explore the details together.
What kind of recipe is it?
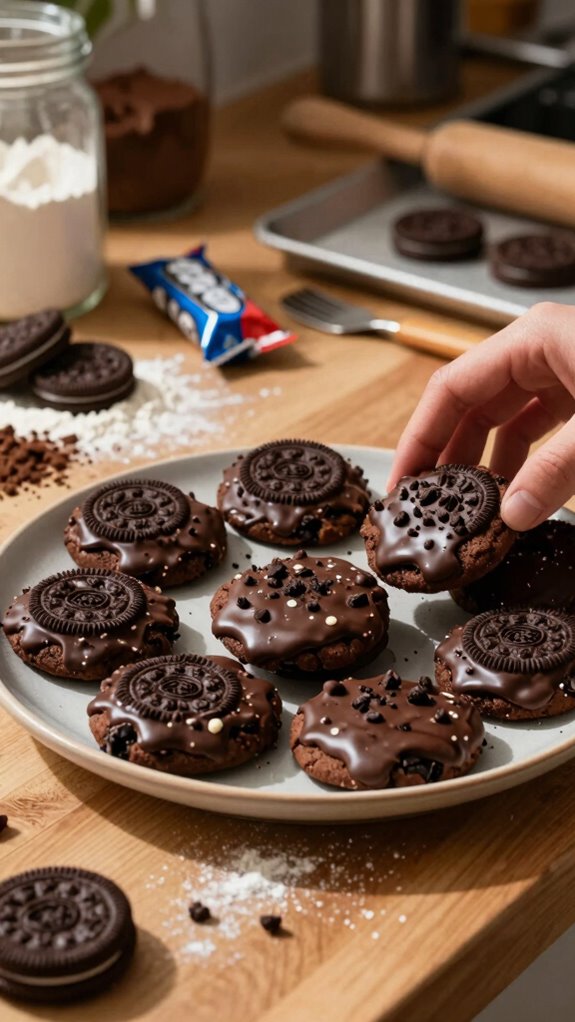
The Dark Chocolate Oreo Dipped Christmas Cookie is a festive and indulgent treat that combines the rich, decadent flavors of dark chocolate with the classic crunch of Oreos.
This delightful dessert features a soft, chewy cookie base, generously dipped in velvety dark chocolate and sprinkled with festive decorations.
It’s perfect for holiday gatherings, cookie exchanges, or as a sweet gift for loved ones.
Ideal for chocolate lovers and those looking to add a festive touch to their holiday baking, this recipe will bring joy to any celebration.
Preparation Time
| Aspect | Details |
|---|---|
| Difficulty of the Recipe | Intermediate |
| Preparation Time | 30 minutes |
| Number of Servings | 24 cookies |
Ingredients
| Ingredient | Quantity |
|---|---|
| Dark chocolate (for dipping) | 2 cups |
| Oreo cookies | 24 cookies |
| All-purpose flour | 1 cup |
| Granulated sugar | 1/2 cup |
| Brown sugar | 1/2 cup |
| Unsalted butter (softened) | 1/2 cup (1 stick) |
| Eggs | 2 large |
| Vanilla extract | 1 teaspoon |
| Baking soda | 1/2 teaspoon |
| Salt | 1/4 teaspoon |
| Confectioners’ sugar (for dusting) | Optional amount |
This compilation lists all the necessary ingredients along with their respective quantities needed for preparing Dark Chocolate Oreo Dipped Christmas Cookies.
Essential Kitchen Equipment
| Tool/Equipment | Purpose | Alternative Option |
|---|---|---|
| Mixing Bowls (Large and Medium) | To mix ingredients together efficiently. A large bowl for the dough and a medium bowl for melted chocolate. | Use any large, deep dish or pot for mixing. |
| Measuring Cups (Dry and Liquid) | To accurately measure all the dry and liquid ingredients required for the recipe. | Use standard household cups; just ensure consistency in measurements. |
| Measuring Spoons | For precise measurement of smaller quantities like baking soda and vanilla extract. | Use a standard teaspoon/tablespoon. |
| Stand Mixer or Hand Mixer | To thoroughly combine ingredients and achieve a smooth dough. A stand mixer is more efficient but a hand mixer is sufficient as well. | Whisk by hand if you don’t have a mixer, but it requires more effort. |
| Rubber Spatula | For scraping down the sides of the mixing bowls and ensuring all ingredients are incorporated. | A plastic spatula or wooden spoon can be used as a substitute. |
| Wooden Spoon | To mix thicker doughs and combine ingredients thoroughly. | Any sturdy spoon can be used, even a metal one. |
| Baking Sheets (2-3) | For placing the cookies while they bake. Multiple sheets allow for batch baking. | Use an inverted baking tray as an alternative if you have limited bakeware. |
| Parchment Paper or Silicone Mats | To line the baking sheets and prevent cookies from sticking, ensuring easy clean-up. | Grease the baking sheets with butter or cooking spray if paper or mats aren’t available. |
| Cookie Scoop or Spoon | For evenly portioning the cookie dough, ensuring uniform cookies in size and bake. | Use two spoons to create uniform sizes manually. |
| Cooling Rack | To cool the cookies evenly after baking, preventing sogginess on the bottom. | Use the back of a baking sheet or a clean wire rack if you don’t have a dedicated cooling rack. |
| Oven Thermometer | To ensure the oven is at the proper temperature for baking the cookies. | Use the oven’s built-in thermostat, but check with a separate thermometer for accuracy if concerned. |
Cooking Steps
1. Preheat the Oven: Position the oven rack in the center and preheat to 175 °C (350 °F). This ensures even baking throughout.
2. Mise en Place: Gather all ingredients and kitchen equipment listed in the essential tools section. Measure 240 g (2 cups) of all-purpose flour, 1.5 g (1 tsp) of baking soda, and a pinch of salt.
3. Mix Dry Ingredients: In a medium mixing bowl, whisk together the measured flour, baking soda, and salt until well combined. Set aside.
4. Cream Butter and Sugar: In a large mixing bowl, combine 115 g (1/2 cup) of unsalted butter, softened to room temperature, with 200 g (1 cup) of granulated sugar and 50 g (1/4 cup) of packed brown sugar.
Use a stand mixer on medium speed for about 2–3 minutes, or until the mixture is light and fluffy.
5. Incorporate Eggs and Vanilla: Add 1 large egg and 5 ml (1 tsp) of vanilla extract to the butter mixture. Continue mixing on medium speed for 1–2 minutes until thoroughly blended.
6. Combine Dry Ingredients: Gradually add the dry mixture to the wet ingredients while mixing on low speed.
Mix until just combined, ensuring not to overmix. The dough should look slightly sticky.
7. Add Oreos: Gently fold in 180 g (about 15 pieces) of crushed Oreo cookies into the cookie dough using a rubber spatula until evenly distributed.
8. Portion Dough: Using a cookie scoop or spoon, portion the dough into balls, about 30 g (2 tbsp) each.
Place them on two lined baking sheets, spacing them at least 5 cm (2 inches) apart to allow for spreading.
9. Bake Cookies: Place the baking sheets in the preheated oven.
Bake for 10–12 minutes or until the edges turn a light golden brown. The centers may appear soft but will firm up upon cooling.
10. Cool on Rack: Remove the cookies from the oven and let them cool on the baking sheet for 5 minutes.
Then, transfer them to a wire cooling rack to cool completely.
11. Melt Dark Chocolate: While the cookies cool, prepare the chocolate.
In a microwave-safe bowl, melt 200 g (7 oz) of dark chocolate in 30-second intervals at medium power until smooth, stirring in between.
Don’t overheat; the chocolate should be glossy and fluid.
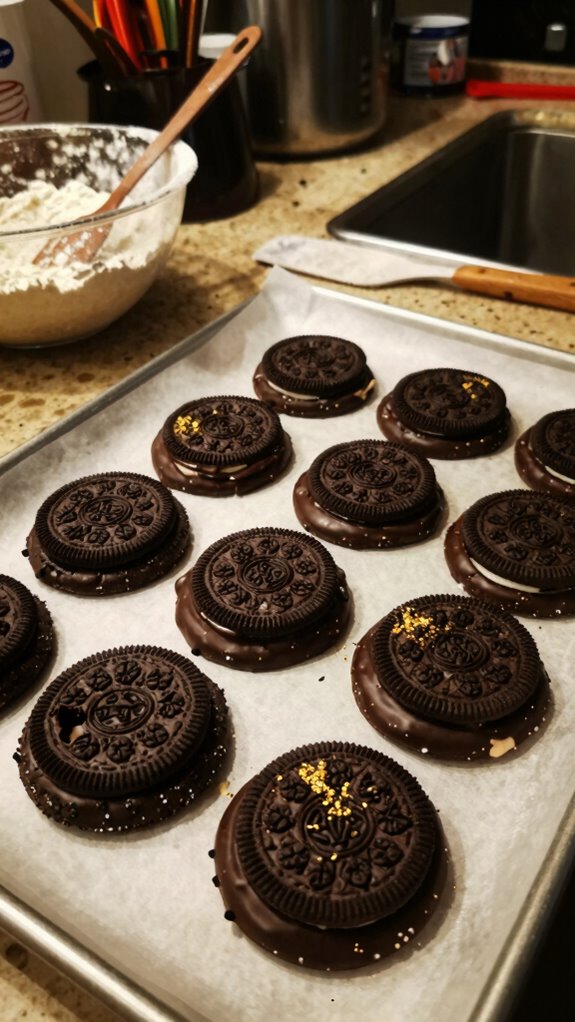
12. Dip Cookies: Once the cookies are completely cool, dip half of each cookie into the melted dark chocolate, allowing any excess to drip back into the bowl.
13. Set Chocolate: Place the dipped cookies back on the cooling rack and let the chocolate set at room temperature for at least 20 minutes, or refrigerate for faster setting.
14. Store: Once set, Store cookies in an airtight container at room temperature for up to 1 week, enjoying the rich flavors and textures.
Variations
- Peppermint Crunch Twist: Add 50 g (1/4 cup) of crushed peppermint candies to the cookie dough for a festive minty flavor.
- Gluten-Free Cookies: Substitute all-purpose flour with 240 g (2 cups) of gluten-free flour blend for a gluten-free version.
- Dairy-Free Delight: Use 115 g (1/2 cup) of vegan butter and dairy-free dark chocolate for a dairy-free treat.
- Nutty Chocolate Variation: Fold in 100 g (1 cup) of chopped walnuts or pecans along with the Oreos for added crunch and flavor.
- Coconut Macaroon Style: Mix in 50 g (1/2 cup) of unsweetened shredded coconut and top with coconut flour for a tropical twist.
- Vegan Cookies: Replace the egg with a flax egg (1 tablespoon ground flaxseed mixed with 3 tablespoons water) and use a vegan chocolate alternative.
- Pumpkin Spice Delight: Incorporate 100 g (1/2 cup) of pumpkin puree and 5 g (1 tsp) of pumpkin spice into the dough for a seasonal flavor.
- Air Fryer Method: Preheat the air fryer to 160 °C (320 °F) and bake the cookie balls in batches for 8-10 minutes for a quicker cooking method.
Tips on plating and presentation

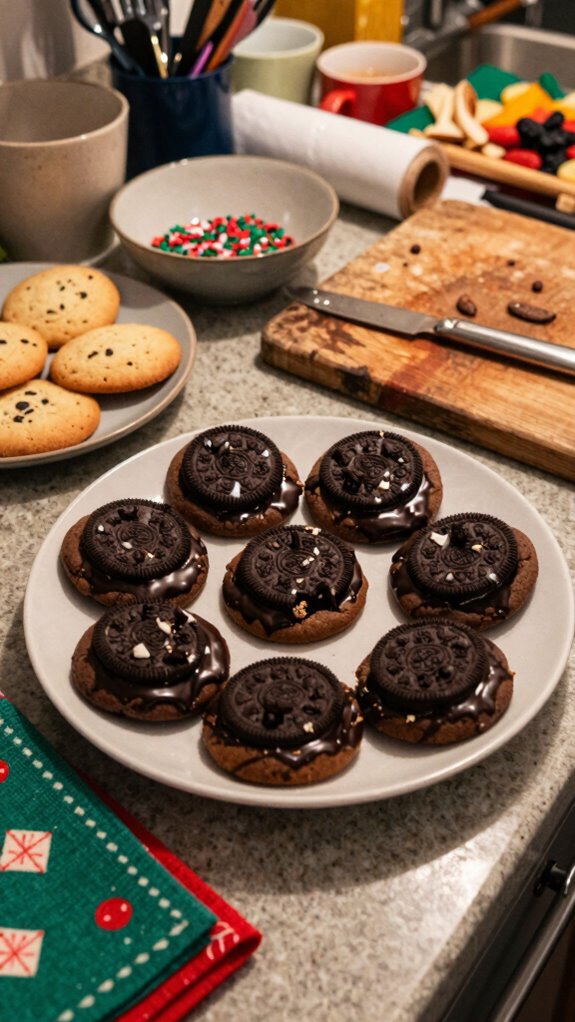
Creating variations of the Dark Chocolate Oreo Dipped Christmas Cookie not only adds unique flavors but also provides an opportunity to showcase these festive treats beautifully.
I love using simple plating techniques like stacking cookies or creating a delicate fan display. For garnish ideas, a sprinkle of crushed peppermint or a drizzle of white chocolate elevates the presentation and enhances the holiday spirit.
What other dishes can I pair it with?
What could be more delightful than pairing Dark Chocolate Oreo Dipped Christmas Cookies with a festive assortment of treats?
At holiday parties, these cookies shine alongside peppermint bark, gingerbread men, and mini yule logs.
For dessert bars, they bring a rich contrast to fruit tarts and cheesecake squares.
Trust me, combining these flavors will elevate your holiday spread to the next level!
What drinks can I pair it with?
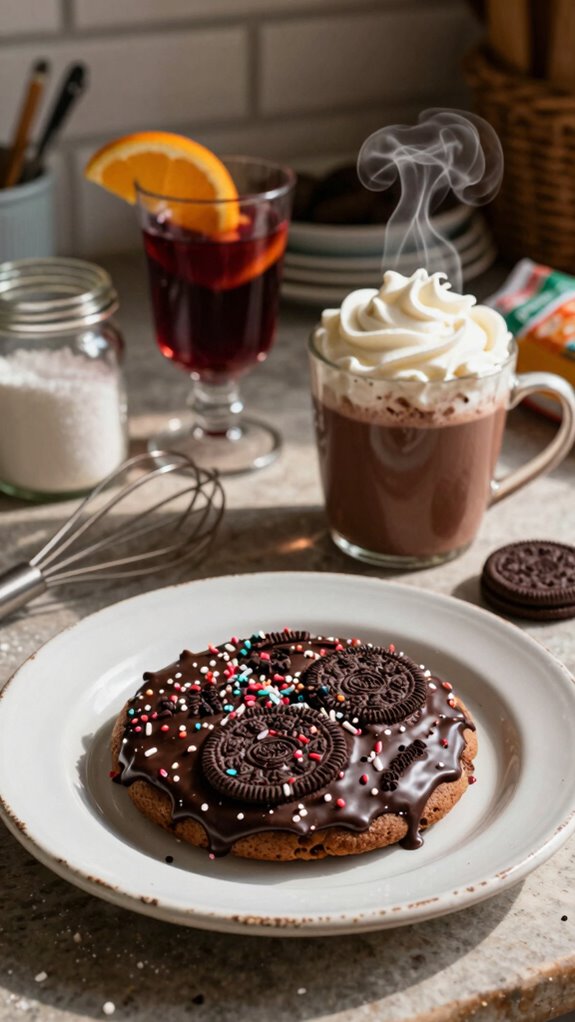
While enjoying Dark Chocolate Oreo Dipped Christmas Cookies at your holiday gathering, think about what drinks could complement their rich flavor.
The best pairings include a velvety red wine or a smooth dark roast coffee, which enhance the chocolatey taste.
For a more festive touch, consider seasonal beverages like spiced cider or peppermint hot chocolate to elevate your cookie experience.
Cheers!
Frequently Asked Questions
Can I Use Milk Chocolate Instead of Dark Chocolate?
Yes, you can use milk chocolate instead of dark chocolate. I’ve found that milk chocolate alternatives are sweeter and creamier, which changes the chocolate flavor differences significantly, but it can still be delicious in recipes!
How Should I Store the Cookies After Making Them?
I recommend storing the cookies in an airtight container at room temperature for optimal freshness. For extended shelf life, I sometimes try freezing them, which keeps their flavor intact for up to three months. Enjoy!
Are These Cookies Suitable for Vegans?
No, these cookies aren’t suitable for vegans unless I make some vegan substitutions. I can use chocolate alternatives and dairy-free ingredients to create a version that everyone, including my vegan friends, will enjoy!
Can I Add Nuts or Other Toppings to the Cookies?
Absolutely! I love experimenting with nut varieties and topping combinations. You can sprinkle crushed almonds, walnuts, or even pecans on top. It adds a delicious crunch and enhances the flavor. Enjoy customizing your cookies!
How Long Do the Cookies Last Before Going Stale?
Your cookies should stay fresh for about a week if stored properly. I always watch for stale indicators like a hard texture or off smell. If I notice those, it’s time to toss them!