When I first tried baking Brown Butter Grinch Cookies, I was intrigued by their unique blend of flavors and festive appearance. The nutty richness of browned butter combined with vibrant green dough creates a delightful treat that’s perfect for the holiday season. It’s a simple recipe that anyone can master, and it instantly adds charm to any gathering. But there’s more to these cookies than meets the eye—let’s explore what makes them truly special.
What kind of recipe is it?
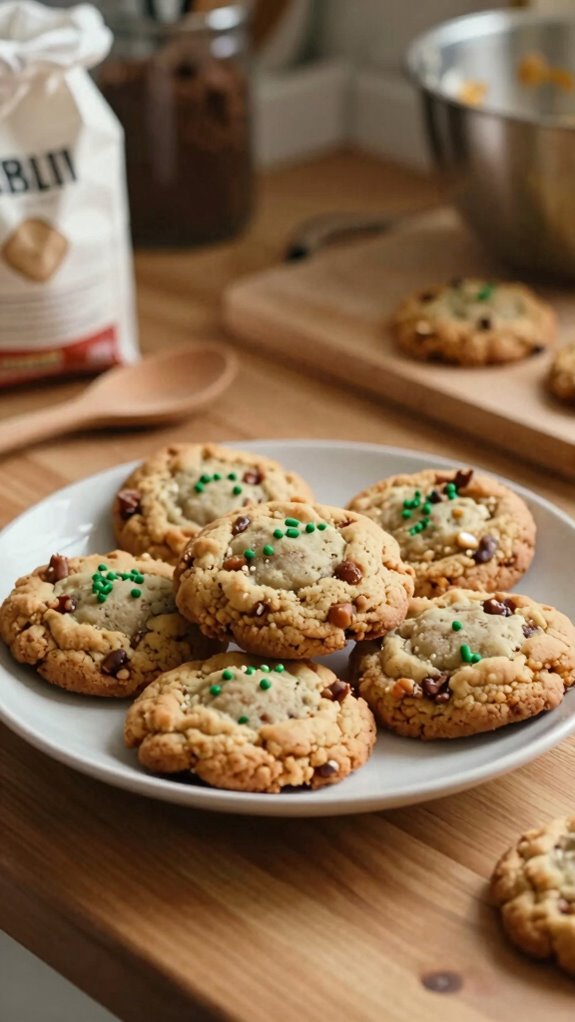
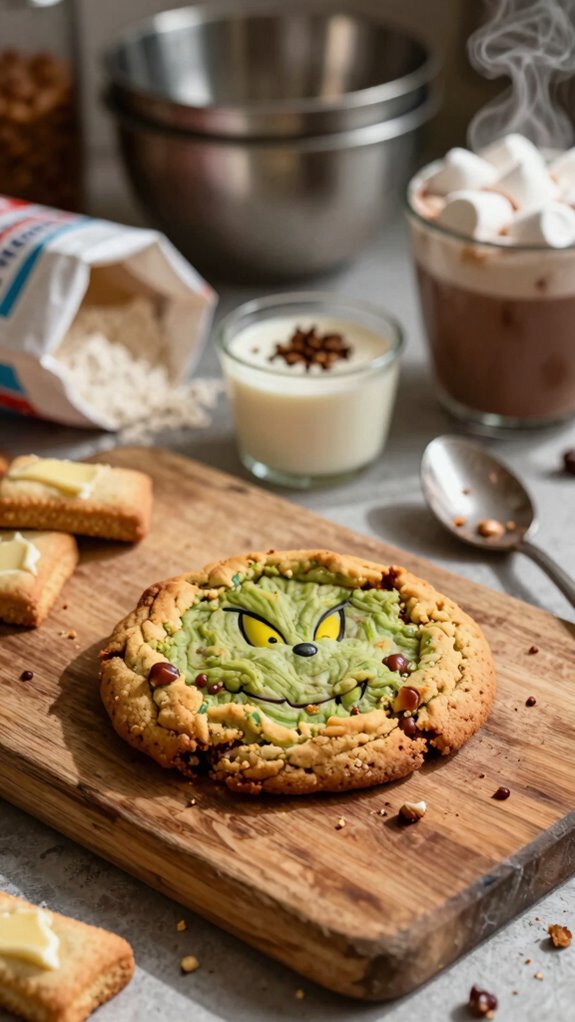
The Brown Butter Grinch Cookie is a whimsical and festive treat inspired by Dr. Seuss’s beloved character.
This delightful recipe features a rich, nutty flavor profile from the browned butter, paired with vibrant green dough adorned with festive chocolate chips.
Perfect for holiday gatherings or cookie exchanges, these cookies bring a cheerful and playful spirit to any celebration.
Ideal for bakers of all ages, they aren’t only fun to make but also an irresistible addition to your festive dessert table.
Preparation Time
| Parameter | Details |
|---|---|
| Difficulty of the Recipe | Easy |
| Preparation Time | 15 minutes |
| Number of Servings | Approximately 24 cookies |
Ingredients
| Ingredient | Quantity |
|---|---|
| Unsalted Butter | 1 cup (2 sticks) |
| Granulated Sugar | 1 cup |
| Brown Sugar | 1 cup |
| Eggs | 2 large |
| Vanilla Extract | 1 teaspoon |
| All-purpose Flour | 3 cups |
| Baking Soda | 1 teaspoon |
| Salt | ¼ teaspoon |
| Green Food Coloring | 1 teaspoon (or as desired) |
| White Chocolate Chips | 1 cup |
| Festive Sprinkles | As desired (for decoration) |
Essential Kitchen Equipment
| Tool/Equipment | Purpose | Alternative Option |
|---|---|---|
| Mixing Bowls (Large and Medium) | Used for combining the butter and sugars, as well as mixing dry ingredients. | Use any large deep pot or container. |
| Measuring Cups (Dry and Liquid) | Essential for accurately measuring flour, sugar, and liquids to ensure the right ratios. | Convert standard cups using any cups available at home that have volume markings. |
| Measuring Spoons | Important for measuring small amounts of ingredients like baking soda, salt, and vanilla extract. | Use a standard teaspoon/tablespoon from your kitchen instead. |
| Stand Mixer or Hand Mixer | Helps to thoroughly mix the ingredients, especially when creaming butter and sugars together. | Mixing by hand with a wooden spoon or whisk works as an alternative, though it requires more effort. |
| Rubber Spatula | Ideal for scraping down the sides of bowls and folding in ingredients gently, ensuring thorough mixing. | A wooden spoon or plastic scraper can be used instead. |
| Wooden Spoon | Good for mixing ingredients and can be used to scoop from larger bowls. | A sturdy silicone or plastic spoon can serve as an alternative. |
| Baking Sheets (2-3) | Needed for placing and baking the cookie dough in the oven; using multiple sheets allows for batch cooking. | Any flat oven-safe tray can be used if baking sheets are unavailable. |
| Parchment Paper or Silicone Mats | Prevents cookies from sticking and makes cleanup easier. | Greasing baking sheets lightly with butter or oil can be a substitute. |
| Cookie Scoop or Spoon | Ensures consistent portion size for each cookie, helping them bake evenly. | Use two spoons to scoop out dough if a cookie scoop is not available. |
| Cooling Rack | Allows cookies to cool evenly after baking, preventing them from becoming soggy. | Placing cookies directly on the baking sheet can work, though they may not cool as efficiently. |
| Oven Thermometer | Ensures the oven is at the right temperature for baking; crucial for cookie texture. | Use an oven’s built-in thermometer, but keep in mind that it may vary in accuracy. |
Cooking Steps
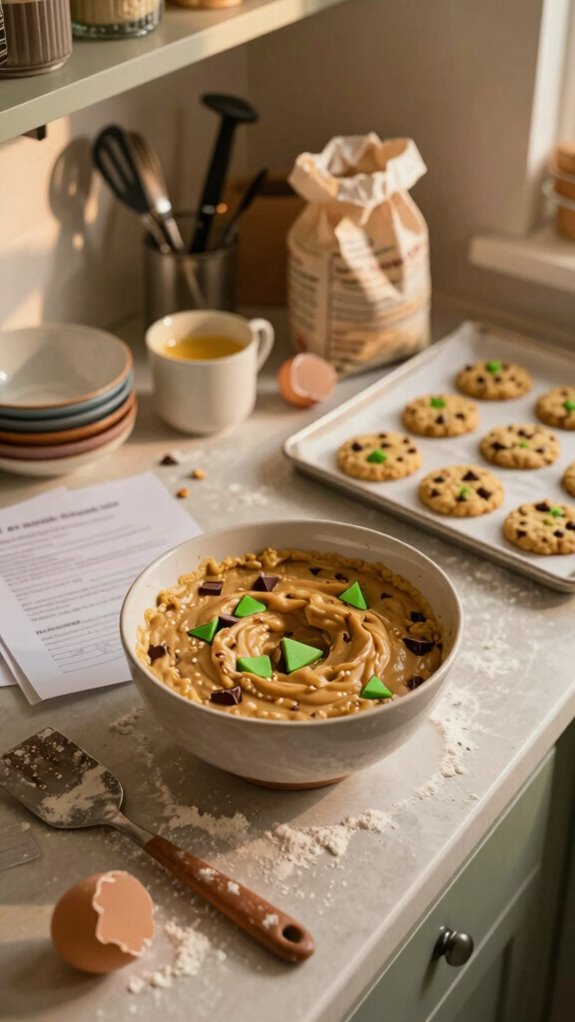
1. Preheat the oven to 175 °C (350 °F) and adjust the oven rack to the center position. If using convection, reduce the temperature to 160 °C (320 °F).
2. In a medium saucepan, melt 170 g (3/4 cup) unsalted butter over medium heat until it turns a golden brown color and emits a nutty aroma, about 5-7 minutes, stirring frequently. Be careful not to let it burn.
Remove from heat and allow to cool slightly.
3. In a large mixing bowl, combine 200 g (1 cup) brown sugar and 100 g (1/2 cup) granulated sugar. Pour the browned butter into the sugars and mix thoroughly using a stand mixer on medium speed or a wooden spoon until well combined.
4. Add 1 large egg and 1 teaspoon of vanilla extract to the sugar-butter mixture. Beat until the mixture is smooth and creamy, about 1-2 minutes.
5. In a separate bowl, whisk together 240 g (2 cups) all-purpose flour, 1/2 teaspoon baking soda, and 1/2 teaspoon salt. Gradually add the dry ingredients to the wet mixture while mixing on low speed until just combined.
Don’t overmix.
6. Fold in 150 g (1 cup) of semi-sweet chocolate chips using a rubber spatula until evenly distributed throughout the dough.
7. Line 2 baking sheets with parchment paper or silicone mats to prevent sticking. Use a cookie scoop or two spoons to portion out dough, placing each cookie scoop about 5 cm (2 inches) apart on the prepared sheets.
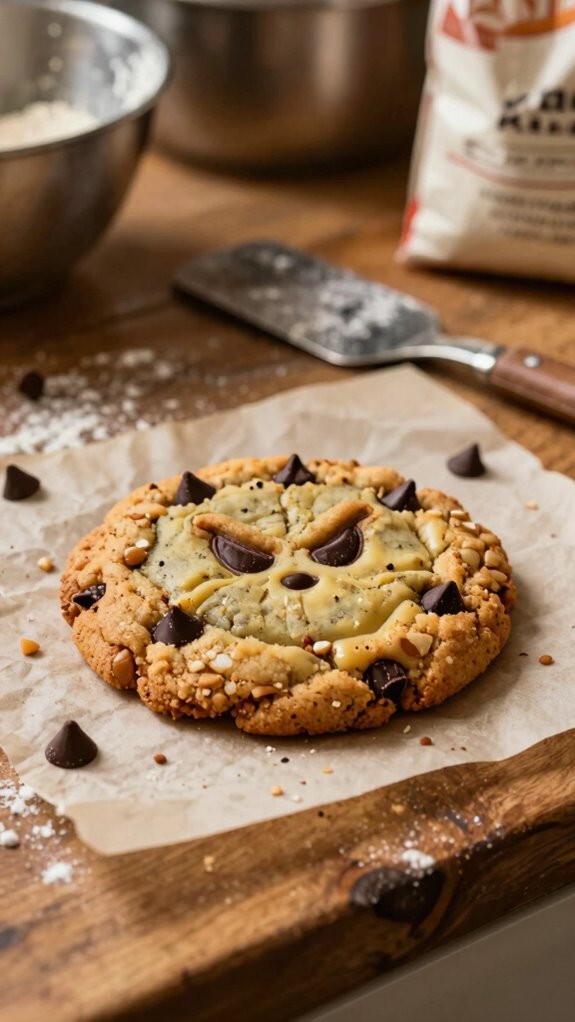
8. Bake the cookies in the preheated oven for 10-12 minutes, until the edges are lightly golden and the centers remain soft.
The cookies should have a slightly puffy texture and aromatic scents should fill the kitchen.
9. Once baked, remove the cookies from the oven and let them cool on the baking sheets for 5 minutes.
This allows them to finish cooking and firm up slightly.
10. Transfer the cookies to a cooling rack to cool completely before serving or storing.
Cookies are best enjoyed warm, but will be delightful at room temperature as well.
Variations
- Nutty Grinch Cookies: Add 100 g (1 cup) of chopped walnuts or pecans for an extra crunch and enhanced flavor profile.
- Gluten-Free Grinch Cookies: Substitute 240 g (2 cups) of all-purpose flour with a gluten-free flour blend for a gluten-free version.
- Dairy-Free Grinch Cookies: Replace unsalted butter with 170 g (3/4 cup) of coconut oil or a dairy-free margarine to make these cookies dairy-free.
- Vegan Grinch Cookies: Use 1 flax egg (1 tablespoon ground flaxseed mixed with 2.5 tablespoons water) and dairy-free chocolate chips for a vegan-friendly treat.
- Minty Grinch Cookies: Incorporate 1 teaspoon of peppermint extract and add 100 g (1 cup) of crushed peppermint candies for a festive twist.
- Cranberry-Orange Grinch Cookies: Mix in 100 g (1 cup) of dried cranberries and 1 teaspoon of orange zest for a seasonal, fruity flavor.
- Pumpkin Spice Grinch Cookies: Add 120 g (1/2 cup) of canned pumpkin purée and 1 teaspoon of pumpkin pie spice for a fall-inspired variation.
- Baked Grinch Cookie Bars: Spread the cookie dough evenly into a greased baking pan (about 20×20 cm or 8×8 inches) and bake for 20-25 minutes or until golden for a bar-style treat.
Tips on plating and presentation
When it comes to plating and presentation, creating a delightful display for your Brown Butter Grinch Cookies can elevate their festive appeal.
I love using simple plating techniques like stacking them in a pyramid or lining them up on a colorful platter.
Finish with cookie garnishes like a dusting of powdered sugar or festive sprinkles to make them truly pop!
What other dishes can I pair it with?
Creating a stunning presentation for Brown Butter Grinch Cookies is just the beginning of the fun.
I love pairing these cookies with festive desserts like peppermint bark or a rich chocolate tart. They’re delightful additions to any holiday gathering!
You can also serve them alongside a classic vanilla ice cream for a decadent treat that brings everyone together.
Enjoy experimenting with these dessert pairings!
What drinks can I pair it with?
What drinks can elevate your Brown Butter Grinch Cookies to the next level?
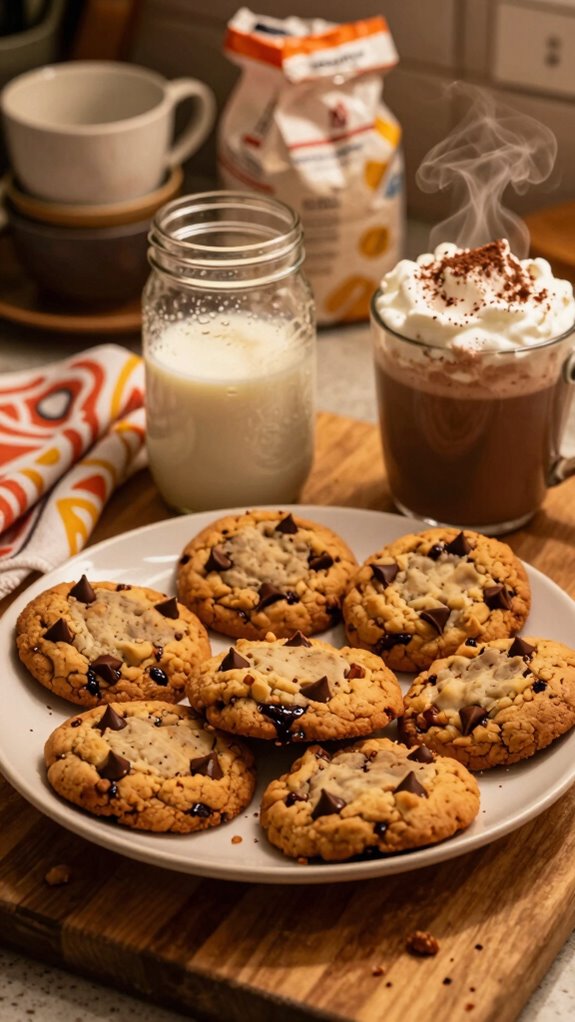
I’ve found that rich coffee pairings, like a dark roast or a spiced latte, complement the nutty flavors perfectly.
For a festive twist, try a hot chocolate topped with whipped cream or peppermint.
These delightful drinks enhance the experience, making each bite of cookie even more special.
Enjoy!
Frequently Asked Questions
Can I Use Alternative Flours for the Grinch Cookie?
Absolutely! I love using alternative flours like almond or coconut for their unique flavors and added nutrition. These flours can create deliciously different textures and tastes, so don’t hesitate to experiment with them in your baking!
Are There Nut-Free Options for This Recipe?
Absolutely! I always look for allergy-friendly options. I can substitute ingredients like ground oats or sunflower seed butter to keep it nut-free while still enjoying delicious treats. Adjusting flavors can yield fantastic results!
How Long Can I Store Leftover Cookies?
You can store leftover cookies for about a week at room temperature. For optimal cookie freshness, I recommend using an airtight container. If you freeze them, they’ll stay tasty for up to three months.
Can I Freeze These Cookies for Later Use?
Yes, I freeze cookies for long-term storage all the time! Just make sure they’re in an airtight container or freezer bag. They stay fresh that way, ready for whenever I need a treat later!
What Dietary Restrictions Does This Cookie Recipe Accommodate?
This cookie recipe can accommodate various dietary restrictions. I’ve used vegan substitutions and gluten-free alternatives, so everyone can enjoy them. Just make sure to adjust the ingredients while maintaining their rich flavor and texture!