I recently experimented with gluten-free iced sugar cookies using almond flour. The texture was surprisingly tender, and the nutty flavor added a nice twist. I found the decoration process quite enjoyable, making them perfect for any gathering. If you’re interested in incorporating these delightful treats into your next event, let’s explore the recipe and some creative variations together—there’s really more to discover than you might expect.
What kind of recipe is it?
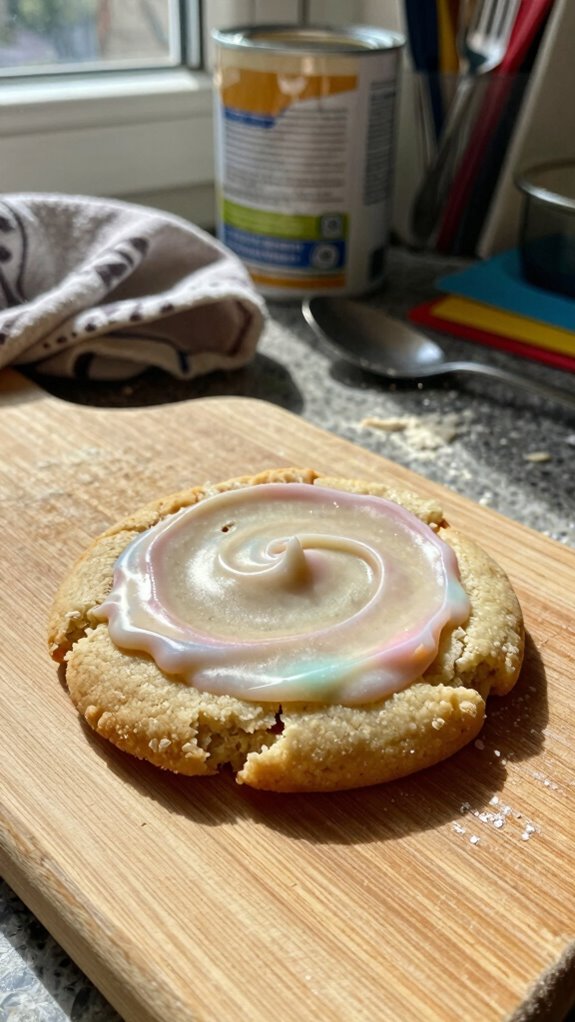
The Gluten-Free Iced Sugar Cookie is a delightful treat perfect for those with gluten sensitivities or celiac disease, allowing everyone to indulge in classic holiday flavors.
These cookies are characterized by their soft, tender texture and sweet icing that adds a festive touch. Easy to make and highly customizable, they can be decorated for any occasion, making them a favorite for parties and family gatherings.
This recipe is ideal for home bakers looking to create inclusive desserts that everyone can enjoy, regardless of dietary restrictions.
Preparation Time
| Difficulty of the Recipe | Preparation Time | Number of Servings |
|---|---|---|
| Easy | 30 minutes | 24 cookies |
Ingredients
| Ingredient | Quantity |
|---|---|
| Gluten-free all-purpose flour | 2 ¾ cups |
| Granulated sugar | 1 cup |
| Powdered sugar | 2 cups |
| Unsalted butter | ½ cup (1 stick), softened |
| Large eggs | 2 |
| Vanilla extract | 1 teaspoon |
| Baking powder | 1 teaspoon |
| Salt | ½ teaspoon |
| Milk | 2 tablespoons |
| Food coloring (optional) | As desired |
| Cornstarch (for rolling) | ¼ cup |
This table includes all the essential ingredients needed for making Gluten-Free Iced Sugar Cookies, along with the specific quantities required for each.
Essential Kitchen Equipment
| Tool/Equipment | Purpose | Alternative Option |
|---|---|---|
| Mixing Bowls (Large and Medium) | Used to combine ingredients and mix dough. | Any large heatproof bowls or containers can be used. |
| Measuring Cups (Dry and Liquid) | Essential for accurately measuring flour, sugar, and liquid ingredients. | Reusable plastic or glass cups from previous packaging. |
| Measuring Spoons | For measuring smaller quantities like baking powder and salt. | A set of graduated spoons or even tableware for rough estimates. |
| Stand Mixer or Hand Mixer | Helps to thoroughly cream butter and sugar, ensuring a light and fluffy texture. | Whisk manually using a rubber spatula or wooden spoon (may take longer and require more effort). |
| Rubber Spatula | For scraping down the sides of bowls and folding ingredients gently. | A wooden spoon or silicone spatula can also work. |
| Wooden Spoon | Ideal for mixing ingredients together and stirring thick mixtures. | Any sturdy spoon can be used in place of a wooden spoon. |
| Baking Sheets (2-3) | The surface on which cookies will bake. | Old pizza trays or any flat oven-safe pans can serve as baking sheets. |
| Parchment Paper or Silicone Mats | Prevents cookies from sticking to baking sheets and facilitates easier cleanup. | Greasing the baking sheets or using aluminum foil can be an alternative, though it may affect the cookie texture. |
| Cookie Scoop or Spoon | For portioning uniform cookie dough to ensure even baking. | A regular tablespoon can be used for scooping cookie dough. |
| Cooling Rack | Allows cookies to cool evenly, preventing sogginess. | A plate or countertop can also work, but make sure cookies aren’t stacked. |
| Oven Thermometer | Ensures that the oven is at the correct temperature for baking cookies. | Visual checks and a simple baking test (placing a spoonful of water in the oven—if it sizzles, it’s hot enough) can serve as a rough alternative. |
Cooking Steps
1. Mise en Place: Gather all ingredients, including gluten-free flour, sugar, butter, eggs, baking powder, vanilla extract, and salt.
Measure out 120 g (1/2 cup) of butter, 150 g (3/4 cup) of sugar, 1 large egg, 5 ml (1 tsp) vanilla extract, 250 g (2 cups) gluten-free flour, 5 g (1 tsp) baking powder, and a pinch of salt.
2. Preheat Oven: Preheat your oven to 180 °C (350 °F). Position the oven rack in the center for even baking.
3. Prepare Baking Sheets****: Line two baking sheets (35 cm x 25 cm / 14 in x 10 in) with parchment paper or silicone baking mats to prevent sticking. Set aside.
4. Cream Butter and Sugar: In a large mixing bowl, use a stand mixer fitted with a paddle attachment on medium speed to cream together 120 g (1/2 cup) of room temperature butter and 150 g (3/4 cup) of sugar until the mixture is light and fluffy, approximately 3-5 minutes.
5. Incorporate Egg and Vanilla: Add 1 large egg and 5 ml (1 tsp) of vanilla extract to the creamed mixture. Beat on medium speed until combined, about 1-2 minutes. The mixture should appear smooth and glossy.
6. Combine Dry Ingredients: In a medium bowl, whisk together 250 g (2 cups) gluten-free flour, 5 g (1 tsp) baking powder, and a pinch of salt until evenly mixed.
7. Mix Wet and Dry Ingredients: Gradually add the dry ingredient mixture to the wet mixture. Use a rubber spatula to fold the ingredients together gently until just combined. The dough should be soft but not sticky.
8. Scoop the Dough: Use a cookie scoop to portion out the dough, placing 5-6 mounds approximately 5 cm (2 in) apart on the prepared baking sheets. If you don’t have a scoop, use a regular tablespoon to drop the dough.
9. Bake Cookies: Place the baking sheets on the center rack of the preheated oven. Bake for 10-12 minutes or until the edges are lightly golden and the centers are set. The cookies shouldn’t appear too soft or undercooked.
10. Cool Cookies: Remove the baking sheets from the oven and allow the cookies to cool on the sheets for 5 minutes.
Then, transfer the cookies to a cooling rack to cool completely, ensuring they don’t stack on top of one another to avoid sogginess.
11. Finish Cooling: Let the cookies cool for at least 15-20 minutes on the cooling rack. They should be firm to the touch and no longer warm before decorating.
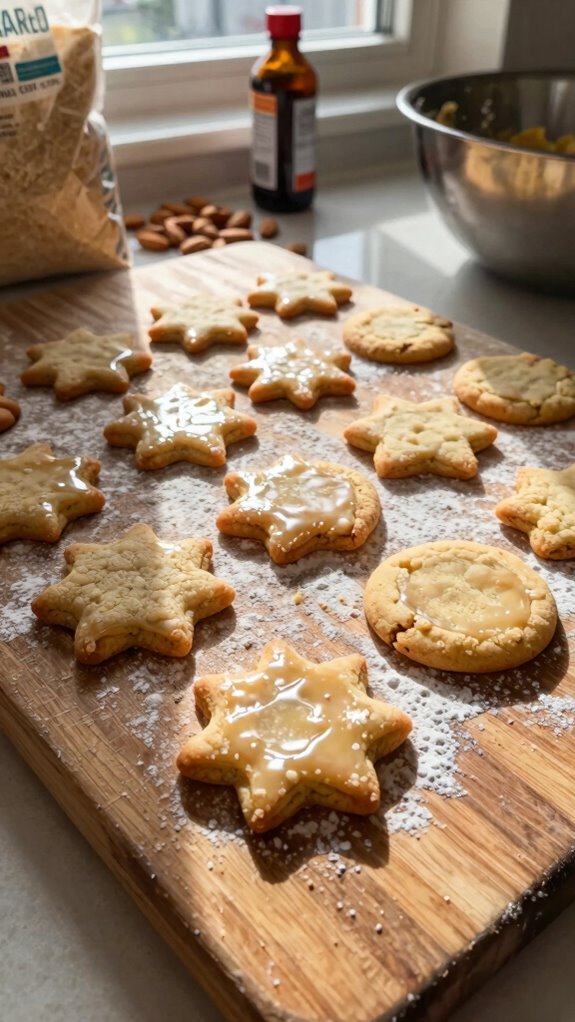
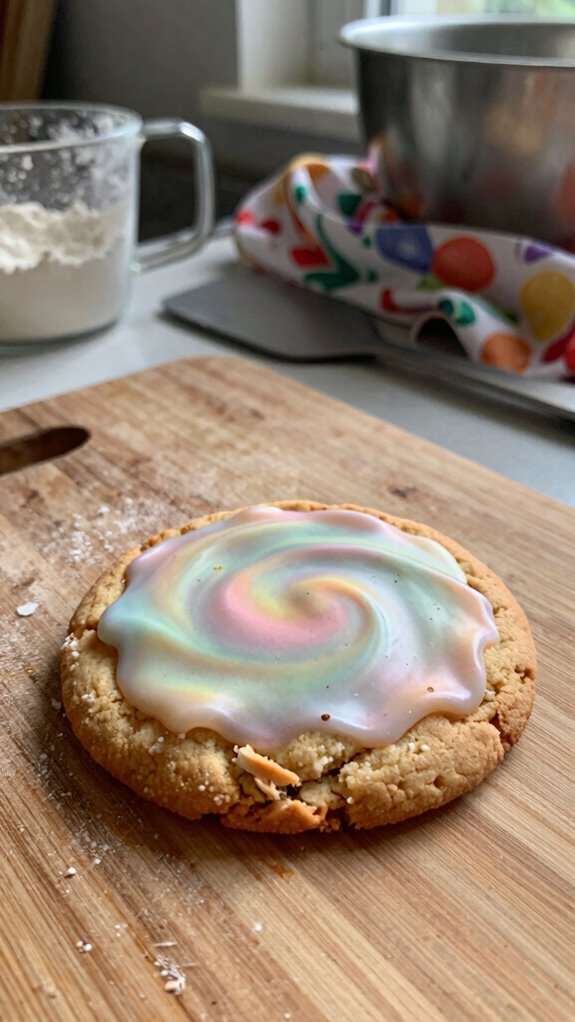
12. Optional Decorating: If desired, once completely cool, decorate with icing or sprinkles as per your preference.
Variations
- Lemon Zest Delight: Add the zest of 1 lemon (about 5 g) to the dough for a refreshing citrus flavor.
- Chocolate Chip Cookies: Fold in 100 g (1 cup) of dairy-free chocolate chips for a rich, chocolaty twist.
- Cocoa Powder Cookies: Replace 50 g (1/2 cup) of gluten-free flour with 50 g (1/2 cup) of cocoa powder for a chocolaty base.
- Nut Butter Swap: Replace butter with 120 g (1/2 cup) of almond or cashew butter for a nutty and dairy-free option.
- Vegan Iced Cookies: Substitute the egg with 30 g (2 tbsp) of unsweetened applesauce and use a plant-based butter for a vegan version.
- Pumpkin Spice Cookies: Incorporate 100 g (1/2 cup) of pumpkin puree and 5 g (1 tsp) of pumpkin spice for a seasonal fall flavor.
- Coconut Macaroon Cookies: Add 100 g (1 cup) of shredded coconut for a tropical twist and chewy texture.
- Air Fryer Cookies: Cook the cookie mounds in an air fryer at 160 °C (320 °F) for 8-10 minutes for a quicker baking option.
Tips on plating and presentation
Although the taste of your gluten-free iced sugar cookies is important, how you present them can elevate the overall experience.
Use simple plating techniques like tiered stands or colorful plates to showcase your cookies.
For decoration ideas, consider adding edible flowers or sprinkles that complement the icing.
A beautifully arranged platter grabs attention and makes your treats irresistible to friends and family!
What other dishes can I pair it with?
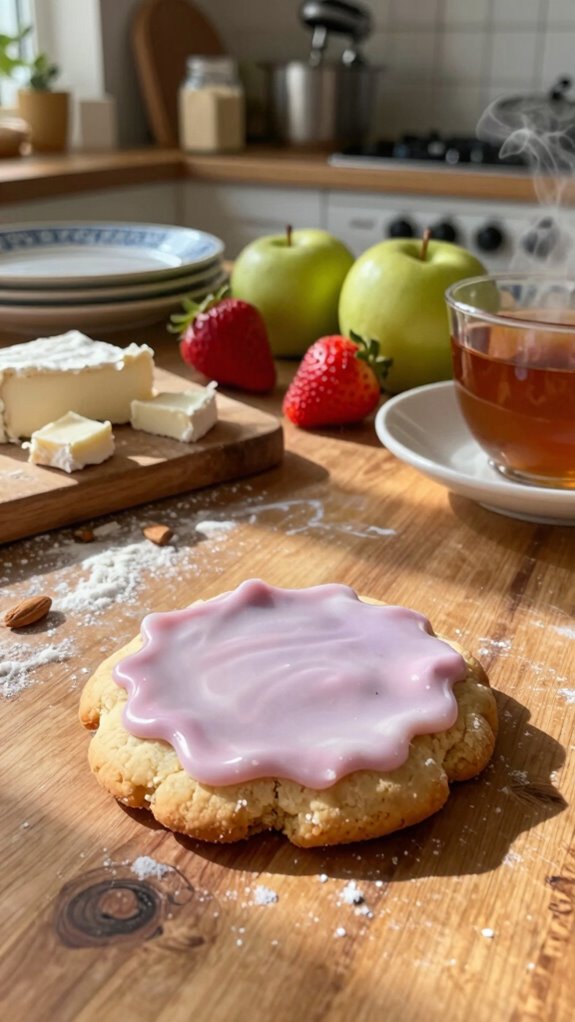
When I’m planning a gathering, pairing my gluten-free iced sugar cookies with complementary dishes makes for an inviting and flavorful spread.
I love to include fruit platters, like berries or citrus, to create delightful taste contrasts. Adding a rich chocolate cake or a tangy cheesecake as dessert pairings enhances the experience, making it a memorable occasion for everyone to enjoy.
What drinks can I pair it with?
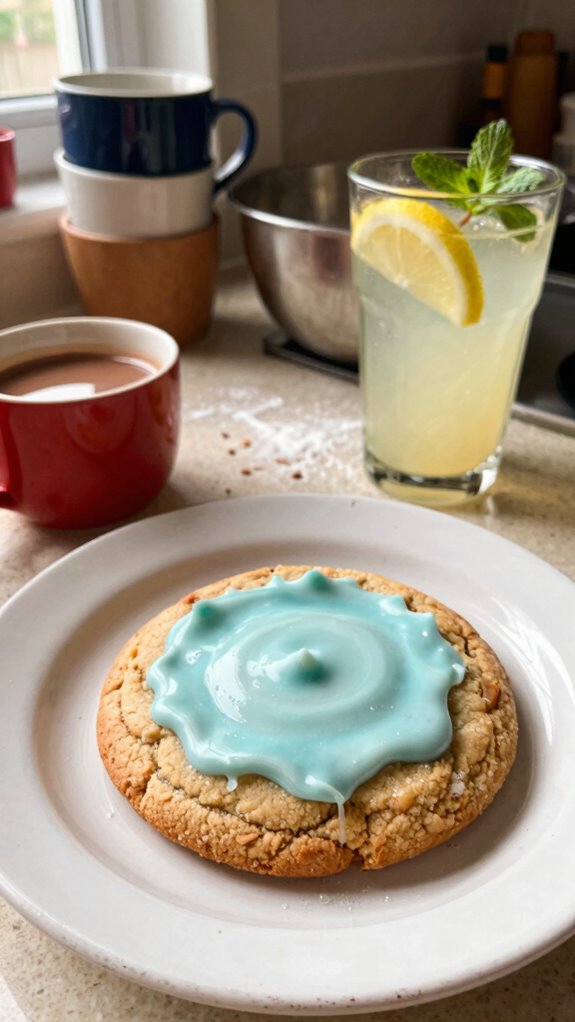
To elevate the enjoyment of my gluten-free iced sugar cookies, I love pairing them with refreshing drinks that enhance their sweetness.
Iced beverages like lemonade or iced tea offer a perfect balance.
For a cozy vibe, I recommend tea pairings, such as chamomile or earl grey.
Coffee combinations also work wonderfully, while citrus drinks add a zesty twist that complements the cookies perfectly.
Frequently Asked Questions
Can I Use Other Flour Types Instead of Almond Flour?
Absolutely! I’ve successfully used oat flour, coconut flour, and cassava flour in my recipes. Rice flour works well too. Each type brings a unique flavor and texture, so experiment and find what you love best!
How Long Do the Cookies Last After Baking?
Once baked, I find cookies stay fresh for about a week if stored in an airtight container. For longer storage, I recommend freezing them. These storage tips ensure your cookies maintain their delightful freshness!
Are There Vegan Alternatives for the Icing?
Absolutely! I love using vegan icing options like powdered sugar mixed with almond milk or coconut cream. I often choose plant-based sweeteners like agave for added flavor. It’s simple and delicious for a cruelty-free treat!
Can Children Help With This Recipe?
Absolutely! My child loves helping me bake. I ensure we focus on baking safety, like using kid-friendly tools and monitoring oven use. It’s a fun way to bond and teach them about cooking together!
Is This Recipe Suitable for People With Nut Allergies?
No, this recipe isn’t suitable for people with nut allergies due to the almond flour. I recommend exploring other gluten-free options that avoid nuts entirely to prevent nut allergy reactions and ensure safety for everyone.