I’ve been experimenting with gluten-free baking lately, and one of my favorite discoveries is the gluten-free maple cookie made with almond flour. The chewy texture and nutty flavor really stand out. Plus, maple syrup adds a natural sweetness that isn’t overwhelming. If you’ve ever wondered how to achieve a perfect balance in flavor and texture, this recipe might just be what you’re looking for. Let’s explore the details of making these delightful cookies.
What kind of recipe is it?
The Gluten-Free Maple Cookie is a delightful treat that caters to those with gluten sensitivities or celiac disease, ensuring that everyone can indulge in a sweet snack.
This recipe features the rich, natural sweetness of maple syrup, combined with a chewy texture and a hint of warmth from cinnamon, making it an irresistible option for cookie lovers.
Perfect for family gatherings, coffee breaks, or as an afternoon pick-me-up, these cookies are aimed at health-conscious individuals who refuse to compromise on flavor while enjoying a gluten-free lifestyle.
Preparation Time
| Details | Information |
|---|---|
| Difficulty of the Recipe | Easy |
| Preparation Time | 15 minutes |
| Number of Servings | 24 cookies |
Ingredients
| Ingredient | Quantity |
|---|---|
| Gluten-Free All-Purpose Flour | 2 cups (240 grams) |
| Baking Powder | 1 teaspoon |
| Baking Soda | 1/2 teaspoon |
| Salt | 1/4 teaspoon |
| Unsalted Butter (softened) | 1/2 cup (113 grams) |
| Brown Sugar | 1 cup (200 grams) |
| Granulated Sugar | 1/2 cup (100 grams) |
| Pure Maple Syrup | 1/3 cup (80 ml) |
| Vanilla Extract | 1 teaspoon |
| Large Eggs | 2 |
| Maple Sugar (optional) | 1/4 cup (50 grams) for coating |
This table provides a detailed list of all the ingredients needed to make the Gluten-Free Maple Cookie, along with their respective quantities.
Essential Kitchen Equipment
| Tool/Equipment | Purpose | Alternative Option |
|---|---|---|
| Mixing Bowls (Large and Medium) | Used for combining dry and wet ingredients. The large bowl is ideal for mixing the dough, while the medium bowl can be used for whisking dry ingredients. | Any large bowl, including a deep plate or a pasta bowl. |
| Measuring Cups (Dry and Liquid) | Essential for accurately measuring both dry and liquid ingredients, ensuring the right proportions for the cookie recipe. | Standard cup from your kitchen can be used, but be sure to measure correctly. |
| Measuring Spoons | Used for measuring smaller quantities, such as baking powder, baking soda, and salt. Accurate measurements are crucial for baking. | Tablespoon or teaspoon from your regular cutlery can work, but consistency is key. |
| Stand Mixer or Hand Mixer | A stand mixer makes mixing easier and more efficient, especially for creaming butter and sugars. A hand mixer can also do the job. | Whisk by hand if you don’t have an electric mixer, but it will take more effort. |
| Rubber Spatula | Perfect for scraping down the sides of the bowl and ensuring all ingredients are fully incorporated into the dough. | A silicone spoon or any sturdy spoon can serve as an alternative. |
| Wooden Spoon | Useful for mixing the dough, especially when incorporating flour into wet ingredients. | A sturdy plastic or metal spoon can be used as a substitute. |
| Baking Sheets (2-3) | Necessary for placing and baking the cookies. Having multiple sheets allows for baking in batches. | A flat oven-safe tray can be an alternative but ensure it’s of adequate size. |
| Parchment Paper or Silicone Mats | Used to line the baking sheets to prevent cookies from sticking and ensure even baking. | Lightly greasing the baking sheet can be a budget-friendly option. |
| Cookie Scoop or Spoon | A cookie scoop helps in portioning out uniform dough balls for even baking. A spoon can be used, but the scoop provides consistency. | Use a tablespoon if a scoop is unavailable; just make sure to scoop similar amounts. |
| Cooling Rack | Allows cookies to cool evenly after baking, preventing them from becoming soggy on the bottom. | Cooling the cookies on the baking sheet is an option, but it can lead to sogginess. |
| Oven Thermometer | Ensures your oven is at the correct temperature for baking, which is crucial for achieving the right texture in cookies. | If unavailable, check your oven’s temperature settings or test with a reliable baking recipe. |
This table outlines the essential kitchen equipment needed for making Gluten-Free Maple Cookies, detailing the purpose of each item as well as budget-friendly alternatives, ensuring you have everything you need to create delicious cookies.
Cooking Steps
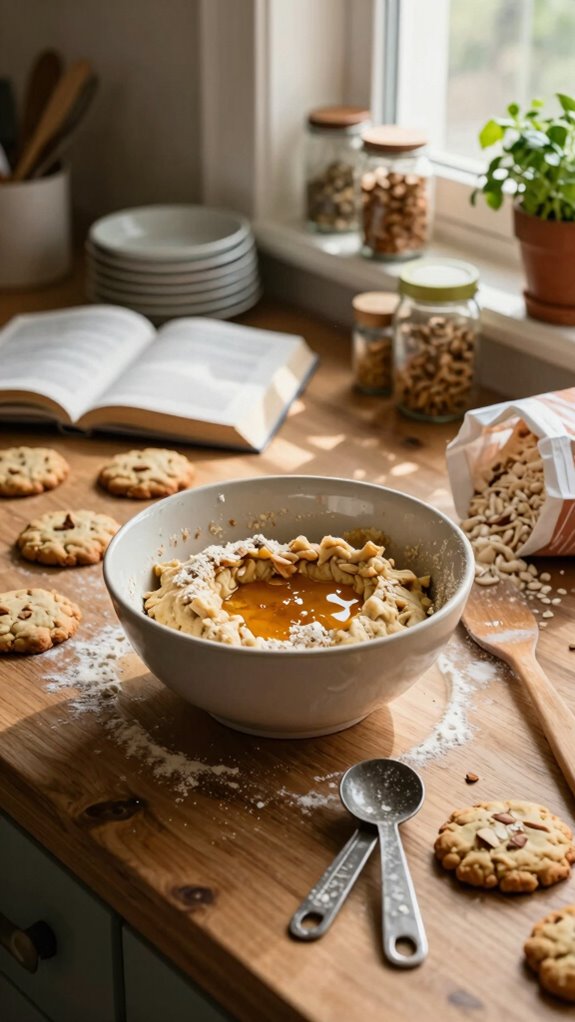
1. Prepare your mise en place by measuring out all ingredients required for the cookie dough. Set aside 120 g (1/2 cup) of unsalted butter, 90 g (1/3 cup) of brown sugar, 60 g (1/4 cup) of granulated sugar, 1 large egg, 60 ml (1/4 cup) of pure maple syrup, 240 g (2 cups) of gluten-free all-purpose flour, 1/2 teaspoon of baking powder, 1/4 teaspoon of baking soda, and a pinch of salt.
2. Preheat your oven to 180 °C (350 °F) on the conventional setting. Position the oven rack in the center. If using convection, adjust the temperature to 165 °C (325 °F).
3. Line two baking sheets (preferably 38 x 26 cm/15 x 10 inches) with parchment paper or silicone mats. This will prevent cookies from sticking and promote even baking.
4. In a large mixing bowl, cream together the softened butter (120 g), brown sugar (90 g), and granulated sugar (60 g) using a stand mixer fitted with the paddle attachment on medium speed for 2-3 minutes, until the mixture is light and fluffy.
5. Add the egg and maple syrup (60 ml) to the creamed mixture. Mix on low speed until fully combined, about 30 seconds. Scrape down the sides of the bowl with a rubber spatula.
6. In a medium mixing bowl, whisk together the gluten-free flour (240 g), baking powder (1/2 teaspoon), baking soda (1/4 teaspoon), and salt. Gradually add the dry ingredients to the wet mixture, mixing on low speed until just combined.
Avoid overmixing, which could affect the texture of the cookies.
7. Using a cookie scoop or tablespoon, portion out the dough into uniform balls (approximately 30 g/2 tablespoons each) and place them on the prepared baking sheets, spacing them at least 5 cm (2 inches) apart to allow for spreading.
8. Bake the cookies in the preheated oven for 10-12 minutes, or until the edges are lightly golden and the centers appear slightly soft but set. The cookies should have a pleasant aroma and a light golden color.
9. Once baked, remove the baking sheets from the oven and allow the cookies to cool on the sheets for 5 minutes. Then, carefully transfer the cookies to a cooling rack to cool completely.
10. Let the cookies rest on the cooling rack for at least 20 minutes to achieve a firmer texture before serving.
Variations
- Chocolate Chip Maple Cookies: Add 150 g (1 cup) of gluten-free chocolate chips for a sweet chocolatey twist.
- Nutty Maple Cookies: Stir in 100 g (1 cup) of chopped nuts like walnuts or pecans for added crunch and flavor.
- Dairy-Free Maple Cookies: Substitute the 120 g (1/2 cup) of butter with 120 ml (1/2 cup) of coconut oil or a dairy-free butter alternative.
- Vegan Maple Cookies: Replace the egg with a flaxseed egg (1 tablespoon ground flaxseed mixed with 2.5 tablespoons water) and use coconut oil instead of butter.
- Cinnamon Maple Cookies: Mix in 1 teaspoon of ground cinnamon into the dry ingredients for a warm, spiced flavor.
- Pumpkin Maple Cookies: Incorporate 120 g (1/2 cup) of pumpkin purée into the wet mixture for a seasonal twist and extra moisture.
- Lemon Maple Cookies: Add zest of 1 lemon and 30 ml (2 tablespoons) of lemon juice to the wet ingredients for a refreshing citrus flavor.
- Air-Fried Maple Cookies: Use an air fryer set to 160 °C (320 °F) and cook for 8-10 minutes for a lighter, crispy texture.
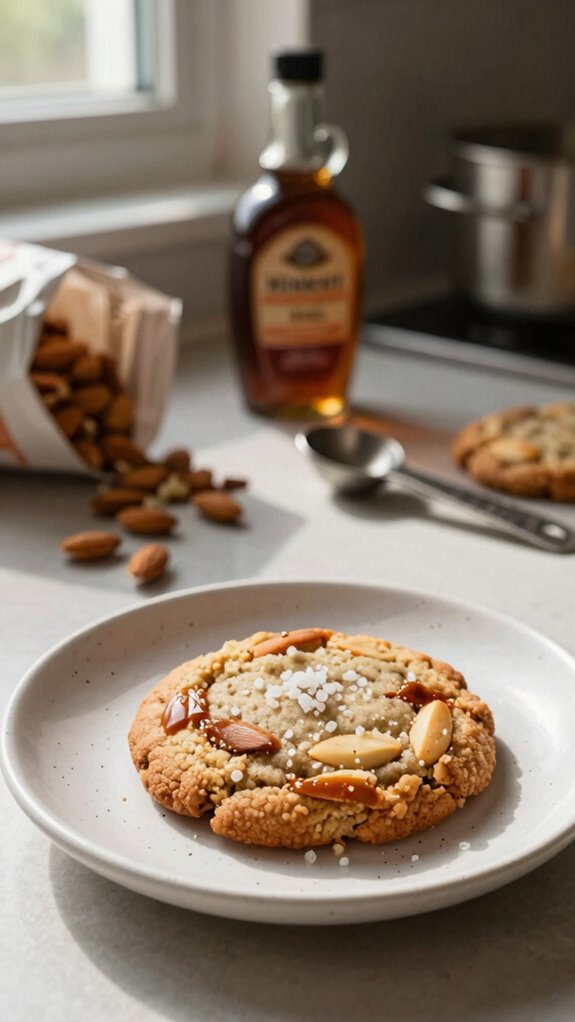
Tips on plating and presentation
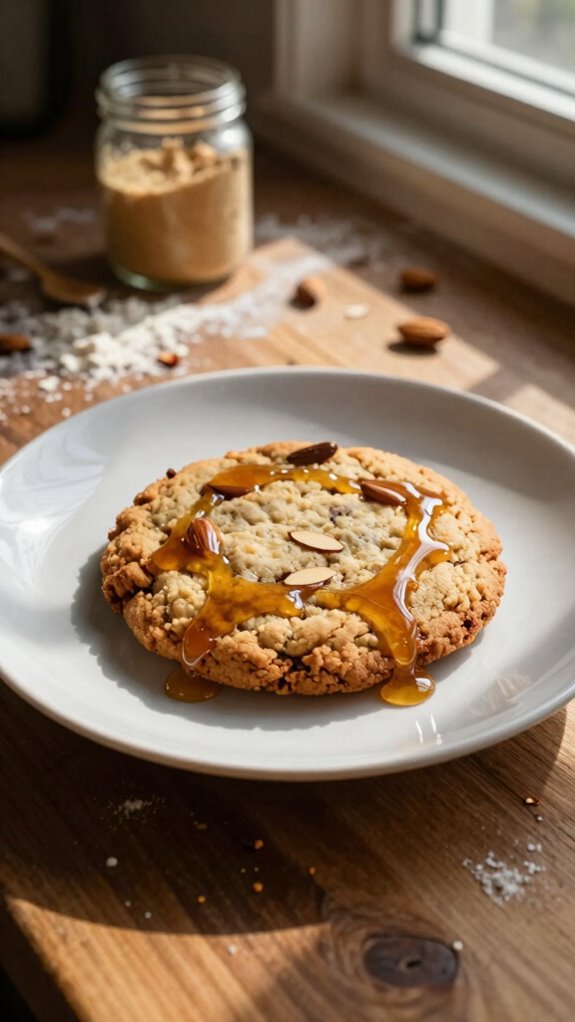
After experimenting with various delicious variations of gluten-free maple cookies, it’s time to think about how to present these delightful treats.
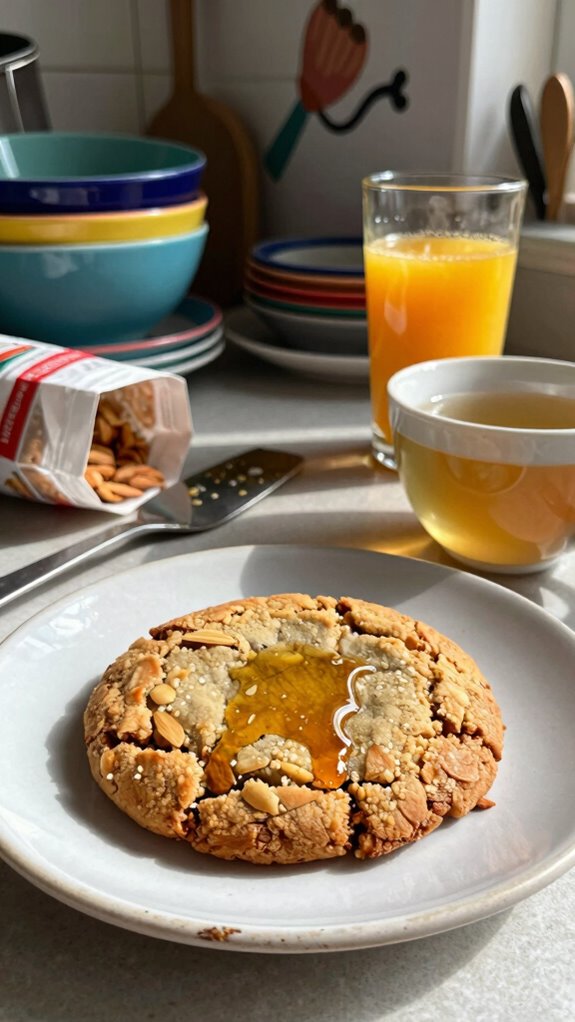
I love using simple plating techniques, like stacking the cookies slightly askew for a casual look. A dusting of powdered sugar or a drizzle of maple syrup adds elegance, while some toasted almond slivers as decorative garnishes enhance both flavor and visual appeal.
What other dishes can I pair it with?
While gluten-free maple cookies shine on their own, pairing them with complementary dishes can elevate your dessert experience.
I love serving them alongside a scoop of vanilla ice cream for a delightful contrast.
Consider adding a fresh fruit salad for a refreshing twist, or even a nutty granola for some crunch.
These dessert pairings truly enhance the overall meal options on your table!
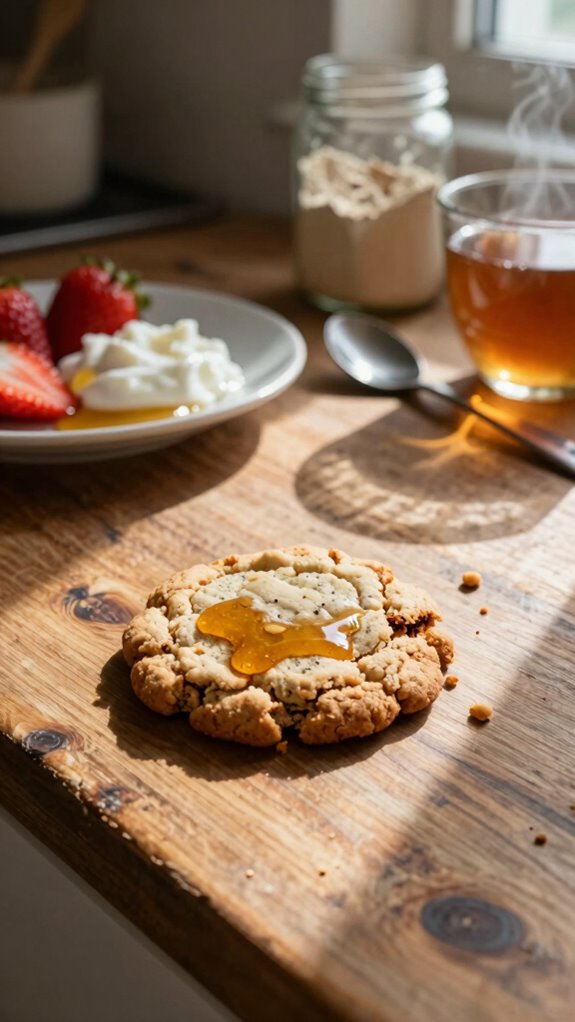
What drinks can I pair it with?
If you’re looking to complement gluten-free maple cookies, pairing them with the right drink can truly enhance the experience.
I love a warm cup of coffee, especially a light roast that balances the sweetness.
For tea options, a chai or earl grey brings a lovely spice that marries well with the maple flavor.
These combinations make for a delightful treat moment!
Frequently Asked Questions
Can I Substitute Almond Flour With Other Gluten-Free Flours?
Yes, you can substitute almond flour with rice flour or coconut flour, but keep in mind the texture and flavor might change. I’ve experimented with both, and they each offer a unique twist to recipes!
How Do I Store Leftover Maple Cookies?
I package my leftover cookies in an airtight container and store them in the fridge. For longer freshness, I freeze them. Those storage tips really keep flavor intact, and I love enjoying them later!
Is This Recipe Suitable for Vegan Diets?
Yes, this recipe’s suitable for vegan diets! I use a flaxseed alternative for eggs and replace regular sugar with coconut sugar. It’s delicious and meets my plant-based needs without sacrificing flavor. Enjoy baking!
How Can I Enhance the Maple Flavor?
To enhance the maple flavor, I add a splash of maple extract and use high-quality maple syrup. It deepens the sweetness and gives my cookies a richer, more authentic maple taste that I absolutely love.
Can I Freeze the Cookies for Later?
Absolutely, I can freeze the cookies! I use proper freezing techniques, placing them in an airtight container. For thawing methods, I simply leave them at room temperature or microwave them for a few seconds. Enjoy!