I’ve recently been experimenting with Brown Butter Chocolate Kiss Cookies, and I have to say, the rich, nutty flavor really sets them apart from regular chocolate cookies. The chewy texture combined with the gooey Hershey’s Kisses creates a delightful indulgence. I’ve discovered a few techniques to enhance the baking process and elevate the overall experience. If you’re curious about these cookies and how they can elevate your next gathering, keep on exploring the details.
What kind of recipe is it?
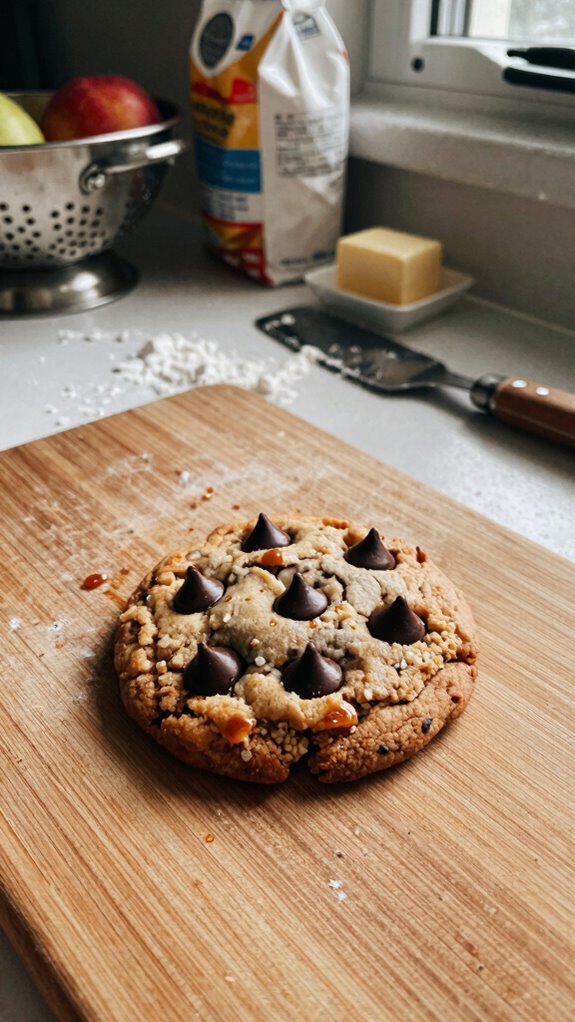
The Brown Butter Chocolate Kiss Cookie is a delightful twist on the classic chocolate chip cookie, featuring nutty, rich brown butter that adds depth and a luxurious flavor.
These cookies are characterized by their chewy texture and sweet bursts of melted chocolate from the Hershey’s Kisses nestled atop.
Ideal for cookie lovers and bakers of all skill levels, this recipe is perfect for family gatherings, parties, or simply satisfying a sweet tooth.
Indulge in these mouthwatering treats that elevate any occasion!
Preparation Time
| Attribute | Details |
|---|---|
| Difficulty of the Recipe | Easy to Medium |
| Preparation Time | 15 minutes (plus chilling time) |
| Number of Servings | Approximately 24 cookies |
Ingredients
| Ingredient | Quantity |
|---|---|
| Unsalted Butter | 1 cup (2 sticks) |
| Granulated Sugar | 1 cup |
| Brown Sugar | 1 cup |
| Eggs | 2 large |
| Vanilla Extract | 1 teaspoon |
| All-Purpose Flour | 2 1/4 cups |
| Baking Soda | 1 teaspoon |
| Kosher Salt | 1/2 teaspoon |
| Semi-Sweet Chocolate Kisses | 24 pieces (about 1 cup) |
| Optional: Sea Salt | For sprinkling on top |
Make sure to gather all these ingredients before starting the preparation to ensure a smooth baking experience!
Essential Kitchen Equipment
| Tool/Equipment | Purpose | Alternative Option |
|---|---|---|
| Mixing Bowls (Large & Medium) | Used for combining ingredients and dough preparation | Any large bowls or even clean pots can work |
| Measuring Cups (Dry) | Essential for accurately measuring dry ingredients like flour and sugar | Use a scale for weight-based measurements |
| Measuring Cups (Liquid) | Needed for measuring wet ingredients like melted butter and eggs | A liquid measuring jug can also be used |
| Measuring Spoons | Key for measuring small quantities like baking soda and salt | Tablespoons and teaspoons can be used if no measures are available |
| Stand Mixer or Hand Mixer | Automates mixing and creaming the butter and sugars; gives a uniform texture | Manual mixing with a wooden spoon is an alternative |
| Rubber Spatula | Useful for scraping the sides of bowls and for gentle folding | A wooden spoon or a flexible plastic spoon can substitute |
| Wooden Spoon | Ideal for mixing thick doughs and incorporating dry ingredients | Any sturdy spoon can be used instead |
| Baking Sheets (2-3) | For placing cookies while baking; ensures even heat distribution | A pizza stone or any flat baking surface can work |
| Parchment Paper or Silicone Mats | Helps prevent cookies from sticking and ensures easy removal | Lightly greasing the baking sheets is an option |
| Cookie Scoop or Spoon | For portioning cookie dough into even sizes for uniform baking | A regular tablespoon or small ice cream scoop can serve the purpose |
| Cooling Rack | Allows cookies to cool evenly after baking, preventing sogginess | A clean dish rack can be used as an alternative |
| Oven Thermometer | Ensures the oven is at the correct temperature for baking cookies | Check the temperature using an oven’s built-in gauge, but recommendations may vary |
Cooking Steps

6. Incorporate Egg and Vanilla: Add 1 large egg and 1 tsp vanilla extract to the creamed butter and sugar. Beat on medium speed until well combined, about 1 minute.
7. Combine Dry Ingredients: In a separate bowl, whisk together 190 g (1 1/2 cups) all-purpose flour, 1/2 tsp baking soda, and 1/4 tsp salt.
8. Combine Mixtures: Gradually add the dry ingredients to the wet mixture, mixing on low speed until just combined and no flour streaks remain. Avoid over-mixing.
9. Portion Cookie Dough: Using a cookie scoop or a tablespoon, portion the dough into balls about 30 g (2 tablespoons) each. Place them approximately 5 cm (2 inches) apart on the prepared baking sheets.
10. Bake the Cookies: Place the baking sheets in the preheated oven. Bake for 10-12 minutes until the edges are lightly golden and the centers look slightly underbaked but set.
Cookies should have a lightly crisp exterior while remaining chewy inside.
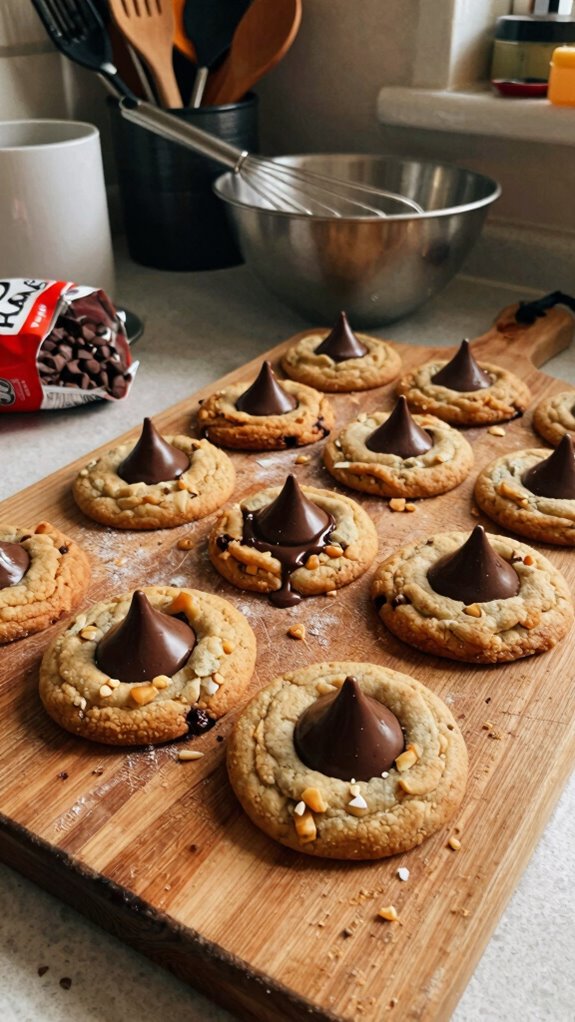
11. Add Chocolate Kisses: Remove the cookies from the oven and immediately press a chocolate kiss into the center of each cookie. Return them to the oven for an additional 1-2 minutes to allow the kisses to soften.
12. Cool the Cookies: Remove the cookies from the oven and let them cool on the baking sheets for 5 minutes. Then, transfer them to a cooling rack to cool completely.
This prevents sogginess and allows the cookies to firm up.
13. Store/Enjoy: Once cooled, enjoy the cookies fresh. Store any leftovers in an airtight container at room temperature for up to one week.
Variations
- Nutty Delight: Add 100 g (1 cup) chopped nuts like walnuts or pecans for extra texture and flavor.
- Cocoa Twist: Incorporate 30 g (1/4 cup) unsweetened cocoa powder into the dry ingredients for a rich chocolate version.
- Gluten-Free Option: Substitute all-purpose flour with a gluten-free blend to make the cookies gluten-free without compromising texture.
- Dairy-Free Delight: Use margarine or a plant-based butter alternative in place of regular butter for a dairy-free treat.
- Vegan Cookies: Replace the egg with a flax egg (1 tbsp ground flaxseed mixed with 3 tbsp water) and use dairy-free chocolate kisses.
- Pumpkin Spice: Add 100 g (1/2 cup) pure pumpkin puree and 1 tsp pumpkin pie spice into the wet mixture for a seasonal twist.
- Minty Fresh: Mix in 1/2 tsp peppermint extract instead of vanilla for a refreshing mint flavor and top with Andes mints in place of chocolate kisses.
- Air-Fryer Version: Shape the cookie dough balls and arrange them in the air fryer basket, cooking at 160°C (320°F) for 8-10 minutes for a quicker bake.
Tips on plating and presentation
After experimenting with those delicious variations, presenting your Brown Butter Chocolate Kiss Cookies can elevate their appeal even further.
Use simple plating techniques like stacking cookies or arranging them on a decorative plate.
Enhance cookie aesthetics by adding a dusting of powdered sugar or drizzling chocolate sauce.
Trust me, these little touches make a big difference and impress anyone who’s lucky enough to indulge!
What other dishes can I pair it with?
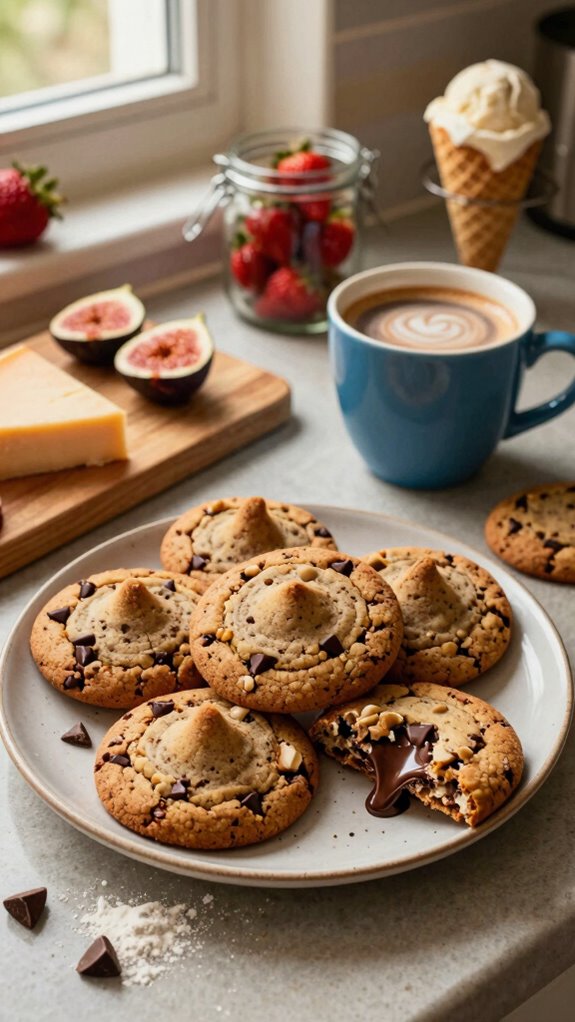
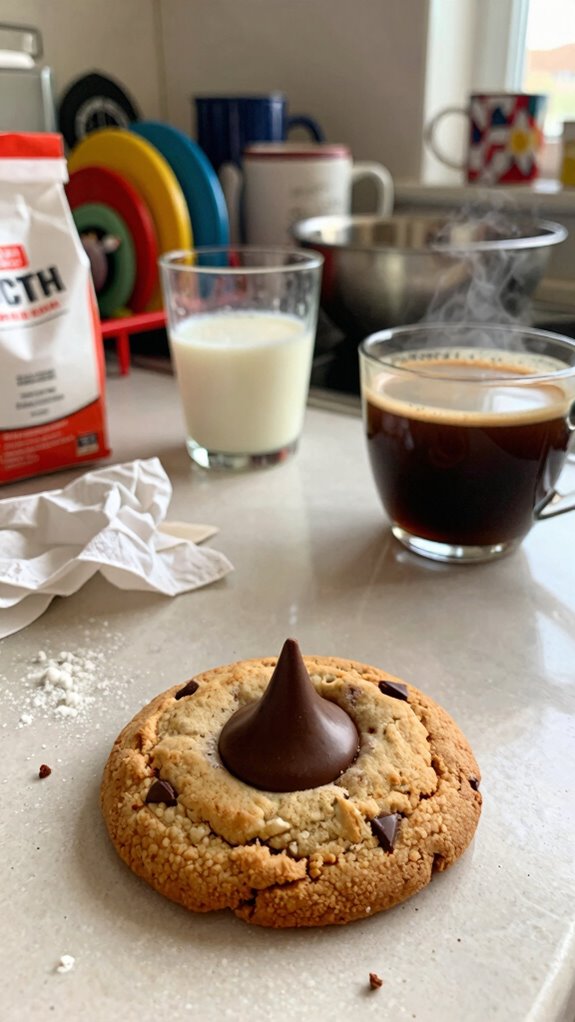
While indulging in Brown Butter Chocolate Kiss Cookies, I’ve found that pairing them with a rich cup of coffee or a glass of milk elevates the experience.
For dessert pairings, I also love serving them alongside vanilla ice cream or a warm fruit crumble, as these options provide amazing flavor complements.
Each combination enhances the nutty, chocolatey goodness of the cookies, creating a delightful treat!
What drinks can I pair it with?
What drinks can truly enhance the enjoyment of Brown Butter Chocolate Kiss Cookies? I find that a glass of dessert wine pairs beautifully, complementing the rich, nutty flavors.
If you prefer something lighter, try an oat or almond milk alternative—its creaminess accentuates the cookie’s texture.
Both options create a delightful experience that elevates this treat to new heights. Enjoy!
Frequently Asked Questions
How Can I Store Leftover Brown Butter Chocolate Kiss Cookies?
I use airtight containers for storing leftover cookies; it’s one of the best storage methods. Keeping cookies fresh is easy that way, and they stay delicious longer, ready for me to enjoy later!
Can I Freeze Brown Butter Chocolate Kiss Cookies?
Yes, I can freeze those cookies! I use good freezing techniques, like wrapping them tightly in plastic and then placing them in an airtight container. This helps maintain their texture preservation and keeps them delicious later.
What Dietary Restrictions Do These Cookies Accommodate?
These cookies can be made gluten-free by using almond or oat flour, and I’ve successfully replaced eggs with flaxseed or chia seeds. They cater to those with gluten sensitivities and egg allergies while still being delicious.
Are There Any Nut-Free Alternatives for This Recipe?
Yes, I’ve found that using nut-free substitutes like sunflower seed butter works well. Also, consider alternative flours such as oat or rice flour to maintain texture while keeping it completely nut-free. Enjoy your baking!
How Can I Adjust the Sweetness in the Cookies?
To adjust sweetness, I reduce sugar or add unsweetened cocoa for balance. Enhancing cookie flavor often means experimenting with spices like cinnamon or vanilla, which can create a satisfying taste without increasing sweetness. Give it a try!