I recently tried making Brown Butter Chocolate Peanut Butter Balls with Rice Krispies and was pleasantly surprised by the rich, nutty flavor they delivered. The blend of creamy peanut butter and crispy rice cereal creates a satisfying crunch that’s hard to resist. If you’re curious about how these delightful treats come together and their perfect pairings, stick around. There’s more to uncover about this indulgent recipe that’s ideal for any occasion.
What kind of recipe is it?
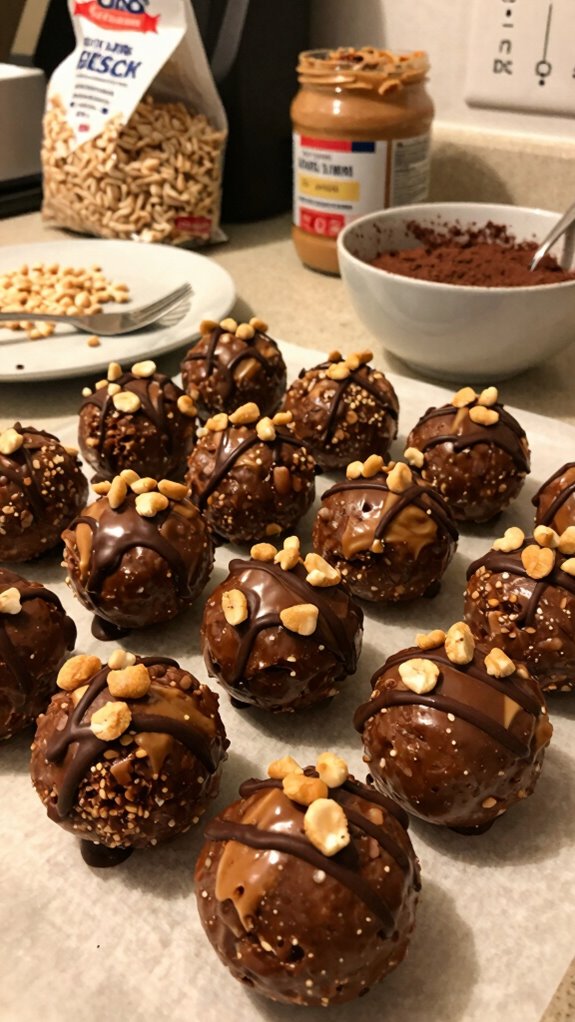
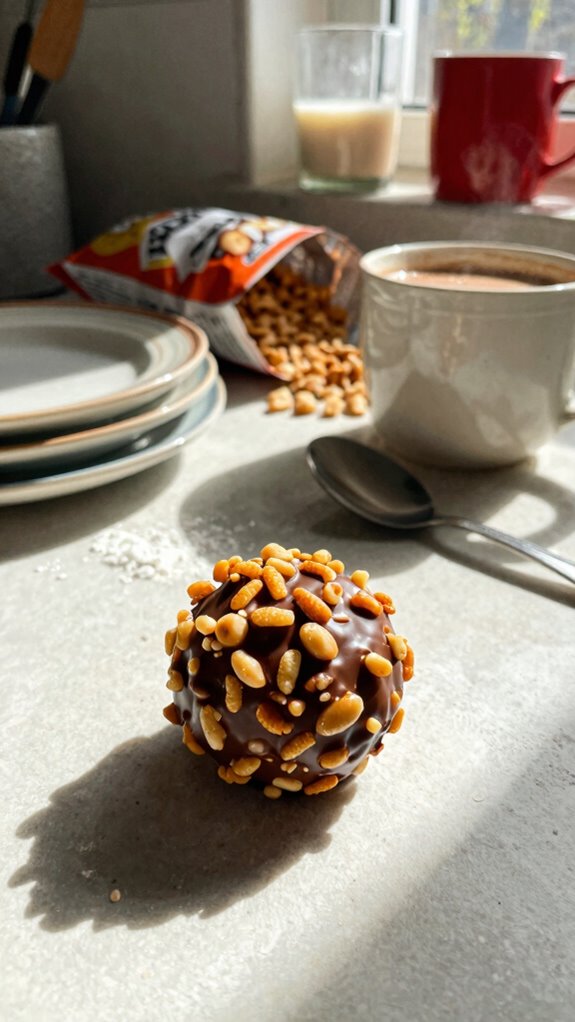
Brown Butter Chocolate Peanut Butter Balls are a delectable no-bake treat that expertly combines rich, nutty flavors with a hint of sweetness.
Highlighted by the unique taste of brown butter, these bite-sized delights are both indulgent and easy to make, making them perfect for casual gatherings or a sweet indulgence at home.
Aimed at dessert lovers and busy individuals alike, this recipe is ideal for those seeking a quick yet satisfying snack that balances creamy peanut butter with decadent chocolate.
Preparation Time
| Category | Details |
|---|---|
| Difficulty of the Recipe | Easy |
| Preparation Time | 20 minutes |
| Number of Servings | Approximately 12-15 balls |
Ingredients
| Ingredient | Quantity |
|---|---|
| Unsalted butter | 1/2 cup (1 stick) |
| Semi-sweet chocolate chips | 1 cup |
| Creamy peanut butter | 1/2 cup |
| Powdered sugar | 1 cup |
| Vanilla extract | 1 teaspoon |
| Salt | 1/4 teaspoon |
| Chopped peanuts (optional) | 1/4 cup |
Essential Kitchen Equipment
| Tool/Equipment | Purpose | Alternative Option |
|---|---|---|
| Mixing bowls (large and medium) | Used to mix ingredients together. A large bowl is needed for the butter and sugar, while a medium bowl can be used for melting chocolate. | Any large bowl or container can substitute, like a saucepan for melting chocolate. |
| Measuring cups (dry and liquid) | Necessary for measuring out the butter, peanut butter, powdered sugar, and liquid ingredients like vanilla. | Use a scale for more accurate measurements if you don’t have measuring cups. |
| Measuring spoons | Required for accurately measuring small quantities like salt and vanilla extract. | Use a tiny cup or any small, consistent household spoon for approximations. |
| Stand mixer or hand mixer | Helps to cream butter and sugar together easily and mix other ingredients until well combined. | A wooden spoon or whisk can be used but will require more effort. |
| Rubber spatula | Ideal for scraping down the sides of the bowl and ensuring all ingredients are mixed thoroughly. | A regular spatula or spoon can work, but a rubber spatula prevents sticking. |
| Wooden spoon | Commonly used for mixing ingredients, especially when combining thick mixtures like chocolate and peanut butter. | A sturdy plastic or silicone spoon can be just as effective for mixing. |
| Baking sheets (2-3) | Used for shaping and baking the chocolate peanut butter balls; allows for even spacing while cooling. | Any flat, heat-proof surface can work, such as an upside-down oven-safe baking dish. |
| Parchment paper or silicone mats | Provides a non-stick surface for baking; prevents the balls from sticking to the baking sheets. | Lightly greasing the baking sheet can serve as an alternative, but may affect texture. |
| Cookie scoop or spoon | Helps portion out cookie dough evenly to create uniform-sized balls. | A regular tablespoon can also be used to form portions, though consistency may vary. |
| Cooling rack | Allows the chocolate peanut butter balls to cool evenly after melting or setting. | A flat surface like a cutting board or plate can be used, though airflow may be limited. |
| Oven thermometer | Ensures that the oven temperature is accurate, vital for proper melting and baking. | If unavailable, keep an eye on the recipe times as many ovens vary in actual temperature. |
Cooking Steps
6. Chill the Mixture: Cover the bowl with plastic wrap and chill the mixture in the refrigerator for 30-45 minutes, or until it’s firm enough to scoop.
7. Shape the Balls: Once chilled, use a cookie scoop or a tablespoon to portion out the mixture. Roll it into 2.5 cm (1 inch) diameter balls by hand. Place the balls on the prepared baking sheets, ensuring they’re spaced about 2.5 cm (1 inch) apart.
8. Melt Chocolate: In a medium heatproof bowl, add the 180 g (1 cup) chocolate chips. Melt in the microwave in 30-second intervals at medium power, stirring between intervals until smooth and melted (about 1-2 minutes total).
Alternatively, melt by placing the bowl over simmering water, stirring until smooth.
9. Coat the Balls: Dip each peanut butter ball into the melted chocolate using a fork. Allow excess chocolate to drip off before placing it back on the baking sheet.
10. Set the Chocolate: Allow the coated balls to set at room temperature for about 30 minutes, or until the chocolate is firm.
11. Cool Completely: For best results, transfer the baking sheets to the refrigerator for an additional 15-20 minutes until the chocolate coating is completely hardened.
12. Serve or Store: Once the chocolate has set, enjoy the chocolate peanut butter balls immediately, or store them in an airtight container in the refrigerator for up to one week.
Variations
- Spicy Peanut Butter Balls: Add a pinch of cayenne pepper or chili powder to the mixture for a sweet and spicy kick.
- Nut-Free Option: Replace peanut butter with sun butter (sunflower seed butter) for a nut-free alternative suitable for schools and allergies.
- Holiday Pumpkin Spice Balls: Fold in 80 g (1/2 cup) of pumpkin puree and 5 g (1 teaspoon) of pumpkin pie spice for a seasonal fall-inspired treat.
Tips on plating and presentation
While creating your brown butter chocolate peanut butter balls, consider how you present them, as a beautiful display can elevate any treat.
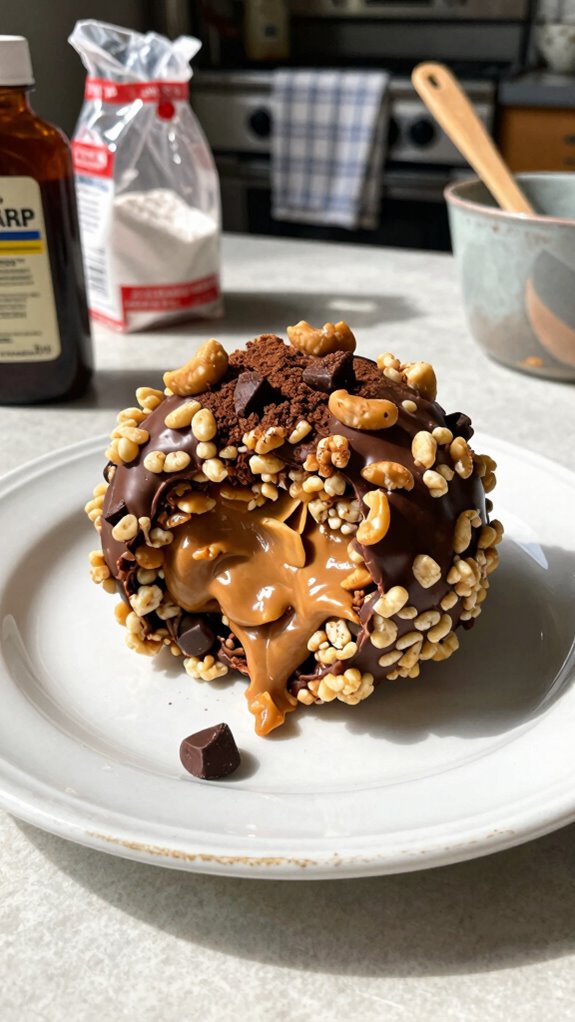
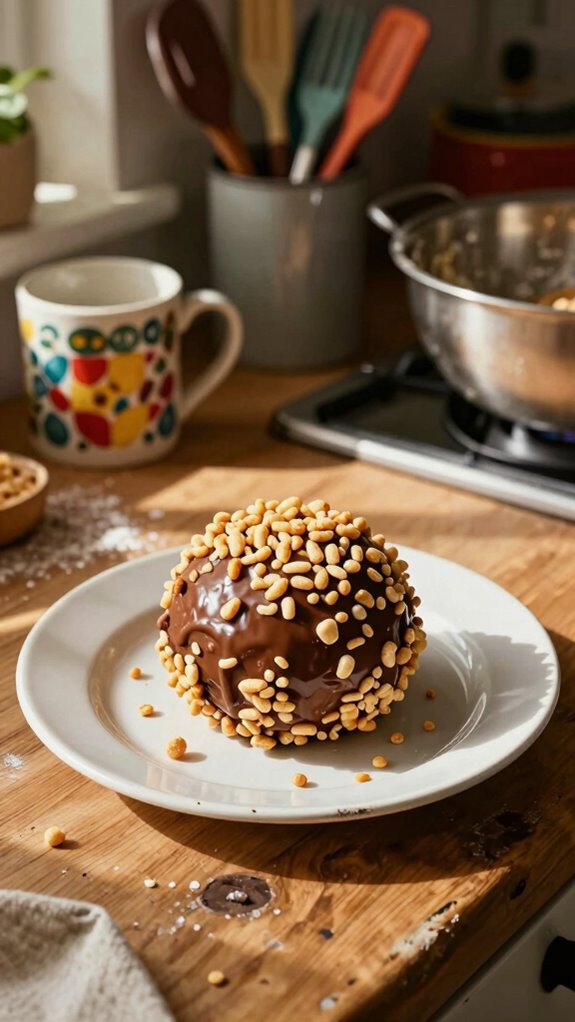
For plating techniques, use simple white plates to make the colors pop. Add a dusting of cocoa powder or crushed nuts for an elegant touch.
Garnish ideas might include a drizzle of melted chocolate or a sprinkle of sea salt for visual appeal.
What other dishes can I pair it with?
If you’re looking to create a delightful spread, pairing brown butter chocolate peanut butter balls with complementary dishes can enhance the overall experience.
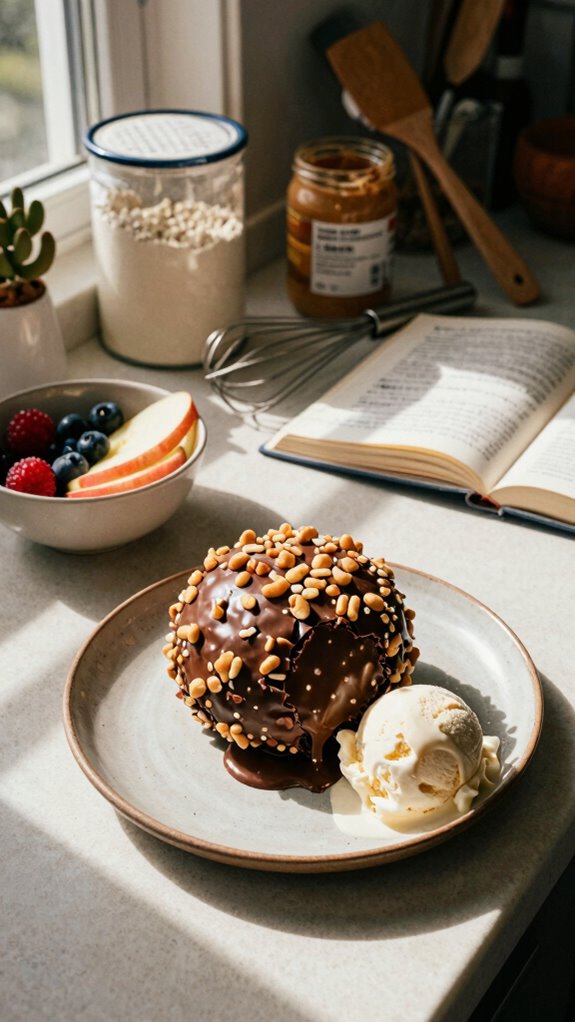
I love adding fresh fruit, like strawberries or bananas, to my dessert platter for flavor contrasts.
Additionally, incorporating a rich chocolate cake or nutty granola bars can balance the sweetness, making for a truly indulgent treat everyone will enjoy.
What drinks can I pair it with?
To elevate the enjoyment of my brown butter chocolate peanut butter balls, I often reach for a glass of cold milk.
Its creamy richness complements the nutty flavors perfectly.
If I’m in the mood for coffee pairings, a smooth espresso enhances the chocolate’s depth.
For a dairy-free option, I love using almond or oat milk as delicious milk alternatives.
Frequently Asked Questions
Can I Substitute Peanut Butter With Almond or Cashew Butter?
Absolutely, you can substitute peanut butter with almond or cashew butter! Both nut butter alternatives bring unique flavor profiles, enhancing your dish. I love using cashew butter for its creaminess and almond butter for its robust taste.
How Should I Store Leftover Chocolate Peanut Butter Balls?
I store leftover chocolate peanut butter balls in airtight containers. If I can’t finish them within a few days, I freeze them for longer storage, ensuring they stay fresh and delicious whenever I need a treat!
Are There Any Allergy Considerations for This Recipe?
Yes, there are allergy considerations. I suggest using nut-free options like sun butter and gluten-free alternatives like rice cereal. Always check labels carefully to ensure all ingredients meet your dietary needs before enjoying!
How Long Do Cooked Balls Last in the Fridge?
Cooked balls last about one week in the fridge. I always check ingredient freshness before indulging, as proper storage can make all the difference in taste and safety for enjoying them later.
Can I Make This Recipe Vegan-Friendly?
Absolutely, I can make this recipe vegan-friendly! I swap regular butter with vegan alternatives and use nut-free options like sunbutter instead of peanut butter. It’s delicious and fits everyone’s dietary needs!