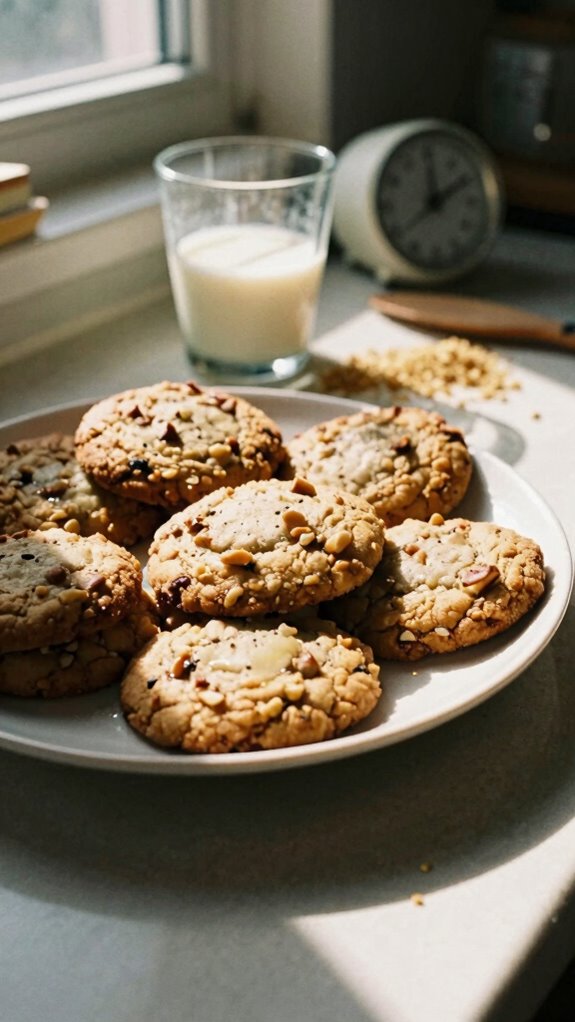
When I first experimented with the Brown Butter Danish Butter Cookie, I was captivated by its rich, nutty flavor. The way the brown butter transforms a classic cookie into something unique is truly remarkable. It’s a perfect treat for gatherings or a simple afternoon indulgence. As I share the details of this delightful recipe, you might just find a new favorite to add to your culinary repertoire.
What kind of recipe is it?
The Brown Butter Danish Butter Cookie is a delightful treat that merges rich, nutty flavors with the classic buttery goodness of traditional cookies.
This recipe is characterized by the unique use of brown butter, which adds depth and complexity to each bite, making it a standout choice for cookie enthusiasts.
It’s perfect for cozy gatherings, holiday celebrations, or a special indulgence during afternoon tea.
Ideal for both novice bakers and seasoned pastry aficionados, this cookie is sure to impress with its sophisticated taste and elegant presentation.
Preparation Time
| Aspect | Details |
|---|---|
| Difficulty | Intermediate |
| Preparation Time | 15 minutes (plus cooling time for the brown butter) |
| Number of Servings | Approximately 24 cookies |
Ingredients
| Ingredient | Quantity |
|---|---|
| Unsalted butter | 1 cup (2 sticks) |
| Granulated sugar | 3/4 cup |
| Brown sugar | 1/4 cup |
| Large egg | 1 |
| Pure vanilla extract | 1 teaspoon |
| All-purpose flour | 2 cups |
| Baking powder | 1/2 teaspoon |
| Salt | 1/2 teaspoon |
| Milk (for brushing) | 1 tablespoon |
| Coarse sugar (for topping) | Optional (for sprinkling) |
Essential Kitchen Equipment
| Tool/Equipment | Purpose | Alternative Option |
|---|---|---|
| Mixing Bowls (Large & Medium) | Used for combining and mixing ingredients together. | Any large bowl or even a large pot can work. |
| Measuring Cups (Dry & Liquid) | Essential for accurately measuring ingredients for the right texture and flavor. | Use standard coffee cups for dry ingredients, and a standard liquid measuring cup if needed. |
| Measuring Spoons | Used for measuring smaller quantities of ingredients like baking powder and vanilla extract. | An ordinary teaspoon can work in place of measuring spoons, keeping in mind the volume differences. |
| Stand Mixer or Hand Mixer | Makes mixing butter and sugars much easier and ensures a uniform texture. | A whisk can be used manually to combine ingredients, but it requires more effort. |
| Rubber Spatula | For scraping down the sides of bowls and folding in flour to ensure mixture is well combined. | A wooden spoon can be used as a makeshift spatula for folding and scraping. |
| Wooden Spoon | Used for stirring the dough mixture, especially for thicker batches. | A sturdy plastic or silicone spoon could be used instead. |
| Baking Sheets (2-3) | Provides a flat surface for placing cookie dough while baking. | Any flat, oven-safe tray can serve as an alternative. |
| Parchment Paper or Silicone Mats | Prevents cookies from sticking to baking sheets and helps with even baking. | Greasing the baking sheets with butter or oil can work, though it may not prevent sticking entirely. |
| Cookie Scoop or Spoon | Ensures cookies are uniform in size for even baking. | A regular tablespoon can be used to drop cookie dough, though the uniformity won’t be as precise. |
| Cooling Rack | Allows cookies to cool evenly after baking to prevent sogginess. | A large plate or tray can serve as a cooling surface if a rack isn’t available. |
| Oven Thermometer | Helps to ensure the oven is at the correct temperature, as some ovens may be inaccurate. | If unavailable, monitor baking closely and adjust based on visual cues. |
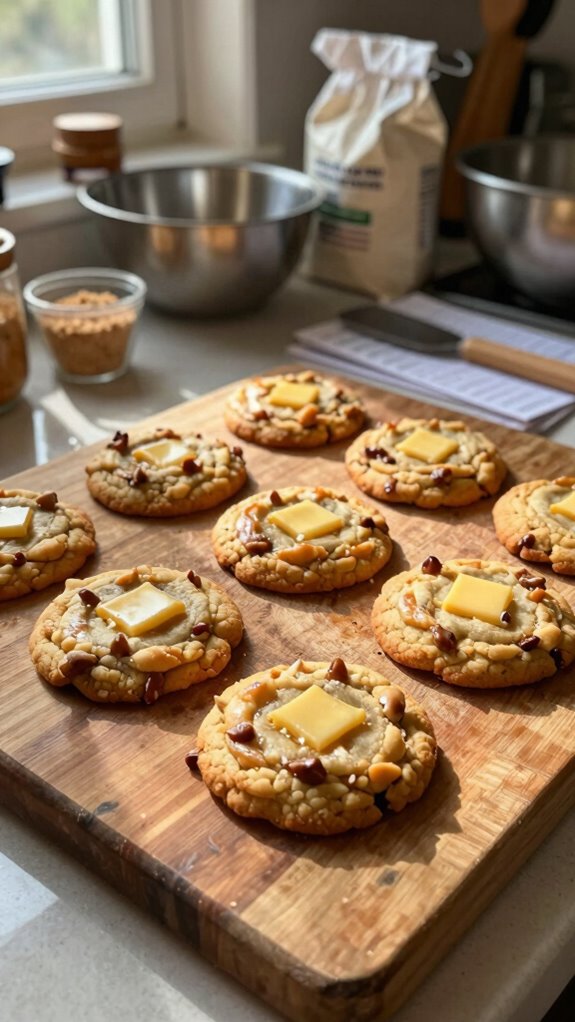
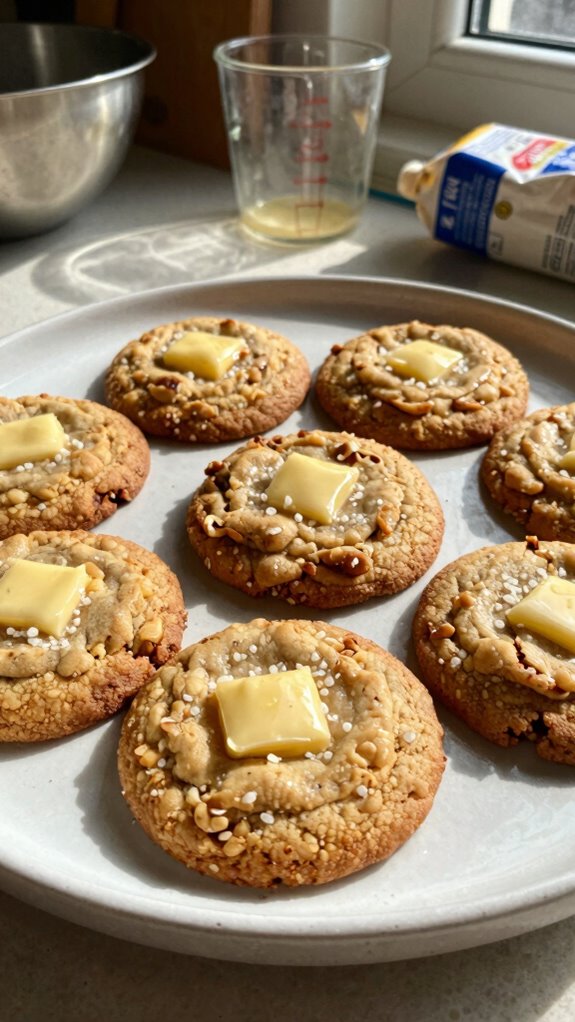
Cooking Steps
1. Mise en Place: Gather all your ingredients and equipment. Measure 150 g (3/4 cup) of unsalted butter, and let it sit at room temperature to soften. Measure out 100 g (1/2 cup) of granulated sugar, 75 g (1/3 cup) of powdered sugar, 1 large egg, and 1 teaspoon of pure vanilla extract. Prepare 250 g (2 cups) of all-purpose flour, 1/2 teaspoon of baking powder, and a pinch of salt.
2. Preheat the Oven: Preheat your oven to 170 °C (340 °F). Position your oven rack in the center for optimal baking conditions. If using a convection oven, set the temperature to 160 °C (320 °F).
3. Butter Preparation: In a medium saucepan over low heat, add the butter. Cook gently, stirring frequently, until the butter melts and begins to foam. Watch closely as the color transitions to a golden brown and a nutty aroma develops, which should take about 5–7 minutes.
Immediately remove from heat and let it cool to room temperature.
4. Mixing Ingredients: In a large mixing bowl, combine the cooled brown butter, granulated sugar, and powdered sugar using a stand mixer fitted with the paddle attachment at medium speed. Mix until light and fluffy, approximately 2–3 minutes.
Add in the egg and vanilla extract; mix until fully incorporated.
5. Combining Dry Ingredients**: In a separate bowl, whisk together the all-purpose flour, baking powder, and salt. Gradually add this dry mixture to the wet ingredients while mixing on low speed until just combined**.
Avoid overmixing to prevent tough cookies.
6. Chill the Dough (Optional): If time allows, wrap the dough in plastic wrap and refrigerate for 30–60 minutes. This step aids in flavor development and helps with shaping later.
7. Prepare Baking Sheets****: Line 2–3 baking sheets with parchment paper or silicone mats to prevent sticking.
8. Scooping Cookies: Using a cookie scoop or a tablespoon, portion about 30 g (2 tablespoons) of cookie dough for each cookie, spacing them about 5 cm (2 inches) apart on the lined baking sheets.
For variations, consider rolling the dough in sugar or adding choc chips at this step.
9. Baking Cookies: Place the baking sheets in the preheated oven. Bake for 12–15 minutes, or until the edges are lightly golden and the centers appear set.
The cookies will continue to firm up as they cool.
10. Cooling the Cookies: Once baked, remove the sheets from the oven. Allow the cookies to cool on the baking sheets for 5 minutes to set, then transfer them to a cooling rack to cool completely.
This will help maintain their texture and prevent sogginess.
11. Storage of Cookies: Once fully cooled, store the cookies in an airtight container at room temperature for up to one week, or freeze for longer storage.
Variations
- Chocolate Chip Brown Butter Cookies: Fold in 150 g (1 cup) of chocolate chips into the dough for a classic twist.
- Gluten-Free Brown Butter Cookies: Substitute the all-purpose flour with 250 g (2 cups) of a gluten-free flour blend to accommodate gluten sensitivities.
- Dairy-Free Brown Butter Cookies: Replace unsalted butter with 150 g (3/4 cup) of coconut oil or a dairy-free butter substitute for a vegan-friendly option.
- Vegan Brown Butter Cookies: Use 150 g (3/4 cup) of coconut oil instead of butter and substitute the egg with a flax egg (1 tablespoon ground flaxseed mixed with 2.5 tablespoons water).
- Citrus Brown Butter Cookies: Add the zest of 1 lemon or orange to the dough for a fresh, fruity flavor enhancement.
- Nutty Brown Butter Cookies: Incorporate 100 g (1 cup) of chopped nuts, such as walnuts or pecans, into the dough for added texture and flavor.
- Holiday Spice Brown Butter Cookies: Mix in 2 teaspoons of mixed spice (cinnamon, nutmeg, ginger) into the dry ingredients for a seasonal flavor profile.
- Air Fryer Brown Butter Cookies: Shape the cookies and cook them in an air fryer at 160 °C (320 °F) for 10–12 minutes for a quicker baking method with a crispier texture.
Tips on plating and presentation
Although it might seem simple, presenting your Brown Butter Danish Butter Cookies can elevate their appeal and make any occasion feel special.
I love using plating techniques like stacking or arranging them in a decorative box. To add a touch of flair, I suggest using cookie garnishes such as edible flowers or a dusting of powdered sugar.
It creates a delightful presentation that impresses guests!
What other dishes can I pair it with?
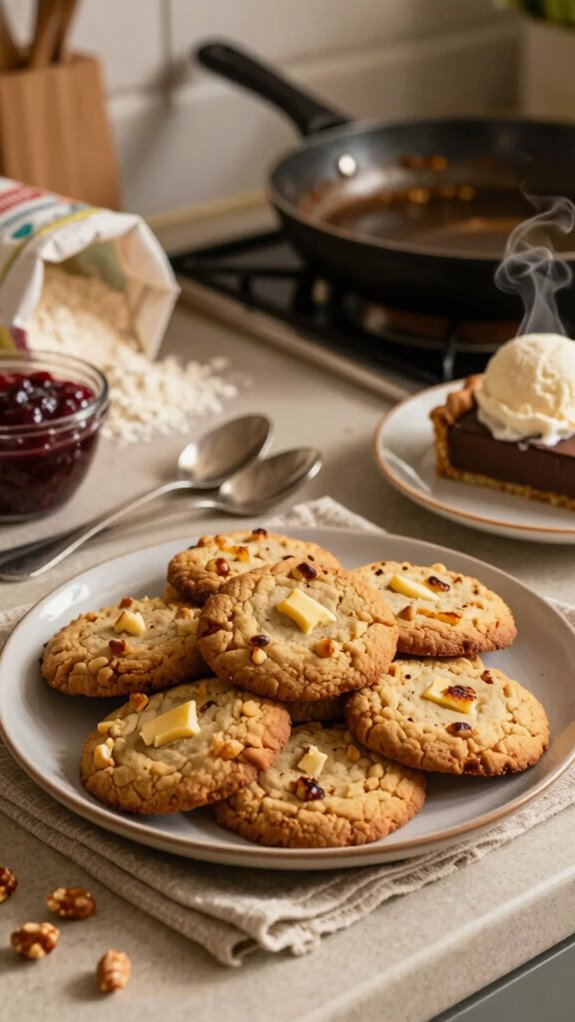
Pairing Brown Butter Danish Butter Cookies with complementary dishes can enhance their unique flavors and make for a delightful experience.
I love serving them alongside rich chocolate mousse or a simple fruit tart. These cookie pairings often create delicious dessert combinations, harmonizing textures and flavors.
Don’t forget to add a scoop of vanilla ice cream for an extra treat that complements these cookies beautifully!
What drinks can I pair it with?
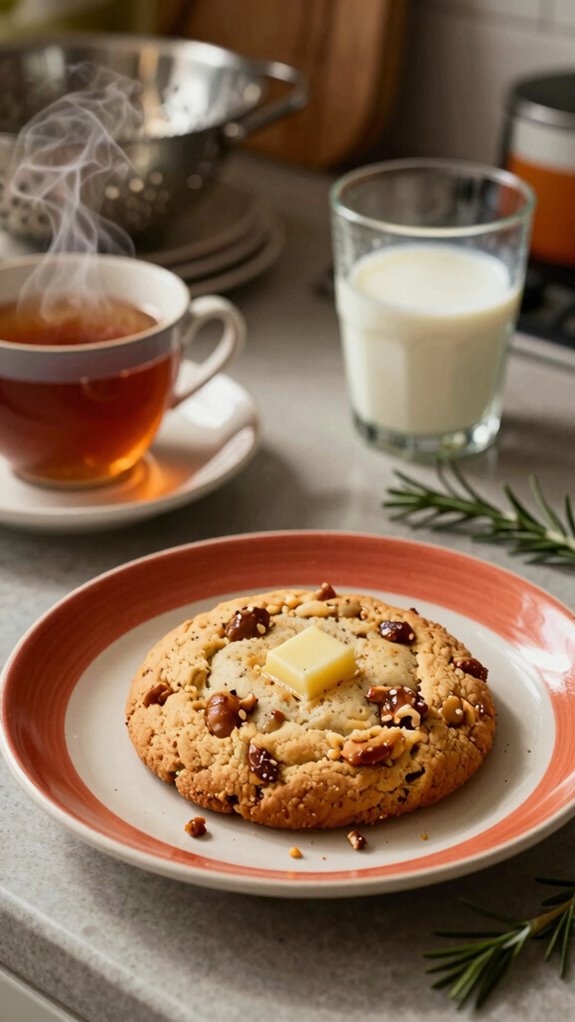
What drinks can truly elevate the experience of enjoying Brown Butter Danish Butter Cookies?
I love pairing them with rich coffee—think espresso or a creamy latte. The nuttiness of the cookies balances perfectly.
If you’re a tea lover, try a lightly spiced chai or a smooth Earl Grey. Both options complement the cookie’s buttery flavor beautifully.
Enjoy experimenting!
Frequently Asked Questions
Can I Freeze the Brown Butter Danish Butter Cookies?
Yes, you can freeze them! I recommend wrapping each cookie individually to prevent texture changes. When you’re ready to enjoy them, just thaw at room temperature for a delicious treat that’s almost fresh!
How Long Do These Cookies Stay Fresh?
These cookies stay fresh for about a week at room temperature. I recommend storing them in an airtight container to maximize cookie freshness. For longer storage, try freezing them with my easy storage tips!
Are There Gluten-Free Alternatives for This Recipe?
Yes, I’ve tried using gluten-free flour in my cookie recipes. The texture’s different but still tasty! Just make sure to balance the moisture levels for the best results. Happy baking!
What Is the Ideal Storage Method for These Cookies?
I store my cookies in an airtight container, layering them between parchment paper to keep them fresh. This method protects their texture and flavor, ensuring I enjoy them as if they’re just baked.
Can I Use Salted Butter Instead of Unsalted?
I wouldn’t recommend using salted butter instead of unsalted. The flavor balance gets thrown off, making your cookies too salty. Unsalted butter lets you control the salt, ensuring a perfect cookie every time.