I’ve always enjoyed baking, but Brown Butter Iced Sugar Cookies take it to another level. The nutty depth of the browned butter complements the sweetness perfectly, creating a chewy yet tender bite. They’ve become my go-to treat for gatherings. Curious about how to create these delightful cookies and elevate your baking game in the kitchen? There’s more to uncover, from essential tips to creative variations that can make your batch truly unique.
What kind of recipe is it?
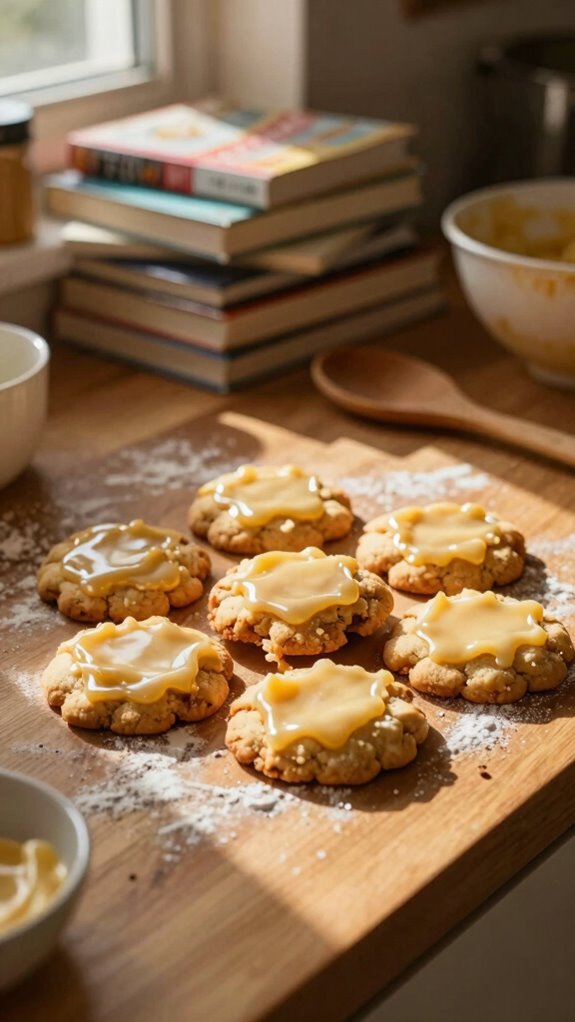
Brown Butter Iced Sugar Cookies are a delightful twist on the classic sugar cookie, featuring the rich, nutty flavor of browned butter that elevates their taste.
These cookies are chewy yet tender, topped with a glossy icing that adds an elegant finish. They’re perfect for special occasions or everyday treats, appealing to bakers of all skill levels.
Whether you’re surprising guests at a party or enjoying a cozy night in, these cookies bring warmth and joy to any gathering or personal indulgence.
Preparation Time
| Attribute | Details |
|---|---|
| Difficulty | Moderate |
| Preparation Time | 30 minutes |
| Number of Servings | 24 cookies |
Ingredients
Here’s a detailed table of the ingredients needed for the Brown Butter Iced Sugar Cookie recipe:
| Ingredient | Quantity |
|---|---|
| All-purpose flour | 3 cups |
| Granulated sugar | 1 cup |
| Brown sugar | 1 cup |
| Unsalted butter | 1 cup (2 sticks), browned |
| Eggs | 2 large |
| Vanilla extract | 2 teaspoons |
| Baking powder | 1 teaspoon |
| Baking soda | 1/2 teaspoon |
| Salt | 1/2 teaspoon |
| Powdered sugar | 2 cups |
| Milk | 2 tablespoons |
| Food coloring (optional) | As desired |
| Sprinkles (optional) | As desired |
This table provides a clear breakdown of the ingredients and their required quantities for the recipe.
Essential Kitchen Equipment
Here’s a detailed table outlining the essential kitchen equipment needed for the Brown Butter Iced Sugar Cookie recipe, their purpose, and budget-friendly alternative options:
| Tool/Equipment | Purpose | Alternative Option |
|---|---|---|
| Mixing Bowls (Large & Medium) | Used for mixing dry ingredients and wet ingredients separately before combining. | Any large and medium bowls you have at home. |
| Measuring Cups (Dry & Liquid) | Essential for accurately measuring both dry and liquid ingredients. | Use generic kitchen cups with known measurement equivalents. |
| Measuring Spoons | Needed for measuring smaller quantities of ingredients like baking powder and salt. | Generic spoons that correspond to measurements (1 tablespoon, 1 teaspoon). |
| Stand Mixer or Hand Mixer | Helps to cream the butter and sugars together effectively and beat in eggs. | Manual whisk or fork for mixing (though it may require more effort). |
| Rubber Spatula | Ideal for scraping down the sides of bowls and folding in ingredients. | Metal or plastic spatula works, or even a spoon can substitute. |
| Wooden Spoon | Utilized for stirring and mixing dough, especially when it’s too thick for the mixer. | Any sturdy spoon from your kitchen. |
| Baking Sheets (2-3) | Used for baking the sugar cookies in the oven. | Use any flat, oven-safe trays you have at home. |
| Parchment Paper or Silicone Mats | Prevent cookies from sticking to the baking sheet and help with cleanup. | Greasing the baking sheet with butter or cooking spray. |
| Cookie Scoop or Spoon | Helps in portioning out cookie dough for uniform cookie sizes. | Use a regular tablespoon for portioning the dough. |
| Cooling Rack | Allows cookies to cool down evenly and prevents sogginess. | Placing cookies on a plate or countertop works, though airflow may be limited. |
| Oven Thermometer | Ensures the oven temperature is accurate for proper baking. | Not necessary if you are familiar with your oven’s behavior; otherwise, rely on timing. |
This table provides a comprehensive overview of the essential tools needed for the cookie recipe, along with their specific roles and practical alternatives for those who may be looking for budget-friendly options.
Cooking Steps
- Preheat your oven to 175 °C (350 °F). Position the oven rack in the center of the oven to ensure even baking.
- In a large mixing bowl, combine 450 g (4 cups) of all-purpose flour, 5 g (1 teaspoon) of baking powder, and 2 g (½ teaspoon) of salt. Whisk these dry ingredients together until evenly mixed, then set aside.
- In a medium mixing bowl, use a stand mixer fitted with the paddle attachment or a hand mixer on medium speed to cream 170 g (¾ cup) of unsalted brown butter (prepared by cooking 170 g of unsalted butter over medium heat until golden brown, then cooled slightly) with 200 g (1 cup) of granulated sugar and 100 g (½ cup) of brown sugar until the mixture becomes light and fluffy, about 3-5 minutes.
- Add 1 large egg and 1 large egg yolk, mixing until fully incorporated. Follow with 5 ml (1 teaspoon) of vanilla extract, mixing until combined.
- Gradually add the dry flour mixture to the wet ingredients in three additions, mixing on low speed until just combined after each addition. Don’t overmix; the dough will still be slightly sticky.
- Using a rubber spatula, gently fold in any optional mix-ins at this stage (if desired).
- Line 2-3 baking sheets with parchment paper, or alternatively, grease lightly with butter or cooking spray. Use a cookie scoop or a tablespoon to portion out rounded dough balls (about 30 g each or 2 tablespoons) and place them 5 cm (2 inches) apart on the prepared baking sheets.
- Bake in the preheated oven for 10-12 minutes, or until the edges are lightly golden and the centers look slightly underbaked but set. Cookies should puff slightly and spread just a bit.
- Remove the baking sheets from the oven and allow the cookies to cool on the sheets for 5 minutes before transferring them to a cooling rack using a spatula. This allows the cookies to finish setting without becoming too firm.
- Cool the cookies completely on the rack for at least 20 minutes before icing.
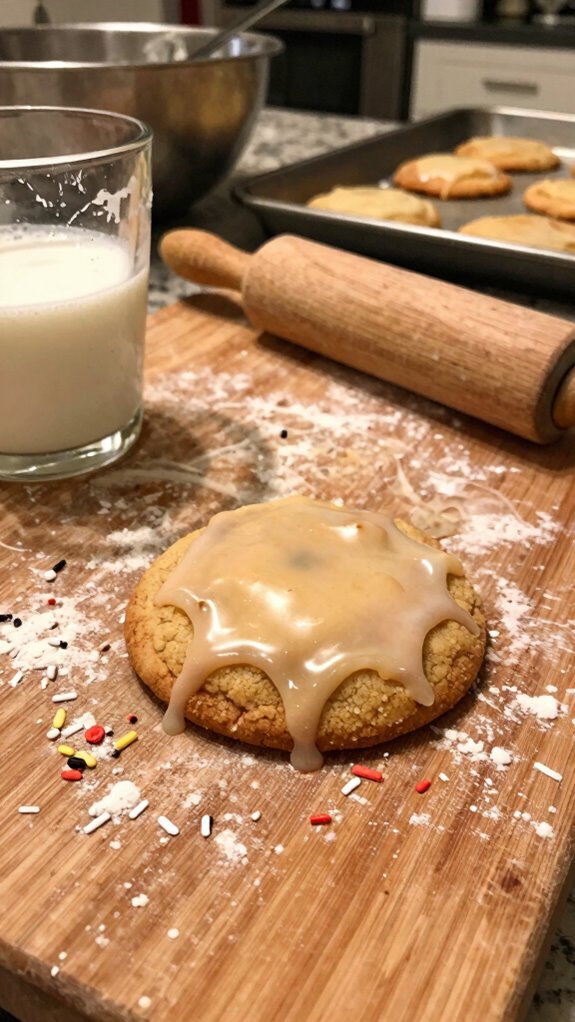
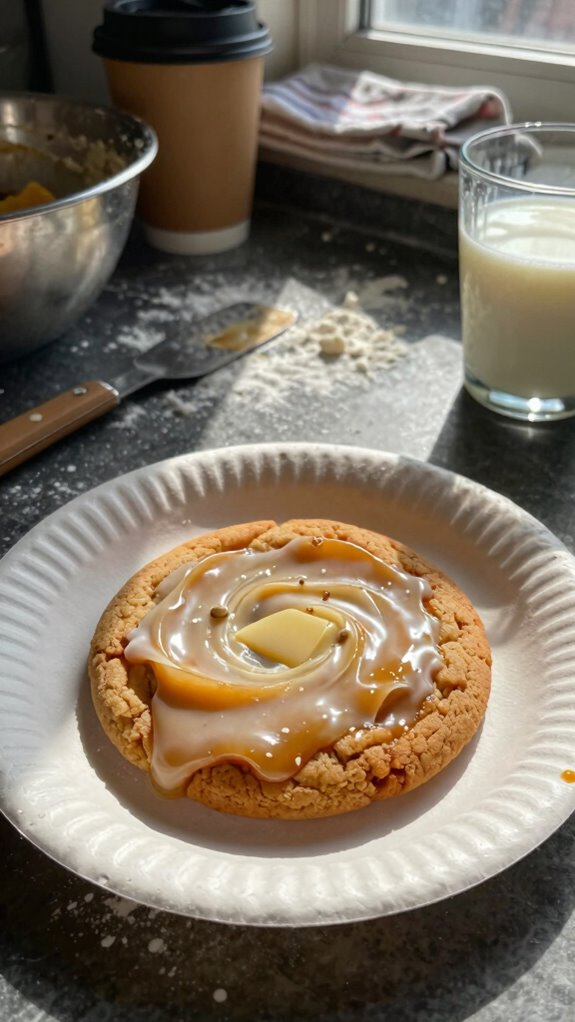
- If icing the cookies, prepare it while the cookies are cooling. Mix together powdered sugar, milk, and any desired flavor extracts until smooth. Adjust consistency with more powdered sugar or milk as needed until it’s spreadable but not too runny.
- Use a spoon or a piping bag to ice the cooled cookies, allowing the icing to set at room temperature for at least 30 minutes before serving.
Enjoy the Brown Butter Iced Sugar Cookies as a delightful treat or gift!
Variations
- Lemon Zest Sugar Cookies: Add 15 g (1 tablespoon) of freshly grated lemon zest to the dough for a citrusy twist.
- Chocolate Chip Brown Butter Cookies: Fold in 150 g (1 cup) of semi-sweet chocolate chips into the dough for a classic chocolate chip variation.
- Vegan Brown Butter Cookies: Substitute the butter with 170 g of vegan butter and replace the egg with a flax egg (1 tablespoon flaxseed meal + 2.5 tablespoons water) for a plant-based option.
- Gluten-Free Sugar Cookies: Replace all-purpose flour with 450 g (4 cups) of gluten-free all-purpose flour blend, ensuring it contains xanthan gum.
- Almond and Sugar Cookies: Incorporate 5 ml (1 teaspoon) of almond extract and 50 g (½ cup) of finely chopped almonds into the dough for a nutty flavor profile.
- Spiced Brown Butter Cookies: Add 2 g (½ teaspoon) of ground cinnamon and a pinch of nutmeg to the dry ingredients for a warm, spiced cookie.
- Seasonal Pumpkin Sugar Cookies: Mix in 125 g (½ cup) of canned pumpkin puree and reduce the granulated sugar to 150 g (¾ cup) for a fall-inspired treat.
- Air-Fryer Sugar Cookies: Prepare cookies as directed and cook in an air fryer at 160 °C (320 °F) for 8-10 minutes for a quicker and lower-fat alternative.
Tips on plating and presentation

How can I make my Brown Butter Iced Sugar Cookies look as delightful as they taste?
I love using simple plating techniques like stacking cookies high on a decorative platter. For presentation ideas, consider dusting with powdered sugar or adding colorful sprinkles.
A floral napkin underneath adds elegance, while pairing them with a small jar of milk creates a charming touch.
What other dishes can I pair it with?
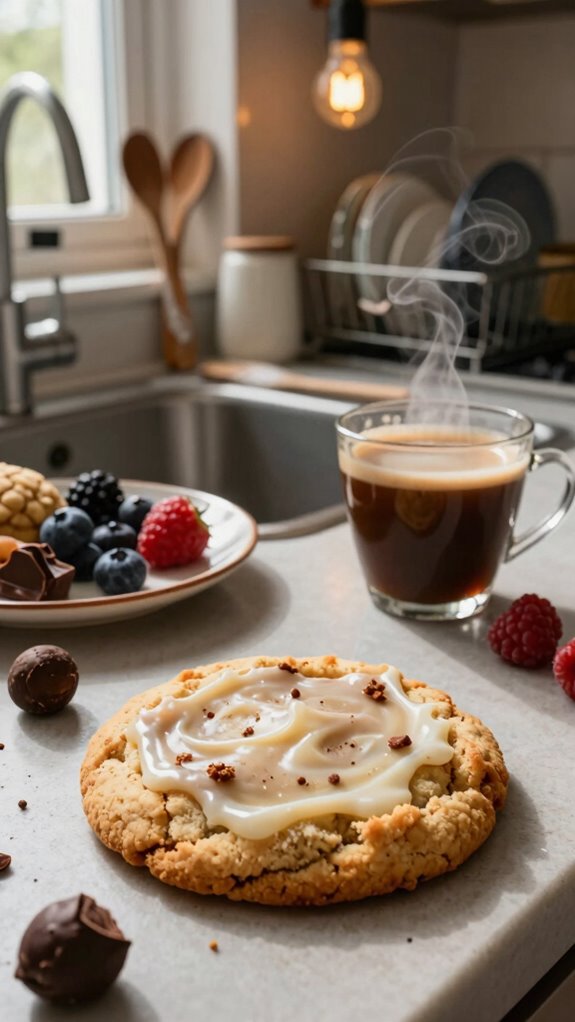
While enjoying my Brown Butter Iced Sugar Cookies, I love to pair them with a variety of delightful dishes that complement their rich flavor.
A warm slice of spiced apple pie makes for a fantastic dessert pairing, while a scoop of vanilla ice cream creates harmonious flavor combinations.
Mixing in buttery shortbread can elevate the experience, making every bite truly unforgettable.
What drinks can I pair it with?
To fully enjoy my Brown Butter Iced Sugar Cookies, I often find that a well-chosen drink can elevate the experience.
For a perfect coffee pairing, I enjoy a rich espresso or a smooth latte, which complements the cookie’s buttery sweetness.
If I’m in the mood for something lighter, a chilled oat milk alternative works wonderfully, enhancing the flavors without overpowering them.
Frequently Asked Questions
Can I Use Margarine Instead of Butter for This Recipe?
You can use margarine instead of butter, but be aware of margarine differences. It can alter the baking texture, making cookies denser. I’ve noticed a difference, so I prefer sticking to butter for better results.
How Do I Know When the Cookies Are Done Baking?
I check the cookies’ color and texture during baking time. When they’re golden brown and slightly firm around the edges but soft in the center, I know they’re ready at the right oven temperature.
Can I Freeze the Brown Butter Iced Sugar Cookies?
Yes, I can freeze them! I wrap individual cookies tightly in plastic wrap for freezing. For thawing, I usually leave them out at room temperature for a couple of hours. They’ll taste just as delicious!
What Storage Method Keeps Cookies Fresh Longer?
I’ve found the best containers for cookies are airtight ones that control humidity. Storing them at room temperature in these containers keeps them fresh longer, preventing them from becoming stale or too soft. Trust me!
Is It Possible to Add Flavors Like Vanilla or Almond?
Absolutely! I love experimenting with flavor combinations. Adding vanilla or almond enhances cookies’ richness. Utilizing different baking techniques, like browning butter, can deepen those flavors, creating a delightful treat that I can’t resist sharing!