When I first tried making Brown Butter Iced Sugar Cookies, I was surprised by how the rich, nutty flavor transformed a classic treat. The browning process adds depth that truly sets these cookies apart. As I mixed the dough, I couldn’t help but think about the potential for creativity with the icing. If you’re curious about how to master this gourmet cookie, stick around—there’s more to uncover about the process and presentation.
What kind of recipe is it?

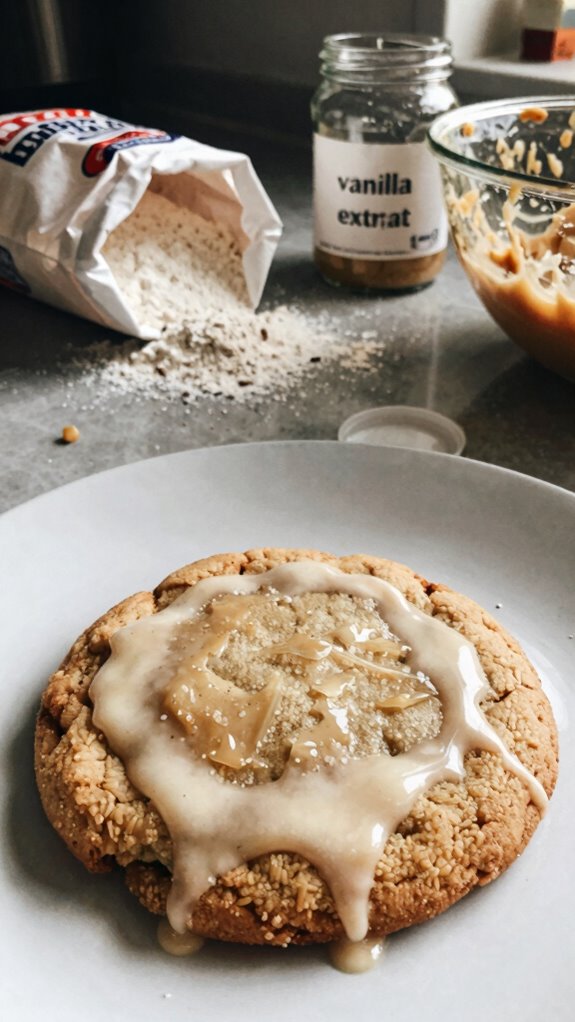
The Brown Butter Iced Sugar Cookie is a delightful twist on a classic dessert, combining the rich, nutty flavor of brown butter with a soft, pillowy texture.
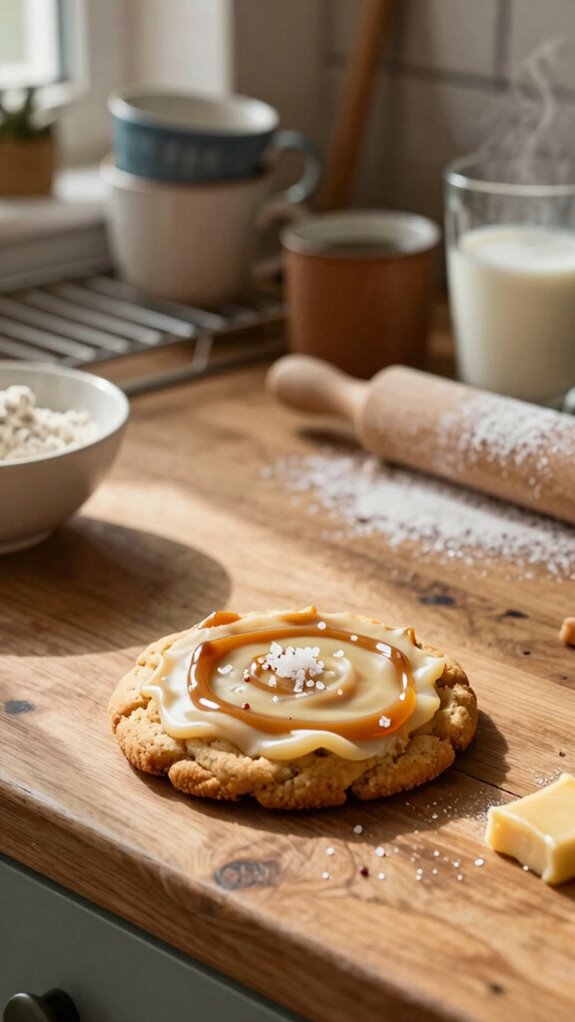
This cookie is characterized by its glossy icing, which adds a touch of sweetness and visual appeal. Ideal for festive occasions or casual gatherings, this recipe is perfect for both novice bakers and seasoned experts looking to impress.
Its unique flavor profile makes it a must-try for anyone who loves sweet treats executed with a gourmet touch.
Preparation Time
| Attribute | Details |
|---|---|
| Difficulty of the Recipe | Intermediate |
| Preparation Time | 30 minutes prep, plus 1 hour chill time |
| Number of Servings | About 24 cookies |
Ingredients
Here’s a detailed table of the ingredients required for the Brown Butter Iced Sugar Cookie recipe, along with the precise quantities for each ingredient:
| Ingredient | Quantity |
|---|---|
| Unsalted Butter | 1 cup (2 sticks) |
| Granulated Sugar | 1 ½ cups |
| Brown Sugar | ½ cup |
| Large Eggs | 2 |
| Vanilla Extract | 2 teaspoons |
| All-Purpose Flour | 3 cups |
| Baking Powder | 1 teaspoon |
| Baking Soda | ½ teaspoon |
| Salt | ½ teaspoon |
| Powdered Sugar | 2 cups |
| Milk | 2 tablespoons |
| Food Coloring (optional) | As desired |
Make sure to gather all these ingredients before starting the baking process!
Essential Kitchen Equipment
| Tool/Equipment | Purpose | Alternative Option |
|---|---|---|
| Mixing Bowls (Large & Medium) | Used to mix ingredients together, ensuring even distribution. | Any large container (e.g., a pot or bowl) can be used. |
| Measuring Cups (Dry & Liquid) | Essential for accurately measuring ingredients for the recipe. | Use a kitchen scale for precision; a cup from your kitchen can also serve as an approximation. |
| Measuring Spoons | Necessary for measuring smaller quantities of ingredients like baking powder and salt. | Teaspoons or teaspoons from your kitchen can be used but may not provide exact measurements. |
| Stand Mixer or Hand Mixer | Makes it easier to cream butter and sugar, ensuring a well-mixed dough. | Whisking by hand with a sturdy whisk can work, but requires more effort. |
| Rubber Spatula | Ideal for scraping down the sides of bowls and ensuring no mixture is left behind. | A wooden spoon or silicone spatula can substitute effectively. |
| Wooden Spoon | Useful for mixing thicker batters and dough, providing a sturdy option. | A strong plastic spoon can also work for mixing. |
| Baking Sheets (2-3) | Required for placing and baking the cookies in the oven. | An oven-safe tray or cast-iron skillet can serve as substitutes. |
| Parchment Paper or Silicone Mats | Helps with easy cookie removal and prevents sticking to the baking sheets. | Lightly greasing the baking sheets can be an alternative. |
| Cookie Scoop or Spoon | Ensures uniform cookie sizes for even baking. | A regular tablespoon can be used for portioning cookies. |
| Cooling Rack | Allows cookies to cool evenly, preventing sogginess from steam. | A plate can work, but it’s less effective for proper cooling. |
| Oven Thermometer | Ensures your oven is at the correct temperature for perfect baking. | An older thermometer or a simple oven check can gauge the temperature, but accuracy may vary. |
These essential kitchen tools will help ensure the success of your Brown Butter Iced Sugar Cookie recipe!
Cooking Steps
1. Mise en Place: Gather all ingredients, including butter, sugar, flour, baking powder, baking soda, and salt. Measure your ingredients precisely using dry measuring cups and measuring spoons.
2. Preheat Oven: Preheat your oven to 180 °C (350 °F). Position the oven rack in the center for optimal heat distribution.
3. Prepare Baking Sheets: Line two large baking sheets (approximately 43 x 30 cm / 17 x 12 inches) with parchment paper or silicone baking mats to prevent cookies from sticking.
4. Brown Butter: In a medium saucepan, add 115 g (1 stick) of unsalted butter over medium heat (or medium-high on stovetop). Stir continuously for about 5 to 7 minutes until the butter melts and turns a deep golden brown, emitting a nutty aroma.
Remove from heat and allow to cool for about 10 minutes.
5. Mix Dry Ingredients: In a large mixing bowl, whisk together 300 g (2 ½ cups) of all-purpose flour, ½ tsp baking powder, ½ tsp baking soda, and ½ tsp salt until well combined.
6. Cream Butter and Sugar: Transfer the cooled brown butter into a stand mixer bowl or a large mixing bowl. Add 200 g (1 cup) of granulated sugar and 100 g (½ cup) of powdered sugar.
Using a stand mixer fitted with a paddle attachment or a hand mixer, beat on medium speed for 2 to 3 minutes until light and fluffy.
7. Incorporate Eggs: Add 1 large egg and 1 tsp of vanilla extract to the mixture. Beat on medium speed for another 1 to 2 minutes until fully combined, scraping down the sides of the bowl as needed.
8. Combine Wet and Dry Ingredients: Gradually add the dry ingredient mixture to the wet ingredients, mixing on low speed until just combined. The dough should be soft but not sticky.
9. Portion Cookies: Use a cookie scoop or a regular tablespoon to portion out the dough, rolling each scoop into a ball of about 30 g (2 tbsp). Place them evenly spaced on the prepared baking sheets.
10. Bake Cookies: Bake in the preheated oven for 10 to 12 minutes, or until the edges are lightly golden and the centers appear set but still soft. The aroma of buttery cookies should fill your kitchen.
11. Cool Cookies: Remove the baking sheets from the oven and allow the cookies to cool on the sheets for about 5 minutes, then transfer them to a wire rack to cool completely.
12. Icing Preparation: While cookies are cooling, prepare your icing. (The preparation method for icing will depend on the recipe used; typically involves mixing powdered sugar, milk, and vanilla until smooth.)
13. Decorate Cookies: Once cooled, drizzle or spread icing over each cookie, allowing it to set at room temperature for about 20 minutes.
14. Store Cookies: Store the iced cookies in an airtight container at room temperature; they’ll keep fresh for up to a week.
Variations
- Lemon Zest Sugar Cookies: Add 1 tbsp (15 ml) of freshly grated lemon zest to the dough for a bright, citrusy flavor enhancement.
- Nutty Brown Butter Cookies: Stir in 100 g (½ cup) of chopped walnuts or pecans to the dough for added texture and a delicious nutty crunch.
- Gluten-Free Version: Replace 300 g (2 ½ cups) of all-purpose flour with a gluten-free flour blend and ensure all other ingredients are gluten-free for a gluten-free treat.
- Dairy-Free Cookies: Substitute the unsalted butter with a dairy-free alternative, such as coconut oil or a vegan butter stick, to create a dairy-free version.
- Vegan Cookies: Replace the large egg with 1 tbsp (15 ml) of flaxseed meal mixed with 2.5 tbsp (37.5 ml) of water for a vegan-friendly dough.
- Pumpkin Spice Cookies: Incorporate 100 g (½ cup) of pumpkin puree and 1 tsp (5 ml) of pumpkin pie spice into the dough for a cozy fall-inspired treat.
- Chocolate Chip Brown Butter Cookies: Fold in 150 g (1 cup) of semi-sweet chocolate chips after combining wet and dry ingredients for a classic cookie twist.
- Cinnamon Swirl Sugar Cookies: Add 1 tsp (5 ml) of ground cinnamon to the dry ingredients and sprinkle a cinnamon-sugar mixture on top before baking for a sweet, spiced finish.
Tips on plating and presentation
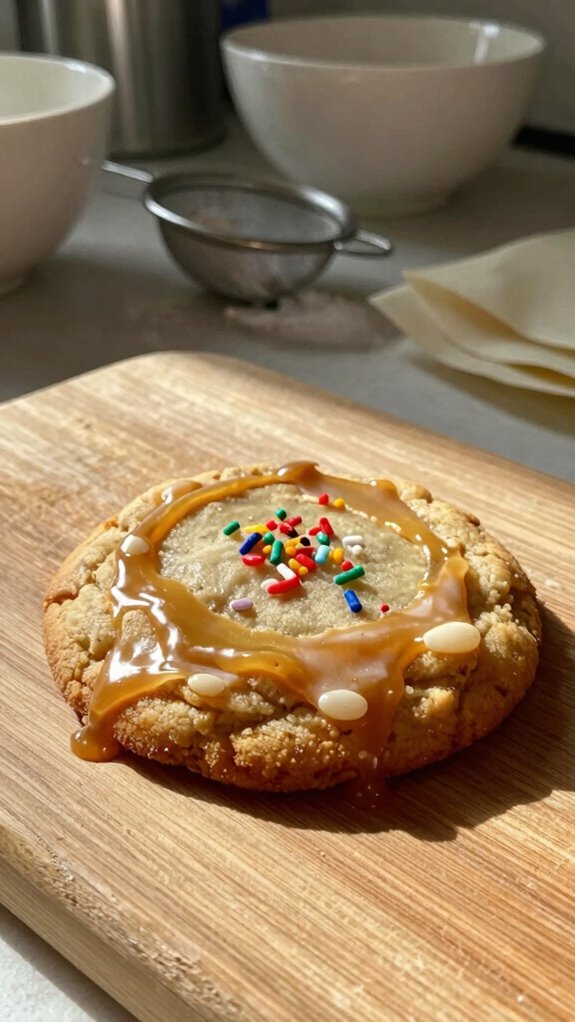
Although the focus is often on flavor when it comes to baking, the presentation of your Brown Butter Iced Sugar Cookies can elevate the entire experience.
I love experimenting with cookie garnishing, like edible glitter or colorful sprinkles.
Using decorative techniques such as layering different icing colors or arranging the cookies on a beautiful platter adds an enticing visual appeal that’ll impress everyone.
What other dishes can I pair it with?
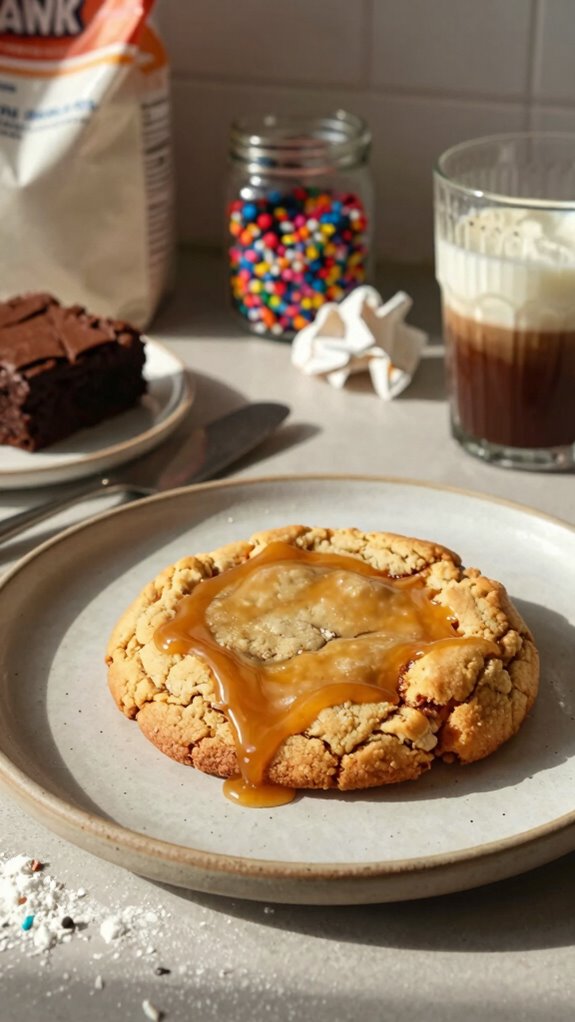
If you’re looking to elevate your dessert spread, pairing Brown Butter Iced Sugar Cookies with complementary dishes can create a delightful experience.
I love adding a rich chocolate cake or tangy lemon bars to my cookie platter. These contrasting flavors make for a perfect dessert pairing.
Fresh fruit like berries also adds brightness and balance, ensuring a memorable treat for everyone!
What drinks can I pair it with?
When it comes to enjoying Brown Butter Iced Sugar Cookies, nothing beats a perfectly crafted drink to enhance your experience.
I love pairing these cookies with a rich cup of coffee, like a hazelnut or vanilla blend that complements the buttery flavor.
If you prefer tea options, a light chai or chamomile adds a delightful contrast, making each bite even more enjoyable.
Frequently Asked Questions
Can I Freeze Brown Butter Iced Sugar Cookies?
Yes, I can freeze brown butter iced sugar cookies! I make sure to wrap them tightly in plastic wrap or use an airtight container. This way, they keep their delicious flavor and texture for future enjoyment!
How Long Do These Cookies Stay Fresh?
These cookies stay fresh for about a week. I’ve noticed that the frosting consistency can affect the cookie texture, so I recommend storing them in an airtight container to maintain their deliciousness.
Are There Gluten-Free Options for This Recipe?
Yes, I’ve had great success experimenting with gluten-free flours like almond or coconut. Using alternative sweeteners also keeps the recipe tasty without gluten. It’s definitely worth trying for a delicious, inclusive treat!
Can I Substitute Brown Sugar for Regular Sugar?
Yes, you can substitute brown sugar for regular sugar. I’ve noticed that it adds richer flavor differences and a slight texture change, making cookies chewier and more decadent. Try it; you might love the results!
What Is the Best Way to Store These Cookies?
I store my cookies in proper containers and use airtight storage to keep them fresh. This way, they last longer, maintaining their delicious flavor and texture. It’s always worked well for me!