As I experimented with various cookies, the Brown Butter Italian Pignoli Cookie caught my attention. With its rich, nutty flavors and chewy texture, it seemed like the perfect blend of tradition and indulgence. I was intrigued by the unique combination of brown butter and pine nuts. But what really makes this cookie stand out? Let’s explore the elements that contribute to its charm and how you can elevate your baking experience.
What kind of recipe is it?
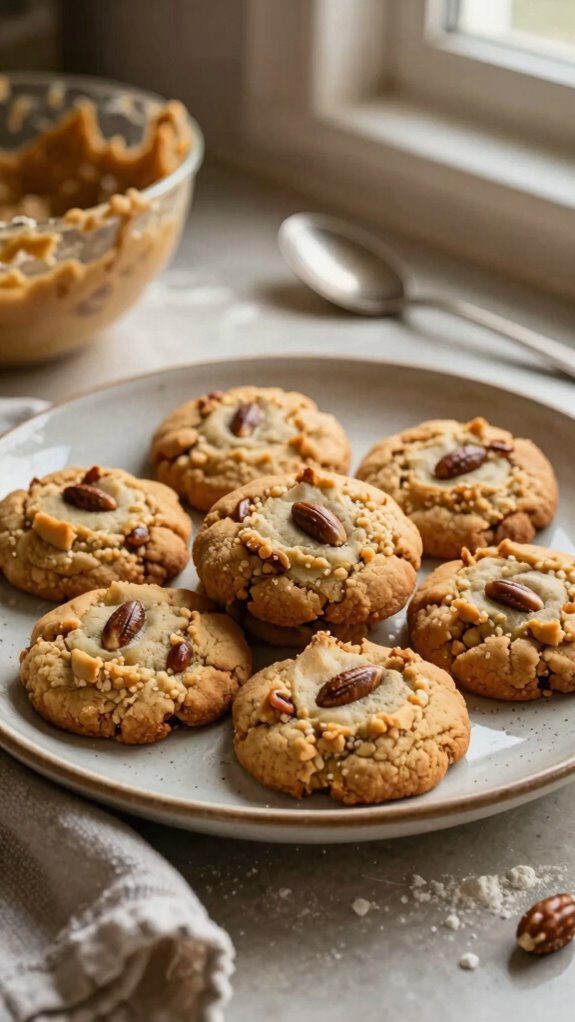
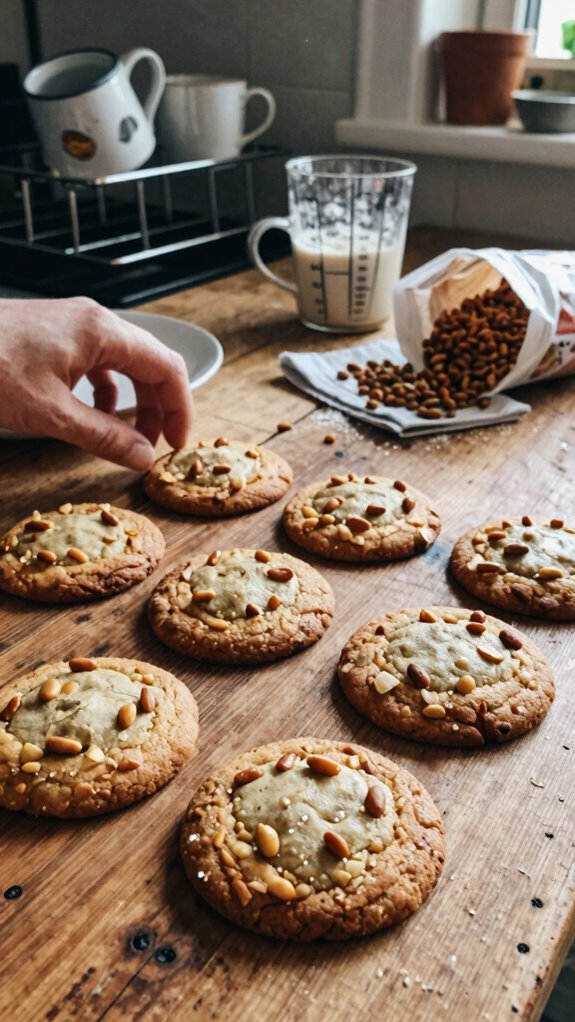
The Brown Butter Italian Pignoli Cookie is a delightful treat that embodies the rich flavors of Italian baking.
Characterized by its nutty brown butter base and the unique addition of pine nuts, this cookie offers a chewy texture with a beautiful golden color.
It’s perfect for cookie lovers looking to explore traditional Italian sweets or those who appreciate a twist on classic flavors.
Ideal for gatherings or as a special afternoon snack, these cookies will impress friends, family, and anyone with a sweet tooth.
Preparation Time
| Aspect | Details |
|---|---|
| Difficulty of Recipe | Moderate |
| Preparation Time | 30 minutes (plus cooling time) |
| Number of Servings | Approximately 24 cookies |
Ingredients
| Ingredient | Quantity |
|---|---|
| Pine nuts (pignoli) | 1 cup |
| Unsalted butter | ½ cup (1 stick), browned |
| Granulated sugar | ¾ cup |
| Powdered sugar | ¾ cup |
| Large egg | 1 |
| Vanilla extract | 1 teaspoon |
| Almond extract | ½ teaspoon |
| All-purpose flour | 1 cup |
| Salt | ¼ teaspoon |
| Baking powder | ½ teaspoon |
| Additional pine nuts (for topping) | ½ cup |
Essential Kitchen Equipment
| Tool/Equipment | Purpose | Alternative Option |
|---|---|---|
| Mixing Bowls (Large & Medium) | Used for combining ingredients. The large bowl is ideal for mixing dry ingredients, while the medium bowl is suitable for wet ingredients. | Any large bowl or pot can be used for mixing. |
| Measuring Cups (Dry & Liquid) | Essential for accurately measuring ingredients such as flour and sugar. Dry measuring cups are better for dry ingredients while liquid measuring cups provide measurement for the butter and liquid extracts. | A standard coffee cup can serve in a pinch but may lack accuracy. |
| Measuring Spoons | Necessary for precise measurement of small ingredient quantities like baking powder, salt, and extracts. | Any small spoon can be used for approximate measurements, but accuracy may be compromised. |
| Stand Mixer or Hand Mixer | Helps to thoroughly mix the ingredients, especially the butter and sugars, resulting in a smoother batter. | Mixing by hand with a wooden spoon or whisk is an option but requires more effort. |
| Rubber Spatula | Ideal for scraping down the sides of mixing bowls and transferring the cookie dough to the baking sheets. | A plastic or wooden spatula can work, but may not scrape as effectively. |
| Wooden Spoon | Useful for mixing ingredients by hand, particularly for stirring the dry ingredients into the wet mixture. | Any sturdy spoon can serve this purpose, but a wooden spoon offers durability and versatility. |
| Baking Sheets (2-3) | Provides the surface area required for baking the cookies. You’ll need multiple sheets if baking in batches. | Any flat baking tray or even a pizza stone can be utilized if the surface is suitable for baking. |
| Parchment Paper or Silicone Mats | Prevents sticking and allows for easy removal of cookies after baking. Helps in even heat distribution. | A well-greased baking sheet can be used, but may lead to more sticking. |
| Cookie Scoop or Spoon | Helps to portion out cookie dough evenly for consistent cookie sizes. | Using two spoons to scoop out the dough can work, though it may be less uniform. |
| Cooling Rack | Allows cookies to cool evenly and prevents them from becoming soggy on the baking sheet. | A plate can work in a pinch, but it will not provide airflow underneath the cookies. |
| Oven Thermometer | Ensures that the oven is at the correct temperature for baking, which is crucial for achieving the right texture and color in cookies. | If unavailable, a regular oven can still be used, but results may vary due to temperature inconsistencies. |
Cooking Steps
1. Mise en Place: Gather all ingredients including 115 g (1/2 cup) unsalted butter, 150 g (1 1/2 cups) almond flour, 75 g (3/4 cup) powdered sugar, 1 large egg white, 1 teaspoon vanilla extract, 60 g (1/2 cup) pine nuts, and a pinch of salt. Measure and prepare each ingredient for ease of access during the cooking process.
2. Preheat Oven: Preheat your oven to 180 °C (350 °F). Position the oven rack in the center to ensure even baking. If using a convection setting, reduce the temperature to 165 °C (325 °F).
3. Brown the Butter: In a saucepan over medium heat, add the 115 g unsalted butter. Stir continuously until it melts and foam forms. Cook until the butter turns golden brown and has a nutty aroma, about 5-7 minutes.
Remove from heat and let it cool for 10 minutes.
4. Mix Dry Ingredients: In a large mixing bowl, combine 150 g almond flour, 75 g powdered sugar, and a pinch of salt. Whisk together until evenly mixed.
5. Combine Wet Ingredients: In a medium bowl, whisk the cooled brown butter, 1 egg white, and 1 teaspoon vanilla extract until well combined.
6. Incorporate Wet Ingredients into Dry Mixture: Pour the wet mixture into the dry ingredients. Use a rubber spatula to gently fold until a sticky dough forms, taking care not to overmix.
7. Chill Dough: Cover the mixing bowl with plastic wrap and refrigerate the dough for at least 30 minutes to allow it to firm up slightly.
8. Prepare Baking Sheets: Line two baking sheets with parchment paper or silicone mats to prevent sticking and facilitate easy removal.
9. Scoop and Shape Cookies: After chilling, use a cookie scoop or spoon to portion out approximately 30 g (2 tablespoons) of dough for each cookie. Space the cookies about 5 cm (2 inches) apart on the prepared baking sheets.
Lightly press the tops of each cookie with your fingers to slightly flatten, if desired.
10. Top with Pine Nuts: Evenly sprinkle 60 g of pine nuts on top of each cookie, gently pressing them down into the dough to adhere.
11. Bake Cookies: Place the baking sheets in the preheated oven. Bake for 12-15 minutes or until the edges are lightly golden and the tops are set, with a slight sheen.
The cookies should be fragrant and have a soft texture.
12. Cool Cookies: Remove from the oven and let the cookies cool on the baking sheets for 5 minutes. Then transfer them to a cooling rack to cool completely.
13. Store: Store the cooled cookies in an airtight container at room temperature for up to one week. Enjoy the crisp outer texture and chewy interior.
Variations
- Lemon Pignoli Cookies: Add the zest of 1 lemon (approximately 10 g or 0.35 oz) to the wet mixture for a bright citrus flavor.
- Chocolate Pignoli Cookies: Mix in 30 g (1 oz) of cocoa powder to the dry ingredients for a rich chocolate twist.
- Gluten-Free Pignoli Cookies: Substitute almond flour with a 1:1 gluten-free all-purpose flour blend for a gluten-free version.
- Dairy-Free Pignoli Cookies: Replace unsalted butter with coconut oil (115 g or 1/2 cup) for a dairy-free option.
- Vegan Pignoli Cookies: Use aquafaba (3 tablespoons) in place of the egg white and coconut oil (115 g or 1/2 cup) instead of butter.
- Spiced Pignoli Cookies: Add 1 teaspoon ground cinnamon and 1/2 teaspoon ground nutmeg to the dry mixture for a warm, spiced flavor.
- Chai-Spiced Pignoli Cookies: Incorporate 1 teaspoon of chai spice blend into the dry ingredients for a fragrant, tea-inspired cookie.
- Maple Pignoli Cookies: Substitute powdered sugar with maple powder (75 g or 3/4 cup) and add 2 tablespoons of maple syrup to the wet ingredients for a sweet maple twist.
Tips on plating and presentation
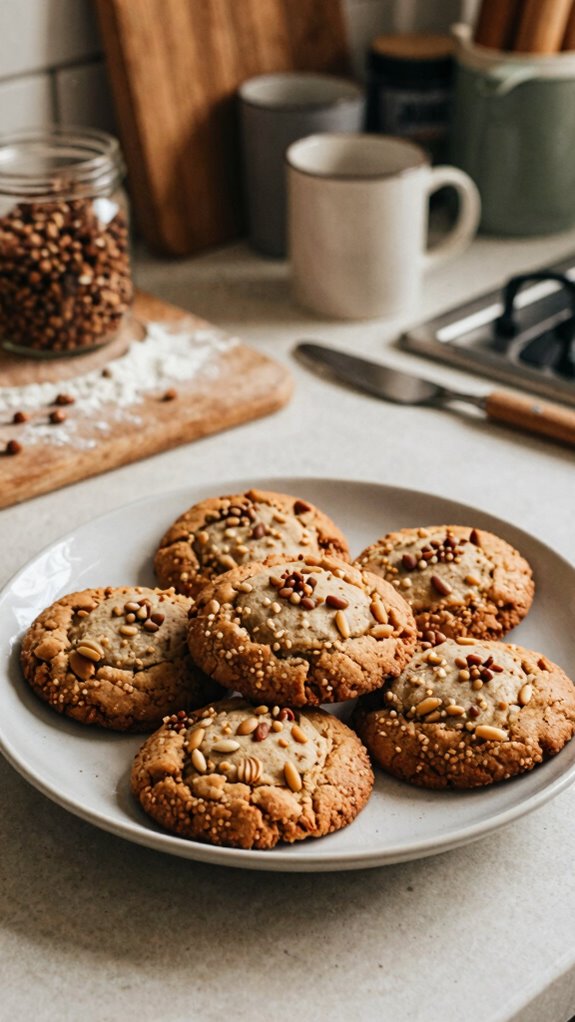
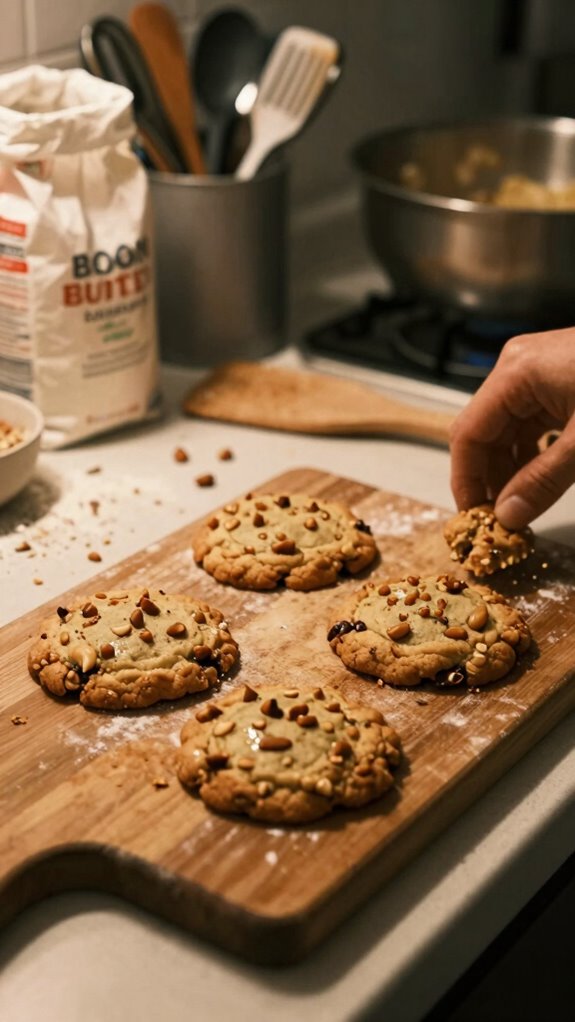
When it comes to plating and presentation, I love to create an inviting display that highlights the beautiful textures and flavors of my brown butter Italian pignoli cookies.
I often use presentation techniques like layering them on a rustic wooden board and garnishing with fresh herbs or nuts. This not only enhances the visual appeal but also makes each cookie look truly tempting to guests.
What other dishes can I pair it with?
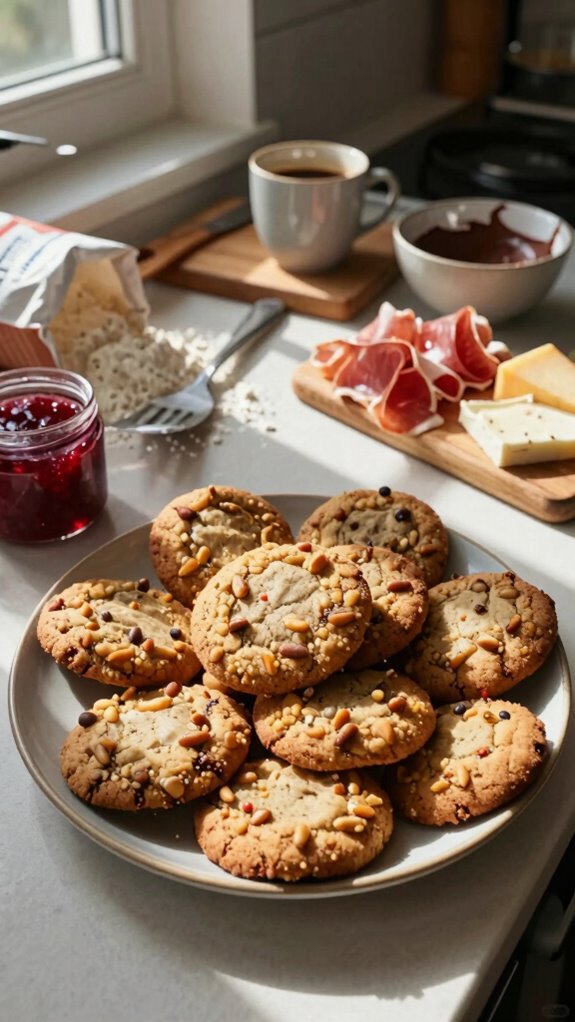
While I adore enjoying brown butter Italian pignoli cookies on their own, I often find that they pair beautifully with a variety of dishes.
They make delightful cookie pairings with rich chocolate brownies or a slice of classic cheesecake.
For dessert platters, I love serving them alongside fresh fruit or creamy panna cotta, creating a deliciously varied experience that satisfies every sweet tooth.
What drinks can I pair it with?
To enhance the delightful flavors of brown butter Italian pignoli cookies, I find that pairing them with the right drinks elevates the experience.
For coffee pairings, I love a creamy espresso.
Dessert wines like Vin Santo perfectly complement the nutty taste.
For tea selections, a subtle chamomile works wonders, while rich chocolate beverages add indulgence.
Each sip beautifully enhances these delectable cookies.
Frequently Asked Questions
Can I Substitute Pignoli Nuts With Another Type of Nut?
Sure, you can substitute pignoli nuts with other nut alternatives like almonds or walnuts. Just keep in mind any nut allergies your guests might have, as that could influence your choice of nuts.
How Do I Store Leftover Pignoli Cookies?
I store leftover cookies in an airtight container at room temperature. This method helps maintain their freshness, extending the cookie shelf life for about a week. It’s the easiest way to keep them delicious!
Are Pignoli Cookies Gluten-Free?
Yes, pignoli cookies are gluten-free! I love the benefits of gluten-free baking alternatives, as they’re often healthier and just as delicious. Enjoying these cookies without gluten makes every bite feel even more indulgent.
What Is the Origin of Pignoli Cookies?
Pignoli cookies originate from Italy, showcasing its rich culinary heritage. I’ve found that, over time, various cookie variations emerged, reflecting regional ingredients and traditions, while still celebrating the unique flavor of pine nuts.
Can I Freeze the Cookie Dough Before Baking?
Yes, I freeze the dough for later baking. It’s a great way to have fresh cookies on hand. Just make sure to wrap it well, so it doesn’t get freezer burn while freezing dough.