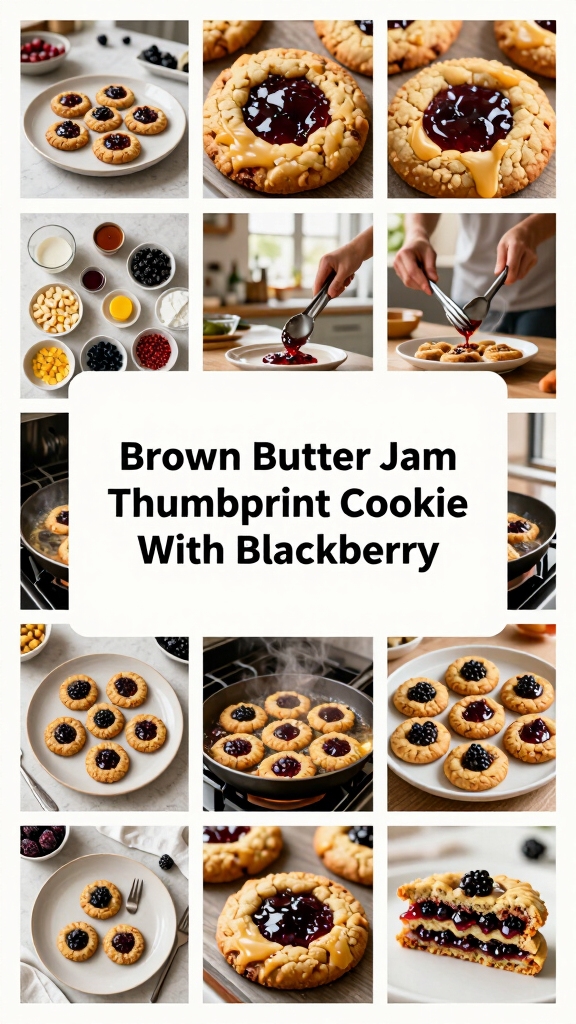
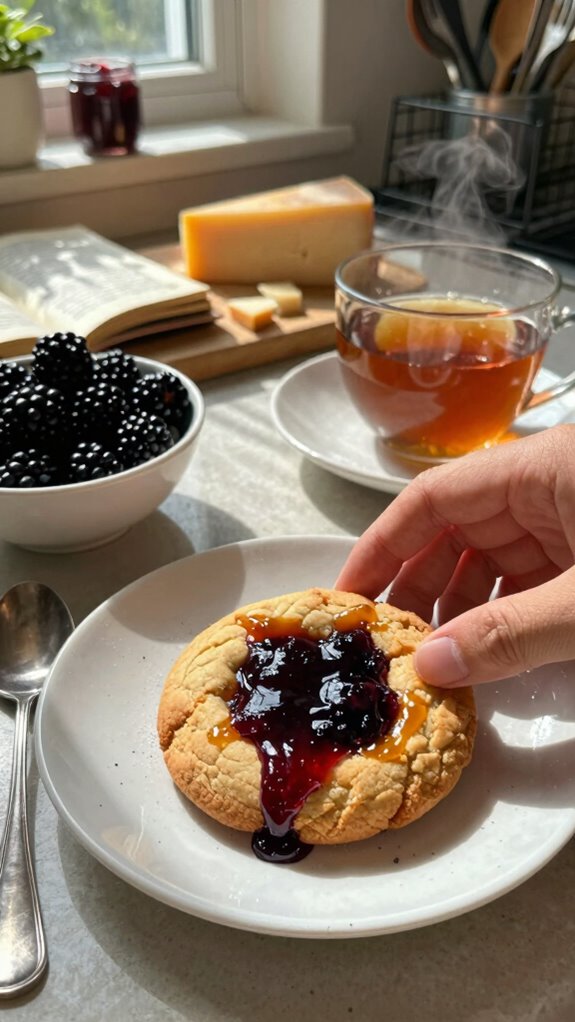
I recently made Brown Butter Jam Thumbprint Cookies with Blackberry jam, and the result was delightful. The nutty, rich flavor of the brown butter paired beautifully with the sweet blackberry jam. There’s something really special about that thumbprint, too, which makes each cookie feel unique. Curious about the process and how you can achieve these exquisite treats yourself? Let’s explore the details together.
What kind of recipe is it?
Brown Butter Jam Thumbprint Cookies are a delightful twist on the classic cookie, infusing rich, nutty flavors with the sweetness of fruit jam. The golden brown butter adds a depth of flavor, while the thumbprint indentation creates a perfect pocket for your favorite jam, making each bite a harmonious blend of textures and tastes.
These cookies are perfect for baking enthusiasts and anyone looking to impress their guests at gatherings or enjoy a unique treat. They’re an ideal choice for both kids and adults who crave a delicious homemade dessert.
Preparation Time
| Aspect | Details |
|---|---|
| Difficulty of the Recipe | Moderate |
| Preparation Time | 30 minutes |
| Number of Servings | Approximately 24 cookies |
Ingredients
| Ingredient | Quantity |
|---|---|
| Unsalted Butter (for browning) | 1 cup (2 sticks) |
| Granulated Sugar | 3/4 cup |
| Brown Sugar | 1/4 cup |
| Large Egg | 1 |
| Vanilla Extract | 1 teaspoon |
| All-Purpose Flour | 2 cups |
| Baking Powder | 1 teaspoon |
| Salt | 1/2 teaspoon |
| Jam (for filling, any flavor) | 1/2 cup |
| Optional: Sea Salt (for garnish) | A pinch |
This table lists the necessary ingredients along with their respective quantities for preparing the Brown Butter Jam Thumbprint Cookies.
Essential Kitchen Equipment
| Tool/Equipment | Purpose | Alternative Option |
|---|---|---|
| Mixing Bowls (Large & Medium) | Used for combining and mixing the cookie dough ingredients. | Any large bowl or even a pot can work in a pinch. |
| Measuring Cups (Dry & Liquid) | Essential for accurately measuring ingredients like flour, sugar, and butter. | Use standard coffee mugs or a kitchen scale for approximate measurements. |
| Measuring Spoons | Used to measure smaller quantities of ingredients such as baking powder and salt accurately. | Use the cap of a bottle or a regular teaspoon for rough measurements. |
| Stand Mixer or Hand Mixer | Aids in thoroughly mixing the butter and sugars to achieve a light, fluffy texture. | Whisk by hand or use a fork to mix, though it may take longer. |
| Rubber Spatula | Helps in folding and scraping the cookie dough, ensuring nothing is left behind in the bowl. | A wooden spoon can work, although it may not scrape as efficiently. |
| Wooden Spoon | Useful for mixing ingredients, especially when the dough becomes thicker. | Any sturdy spoon or even a potato masher can help in mixing. |
| Baking Sheets (2-3) | Used for laying out the cookie dough before baking. | A flat oven-safe tray or a pizza pan can be an alternative. |
| Parchment Paper or Silicone Mats | Prevent cookies from sticking to baking sheets and ensure even baking. | Lightly grease the baking sheets with butter or oil if you don’t have these. |
| Cookie Scoop or Spoon | Ideal for portioning out the dough into uniform sizes for even baking. | Use a tablespoon to scoop portions for homemade cookie sizes. |
| Cooling Rack | Allows cookies to cool evenly after baking, preventing them from becoming soggy. | A plate or countertop can be used, though airflow will be limited. |
| Oven Thermometer | Ensures your oven is at the correct temperature, crucial for baking cookies effectively. | If lacking one, use an oven timer on preheat for approximate temperature but keep a careful eye on your cookies. |
This table outlines the essential kitchen equipment needed to make Brown Butter Jam Thumbprint Cookies, along with their intended purpose and budget-friendly alternatives.
Cooking Steps
1. Mise en Place: Gather all ingredients and tools. Measure out 240 g (2 cups) all-purpose flour, 120 g (½ cup) unsalted butter, 100 g (½ cup) granulated sugar, 100 g (½ cup) brown sugar, 1 large egg yolk, 5 g (1 tsp) vanilla extract, 2 g (½ tsp) baking powder, and a pinch of salt. Prepare your jam of choice for filling.
2. Preheat the Oven: Preheat the Oven to 175 °C (350 °F). Position the oven rack in the center to ensure even baking.
3. Prepare Baking Sheets**: Line two baking sheets (approximately 30 cm x 40 cm) with parchment paper** or silicone mats to prevent sticking.
4. Brown the Butter: In a medium saucepan over medium heat, melt the 120 g (½ cup) of unsalted butter. Continuously swirl the pan for about 5-7 minutes, or until the butter turns golden brown and has a nutty aroma.
Remove from heat once browned and allow it to cool slightly.
5. Mix Dry Ingredients: In a large mixing bowl, combine 240 g (2 cups) all-purpose flour, 2 g (½ tsp) baking powder, and a pinch of salt. Whisk together until evenly blended.
6. Combine Wet Ingredients: In another bowl, pour the browned butter (slightly cooled), 100 g (½ cup) granulated sugar, 100 g (½ cup) brown sugar, 1 large egg yolk, and 5 g (1 tsp) vanilla extract. Using a stand mixer or hand mixer, beat the mixture on medium speed for about 2-3 minutes until light and fluffy.
7. Incorporate Dry Ingredients: Gradually add the dry ingredient mixture to the wet ingredients, mixing on low speed until combined, about 1-2 minutes.
Use a rubber spatula to fold the mixture and ensure no dry flour remains.
8. Chill the Dough: Cover the bowl with plastic wrap and Chill the Dough in the refrigerator for at least 30 minutes. This helps firm up the dough for easier handling.
9. Shape the Cookies: After chilling, scoop the dough using a cookie scoop or tablespoon, shaping them into balls of approximately 30 g (2 tablespoons) each. Place the dough balls on the prepared baking sheets, spacing them about 5 cm (2 inches) apart.
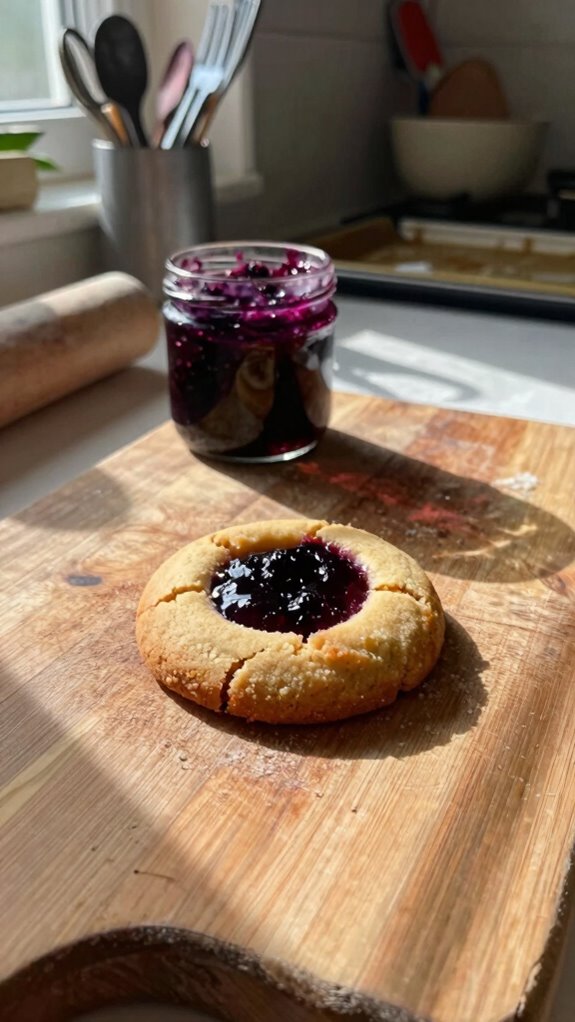
10. Make Thumbprint Indentations****: Using your thumb or the back of a measuring teaspoon, press down into the center of each dough ball to create an indentation for the jam.
11. Fill with Jam: Carefully spoon about 5 g (1 tsp) of your chosen jam into each indentation.
12. Bake: Place the baking sheets in the preheated oven. Bake for 12-15 minutes until the edges are lightly golden, and the cookies feel set to the touch.
13. Cool the Cookies: Once baked, remove the cookies from the oven and let them cool on the baking sheets for 5 minutes.
Then, transfer them to a cooling rack to cool completely.
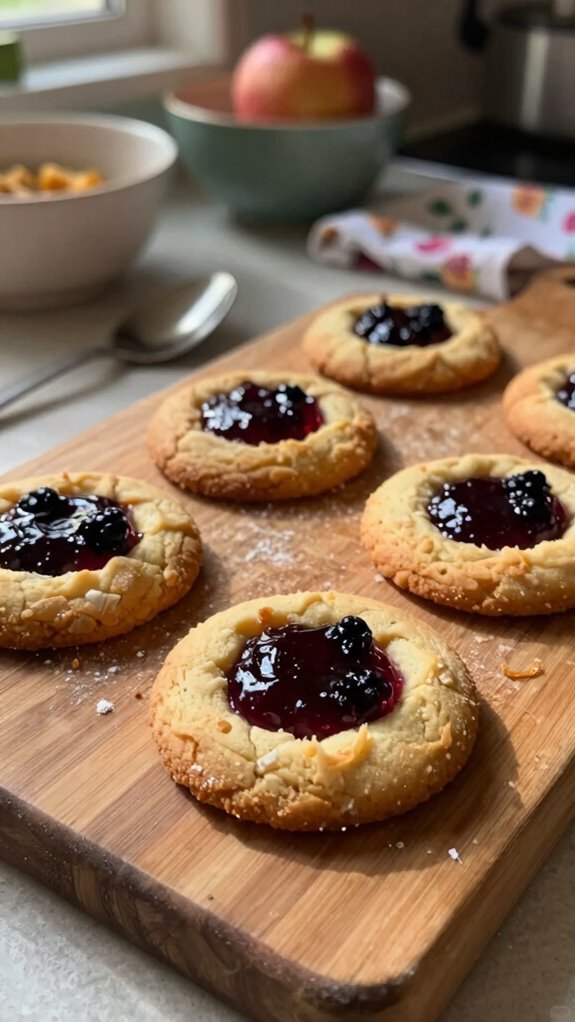
14. Serve: Once cooled, enjoy your Brown Butter Jam Thumbprint Cookies. They should have a slightly crisp edge and a soft, chewy center with a fragrant aroma of butter and sweetness.
Store in an airtight container for up to one week.
Variations
- Chocolate Hazelnut Twist: Replace half of the flour with 120 g (1 cup) ground hazelnuts and add 50 g (½ cup) chocolate chips for a nutty and chocolatey flavor.
- Vegan Delight: Substitute the egg yolk with 60 g (¼ cup) unsweetened applesauce and use 120 g (½ cup) coconut oil instead of butter for a dairy-free option.
- Gluten-Free Option: Use a gluten-free all-purpose flour mix in place of the 240 g (2 cups) all-purpose flour; ensure the blend contains a binder like xanthan gum.
- Maple Pecan Variation: Swap brown sugar for 100 g (½ cup) maple syrup and add 100 g (1 cup) finely chopped pecans to the dough for a seasonal twist.
- Citrus Burst: Add the zest of 1 lemon or orange to the dough for a refreshing citrus flavor, replacing the vanilla extract with citrus extract.
- Spiced Pumpkin Thumbprints: Incorporate 100 g (½ cup) canned pumpkin puree and 5 g (1 tsp) pumpkin pie spice into the dough for a fall-inspired cookie.
- Matcha Green Tea: Replace 20 g (¼ cup) of flour with matcha powder for a vibrant green color and subtle earthy flavor.
- Air Fryer Edition: Shape and prepare the dough as usual, then air fry at 160 °C (320 °F) for 10-12 minutes, keeping an eye on their doneness for a quicker baking method.
Tips on plating and presentation
Plating your Brown Butter Jam Thumbprint Cookies creatively can elevate their appeal and make any occasion feel special.
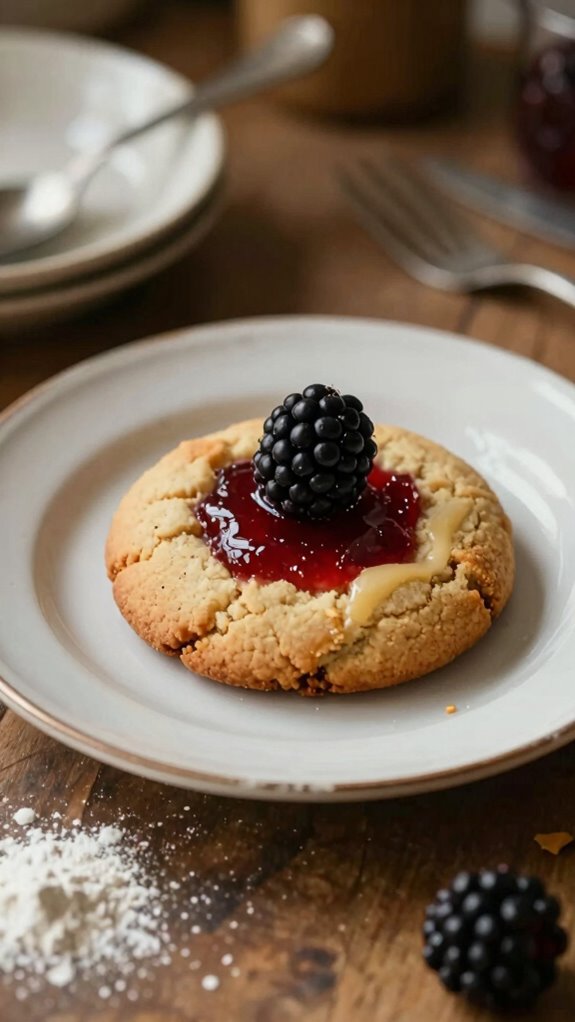
I love using simple plating techniques like tiered stands or decorative plates. For garnish ideas, try a dusting of powdered sugar or a sprig of mint.
Adding a few fresh blackberries alongside the cookies can create a stunning visual that’ll impress your guests!
What other dishes can I pair it with?
Have you ever thought about how Brown Butter Jam Thumbprint Cookies can enhance your dessert spread?
These cookies pair beautifully with simple meal combinations like roasted chicken or a savory quiche.
For dessert pairings, they work wonders alongside rich chocolate cake or creamy panna cotta.
Mixing these flavors creates a delightful experience that’ll impress your guests and elevate your table.
What drinks can I pair it with?

When considering how to elevate the experience of enjoying Brown Butter Jam Thumbprint Cookies, it’s just as important to think about what drinks to serve alongside them.
I love pairing these cookies with a rich coffee or a delicate tea. A smooth espresso enhances the nutty flavors, while floral tea options balance the sweetness perfectly.
Either choice will make your treat feel extra special!
Frequently Asked Questions
Can I Use Different Types of Jam for This Recipe?
Yes, you can use different types of jam for this recipe. I love experimenting with strawberry, raspberry, or apricot. Each jam adds its own unique flavor, making my thumbprint cookies even more delightful!
How Should I Store Leftover Cookies?
I store leftover cookies in an airtight container at room temperature to maintain cookie freshness. I’ve found this method keeps them soft and delicious for a few days, making cookie storage easy and enjoyable!
Can I Freeze the Cookie Dough?
Yes, I can freeze the cookie dough! Just scoop it into balls, freeze them on a tray, and transfer to a bag. When you’re ready, just thaw them in the fridge for perfect baking!
Are There Gluten-Free Options for This Recipe?
Yes, I can use gluten-free flours like almond or coconut in this recipe. By making these baking substitutions, I still achieve delicious cookies that everyone can enjoy, regardless of dietary restrictions. Give it a try!
How Do I Know When the Cookies Are Fully Baked?
I know cookies are fully baked when they turn golden brown around the edges. I usually set a timer for the baking time, but I also rely on visual cues to ensure they’re perfect.