When I first tried making Brown Butter Peanut Butter Blossoms with Dark Chocolate Kisses, I was intrigued by the combination of flavors. The nutty richness of browned butter paired with the creaminess of peanut butter makes for a uniquely satisfying cookie. And then, there’s that dark chocolate kiss right in the center, offering a delightful contrast. If you’re curious about how to achieve this perfect balance, let’s explore the recipe and techniques together.
What kind of recipe is it?
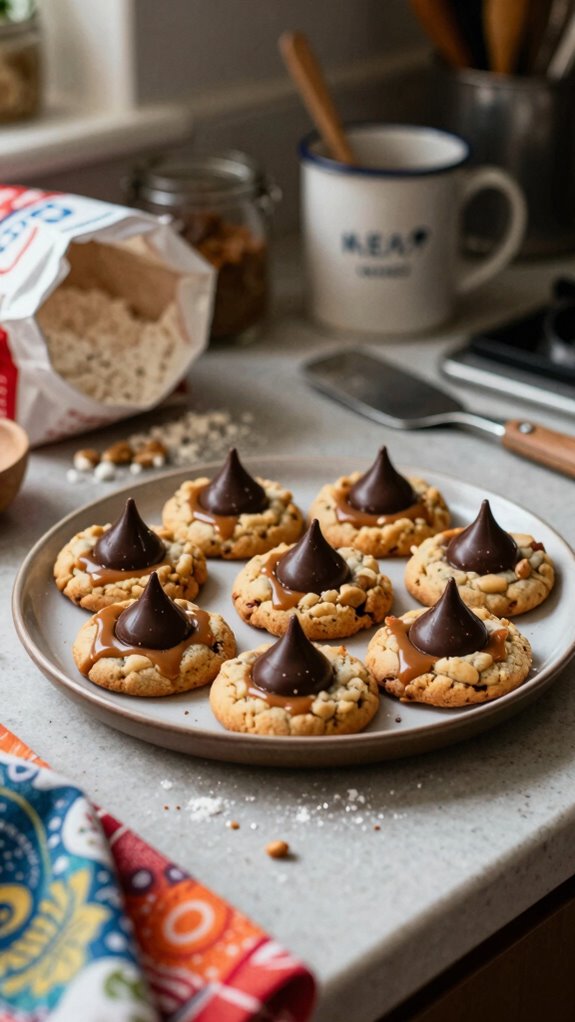
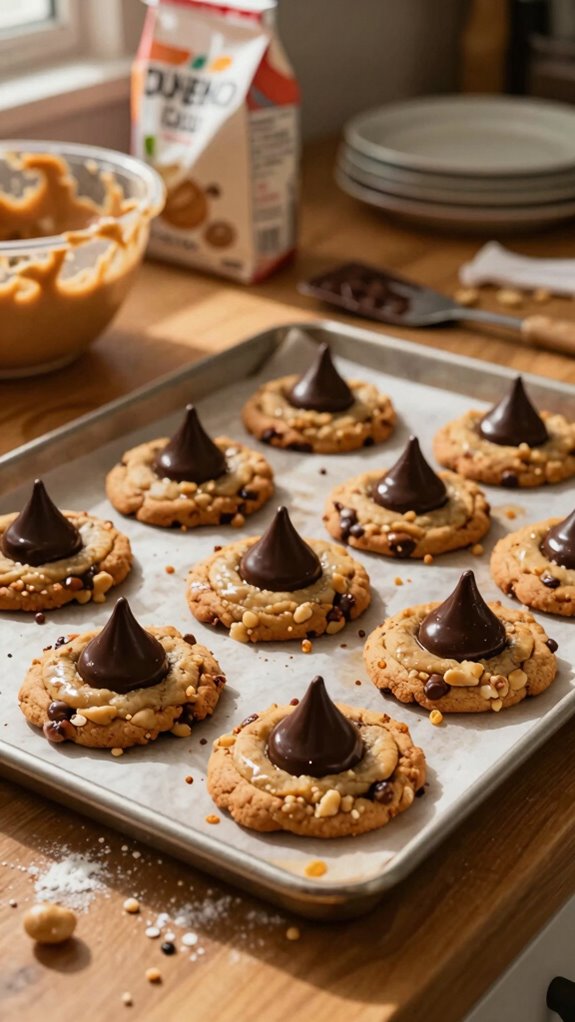
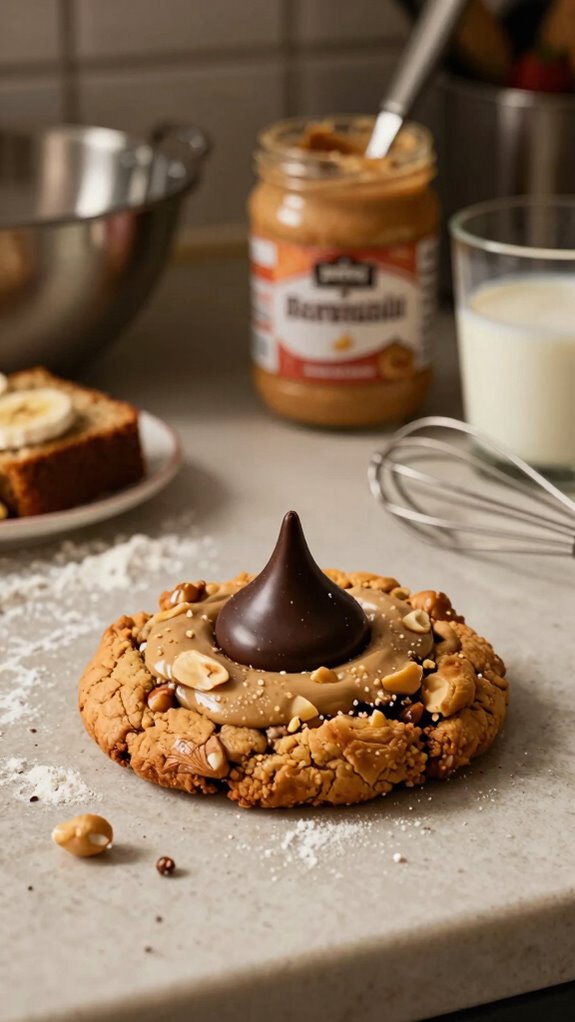
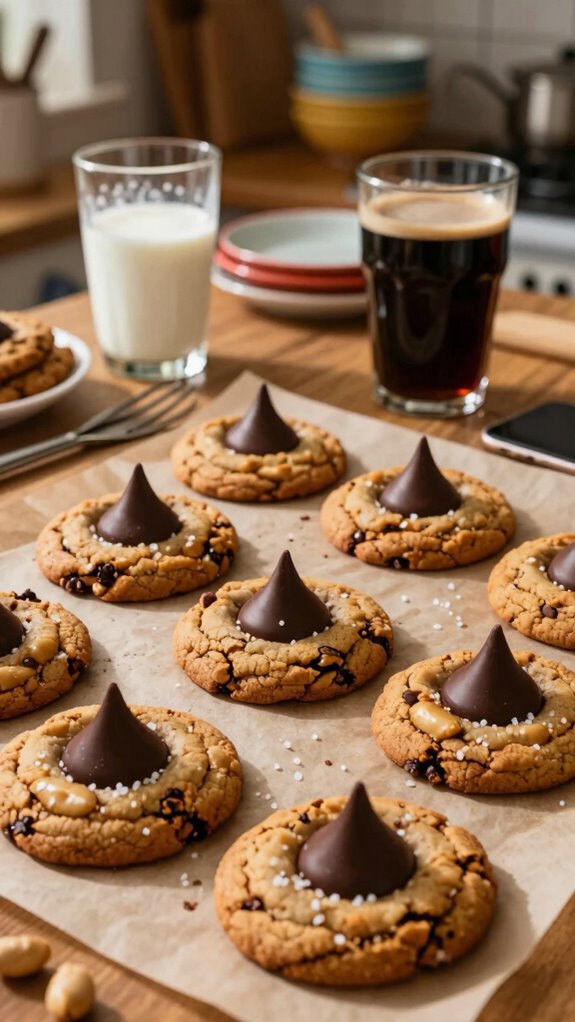
Brown Butter Peanut Butter Blossoms are a delightful twist on the classic peanut butter cookie, characterized by their rich, nutty flavor and a gooey chocolate kiss nestled in the center.
The brown butter adds a unique depth, enhancing the cookie’s savory-sweet profile. Perfect for casual gatherings, holiday celebrations, or simply indulging in a sweet treat, this recipe appeals to both novice bakers and seasoned enthusiasts alike.
It’s an ideal choice for anyone looking to impress family and friends with a homemade dessert that’s both comforting and sophisticated.
Preparation Time
| Aspect | Details |
|---|---|
| Difficulty of the Recipe | Intermediate |
| Preparation Time | 20 minutes |
| Number of Servings | Approximately 24 cookies |
Ingredients
| Ingredient | Quantity |
|---|---|
| Unsalted butter | 1 cup (2 sticks) |
| Creamy peanut butter | 1 cup |
| Granulated sugar | 1 cup |
| Brown sugar | 1 cup packed |
| Large eggs | 2 |
| Vanilla extract | 2 teaspoons |
| All-purpose flour | 2 ½ cups |
| Baking soda | 1 teaspoon |
| Baking powder | 1 teaspoon |
| Salt | ½ teaspoon |
| Granulated sugar (for rolling) | ½ cup |
| Chocolate Kisses (or similar chocolate) | 24 pieces |
Essential Kitchen Equipment
| Tool/Equipment | Purpose | Alternative Option |
|---|---|---|
| Mixing Bowls (Large and Medium) | For blending and mixing the wet ingredients and dry ingredients separately. Large bowl for combining the finished mixtures. | Use any large, heatproof bowl you have at home, like a sturdy plastic or glass bowl. |
| Measuring Cups (Dry and Liquid) | To accurately measure ingredients like flour, sugar, and peanut butter to ensure proper ratios for the recipe. | Use a food scale to weigh ingredients if measuring cups are not available. |
| Measuring Spoons | For measuring small amounts of liquid ingredients like vanilla extract, and dry ingredients like baking soda and salt. | Use the spoon from a set of silverware with a known volume (e.g., a teaspoon from your cutlery). |
| Stand Mixer or Hand Mixer | To cream the butter and sugars together, as well as to incorporate eggs and peanut butter efficiently. This saves time and ensures a smooth batter. | Use a whisk and elbow grease to mix by hand, although it will require more effort. |
| Rubber Spatula | For scraping the sides of the bowls to ensure all ingredients are fully mixed. Also useful for folding in ingredients. | A wooden spoon or even a sturdy piece of plastic can work in a pinch for scraping. |
| Wooden Spoon | Used for mixing and stirring ingredients, especially heavier doughs like the one used for these cookies. | Any sturdy spoon can be a replacement, such as a thick plastic spoon. |
| Baking Sheets (2-3) | Used for baking the cookies in the oven; multiple sheets allow for batch cooking. | A flat tray or pizza pan can serve as an alternative if you do not have baking sheets. |
| Parchment Paper or Silicone Mats | Provides a non-stick surface for baking, allowing the cookies to release easily and leading to even baking. | Lightly greasing the baking sheets can also work if you don’t have parchment paper or silicone mats. |
| Cookie Scoop or Spoon | For portioning out cookie dough into even balls to ensure uniform size, which helps with even baking. | An ice cream scoop or even two tablespoons can be used to scoop dough if a cookie scoop is unavailable. |
| Cooling Rack | To cool cookies after they’re baked, allowing air to circulate and prevent sogginess. | A large plate or cutting board can work, but may not provide as much airflow. |
| Oven Thermometer | Ensures the oven is at the correct temperature for baking, which is crucial for consistent results. | If you don’t have an oven thermometer, consider checking the oven temperature with water tests (boiling water) to verify it’s adequate. |
Cooking Steps
1. Gather all ingredients and equipment for the cookies, ensuring you have your mixing bowls, measuring cups, stand mixer or hand mixer, rubber spatula, wooden spoon, baking sheets, parchment paper or silicone mats, cookie scoop, and cooling rack ready.
2. Preheat your oven to 175°C (350°F). Position the oven rack in the center for even baking.
3. In a large mixing bowl, brown 115 g (½ cup) of unsalted butter over medium heat on the stovetop. Stir continuously with a wooden spoon until the butter melts and the color deepens to a golden brown, releasing a nutty aroma, about 5-8 minutes.
Remove from heat, allowing it to cool slightly.
4. In a medium mixing bowl, combine 160 g (¾ cup) of granulated sugar and 90 g (½ cup) of packed brown sugar. Pour in the brown butter and mix using a stand mixer or hand mixer on medium speed until well combined, approximately 1-2 minutes.
5. Add 1 large egg and 5 ml (1 tsp) of vanilla extract to the sugar mixture. Beat on medium speed until combined, about 1 minute.
6. In a separate medium mixing bowl, whisk together 190 g (1 ½ cups) of all-purpose flour, 5 g (1 tsp) of baking soda, and 2 g (½ tsp) of salt.
7. Gradually incorporate the dry ingredients into the wet ingredients in the large mixing bowl on low speed until just combined.
Avoid overmixing, which ensures a tender cookie texture.
8. Using a rubber spatula, fold in 180 g (¾ cup) of creamy peanut butter until incorporated.
9. Scoop even balls of cookie dough, approximately 30 ml (2 tbsp) each, onto prepared baking sheets lined with parchment paper, spacing them about 5 cm (2 inches) apart to allow for spreading.
10. Bake in the preheated oven for 10-12 minutes, or until the edges are lightly golden and the centers are set but still soft.
You should detect a fragrant aroma of baked cookies.
11. Remove the baking sheets from the oven and place them on a cooling rack. Allow cookies to cool on the sheets for 5 minutes before transferring them directly onto the cooling rack to cool completely.
12. Let cookies cool fully for at least 20 minutes before serving; this will help the textures to firm up.
Variations
- Coconut Flour Variation: Substitute 70 g (½ cup) of all-purpose flour with 70 g (½ cup) of coconut flour for a gluten-free, nutty twist.
- Vegan Peanut Butter Blossoms: Replace the egg with 60 ml (¼ cup) of unsweetened applesauce and use dairy-free butter for a fully plant-based treat.
- Chocolate Peanut Butter Combo: Add 30 g (¼ cup) of cocoa powder when mixing the dry ingredients for a rich chocolate-flavored cookie.
- Spiced Variation: Include 5 g (1 tsp) of cinnamon and a pinch of nutmeg in the dry ingredients for cozy, spiced cookies.
- Maple Syrup Infusion: Substitute 90 g (½ cup) of granulated sugar with 90 ml (⅓ cup) of pure maple syrup for unique sweetness and flavor.
- Seasonal Pumpkin Spice: Add 120 g (½ cup) of pumpkin puree and 5 g (1 tsp) of pumpkin spice for a fall-inspired cookie.
- Protein-Packed Bliss: Incorporate 30 g (1 scoop) of protein powder into the dry ingredients for a healthier, protein-rich version.
- No-Bake Cookies: Mix the ingredients as directed, then form into balls and chill in the refrigerator instead of baking to create no-bake cookies.
Tips on plating and presentation
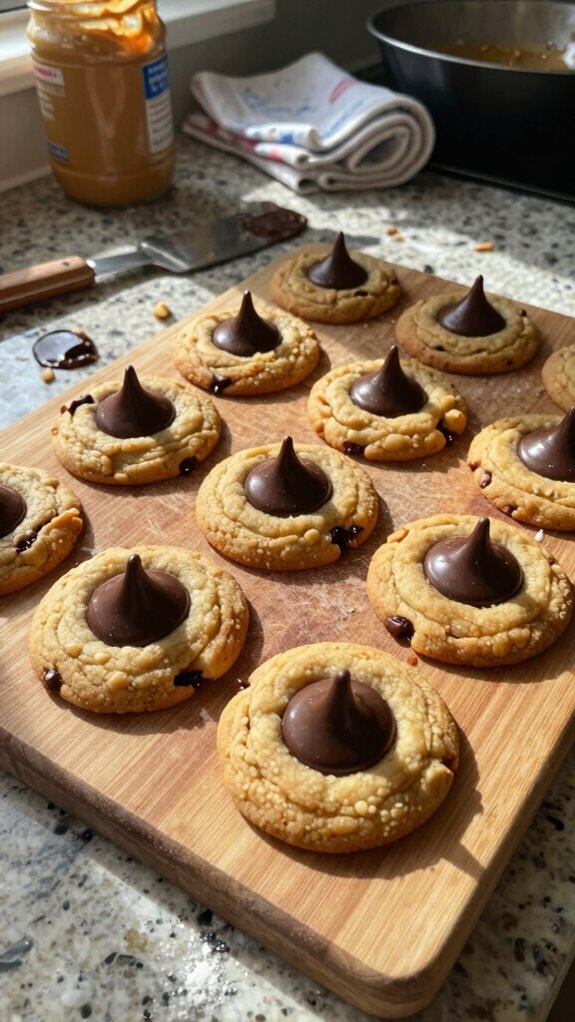
Plating your Brown Butter Peanut Butter Blossoms can turn a simple treat into a stunning centerpiece.
I love using elegant plating techniques, like stacking them in a tiered display or arranging them in a rustic basket.
For presentation tips, sprinkle some crushed nuts or a drizzle of melted chocolate around the plate to enhance their appeal and make them truly eye-catching.
What other dishes can I pair it with?
When I think about serving my Brown Butter Peanut Butter Blossoms, I love to pair them with a rich cup of coffee or a glass of cold milk.
For dessert combinations at holiday gatherings, consider offering them alongside chocolate mousse or vanilla ice cream.
These treats create a delightful spread that complements the flavors of my cookies perfectly, making every moment special.
What drinks can I pair it with?
Because Brown Butter Peanut Butter Blossoms have a rich, nutty flavor profile, I find they pair exceptionally well with a variety of drinks.
For wine options, a light dessert wine works beautifully.
I love a bold coffee, especially with nut milk.
As for beer pairings, try a stout.
Seasonal beverages like warm cider can also highlight those delightful flavors.
Enjoy experimenting!
Frequently Asked Questions
Can I Use Crunchy Peanut Butter Instead of Creamy?
Absolutely! I love using crunchy peanut butter for its texture difference. It adds a delightful crunch and enhances the flavor profile, making every bite more interesting. You should definitely give it a try!
How Long Do the Cookies Stay Fresh?
While my cookies usually stay fresh for about a week when stored in an airtight container, I recommend keeping them in the fridge for extended shelf life. Don’t forget to label them with the date!
Can I Freeze the Cookie Dough?
Yes, I can freeze the cookie dough! I use airtight containers or freezer bags for effective dough storage. Freezing techniques like portioning the dough help it stay fresh and make baking easier later on.
What Should I Do if I Accidentally Burn the Butter?
If I accidentally burn the butter, I’d suggest tossing it and starting fresh. You can use butter alternatives like coconut oil or ghee. Adjust my baking techniques for flavor and texture to keep my cookies delightful.
Are There Nut-Free Alternatives for This Recipe?
Yes, I use nut-free options like sunflower seed butter or pumpkin seed butter as great allergen substitutes. They provide delicious flavor and texture, ensuring everyone can enjoy the recipe without worrying about nut allergies.