When I think of holiday baking, the Brown Butter Snowman Peanut Butter Cookie always comes to mind. It’s a delightful blend of nutty flavors that adds warmth to any festive gathering. Shaping them like snowmen makes the experience even more enjoyable, both for baking and sharing. If you’re curious about how to create these charming treats and elevate your holiday gatherings, let’s explore the delicious details together.
What kind of recipe is it?
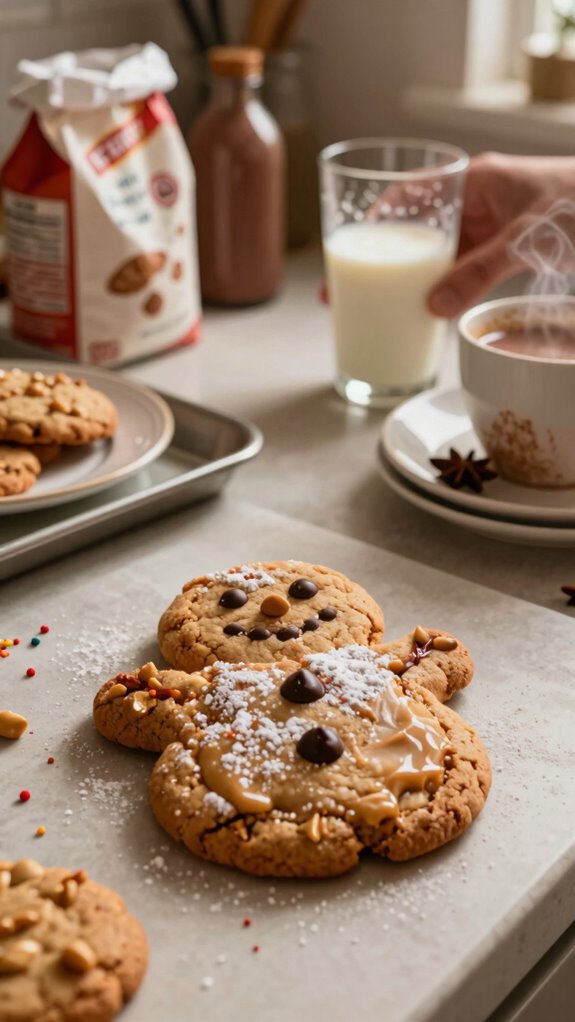
The Brown Butter Snowman Peanut Butter Cookie is a delightful holiday treat that combines festive charm with indulgent flavors.
This recipe features rich brown butter, which adds a nutty depth to the classic peanut butter cookie, making them irresistibly delicious.
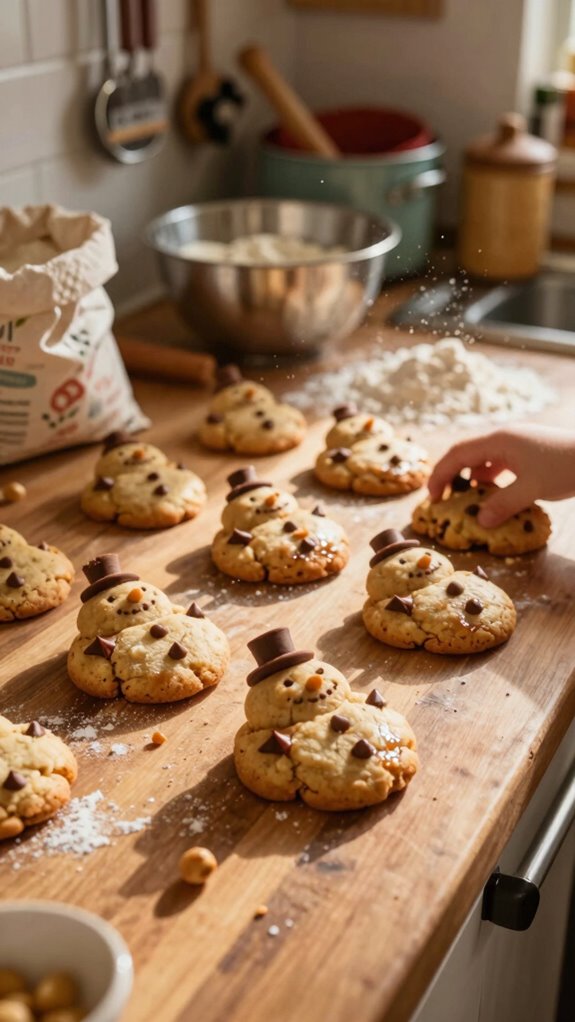
Shaped as cheerful snowmen, these cookies are perfect for holiday gatherings, cookie decorating parties, or as a whimsical gift during the winter season.
They’re aimed at bakers of all skill levels looking to create a fun and flavorful dessert that brings joy to both children and adults alike.
Preparation Time
| Aspect | Details |
|---|---|
| Difficulty of Recipe | Easy to Moderate |
| Preparation Time | 25 minutes (including browning the butter and letting the dough chill) |
| Number of Servings | Approximately 24 cookies |
Ingredients
| Ingredient | Quantity |
|---|---|
| Unsalted butter | 1 cup (2 sticks) |
| Granulated sugar | 1 cup |
| Brown sugar | 1 cup packed |
| Creamy peanut butter | 1 cup |
| Egg | 1 large |
| Vanilla extract | 1 teaspoon |
| All-purpose flour | 2.5 cups |
| Baking soda | 1 teaspoon |
| Baking powder | 1 teaspoon |
| Salt | 1/2 teaspoon |
| Powdered sugar | For dusting (optional) |
| Mini chocolate chips | 1 cup (optional) |
This table summarizes all the ingredients needed for the Brown Butter Snowman Peanut Butter Cookie recipe, along with their respective quantities.
Essential Kitchen Equipment
| Tool/Equipment | Purpose | Alternative Option |
|---|---|---|
| Mixing Bowls (large and medium) | Used for combining ingredients, mixing dough, and ensuring all components are well incorporated. | Any large, deep containers like salad bowls can work. |
| Measuring Cups (dry and liquid) | Essential for accurately measuring both dry and liquid ingredients for consistency in the recipe. | A standard coffee mug can be used for dry ingredients; a graduated jar can substitute for liquid. |
| Measuring Spoons | Used to measure small quantities of ingredients like baking soda, baking powder, and vanilla extract for precise flavor and texture. | A regular teaspoon can work in a pinch, although it may not be as precise. |
| Stand Mixer or Hand Mixer | Facilitates easy and thorough mixing of dough and batter, especially for creaming butter and sugars. | A whisk and some good old-fashioned elbow grease can do the job, just take a bit longer! |
| Rubber Spatula | Ideal for scraping down the sides of the bowl and folding in dry ingredients to ensure everything is well blended without overmixing. | A wooden spoon can be used but may not scrape the bowl as effectively. |
| Wooden Spoon | Useful for mixing ingredients and bringing the dough together, especially if a mixer isn’t available. | A sturdy whisk can be used for mixing the dough, although it may require more effort. |
| Baking Sheets (2-3) | Needed for placing dough rows when baking cookies. Multiple sheets help accommodate all cookies in batches. | An upside-down baking tray or any flat oven-safe surface can be used temporarily. |
| Parchment Paper or Silicone Mats | Provides a non-stick surface for baking cookies and aids in easy removal from baking sheets. | Lightly greasing the baking sheets with butter or cooking spray can be an alternative. |
| Cookie Scoop or Spoon | Helps in portioning out uniform cookie dough, promoting even baking. | A tablespoon can be used to scoop dough, though the cookies may vary in size. |
| Cooling Rack | Allows cookies to cool evenly and prevents them from becoming mushy on the bottom. | A wire rack from a toaster oven can serve as a makeshift cooling rack. |
| Oven Thermometer | Ensures the oven is at the correct temperature for baking, crucial for achieving the right cookie texture. | An alternative is to place a small dish of water in the oven; if it boils, the oven is too hot. |
Cooking Steps
1. Mise en Place: Gather all ingredients: unsalted butter, granulated sugar, brown sugar, smooth peanut butter, eggs, vanilla extract, all-purpose flour, baking soda, sea salt, and powdered sugar for decoration. Measure out 180 g (1 ½ cups) of all-purpose flour, 15 g (1 tablespoon) of baking soda, and 5 g (1 teaspoon) of sea salt.
2. Preheat the Oven: Preheat your oven to 180 °C (350 °F). Adjust the oven rack to the center position for even baking.
3. Prepare Baking Sheets: Line 2-3 baking sheets with parchment paper or silicone mats to prevent sticking and ensure easy clean-up.
4. Brown the Butter: In a medium saucepan, melt 115 g (½ cup) of unsalted butter over medium heat (approximately 175–180 °C; 350–355 °F). Stir continuously until the butter turns a golden brown and releases a nutty aroma (this should take about 5-8 minutes).
Remove from heat immediately to avoid burning.
5. Combine Ingredients: In a large mixing bowl, combine the browned butter, 100 g (½ cup) granulated sugar, 100 g (½ cup) brown sugar, and 240 g (1 cup) smooth peanut butter. Use a stand mixer or hand mixer on medium speed to cream the mixture until it’s light and fluffy, about 2-3 minutes.
6. Add Eggs and Vanilla: Incorporate 1 large egg and 5 ml (1 teaspoon) of vanilla extract into the butter mixture. Mix on medium speed until fully combined, about 1-2 minutes.
7. Incorporate Dry Ingredients: Gradually add the pre-measured flour, baking soda, and sea salt to the wet mixture. Using a rubber spatula, gently fold the dry ingredients until just combined, taking care not to overmix.
The dough should appear slightly sticky and cohesive.
8. Scoop the Dough: Use a cookie scoop or a tablespoon to portion out the cookie dough, approximately 30 g (2 tablespoons) per cookie. Place the dough balls on the prepared baking sheets, leaving at least 5 cm (2 inches) between each for spreading.
9. Bake the Cookies****: Place the baking sheets in the preheated oven and bake for 10-12 minutes, or until the edges are golden brown and the centers appear slightly underbaked.
The cookies will set as they cool.
10. Cool the Cookies: Once baked, remove the cookies from the oven and let them sit on the baking sheets for 5 minutes. Then, transfer them to a cooling rack to cool completely.
The cookies should appear soft yet slightly firm to the touch.
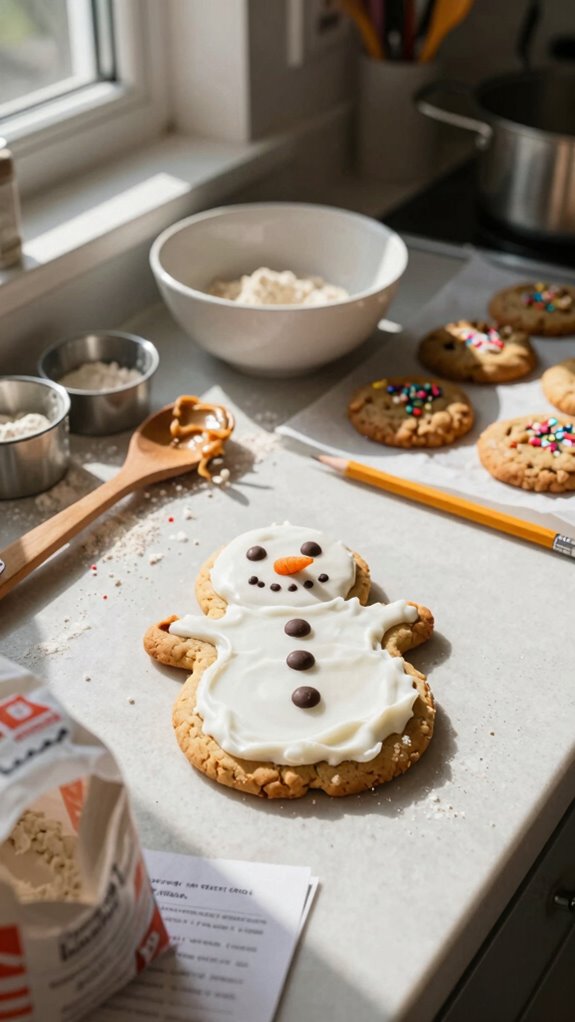
11. Decorate (Optional): If desired, once the cookies are cool, sift powdered sugar over the top to create a snow-like effect.
12. Storage: Store cookies in an airtight container at room temperature for up to 1 week to maintain their texture.
Variations
- Chocolate Chip Delight: Fold in 150 g (1 cup) of semi-sweet chocolate chips for added richness and flavor.
- Cocoa Peanut Butter Cookies: Replace 30 g (¼ cup) of all-purpose flour with 30 g (¼ cup) unsweetened cocoa powder for a chocolatey twist.
- Gluten-Free Variation: Substitute all-purpose flour with 180 g (1 ½ cups) gluten-free flour blend, ensuring a gluten-free dessert option.
- Dairy-Free Delight: Use vegan butter or coconut oil instead of unsalted butter to create a dairy-free version of the cookie.
- Vegan Version: Replace the egg with 60 ml (¼ cup) unsweetened applesauce and use vegan butter to make these cookies completely plant-based.
- Pumpkin Spice Cookies: Incorporate 120 g (½ cup) of canned pumpkin puree and 5 g (1 teaspoon) of pumpkin pie spice for a seasonal fall flavor.
- Chopped Nuts Addition: Mix in 100 g (1 cup) of chopped walnuts or pecans for added crunch and texture.
- Salted Caramel Twist: Drizzle melted caramel sauce on top before serving and sprinkle with sea salt for a sweet and salty combination.
Tips on plating and presentation
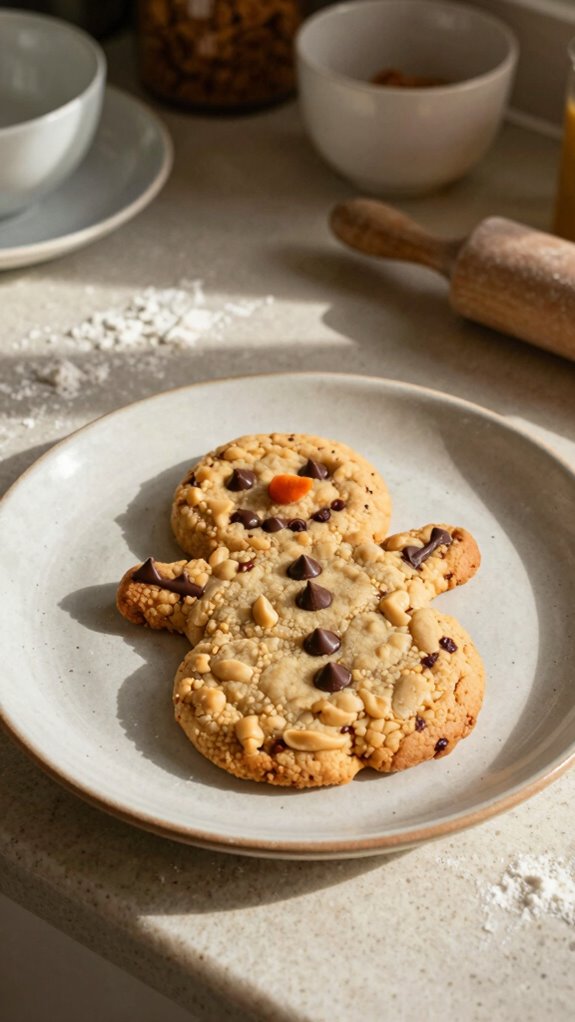
A beautifully plated cookie can elevate the simple treat into a delightful experience.
I love using simple plating techniques, like stacking cookies for height or arranging them in a semicircle.
To add flair, consider garnish ideas such as a dusting of powdered sugar or drizzling melted chocolate.
These small touches transform your Brown Butter Snowman Peanut Butter Cookies into eye-catching delights that impress everyone!
What other dishes can I pair it with?
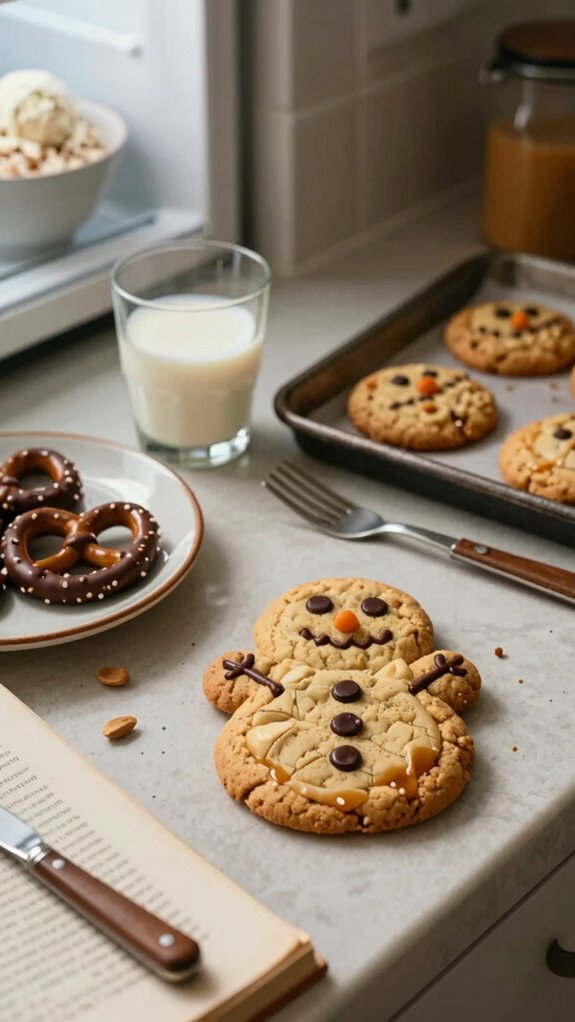
After creating those stunning Brown Butter Snowman Peanut Butter Cookies, you might wonder what other dishes could complement them perfectly.
I love pairing these cookies with chocolate-dipped pretzels for a delightful mix of sweet and salty.
You could also serve them alongside festive bars, like gingerbread or peppermint bark, to create a festive platter of cookie desserts and holiday treats everyone will enjoy!
What drinks can I pair it with?
How can you elevate the experience of enjoying your Brown Butter Snowman Peanut Butter Cookies?
I recommend a rich cup of coffee to complement their nutty flavor; a dark roast works perfectly.
For a creamier option, try pairing them with whole or oat milk.
These drinks enhance the cookies’ richness and make for a delightful treat any time of day!
Frequently Asked Questions
Can I Substitute the Peanut Butter With a Different Nut Butter?
You can definitely substitute peanut butter with other nut butter alternatives! I’ve tried almond and cashew butters, and they create delicious flavor variations. Experimenting opens up new taste possibilities, so don’t hesitate to explore!
How Should I Store Leftover Cookies?
I store cookies in an airtight container at room temperature to keep them fresh. This way, I extend their lifespan for about a week. If longer, I freeze them to maintain their deliciousness.
Can I Freeze These Cookies for Later?
Absolutely, I can freeze these cookies for later! Just wrap ’em tightly and use proper freezing tips. When you’re ready, thaw them at room temperature or pop them in the microwave for a quick treat!
What’s the Best Way to Decorate the Snowman Cookies?
I love using creative toppings like chocolate chips for eyes and candy buttons. For fun decorating, I drizzle melted white chocolate and sprinkle edible glitter. It’s a delightful way to bring my snowman cookies to life!
Are There Gluten-Free Options for This Recipe?
Yes, I’ve found gluten-free options for this recipe! I use gluten-free flours like almond or coconut flour and sometimes substitute with alternative sweeteners. These adjustments keep my cookies delicious without any gluten. Give it a try!