When I first tried making the Brown Butter Vanilla Walnut Crescent Cookie, I was fascinated by the transformation of simple ingredients into something extraordinary. The rich, nutty flavor of brown butter combined with the crunch of walnuts creates a unique experience. It’s surprisingly easy to whip up in your kitchen. Curious about the secret to perfecting this delightful treat? Let’s explore the details together.
What kind of recipe is it?
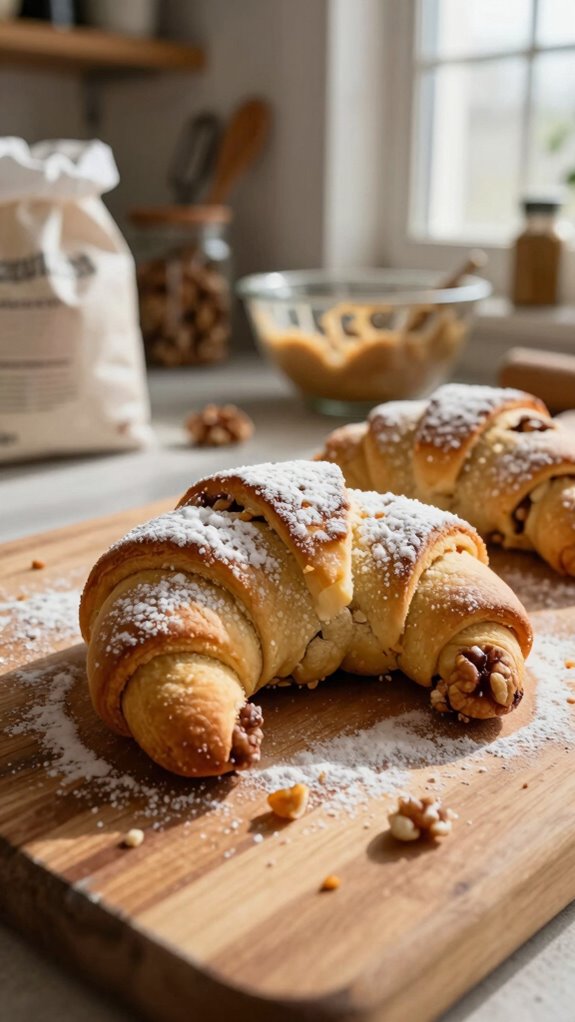
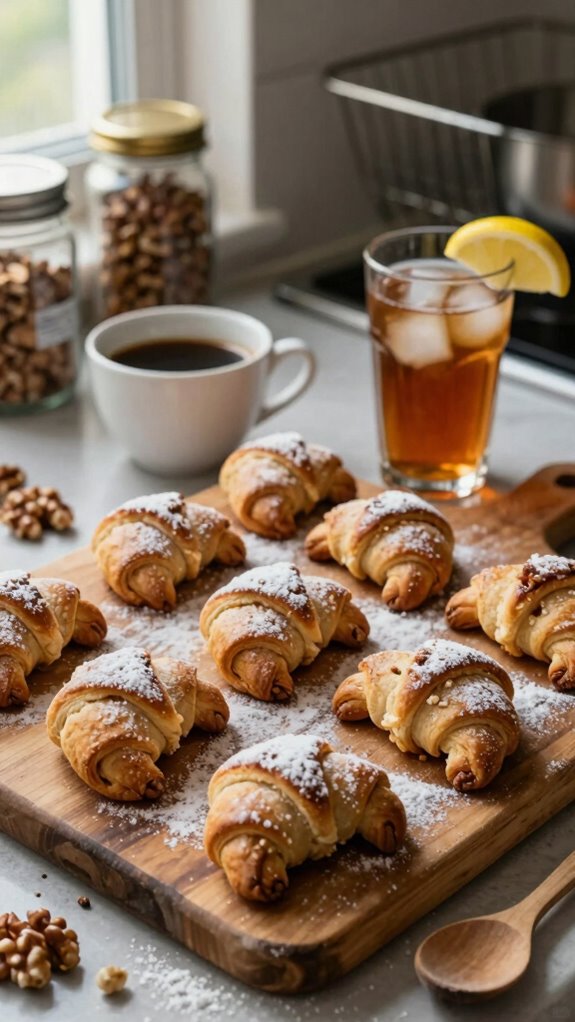
The Brown Butter Vanilla Walnut Crescent Cookie is a delightful treat that combines the rich, nutty flavor of brown butter with the warmth of vanilla and the crunch of walnuts.
These crescent-shaped cookies are characterized by their tender, melt-in-your-mouth texture and an irresistible buttery aroma. Perfect for baking enthusiasts looking to impress family and friends, this recipe is ideal for special occasions or cozy gatherings.
If you love unique flavors and comforting sweets, this cookie will surely satisfy your cravings and elevate any dessert table.
Preparation Time
| Aspect | Details |
|---|---|
| Difficulty of the Recipe | Moderate |
| Preparation Time | 30 minutes |
| Number of Servings | 24 cookies |
Ingredients
| Ingredient | Quantity |
|---|---|
| Unsalted Butter | 1 cup (230g) |
| Granulated Sugar | 3/4 cup (150g) |
| Brown Sugar | 1/2 cup (100g) |
| Vanilla Extract | 2 teaspoons |
| All-Purpose Flour | 2 cups (250g) |
| Ground Cinnamon | 1 teaspoon |
| Baking Powder | 1/2 teaspoon |
| Salt | 1/2 teaspoon |
| Chopped Walnuts | 1 cup (120g) |
| Powdered Sugar | For dusting (optional) |
Essential Kitchen Equipment
| Tool/Equipment | Purpose | Alternative Option |
|---|---|---|
| Mixing Bowls (Large & Medium) | To mix dough ingredients and separate sections of dough | Any large bowl or container like a salad bowl |
| Measuring Cups (Dry & Liquid) | For measuring out ingredients accurately | A standard cup or any clear cup marked with measurements |
| Measuring Spoons | For measuring small quantities of ingredients like vanilla extract and baking powder | Tablespoon and teaspoon from your cutlery |
| Stand Mixer or Hand Mixer | To thoroughly mix the dough and incorporate air for better texture | Whisk and elbow grease for manual mixing |
| Rubber Spatula | To scrape down the sides of the mixing bowl and fold ingredients together | Any flexible utensil or a spoon for stirring |
| Wooden Spoon | To mix the dough and combine ingredients without damaging them | Any sturdy spoon (e.g., plastic or metal mixed-use spoon) |
| Baking Sheets (2-3) | To bake cookies evenly and allow space for spreading | Any flat baking surface or trays you have at home (make sure they can withstand high heat) |
| Parchment Paper or Silicone Mats | To prevent cookies from sticking to the baking sheets and promote even baking | Lightly greased baking sheets or reusable baking mats |
| Cookie Scoop or Spoon | To portion out cookie dough evenly for uniform cookie sizes | Tablespoon for measuring out dough portions |
| Cooling Rack | To cool cookies evenly after baking without getting soggy from moisture | Cooling on top of a plate or serving platter (though it may not cool as evenly) |
| Oven Thermometer | To ensure the oven is at the correct temperature for baking | Baking a test batch to adjust according to results (though it’s less accurate) |
Cooking Steps
1. Gather all ingredients and tools as per the essential kitchen equipment list.
Preheat your oven to 175 °C (350 °F) and position the oven rack to the middle position. Line two baking sheets (30 x 40 cm / 12 x 16 in) with parchment paper or silicone mats.
2. In a medium mixing bowl, combine 120 g (1 cup) of all-purpose flour and 1 g (1/4 tsp) of baking powder.
Whisk together until evenly mixed.
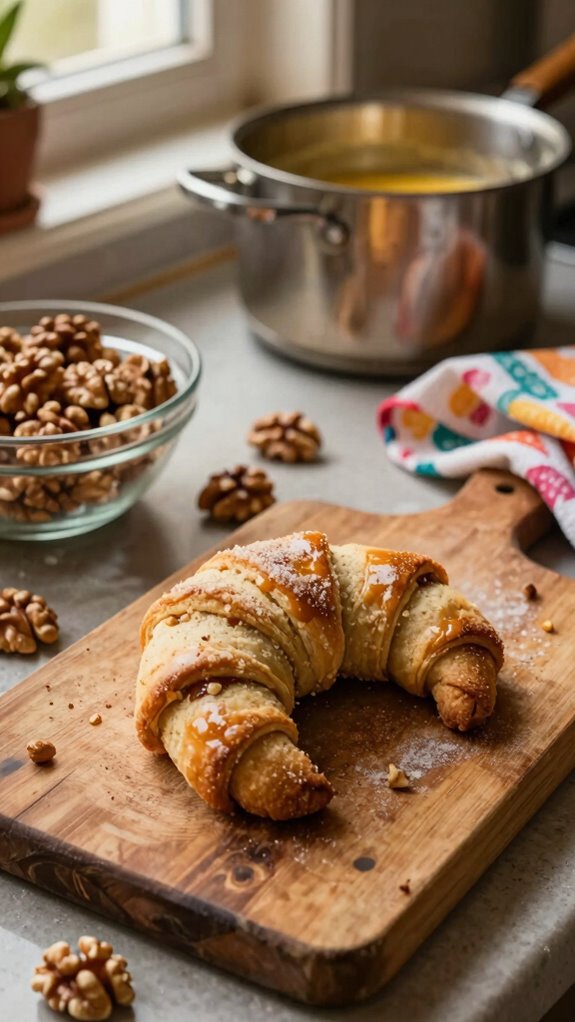
3. In a large mixing bowl, prepare the brown butter.
Heat 170 g (3/4 cup) of unsalted butter in a medium saucepan over medium heat. Continuously stir for 6-8 minutes or until the butter is golden brown and has a nutty aroma; it should be bubbling vigorously but not burning.
Remove from heat and allow the butter to cool slightly.
4. Transfer the slightly cooled brown butter to the large mixing bowl and add 100 g (1/2 cup) of granulated sugar, 60 g (1/4 cup) of packed brown sugar, and 2.5 ml (1/2 tsp) of vanilla extract.
Use a stand mixer or hand mixer on medium speed to beat the mixture until creamy, approximately 2 minutes.
5. Gradually add the whisked flour mixture to the butter-sugar mixture, mixing on low speed until just combined—about 30 seconds.
The dough should be thick and slightly sticky.
6. Fold in 80 g (1/2 cup) of chopped walnuts using a rubber spatula until evenly distributed throughout the dough.
7. Use a cookie scoop or tablespoon to portion out dough (around 30 g / 2 tbsp each) onto the prepared baking sheets, ensuring they’re spaced 5 cm (2 in) apart.
8. Bake the cookies in the preheated oven for 10-12 minutes or until the edges are lightly golden and the centers are set but soft.
The aroma should be rich and nutty.
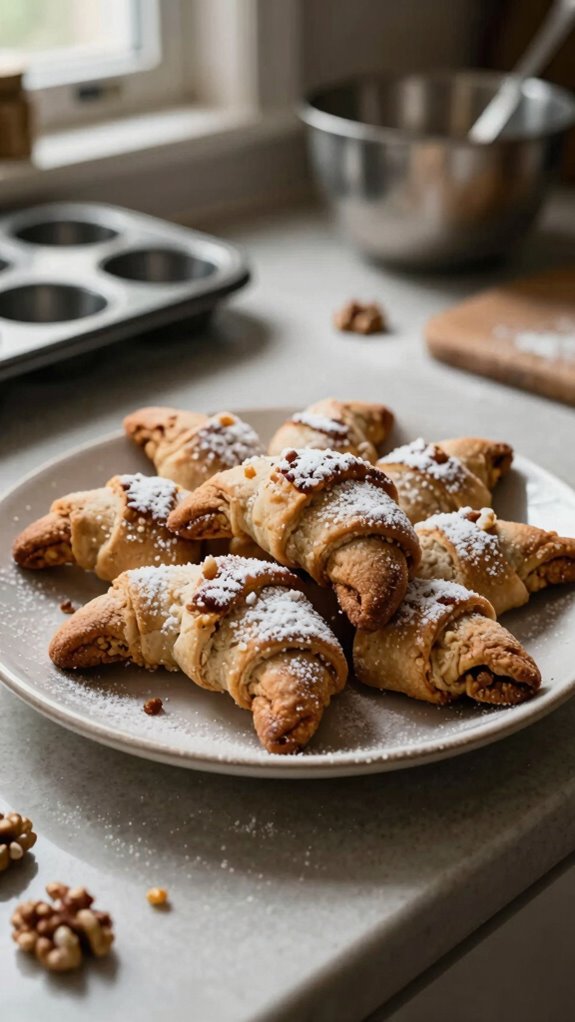
9. Once baked, remove the baking sheets from the oven and allow the cookies to cool on the sheets for 5 minutes.
Then, transfer them to a cooling rack to cool completely or until they’re no longer warm to the touch.
10. The cookies are best enjoyed once completely cooled, as they’ll firm up as they rest.
Variations
- Chocolate Chip Walnut Crescents: Replace 80 g (1/2 cup) of walnuts with 100 g (1 cup) of chocolate chips for a rich, chocolatey flavor.
- Almond Joy Variation: Substitute walnuts with 80 g (1/2 cup) of chopped almonds and add 50 g (1/2 cup) of unsweetened shredded coconut for a tropical twist.
- Gluten-Free Option: Use 120 g (1 cup) of gluten-free all-purpose flour instead of regular flour to accommodate those with gluten sensitivities.
- Vegan Crescents: Replace unsalted butter with 170 g (3/4 cup) of coconut oil and use a flax egg (1 tablespoon ground flaxseed + 3 tablespoons water) in place of the eggs for a vegan-friendly treat.
- Spiced Holiday Cookies: Add 2 g (1/2 tsp) of ground cinnamon and 2 g (1/2 tsp) of nutmeg to the flour mixture for a warm, seasonal flavor perfect for the holidays.
- Pumpkin Spice Variation: Incorporate 80 g (1/3 cup) of canned pumpkin puree and reduce the butter to 150 g (2/3 cup) for a fall-inspired version.
- Savory Cheese Crescents: Swap sugars for 50 g (1/4 cup) finely grated parmesan cheese and reduce the butter to 150 g (2/3 cup) for a cheesy, savory spin.
- No-Bake Version: Create a no-bake version by combining the ingredients as described, rolling the mixture into balls, then chilling in the refrigerator until firm instead of baking.
Tips on plating and presentation
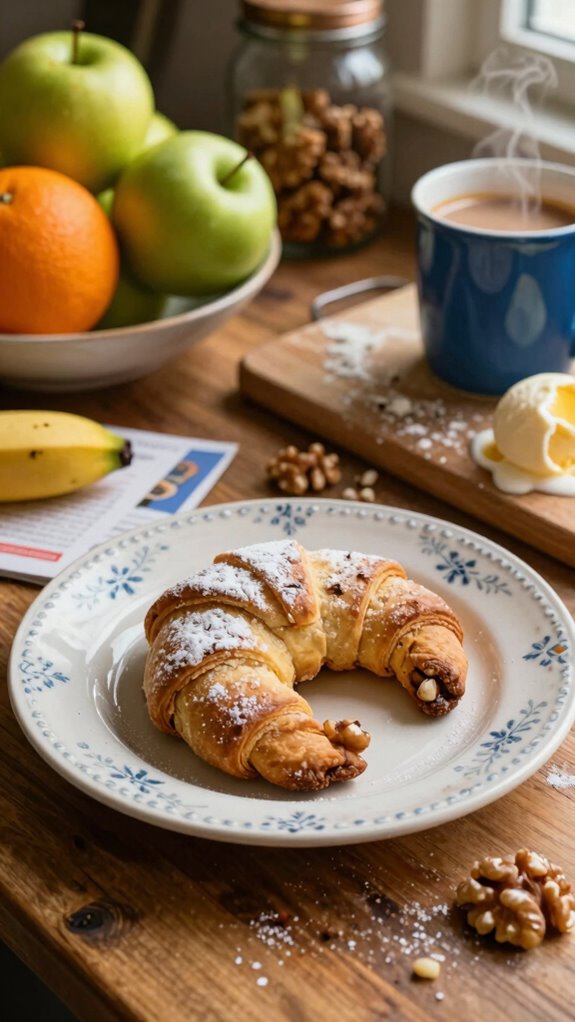
After experimenting with various delicious variations of the Brown Butter Vanilla Walnut Crescent Cookie, it’s time to think about how to present these treats beautifully.
I love using garnishing techniques like a dusting of powdered sugar or drizzling melted chocolate for flair.
Try cookie stacking to add height and visual interest, creating a lovely display that’s sure to impress your guests!
What other dishes can I pair it with?
While considering what to serve alongside Brown Butter Vanilla Walnut Crescent Cookies, I like to think about dishes that complement their rich, nutty flavors.
For delightful cookie pairings, I suggest a simple vanilla ice cream or a tart cherry compote to balance the sweetness.
Other dessert suggestions, like dark chocolate truffles or a buttery shortbread, also really enhance the overall experience.
What drinks can I pair it with?
When I pair drinks with Brown Butter Vanilla Walnut Crescent Cookies, I like to consider options that enhance their warm, nutty flavors.
A rich coffee selection, like a smooth espresso or a creamy latte, complements the cookies beautifully.
For a delightful wine pairing, I recommend a lightly oaked Chardonnay, which elevates the buttery essence without overpowering the cookies’ sweetness.
Enjoy the perfect match!
Frequently Asked Questions
Can I Use Other Nuts Instead of Walnuts?
Absolutely! I’ve used almonds for a delightful variation, and pecans make a fantastic option too. Both nuts add their unique flavors, making your cookies equally scrumptious. Experimenting with different nuts can be so much fun!
How Should I Store Leftover Cookies?
I usually store leftover cookies in an airtight container at room temperature. For longer freshness, I’ll separate layers with parchment paper and keep them in the fridge. These storing tips really help maintain cookie freshness!
Are These Cookies Suitable for Freezing?
Yes, these cookies are suitable for freezing! I’ve tried it myself, and the cookie texture remains great. Just store them properly, and they can last up to three months in the freezer without losing quality.
Can I Substitute the Brown Butter?
You can definitely substitute the brown butter! I’ve used alternative butters like coconut or almond for different flavor profiles. Just keep in mind it’ll change the taste, but experimenting can lead to delightful surprises!
What Size Should Each Cookie Shape Be?
For each cookie shape, I find about 1.5 inches in diameter and a thickness of 0.25 inches works best. This size ensures an ideal bake, resulting in a delicious and satisfying treat every time!