When I think about baking, Dark Chocolate Buttery Spritz Cookies always come to mind. Their rich flavor, thanks to the 60% cocoa, perfectly balances sweetness and indulgence. Using a cookie press, I create unique shapes that catch the eye. But there’s more to these cookies than just their looks. Let’s explore how to perfectly execute this recipe and elevate your baking game.
What kind of recipe is it?
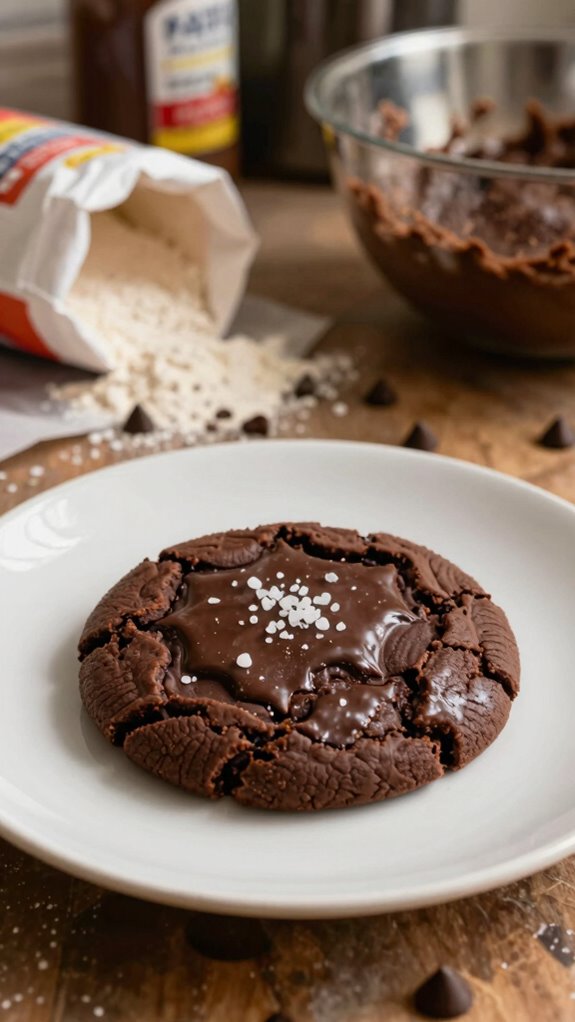
The Dark Chocolate Spritz Cookie is a delightful treat that combines the rich flavor of dark chocolate with the delicate texture of a traditional spritz cookie.
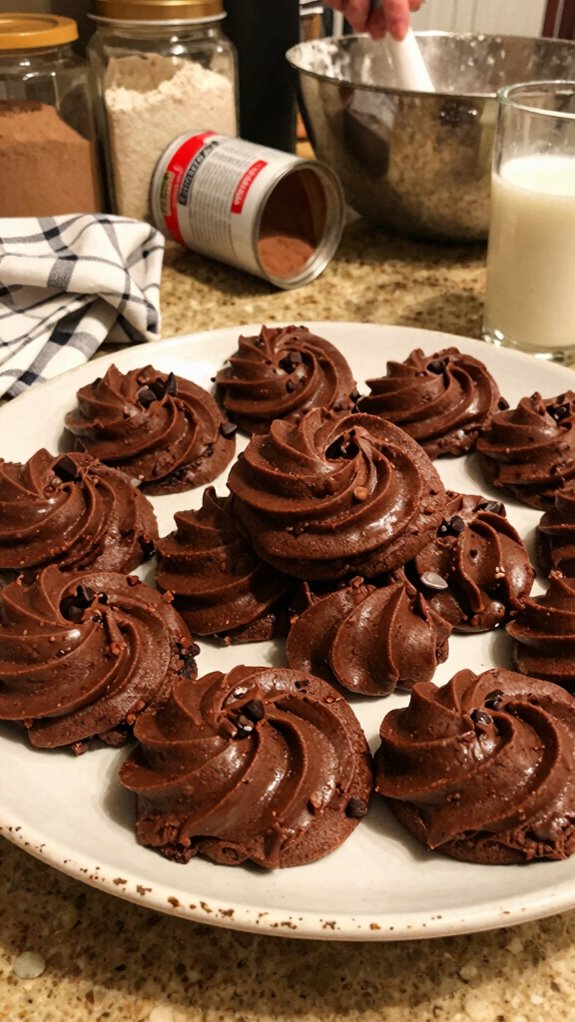
This cookie is characterized by its buttery base and intricate shapes, often formed using a cookie press. Perfect for festive occasions or as an indulgent everyday snack, these cookies appeal to chocolate lovers and baking enthusiasts alike.
They’re easy to make, adding a touch of elegance to any dessert table, making them ideal for gatherings or gifts.
Preparation Time
| Aspect | Details |
|---|---|
| Difficulty of the Recipe | Easy to Moderate |
| Preparation Time | 20 minutes for prep, plus additional time for chilling and baking |
| Number of Servings | Approximately 24 cookies |
Ingredients
| Ingredient | Quantity |
|---|---|
| All-purpose flour | 2 cups (240g) |
| Unsweetened cocoa powder | 1/2 cup (50g) |
| Baking soda | 1/2 teaspoon |
| Salt | 1/4 teaspoon |
| Unsalted butter | 1 cup (226g), softened |
| Granulated sugar | 3/4 cup (150g) |
| Brown sugar | 1/2 cup (100g), packed |
| Vanilla extract | 1 teaspoon |
| Egg | 1 large |
| Dark chocolate chips | 1 cup (170g) |
| Optional decorative sugar | For sprinkling |
This detailed table lists all the necessary ingredients along with their respective quantities for making Dark Chocolate Spritz Cookies.
Essential Kitchen Equipment
| Tool/Equipment | Purpose | Alternative Option |
|---|---|---|
| Mixing Bowls (Large & Medium) | Used for combining ingredients before baking. The large bowl is ideal for dry ingredients, while the medium is great for creaming butter and sugars. | Any large container or pot that can hold the ingredients. |
| Measuring Cups (Dry & Liquid) | Essential for accurately measuring both dry ingredients (like flour and cocoa) and wet ingredients (like melted butter). | A standard cup can be used, but ensure consistency in measurement. |
| Measuring Spoons | Used for measuring small amounts of ingredients like baking soda, salt, and vanilla extract precisely. | Use a regular spoon; just know the approximate measurements (1 tablespoon = 3 teaspoons). |
| Stand Mixer or Hand Mixer | Combines ingredients thoroughly, especially useful for creaming butter and sugars to achieve a light, fluffy texture. | Whisk by hand if you don’t have a mixer, though it requires more effort. |
| Rubber Spatula | Great for scraping down the sides of bowls to ensure all ingredients are mixed and for folding chocolate chips into the batter. | A wooden or silicone spoon can serve as a substitute. |
| Wooden Spoon | Ideal for mixing batter together, especially sturdy enough for thicker cookie dough. | Any sturdy spoon can work, though wooden ones are preferred for their durability. |
| Baking Sheets (2-3) | Provides a flat, even surface for baking cookies. Having multiple sheets allows for baking in batches. | Any flat, oven-safe tray can work, even aluminum foil lined trays. |
| Parchment Paper or Silicone Mats | Prevents cookies from sticking to the baking sheets and ensures even baking and easy removal. | Lightly greasing the baking sheets can be used instead, though it may cause cookies to spread more. |
| Cookie Scoop or Spoon | Helps portion out cookie dough evenly to create uniform cookies, ensuring they bake at the same rate. | Use two spoons to create dollops of dough, though this may result in inconsistently sized cookies. |
| Cooling Rack | Provides a place for baked cookies to cool properly without getting soggy on the bottom. | A countertop or another flat surface can work, but be careful to elevate the cookies to prevent moisture. |
| Oven Thermometer | Ensures your oven is at the correct temperature for baking, which is crucial for successful cookies. | If you don’t have one, you can check the oven accuracy with small baking tests (like cupcakes). |
This table outlines the essential kitchen equipment you’ll need for making Dark Chocolate Spritz Cookies, describing the purpose of each tool and providing budget-friendly alternatives where applicable.
Cooking Steps
- Mise en Place: Gather all ingredients, including 120 g (1 cup) unsweetened dark cocoa powder, 240 g (2 cups) all-purpose flour, 200 g (1 cup) granulated sugar, 100 g (1/2 cup) unsalted butter (room temperature), 1 large egg, 5 ml (1 teaspoon) vanilla extract, 2.5 g (1/2 teaspoon) baking powder, 2 g (1/4 teaspoon) baking soda, and 2 g (1/4 teaspoon) salt. Pre-measure to ensure smooth workflow.
- Preheat Oven: Set the oven to 180 °C (350 °F) and ensure the middle rack is in place. For convection baking, adjust the temperature to 165 °C (330 °F).
- Prepare Baking Sheets: Line 2-3 baking sheets with parchment paper or silicone mats, ensuring coverage to prevent sticking.
- Mix Dry Ingredients: In a large mixing bowl, whisk together 240 g (2 cups) all-purpose flour, 120 g (1 cup) unsweetened dark cocoa powder, 2.5 g (1/2 teaspoon) baking powder, 2 g (1/4 teaspoon) baking soda, and 2 g (1/4 teaspoon) salt to combine.
- Cream Butter and Sugar: In a medium mixing bowl, add 100 g (1/2 cup) unsalted butter and 200 g (1 cup) granulated sugar. Using a stand mixer (medium-high speed), cream for 2-3 minutes until light and fluffy; the mixture should appear pale and smooth.
- Incorporate Egg and Vanilla: Add 1 large egg and 5 ml (1 teaspoon) vanilla extract to the creamed mixture. Beat on medium speed for an additional 1-2 minutes until fully integrated.
- Combine Wet and Dry Ingredients: Gradually add the flour-cocoa mixture to the wet mixture. Mix on low speed for about 1 minute until just combined; don’t overmix. The dough should be thick and slightly sticky.
- Portioning Dough: Use a cookie scoop or spoon to portion out the dough (approximately 30 g (2 tablespoons) per cookie) onto the prepared baking sheets, leaving 5 cm (2 inches) of space between each cookie.
- Bake Cookies: Place the baking sheets in the preheated oven (middle rack position). Bake for 10-12 minutes. The cookies should look set but still soft in the center, and you may notice a slight aroma of chocolate; they’ll firm up as they cool.
- Cooling: Remove the baking sheets from the oven and place them on a wire cooling rack. Let the cookies cool on the sheets for 5 minutes before transferring them to the rack. Allow to cool completely for an optimal texture.
- Serving: The cookies are best enjoyed fresh but can be stored in an airtight container for up to a week.
Variations
- Mint Chocolate Spritz: Incorporate 5 ml (1 teaspoon) peppermint extract into the wet ingredients for a refreshing minty flavor twist.
- Nutty Chocolate Chip: Fold in 120 g (1 cup) of chopped walnuts or pecans along with the dry ingredients for added texture and nuttiness.
- Gluten-Free Chocolate Cookies: Substitute the all-purpose flour with 240 g (2 cups) gluten-free flour blend to make the cookies gluten-free without compromising on taste.
- Dairy-Free Delight: Replace unsalted butter with 100 g (1/2 cup) coconut oil or a plant-based butter alternative to create a dairy-free version.
- Vegan Chocolate Spritz: Use 1 tablespoon of ground flaxseed soaked in 2.5 ml (1/2 tablespoon) of water instead of egg and the alternative butter to make the recipe completely vegan.
- Spiced Chocolate Cookies: Add 2 g (1/2 teaspoon) ground cinnamon and a pinch of cayenne pepper to the dry ingredients for a warm, spiced flavor profile.
- White Chocolate Drizzle: After baking, drizzle melted white chocolate over the cooled cookies for a sweet contrast to the dark chocolate flavor.
- Seasonal Pumpkin Spice: Mix in 60 g (1/4 cup) of pumpkin puree and adjust the flour to 180 g (1 1/2 cups) to create a seasonal twist with warm pumpkin spices.
Tips on plating and presentation
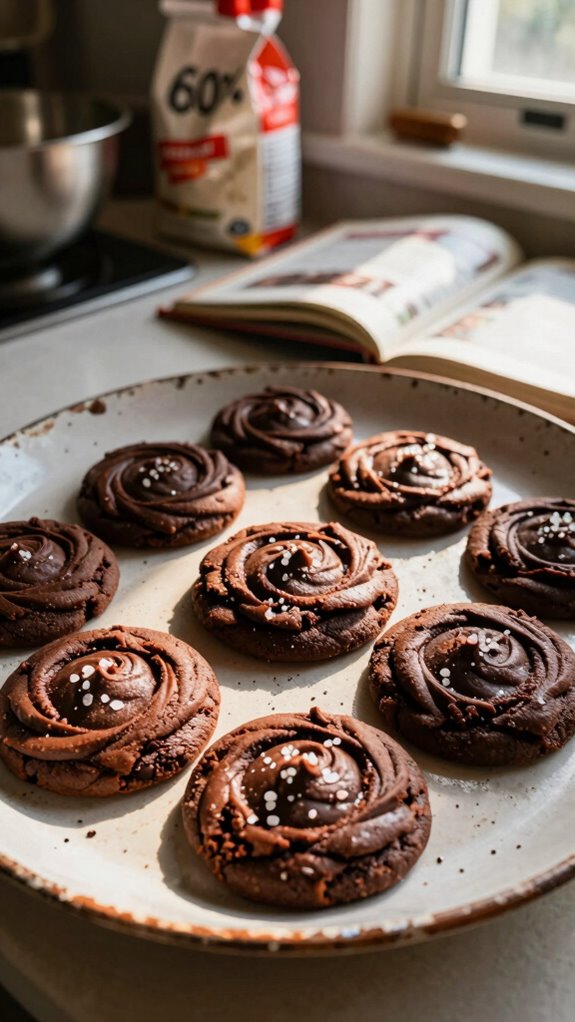
While presenting your Dark Chocolate Spritz Cookies, I find that a little attention to detail can elevate their appeal.
Using simple plating techniques, like stacking them in a staggered arrangement, adds dimension.
Consider dusting them with powdered sugar for a beautiful contrast.
For presentation tips, a colorful plate or garnish, like fresh berries or mint, enhances visual interest and entices your guests even more.
What other dishes can I pair it with?
If you’re looking to create a delightful dessert spread, pairing your Dark Chocolate Spritz Cookies with complementary dishes can make all the difference.
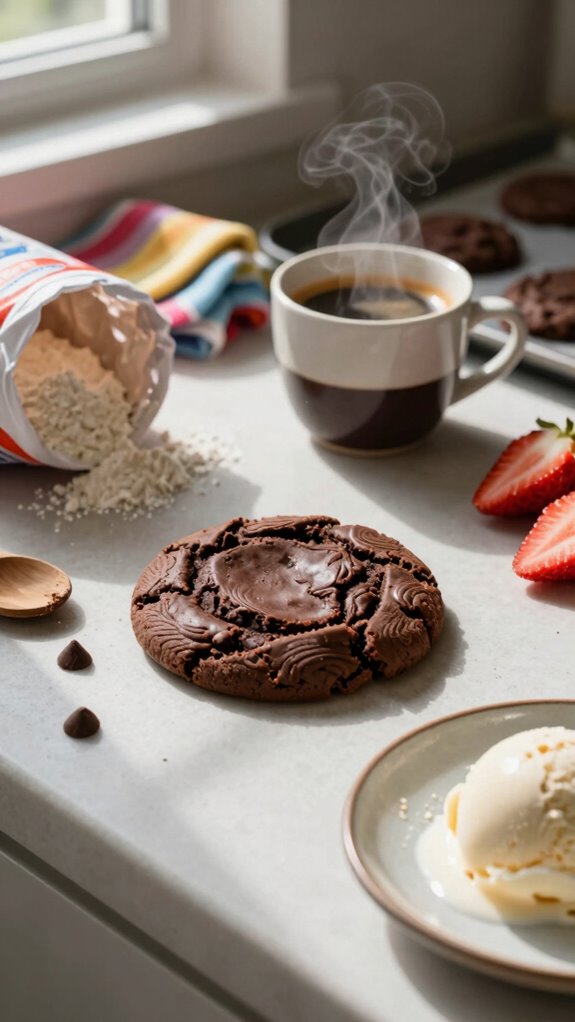
Consider adding fresh berries, such as raspberries or strawberries, to enhance the chocolate flavor. Nuts like almonds or hazelnuts offer a nice crunch.
These flavor pairings not only elevate your cookie experience but also make for stunning dessert platters.
What drinks can I pair it with?
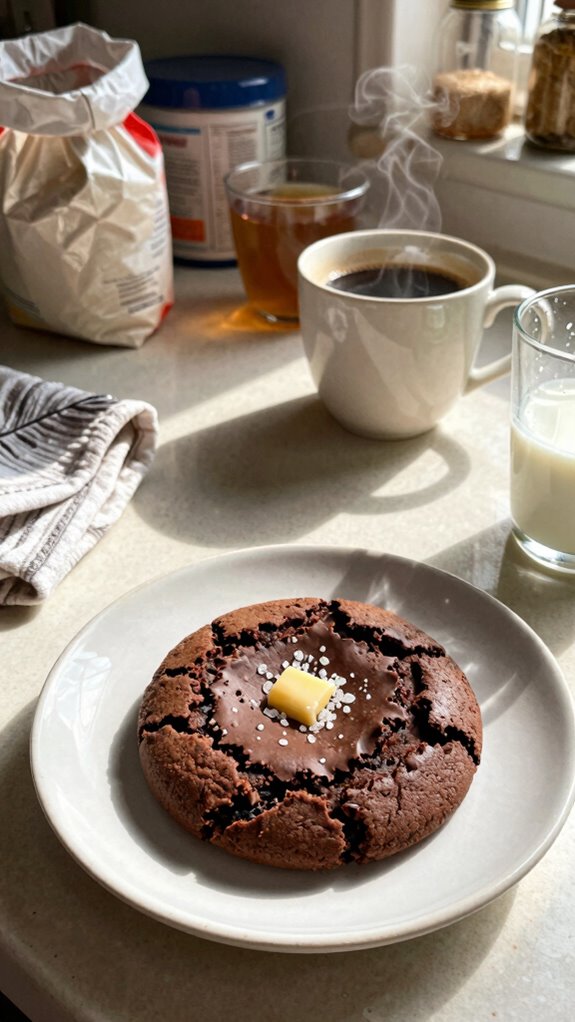
Wondering what drinks would complement your Dark Chocolate Spritz Cookies? I’d recommend a rich red wine for the perfect wine pairings, like a Cabernet Sauvignon or a Merlot, which enhance the chocolate’s depth.
If you prefer coffee options, a bold espresso or a creamy latte balances the sweetness beautifully.
Both choices elevate your cookie experience, making each bite even more delightful!
Frequently Asked Questions
Can I Use Different Types of Cocoa Powder?
Absolutely, I’ve experimented with various cocoa powder types, and each offers unique chocolate flavor profiles. Just keep in mind that the intensity and sweetness might vary, so adjust your recipe accordingly for the best results!
How Should I Store Leftover Cookies?
I store leftover cookies in airtight cookie containers for moisture control. It keeps them fresh longer. Just be sure to let them cool completely first, so they don’t get soggy or lose their texture.
What Is the Shelf Life of These Cookies?
The shelf life of these cookies is about a week at room temperature. I recommend storing them in an airtight container to maintain cookie freshness for as long as possible. Your sweet treats will thank you!
Can I Freeze the Dough for Later Use?
Yes, I can freeze the dough for later use. I make sure to wrap it tightly to prevent freezer burn, ensuring my cookies stay fresh when I’m ready to bake them. I typically freeze for up to three months.
Are There Dairy-Free Options for This Recipe?
Yes, I’ve found some great dairy-free options for this recipe! I often use vegan substitutes like coconut oil or almond milk, and they work perfectly. It’s amazing how many delicious plant-based options there are!