When I think about indulging in a sweet treat, Dark Chocolate Italian Cookies with 60% cocoa always come to mind. Their rich flavor and chewy, slightly crispy texture create a perfect balance that’s hard to resist. If you’re curious about how to bring this delightful dessert to your kitchen, there’s more to explore. Let’s uncover the essential ingredients and steps to craft these exquisite cookies together.
What kind of recipe is it?
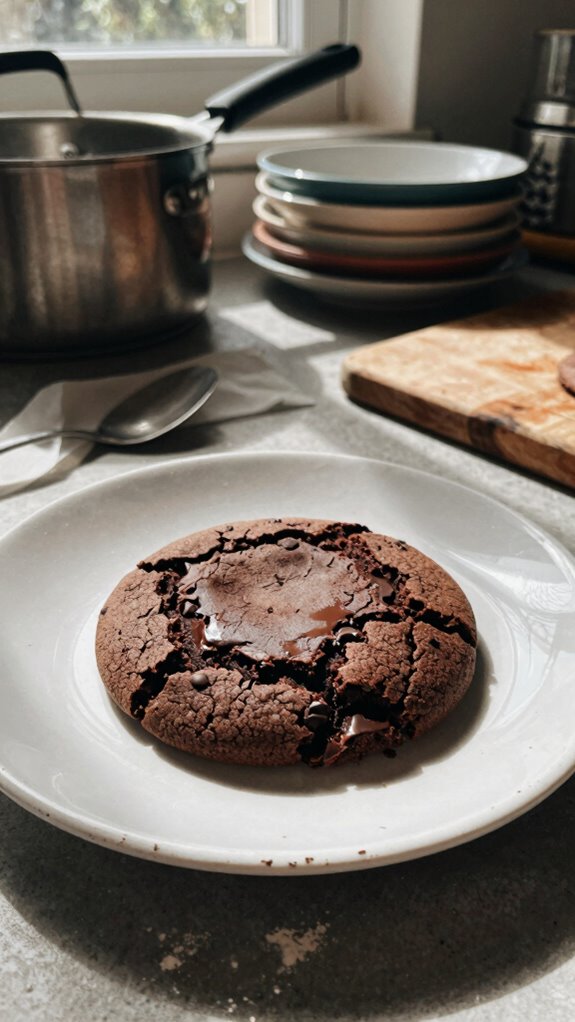
The Dark Chocolate Italian Cookie is a delectable treat that marries rich, bittersweet chocolate with a hint of traditional Italian flair.
These cookies are characterized by their chewy, slightly crispy texture and an indulgent chocolate flavor that appeals to dessert lovers. Ideal for gatherings or as a comforting snack, they’re perfect for satisfying sweet cravings.
Whether you’re an avid baker or simply a chocolate enthusiast, this recipe is crafted for anyone looking to elevate their dessert game with an authentic Italian touch.
Preparation Time
| Feature | Details |
|---|---|
| Difficulty of the Recipe | Easy to Moderate |
| Preparation Time | 15 minutes |
| Number of Servings | 24 cookies |
Ingredients
| Ingredient | Quantity |
|---|---|
| All-purpose flour | 2 cups |
| Unsweetened cocoa powder | 1/2 cup |
| Granulated sugar | 1 cup |
| Brown sugar | 1/2 cup (packed) |
| Baking powder | 1 teaspoon |
| Baking soda | 1/2 teaspoon |
| Salt | 1/4 teaspoon |
| Dark chocolate chips | 1 cup |
| Eggs | 2 large |
| Vanilla extract | 1 teaspoon |
| Unsalted butter | 1/2 cup (melted) |
Essential Kitchen Equipment
| Tool/Equipment | Purpose | Alternative Option |
|---|---|---|
| Large Mixing Bowl | To mix dry and wet ingredients together; accommodates large amounts. | Smaller bowls combined for mixing. |
| Medium Mixing Bowl | For combining smaller quantities of ingredients, if needed. | Use a single large bowl for everything. |
| Dry Measuring Cups | To measure flour, cocoa powder, sugar, and other dry ingredients accurately. | Use a standard cup and convert measurements if needed. |
| Liquid Measuring Cup | To measure wet ingredients like melted butter and eggs. | Any transparent cup that shows volume can work. |
| Measuring Spoons | For measuring smaller ingredient quantities such as baking powder and salt. | Use labeled teaspoons/tablespoons as substitutes for measuring. |
| Stand Mixer / Hand Mixer | To mix ingredients thoroughly and efficiently with minimal effort. | Use a whisk and a bit of elbow grease instead. |
| Rubber Spatula | To scrape down the sides of bowls and incorporate ingredients evenly. | A wooden spoon can also work for mixing. |
| Wooden Spoon | To mix ingredients and develop dough without scratching bowls. | Any sturdy spoon can suffice. |
| Baking Sheets | For placing and baking cookies; ensures even heat distribution. | Use any flat, oven-safe trays or pans. |
| Parchment Paper/Silicone Mats | Prevents sticking and aids in even baking of cookies. | Lightly grease baking sheets instead. |
| Cookie Scoop/Spoon | For portioning out cookie dough evenly for uniform baking. | Use two spoons to scoop dough evenly. |
| Cooling Rack | To cool cookies evenly after baking to avoid sogginess. | Use a plate or serve them directly on the baking sheet. |
| Oven Thermometer | To ensure the oven is at the correct temperature for baking. | Use an appliance thermometer if available or check your oven’s original calibration. |
Cooking Steps

- Mise en Place: Gather and measure out 200 g (1 ⅔ cup) all-purpose flour, 50 g (½ cup) unsweetened cocoa powder, 150 g (¾ cup) granulated sugar, 60 g (¼ cup) unsalted butter, 2 large eggs, 5 g (1 tsp) baking powder, and 2 g (½ tsp) salt. Prepare baking sheets by lining them with parchment paper (or silicone mats).
- Preheat Oven: Preheat the oven to 180 °C (350 °F). Position the oven rack in the center for optimal heat distribution.
- Mix Dry Ingredients: In a large mixing bowl, combine the measured flour, cocoa powder, baking powder, and salt. Whisk together until evenly distributed for about 30 seconds; the mixture should appear homogenous.
- Cream Butter and Sugar: In a separate medium mixing bowl, use a stand mixer with a paddle attachment. Beat 60 g (¼ cup) softened unsalted butter and 150 g (¾ cup) granulated sugar on medium speed until light and fluffy, approximately 2–3 minutes. The mixture should be pale and creamy.
- Incorporate Eggs: Add 2 large eggs to the butter-sugar mixture, one at a time, mixing on medium speed for about 1 minute after each addition. Ensure the eggs are fully incorporated before adding the next. The mixture should look smooth and slightly glossy.
- Combine Mixtures: Gradually add the dry ingredients to the creamed butter mixture in the medium bowl. Mix on low speed until just combined, about 30 seconds. Scrape down the sides of the bowl with a rubber spatula, then mix briefly until the dough is uniform.
- Form Cookies: Using a cookie scoop or two spoons, portion out about 30 g (2 tablespoons) of dough for each cookie, placing them 5 cm (2 inches) apart on the prepared baking sheets. The dough should be slightly sticky but manageable.
- Bake Cookies: Transfer the baking sheets to the preheated oven. Bake for 10–12 minutes until the edges are set but the centers are still soft and slightly puffed. The cookies should develop a light sheen and have a rich chocolate aroma.
- Cool Cookies: Remove the baking sheets from the oven and allow the cookies to cool on the sheets for 5 minutes. Then, using a cooling rack, transfer the cookies to cool completely. This will ensure they set properly and maintain their texture.
- Rest and Carryover Cooking: Let the cookies rest for an additional 10–15 minutes at room temperature on the cooling rack. Some carryover cooking will occur, firming them up slightly without overbaking.
- Finalize and Serve: Once cooled, the cookies can be stored in an airtight container at room temperature for up to 5 days, allowing the flavors to meld. Enjoy their rich chocolate flavor and tender texture!
Variations
- Nutty Delight: Add 100 g (1 cup) of chopped nuts (hazelnuts or walnuts) to the dough for a crunchy texture and nutty flavor.
- Peppermint Swirl: Incorporate 5 g (1 tsp) peppermint extract and fold in crushed candy canes for a festive holiday twist.
- Gluten-Free Option: Substitute 200 g (1 ⅔ cup) all-purpose flour with a gluten-free flour blend to accommodate gluten sensitivities.
- Dairy-Free Twist: Replace the 60 g (¼ cup) unsalted butter with coconut oil or a dairy-free butter alternative for a vegan-friendly cookie.
- Chocolate Chip Surprise: Mix in 100 g (½ cup) dairy-free or dark chocolate chips for an extra dose of chocolatey goodness.
- Seasonal Pumpkin Spice: Add 100 g (½ cup) pumpkin puree and 5 g (1 tsp) pumpkin spice mix to the batter for a fall-inspired treat.
- Baked vs. Fried: Shape the dough into patties and fry them in oil at 180 °C (350 °F) for about 2-3 minutes on each side for a crispy alternative.
- Citrus Zing: Mix in the zest of 1 orange and 1 lemon for a refreshing citrus flavor that brightens up the rich chocolate.
Tips on plating and presentation
After exploring various delicious variations of the Dark Chocolate Italian Cookie, it’s time to think about how to make them visually appealing.
Use simple plating techniques like stacking cookies or arranging them in a fan shape.
For presentation tips, add a dusting of powdered sugar and serve on a contrasting plate. This will enhance the chocolate’s richness and create an enticing display.
What other dishes can I pair it with?
Although dark chocolate Italian cookies are delightful on their own, they pair wonderfully with a variety of dishes that complement their rich flavor.
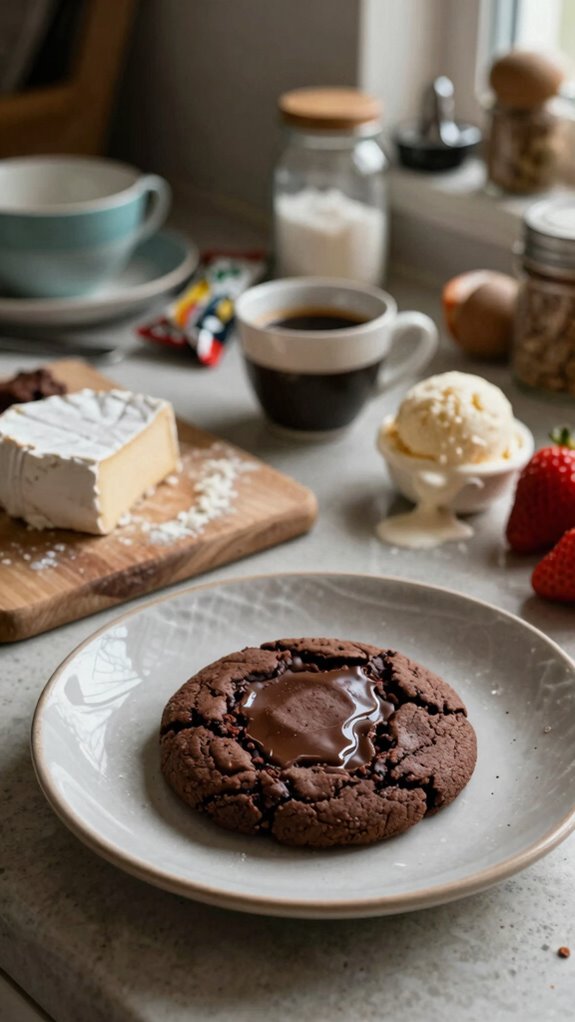
I love serving them alongside creamy mascarpone or drizzling warm chocolate sauce over richer cookie desserts.
Additionally, they work beautifully with nutty flavors, like hazelnuts or almonds, enhancing the flavor profiles while creating a deliciously indulgent experience.
What drinks can I pair it with?
What drinks can elevate the experience of enjoying dark chocolate Italian cookies?
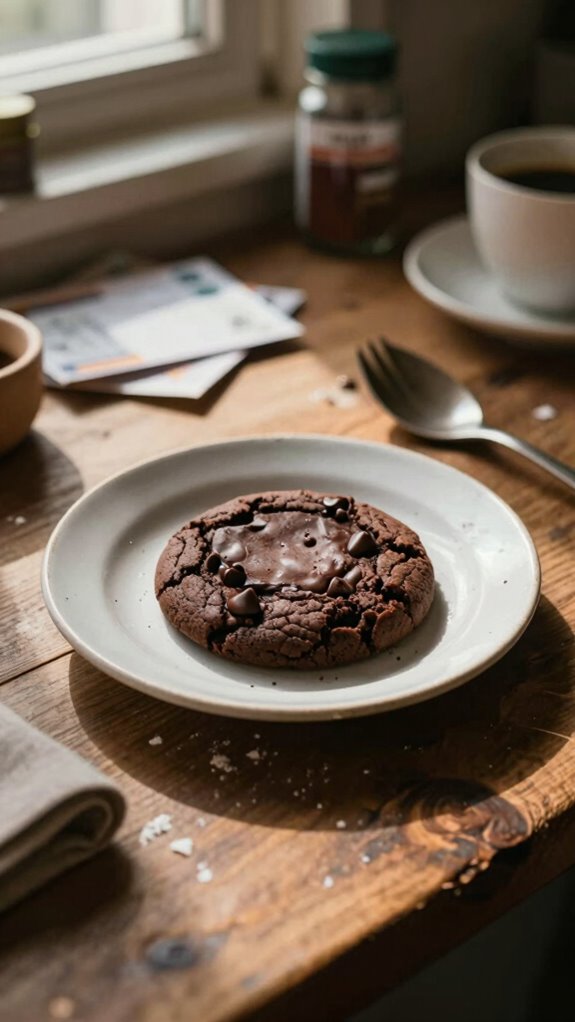
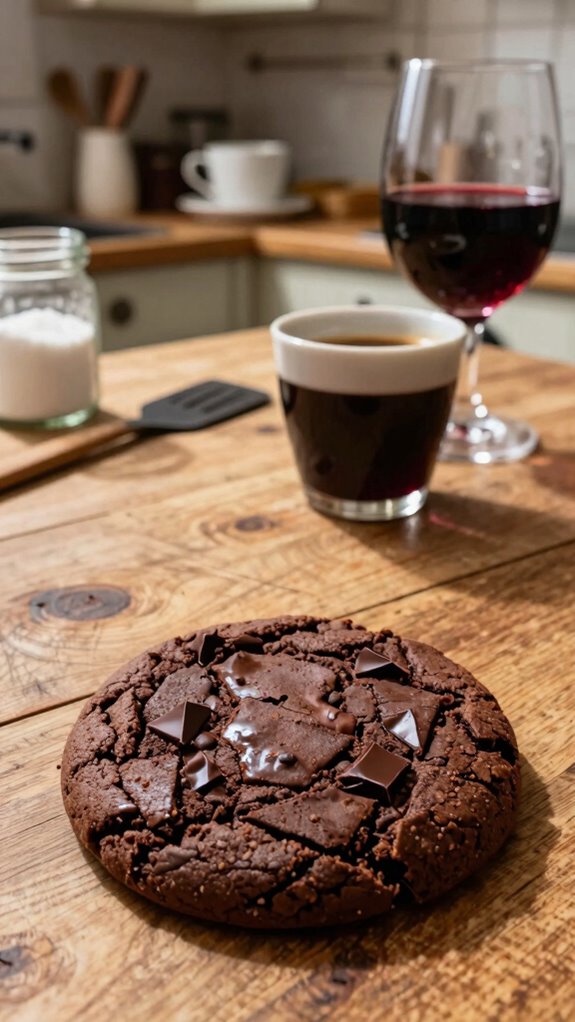
I love pairing them with a robust espresso or a rich coffee blend; the coffee pairings enhance the chocolate’s depth.
Alternatively, a smooth dessert wine, like a late-harvest Riesling, complements the cookies’ sweetness beautifully, creating a perfect balance.
Each sip deepens the enjoyment of these decadent treats!
Frequently Asked Questions
Can I Substitute Dark Chocolate With Another Type of Chocolate?
Yes, you can substitute dark chocolate with another type, but the flavor profile and sweetness balance will change. I’ve found milk or white chocolate often makes sweets taste sweeter, so adjust accordingly!
Is This Cookie Suitable for Gluten-Free Diets?
No, this cookie isn’t suitable for gluten-free diets, as it typically contains regular flour. However, you could use gluten-free flours to maintain a similar cookie texture if you’re looking to make a gluten-free version.
How Should I Store Leftover Cookies?
I usually store cookies in an airtight container at room temperature to maintain cookie freshness. If you’ve got soft cookies, I suggest separating layers with parchment paper to keep them from sticking together. Enjoy!
Can I Freeze the Cookie Dough?
Yes, I can freeze the cookie dough! I recommend forming it into balls for easier portioning later. Ensure it’s wrapped tightly to maintain dough consistency. Just remember to thaw it properly before baking!
What Allergens Should I Be Aware of in This Recipe?
You should definitely watch out for cocoa allergies and nut allergies. I’ve found these can be common issues, so always check the ingredients carefully, especially if you’re sharing these treats with others.