I’ve been experimenting with a twist on the classic no-bake treat: the Dark Chocolate Peanut Butter Ball with Rice Krispies. Using 60% cocoa dark chocolate, it adds a rich depth to the creamy peanut butter base. The addition of Rice Krispies brings a satisfying crunch. This snack strikes a perfect balance between nutrition and indulgence. Curious about how to make it and what variations you can try? Let’s explore the details.
What kind of recipe is it?
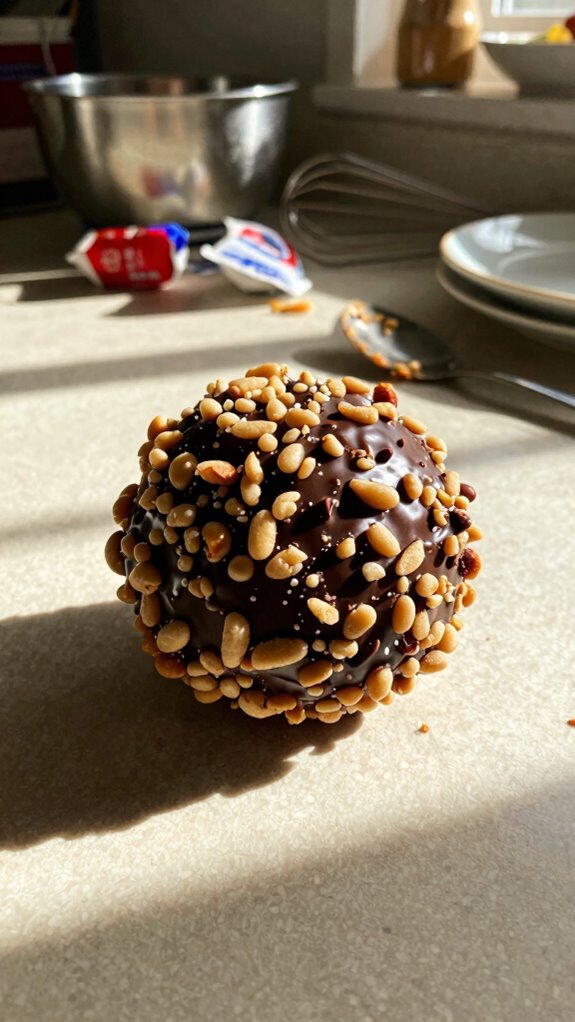
The Dark Chocolate Peanut Butter Ball Recipe is a delightful no-bake treat that combines the rich flavors of dark chocolate and creamy peanut butter, creating an indulgent yet healthy snack.
These bite-sized delights aren’t only delicious but also packed with protein, making them perfect for dessert lovers and health-conscious individuals alike.
Ideal for parties, after-school snacks, or a quick energy boost, this recipe caters to all ages, ensuring that everyone can enjoy these sweet bites guilt-free.
Preparation Time
| Category | Details |
|---|---|
| Difficulty of the Recipe | Easy |
| Preparation Time | 20 minutes |
| Number of Servings | Approximately 12 balls |
Ingredients
| Ingredient | Quantity |
|---|---|
| Dark chocolate chips | 1 cup (6 oz) |
| Creamy peanut butter | 1 cup |
| Rolled oats | 1 cup |
| Honey or maple syrup | 1/4 cup |
| Vanilla extract | 1 teaspoon |
| Sea salt | 1/4 teaspoon |
| Chopped nuts (optional) | 1/2 cup |
| Unsweetened cocoa powder (optional) | 1/4 cup |
Feel free to substitute any ingredients to suit dietary preferences or add extra flavorings as desired!
Essential Kitchen Equipment
| Tool/Equipment | Purpose | Alternative Option |
|---|---|---|
| Mixing Bowls (Large and Medium) | Used for combining ingredients and mixing the peanut butter mixture. | Any large bowls you have at home, like salad bowls. |
| Measuring Cups (Dry and Liquid) | To measure out precise quantities of ingredients like oats, peanut butter, and honey or syrup. | A measuring jug or even standard cups (e.g., a coffee mug for approximate measurements). |
| Measuring Spoons | To accurately measure small quantities of ingredients like vanilla extract and sea salt. | A regular teaspoon and tablespoon can be used as approximations. |
| Stand Mixer or Hand Mixer | To mix the ingredients thoroughly and easily, especially the peanut butter and dry ingredients. | Mixing by hand with a wooden spoon, though it will require more effort. |
| Rubber Spatula | To fold and scrape down the sides of the bowl to ensure all ingredients are combined evenly. | A silicone spatula or a wooden spoon can work as well. |
| Wooden Spoon | Used to mix the ingredients together manually if not using a mixer. | Any sturdy spoon can serve this purpose. |
| Baking Sheets (2-3) | For placing the chocolate peanut butter balls for chilling or baking. | Any flat, oven-safe trays can be used for chilling. |
| Parchment Paper or Silicone Mats | To line the baking sheets, ensuring the balls don’t stick and for easy cleanup. | Wax paper works in a pinch (though not for baking) or simply greasing the sheets with oil. |
| Cookie Scoop or Spoon | To portion out equal sizes of the mixture for even baking or chilling. | Using two spoons to form balls works well too. |
| Cooling Rack | Used for cooling the balls after chilling, helping them to firm up properly. | A flat plate can be used to rest and cool them if a rack is not available. |
| Oven Thermometer | To ensure the oven is at the desired temperature if you choose to bake the balls. | An app-based temperature check or a manual adjustment based on your oven’s known inaccuracies can be helpful. |
This table provides the necessary kitchen equipment for creating your delicious dark chocolate peanut butter balls while also offering budget-friendly alternatives to help you get started! Enjoy your baking.
Cooking Steps

6. Combine Mixtures: Gradually add the wet mixture to the dry ingredients, using the rubber spatula to fold them together until no dry spots remain.
This will take about 1-2 minutes of folding.
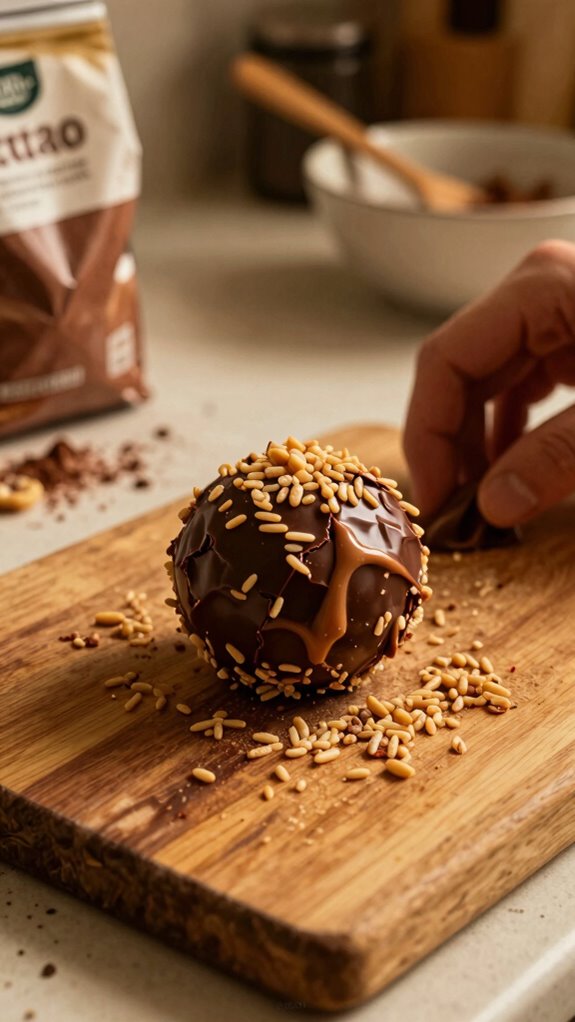
7. Portion the Mixture: Use a cookie scoop or two spoons to portion out the mixture into evenly sized balls, approximately 30 g (1 oz) each.
You should end up with around 20-25 balls.
8. Chill the Balls: Place the formed balls onto the lined baking sheets, ensuring they’re spaced about 5 cm (2 inches) apart.
Refrigerate for about 30 minutes to firm them up.
9. Optional Baking: If you’re baking the peanut butter balls, place the baking sheets in your preheated oven and bake for 10-12 minutes, until they’re slightly firm to the touch but still soft.
Remove from oven and allow to cool for 5-10 minutes on the baking sheets before transferring to a cooling rack.
10. Cooling: If not baking, allow the chilled peanut butter balls to rest at room temperature for 5 minutes before serving.
For baked balls, let them cool completely on the cooling rack for about 20-30 minutes to firm up further.
11. Enjoy: After cooling, the balls can be stored in an airtight container in the refrigerator for up to one week or in the freezer for longer storage.
Enjoy your dark chocolate peanut butter balls for a delicious treat!
Variations
- Seasonal Spice: Add 1 tsp of cinnamon or pumpkin spice for a seasonal flavor, perfect for the fall.
- No-Bake Option: Keep the balls raw by skipping the baking step and enjoying them chilled for a no-cook treat.
- Coconut Bliss: Roll the finished balls in shredded coconut before chilling for an exotic touch.
Tips on plating and presentation
Although these dark chocolate peanut butter balls are delicious on their own, a little thoughtful plating can elevate their appeal.
I love using garnishing techniques like a sprinkle of sea salt or crushed nuts for texture.
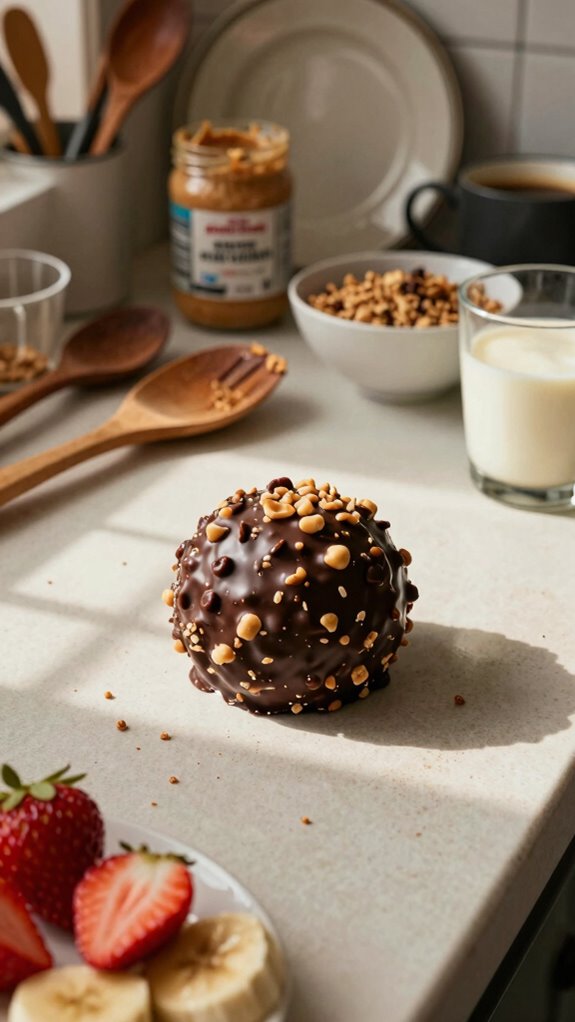
For serving suggestions, arrange them on a colorful platter with fresh fruit, or stack them in a glass jar for a visually appealing dessert display.
Enjoy!
What other dishes can I pair it with?
Have you ever wondered what dishes complement the rich flavors of dark chocolate peanut butter balls?
I love pairing them with creamy vanilla ice cream for delightful dessert pairings. The cold creaminess contrasts brilliantly with the intense chocolate and nutty notes.
You can also serve them alongside fruit, like fresh berries, to create delicious flavor contrasts. Trust me, it’s a match made in heaven!
What drinks can I pair it with?
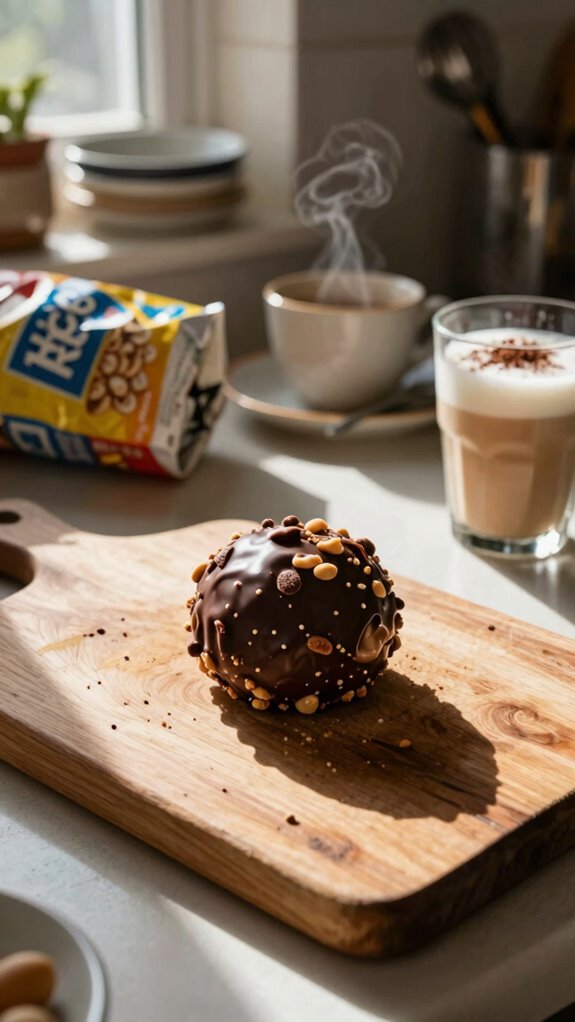
When it comes to drinks that pair well with dark chocolate peanut butter balls, I often find that a rich and bold coffee or espresso elevates the entire experience.
If I’m in the mood for something different, I love exploring wine pairings. A nice Pinot Noir or a deep Cabernet Sauvignon enhances the flavors beautifully.
Both options complement the chocolate and peanut butter perfectly!
Frequently Asked Questions
Can I Use Milk Chocolate Instead of Dark Chocolate?
You can definitely use milk chocolate instead of dark chocolate! Just keep in mind that the flavor profile will be sweeter, and there are nutritional differences, like higher sugar content and lower antioxidants. Enjoy experimenting!
How Long Do the Chocolate Peanut Butter Balls Last?
These chocolate peanut butter balls typically last about two weeks when stored properly. I recommend keeping them in an airtight container in the fridge to maximize shelf life and maintain freshness. Enjoy them while they’re tasty!
Are There Any Substitutes for Rice Krispies?
Absolutely, I’ve used crushed pretzels or granola as alternate ingredients. They add a different crunch, but the texture differences can be enjoyable. Just experiment to find what suits your taste best!
Can I Freeze Chocolate Peanut Butter Balls?
Yes, you can freeze chocolate peanut butter balls! I usually store them in an airtight container. When I’m ready to enjoy, I let them thaw in the fridge for a few hours. It’s simple!
Is This Recipe Suitable for Vegan Diets?
Yes, this recipe can be made suitable for vegan diets by swapping out the ingredients for plant-based options. I’ve used vegan alternatives before, and they still taste amazing! Enjoy experimenting with different ingredients!