I’ve been experimenting with gluten-free treats, and I stumbled across a gem: Buckeye Peanut Butter Balls made with almond flour. The combination of creamy peanut butter and rich chocolate is undeniably satisfying, especially for those avoiding gluten. Best of all, they’re no-bake, making them a breeze to whip up. If you’re curious about how to make these delicious bites, you might want to stick around for the details on crafting this indulgent snack.
What kind of recipe is it?
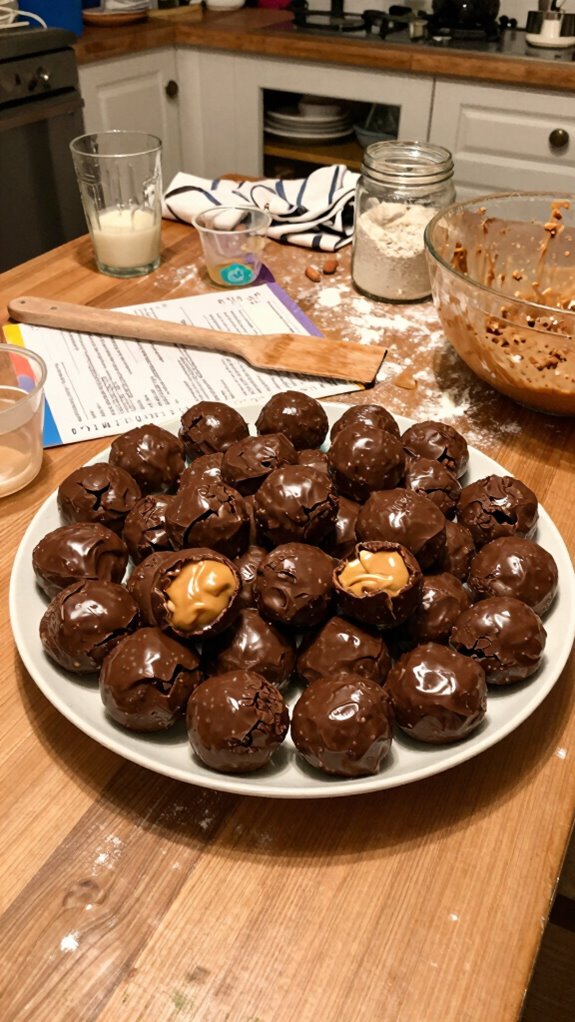
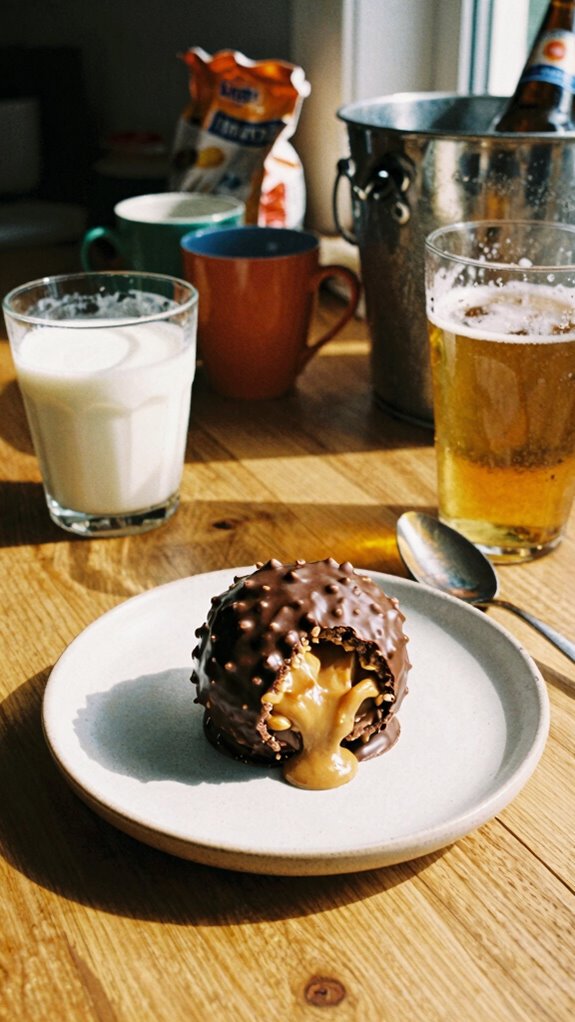
The Gluten-Free Buckeye Peanut Butter Ball is a delightful no-bake dessert that combines rich peanut butter and confectionery chocolate for a sweet treat.
Its unique characteristic lies in its gluten-free composition, making it an ideal option for those with gluten sensitivities or celiac disease.
Easy to prepare and fun to eat, these decadent bites are perfect for parties, holiday gatherings, or a tasty snack at home.
They appeal to both children and adults, ensuring everyone can enjoy this classic treat without dietary concerns.
Preparation Time
| Aspect | Details |
|---|---|
| Difficulty of Recipe | Easy |
| Preparation Time | 30 minutes (plus chilling time) |
| Number of Servings | Approximately 20-24 balls |
Ingredients
| Ingredient | Quantity |
|---|---|
| Smooth peanut butter | 1 cup (preferably natural) |
| Powdered sugar | 2 cups |
| Gluten-free graham cracker crumbs | 1 cup |
| Unsweetened cocoa powder | ½ cup |
| Vanilla extract | 1 teaspoon |
| Salt | ¼ teaspoon |
| Semi-sweet chocolate chips | 1 cup (for coating) |
| Coconut oil (optional) | 1 tablespoon (for melting chocolate) |
Essential Kitchen Equipment
| Tool/Equipment | Purpose | Alternative Option |
|---|---|---|
| Mixing Bowls (Large and Medium) | To combine ingredients like peanut butter, powdered sugar, graham crumbs, and other dry ingredients. | A large pot or even a clean kitchen sink can be used in a pinch. |
| Measuring Cups (Dry and Liquid) | For accurate measurement of ingredients such as peanut butter (dry) and vanilla extract (liquid). | Use a standard cup (like a drinking cup) but be cautious with portion sizes. |
| Measuring Spoons | Essential for measuring small quantities like vanilla extract and salt to ensure flavor balance. | A regular teaspoon and tablespoon from your kitchen can suffice. |
| Stand Mixer or Hand Mixer | To efficiently mix the dense peanut butter mixture to combine well. | Mixing by hand with a wooden spoon is an option, but it may take longer and require more effort. |
| Rubber Spatula | To scrape down the sides of the bowl and ensure all ingredients are mixed and incorporated. | A plastic or silicone spatula can also work instead. |
| Wooden Spoon | Useful for stirring and combining ingredients when mixing by hand or for transferring mixtures. | A sturdy fork can serve as a utensil for mixing in a pinch. |
| Baking Sheets (2-3) | For placing the peanut butter balls to chill or to let them set after coating with chocolate. | A large plate or platter can be used if you do not have baking sheets. |
| Parchment Paper or Silicone Mats | Provides a non-stick surface for placing the peanut butter balls to prevent sticking. | Greasing the baking sheet lightly with oil can serve as a substitute. |
| Cookie Scoop or Spoon | For portioning out the peanut butter mixture to form uniform balls. | Use your hands to form the balls, though they’ll vary in size. |
| Cooling Rack | To allow the coated peanut butter balls to cool and set properly after rolling in chocolate. | A plate can be used, but ensure it’s on a raised surface for airflow. |
| Oven Thermometer | To check if the oven is at the correct temperature for melting chocolate, ensuring consistency. | If unavailable, you can preheat oven for a set time based on standard settings (though, it’s less reliable). |
Cooking Steps
1. Preheat the oven to 175°C (350°F) and position the rack in the middle. This will prepare the space for melting chocolate later.
2. Gather all ingredients: peanut butter, powdered sugar, graham cracker crumbs, vanilla extract, salt, and chocolate chips.
3. In a large mixing bowl, combine 240 ml (1 cup) of peanut butter, 120 g (1 cup) of powdered sugar, 60 g (1/2 cup) of graham cracker crumbs, 5 ml (1 tsp) of vanilla extract, and a pinch of salt.
Use a stand mixer fitted with a paddle attachment on medium speed to mix the ingredients until well combined and smooth, about 2-3 minutes. If using a hand mixer, beat for about 4-5 minutes.
4. Once the mixture is fully combined and has a thick consistency, use a rubber spatula to scrape down the sides of the bowl to ensure all ingredients are incorporated evenly.
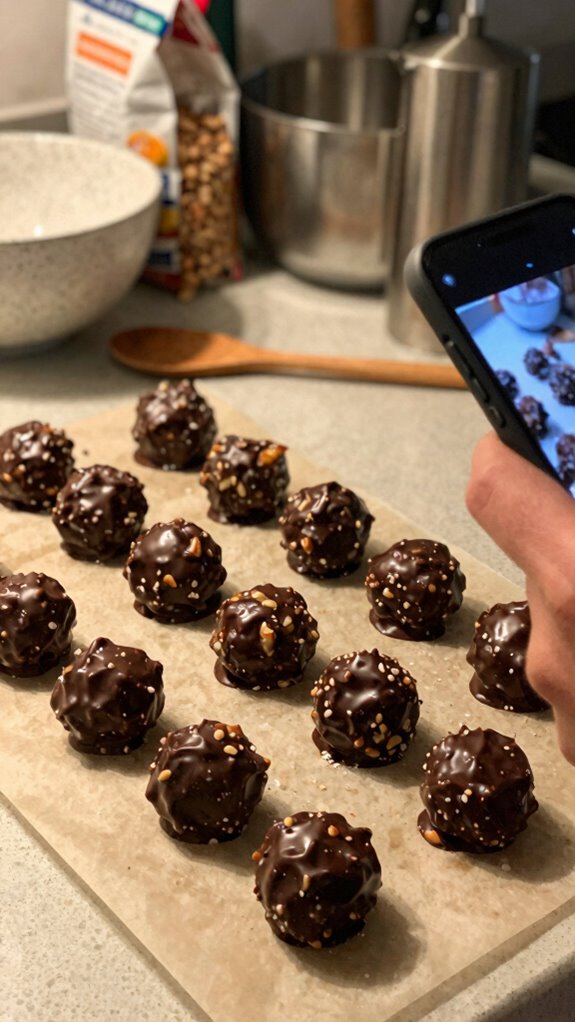
5. Form the mixture into 24-30 uniform balls, approximately 3 cm (1 inch) in diameter. Use a cookie scoop or your hands.
Place the formed balls onto a baking sheet lined with parchment paper, spacing them about 2.5 cm (1 inch) apart.
6. Once all balls are formed, place the baking sheet in the refrigerator to chill for at least 30 minutes. This will help them firm up and maintain their shape during the chocolate coating process.
7. While the peanut butter balls are chilling, prepare your double boiler for melting the chocolate. Fill a saucepan with about 5 cm (2 inches) of water, and place it on medium heat until it reaches a gentle simmer.
8. Add 240 g (16 oz) of chocolate chips to a heat-proof bowl that fits snugly over the saucepan without touching the water.
Allow the chocolate chips to melt, stirring frequently until smooth, about 5-7 minutes. Ensure the steam doesn’t escape while you’re melting.
9. Once the chocolate is melted and smooth, remove it from heat. Take the chilled peanut butter balls from the refrigerator.
10. Using a fork, dip each peanut butter ball into the melted chocolate, ensuring it’s fully coated.
Allow excess chocolate to drip off, then place it back onto the parchment-lined baking sheet.
11. Repeat the dipping process until all peanut butter balls are coated.
12. For finishing touches, if desired, drizzle any leftover chocolate over the coated balls for decoration, using a spoon or a piping bag.
13. Allow the coated balls to set at room temperature for about 30 minutes, or place them in the refrigerator for quicker setting, about 15 minutes.
14. Once set, transfer the chocolate-coated buckeye peanut butter balls to an airtight container for storage.
They can be stored at room temperature or refrigerated for up to 1 week.
15. Before serving, let the chilled balls sit at room temperature for a few minutes for optimal texture.
Variations
- Chocolate Mint Buckeyes: Add 5 ml (1 tsp) of peppermint extract to the peanut butter mixture for a refreshing mint flavor.
- Vegan Buckeyes: Substitute peanut butter with almond butter and use dairy-free chocolate chips for a completely vegan treat.
- Coconut Crème Buckeyes: Mix in 60 g (1/2 cup) of shredded coconut into the peanut butter mixture for a tropical twist.
- Protein-Packed Peanut Butter Balls: Incorporate 30 g (1/4 cup) of your favorite protein powder into the mixture for an added protein boost.
- Espresso Buckeyes: Stir in 15 ml (1 tbsp) of instant coffee granules into the peanut butter mixture to add a rich coffee flavor.
- Pumpkin Spice Buckeyes: Replace 30 g (1/4 cup) of powdered sugar with pumpkin puree and add 5 g (1 tsp) of pumpkin spice for a seasonal spin.
- Nut-Free Buckeyes: Use sunflower seed butter instead of peanut butter for a nut-free variation suitable for schools.
- Slow Cooker Buckeyes: Melt chocolate in a slow cooker on low heat, stirring occasionally, instead of using a double boiler for easier melting.
Tips on plating and presentation
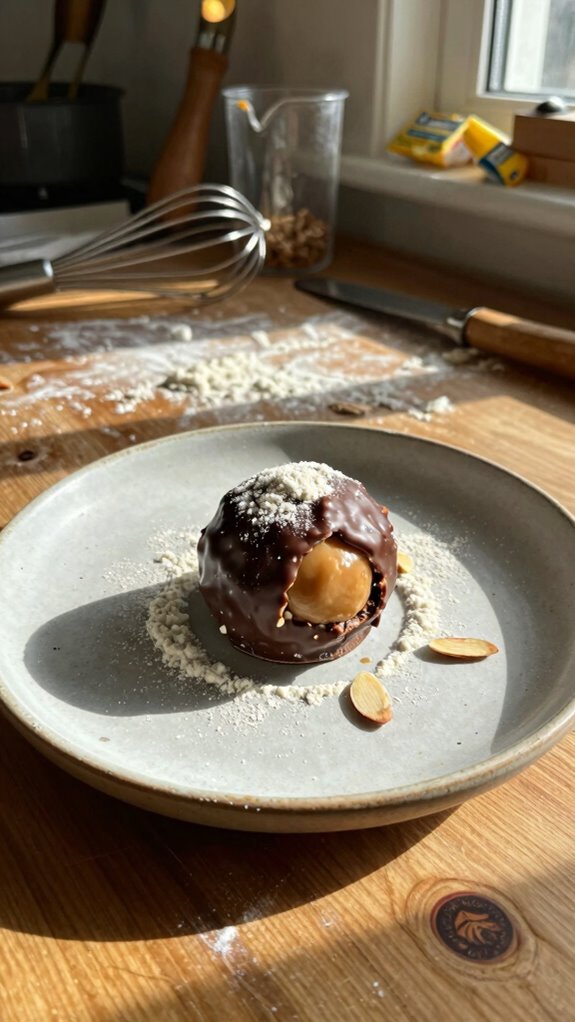
When you whip up these delicious buckeye variations, you’ll want to make sure they look as good as they taste.
I love using simple plating techniques like stacking the balls on a tiered stand or arranging them in a colorful bowl.
For presentation tips, sprinkle some crushed nuts or cocoa powder around the base to add visual interest.
It’ll wow your guests!
What other dishes can I pair it with?
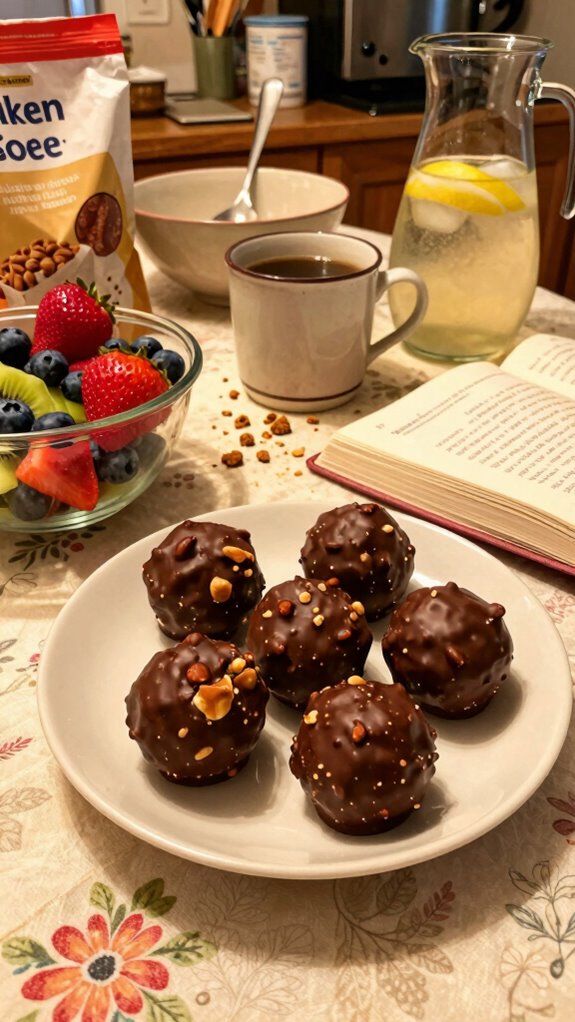
Pairing these gluten-free buckeye peanut butter balls with complementary dishes can elevate your dessert spread.
I love to combine them with fresh fruit or a light yogurt dip for a perfect balance.
In terms of snack combinations, consider serving them alongside roasted nuts or dark chocolate-covered pretzels.
These options enhance the flavors and make for enjoyable, fulfilling treats at any gathering!
What drinks can I pair it with?
There’s something delightful about enjoying gluten-free buckeye peanut butter balls with the perfect drink.
I love pairing them with rich almond milk for a nutty blend, or perhaps a dark chocolate smoothie to enhance the peanut butter’s sweetness.
For a refreshing twist, an iced coffee with a hint of vanilla offers amazing taste pairings that elevate this treat.
Trust me; you won’t regret it!
Frequently Asked Questions
Can I Use Honey Instead of Sugar in This Recipe?
You can definitely use honey instead of sugar! I’ve tried honey substitutes in similar recipes, and they work well as sugar alternatives. Just keep in mind honey’s liquid consistency may slightly change the texture.
How Long Can I Store These Peanut Butter Balls?
I’ve found that these peanut butter balls last about two weeks in the fridge. For best shelf life, I store them in an airtight container. Freezing them extends their freshness for up to three months!
Are There Nut-Free Alternatives for This Recipe?
Absolutely! I’ve used sunflower butter or pumpkin seed butter as nut-free alternatives in my recipes. Both options work beautifully for creating creamy, delicious treats that everyone can enjoy without worrying about allergies.
Can I Freeze the Buckeye Peanut Butter Balls?
Yes, I can freeze the buckeye peanut butter balls easily. I recommend using airtight storage containers. For best results, label them with freezing tips, and enjoy them later as a delicious treat!
What’s the Nutritional Information for This Recipe?
Sure! The caloric content typically ranges around 100 calories per ball, with a macronutrient breakdown of about 6 grams of fat, 8 grams of carbs, and 4 grams of protein. It’s deliciously satisfying!