When I first tried making Gluten-Free Chocolate Peanut Butter Balls with Rice Krispies and Almond Flour, I was pleasantly surprised by the delightful combination of textures and flavors. The crispiness from the Rice Krispies and the nuttiness of almond flour created a delicious snack that’s not only easy to whip up but also perfect for any occasion. Curious about how to achieve that perfect balance in your own kitchen? Let’s explore the details.
What kind of recipe is it?
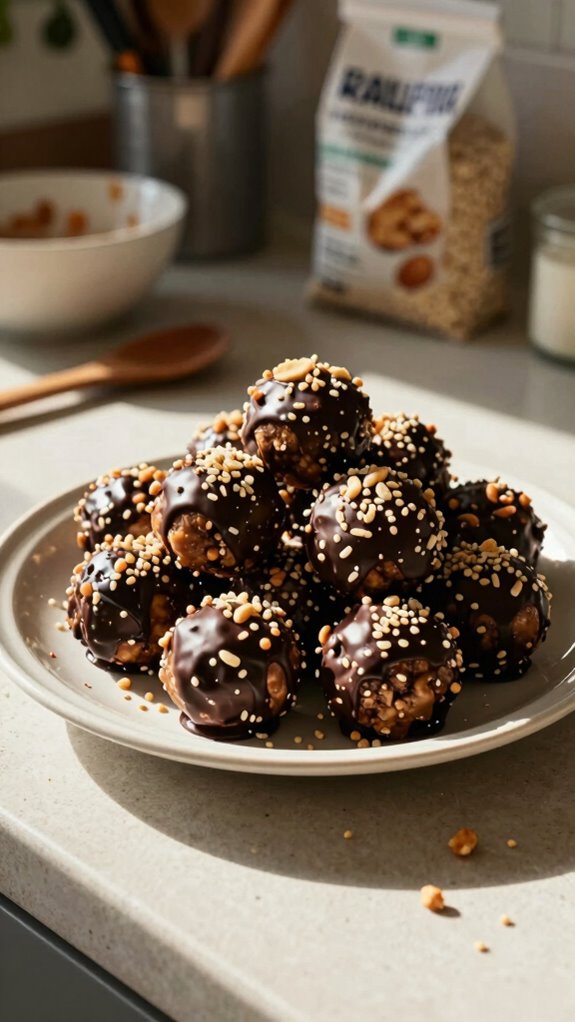
Gluten-Free Chocolate Peanut Butter Balls are a delightful no-bake treat that combines the rich flavors of chocolate and creamy peanut butter, making them an irresistible snack.
This recipe is particularly special because it caters to those with gluten sensitivities, ensuring everyone can enjoy a sweet indulgence.
With their simple preparation and wholesome ingredients, they’re perfect for health-conscious individuals seeking a satisfying dessert or snack.
Ideal for families, busy professionals, or anyone craving a quick, nutritious bite, these balls will charm palates of all ages.
Preparation Time
| Detail | Description |
|---|---|
| Difficulty of the Recipe | Easy |
| Preparation Time | 15 minutes |
| Number of Servings | Approximately 12-15 balls |
Ingredients
| Ingredient | Quantity |
|---|---|
| Natural peanut butter | 1 cup |
| Gluten-free rolled oats | 1 cup |
| Honey or maple syrup | 1/3 cup |
| Unsweetened cocoa powder | 1/4 cup |
| Vanilla extract | 1 teaspoon |
| Salt | 1/4 teaspoon |
| Mini chocolate chips | 1/2 cup (optional) |
These ingredients come together to create delicious gluten-free chocolate peanut butter balls that are easy to make and perfect for snacking!
Essential Kitchen Equipment
| Tool/Equipment | Purpose | Alternative Option |
|---|---|---|
| Mixing bowls (large and medium) | To combine ingredients effectively and to mix dry and wet components separately. | Any large, deep dish or platters can be used for mixing. |
| Measuring cups (dry and liquid) | To accurately measure ingredients like peanut butter, oats, and liquids like honey or syrup. | A standard cup used for drinking can serve as a rough measuring tool, but it’s not as precise. |
| Measuring spoons | To measure small quantities of ingredients such as vanilla extract and salt. | Use a small spoon from your cutlery set for approximate measurements if you lack measuring spoons. |
| Stand mixer or hand mixer | To thoroughly mix ingredients together, especially when creaming peanut butter and sweeteners. | Mixing by hand with a wooden spoon or rubber spatula can work, though it may require more effort. |
| Rubber spatula | To scrape down the sides of the bowl and ensure all ingredients are incorporated evenly. | A sturdy plastic spatula or a wooden spoon can also be used for scraping. |
| Wooden spoon | To mix ingredients, especially thicker mixtures like peanut butter and oats. | A silicone or plastic spoon can also work as a substitute. |
| Baking sheets (2-3) | To place the formed balls on to chill in the refrigerator or freezer. | Any flat, oven-safe tray can be an alternative, though it may not fit in the fridge well. |
| Parchment paper or silicone mats | To line baking sheets for easy removal of the balls and to prevent sticking. | Lightly greasing the baking sheet with oil or butter can serve as an alternative. |
| Cookie scoop or spoon | To portion and shape the chocolate peanut butter mixture into uniform balls. | A regular spoon can work to scoop out portions, but will not yield as uniform sizes. |
| Cooling rack | To allow the chocolate peanut butter balls to cool properly and let moisture escape. | A plate or another flat surface can be used if a cooling rack is unavailable, though airflow might be limited. |
| Oven thermometer | To ensure that the oven is at the correct temperature if you’re planning to bake the balls or any ingredient. | If you’re not baking, it’s less critical, but a simple heat test (few drops of water on the oven floor) can gauge temperature. |
This essential kitchen equipment will set you up for a successful endeavor in making your gluten-free chocolate peanut butter balls!
Cooking Steps
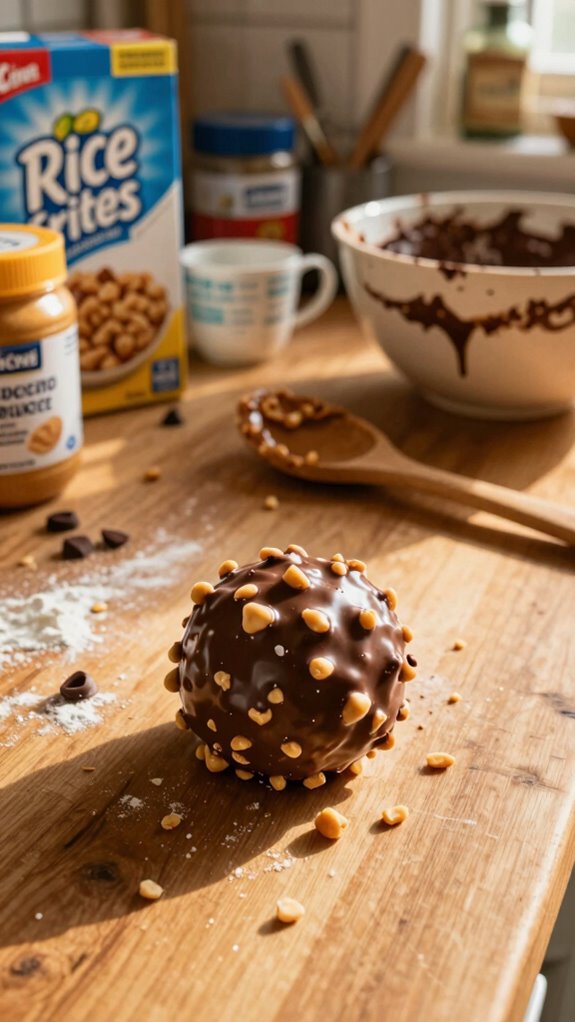
- Start by prepping your mise en place: measure 240 ml (1 cup) of natural peanut butter, 120 ml (1/2 cup) of honey or maple syrup, 50 g (1/2 cup) of gluten-free rolled oats, and any desired add-ins such as 50 g (1/2 cup) of dairy-free chocolate chips and 5 ml (1 teaspoon) of vanilla extract.
- In a large mixing bowl, combine the peanut butter, honey (or maple syrup), and vanilla extract. Use a stand mixer or hand mixer on medium speed to blend until the mixture is smooth and creamy, about 1–2 minutes.
- Gradually add the gluten-free rolled oats to the peanut butter mixture. Use a rubber spatula to fold the oats in until fully incorporated. The mixture should be thick and sticky.
- If using, fold in the dairy-free chocolate chips. Ensure that they’re evenly distributed throughout the mixture.
- Prepare your baking sheets by lining them with parchment paper or silicone mats to prevent sticking. Set the baking sheets aside.
- Use a cookie scoop or spoon to portion out the mixture. Roll each portion into a ball approximately 2.5 cm (1 inch) in diameter. Place the balls onto the prepared baking sheets, ensuring they’re spaced at least 2.5 cm (1 inch) apart.
- Once all balls are formed and placed on the sheets, transfer the baking sheets to the refrigerator and chill for 30–60 minutes until the balls are firm to the touch.
- To melt the chocolate for coating, place 100 g (1 cup) of dairy-free chocolate chips in a heatproof bowl. Set this bowl over a pot of gently simmering water (double boiler method) or use a microwave in short bursts (20-30 seconds), stirring until completely melted and smooth.
- Remove the chilled peanut butter balls from the refrigerator. One at a time, dip each ball into the melted chocolate, using a fork to roll it around until fully coated. Then, lift the ball out, allowing excess chocolate to drip off.
- Place the coated balls back onto the lined baking sheets. If desired, sprinkle a pinch of sea salt on top of each before the chocolate sets.
- Chill the chocolate-covered peanut butter balls in the refrigerator for an additional 15–30 minutes, or until the chocolate is firm.
- Once the chocolate has set, transfer the balls to a cooling rack to cool further or store them in an airtight container in the refrigerator for up to one week. Enjoy!
Variations
- Chocolate Mint Bliss: Add 5 ml (1 teaspoon) of peppermint extract to the peanut butter mixture for a refreshing mint flavor.
- Protein Powerhouse: Substitute 50 g (1/2 cup) of rolled oats with 30 g (1/4 cup) of your choice of protein powder to boost protein content.
- Coconut Crunch: Mix in 50 g (1/2 cup) of unsweetened shredded coconut for a tropical twist and added texture.
- Almond Joy: Replace peanut butter with almond butter and add 50 g (1/2 cup) of chopped almonds for a nutty flavor reminiscent of the popular candy bar.
- Matcha Green Tea: Incorporate 5 g (1 teaspoon) of matcha powder into the peanut butter mixture for an earthy flavor full of antioxidants.
- Spicy Cinnamon Delight: Add 5 g (1 teaspoon) of cinnamon and a pinch of cayenne pepper for a warm, spicy kick to the balls.
- Seasonal Pumpkin Spice: Replace 60 ml (1/4 cup) of peanut butter with pumpkin puree and add 5 g (1 teaspoon) of pumpkin spice for a seasonal flavor perfect for the fall.
- No-Bake Cookie Dough: Omit the chocolate coating and mix in 50 g (1/2 cup) of gluten-free chocolate chip cookie dough for a cookie dough inspired treat.
Tips on plating and presentation

When it comes to presenting your gluten-free chocolate peanut butter balls, the way you plate them can elevate the experience both visually and tastefully.
I love using simple plating techniques, like arranging them on a decorative plate with a sprinkle of crushed almonds for texture.
For garnishing ideas, a drizzle of melted dark chocolate or a dusting of cocoa powder adds an appealing touch.
What other dishes can I pair it with?
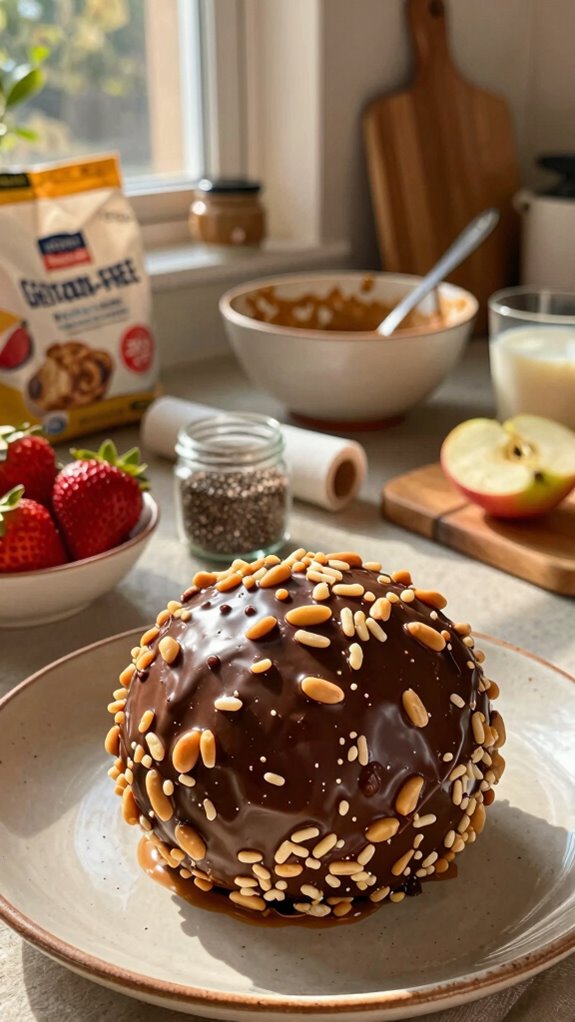
Although gluten-free chocolate peanut butter balls are delightful on their own, they can shine even brighter when paired with complementary dishes.
I love to enjoy them alongside fresh fruit like berries or sliced bananas for a refreshing contrast. For quick snack ideas, I often pair them with yogurt or nuts.
These dessert pairings elevate the experience, making every bite even more satisfying and enjoyable.
What drinks can I pair it with?
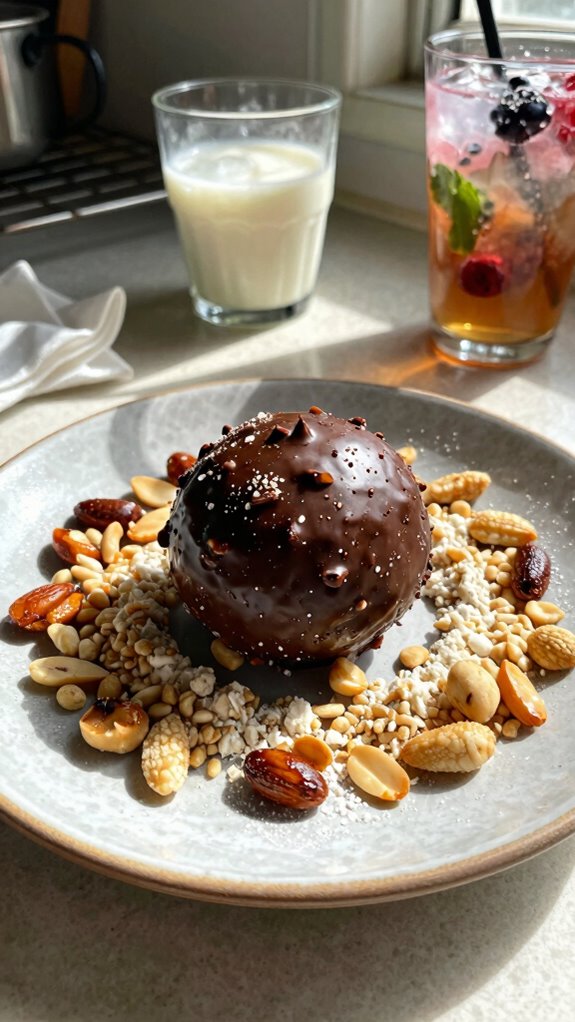
Pairing drinks with gluten-free chocolate peanut butter balls can elevate your snacking experience even further.
I love enjoying these treats with almond milk or other milk alternatives for a creamy balance.
For a more festive vibe, consider chocolate or peanut butter cocktails as exciting cocktail pairings. They perfectly complement the flavors, making every bite and sip delightful.
Try it; you won’t be disappointed!
Frequently Asked Questions
Can I Use Honey Instead of Maple Syrup in This Recipe?
Sure, you can use honey instead of maple syrup! I love the honey flavor it brings, and it works well as a sweetener substitution. Just keep in mind it might slightly affect the texture.
Are There Any Nut-Free Alternatives for the Peanut Butter?
Absolutely! I’ve found that sunflower seed butter or tahini paste works great as nut-free alternatives for peanut butter. They both add a delicious flavor, ensuring you won’t miss out on taste or texture!
How Long Do These Chocolate Peanut Butter Balls Last?
These chocolate peanut butter balls usually last about a week in the refrigerator. For better shelf life, I store them in an airtight container. Just remember to keep them cool to maintain freshness!
Can I Freeze Gluten-Free Chocolate Peanut Butter Balls?
Yes, I can freeze chocolate peanut butter balls! For best results, I use proper freezing procedures. However, I’ve noticed some texture changes after thawing, so I recommend enjoying them fresh if possible.
What Can I Use Instead of Almond Flour?
You can use coconut flour or oat flour instead of almond flour. I’ve found both work well in various recipes, but keep in mind that they may alter the flavor or texture a bit.