As I explored festive recipes this season, I stumbled upon the concept of gluten-free English Christmas tree biscuits made with almond flour. They caught my attention with their unique flavors and charming shape. I found myself intrigued by the combination of a slightly nutty taste paired with a crisp texture. It makes me wonder how these delightful biscuits could elevate the usual holiday spread. Let’s take a closer look at how to create these festive treats.
What kind of recipe is it?

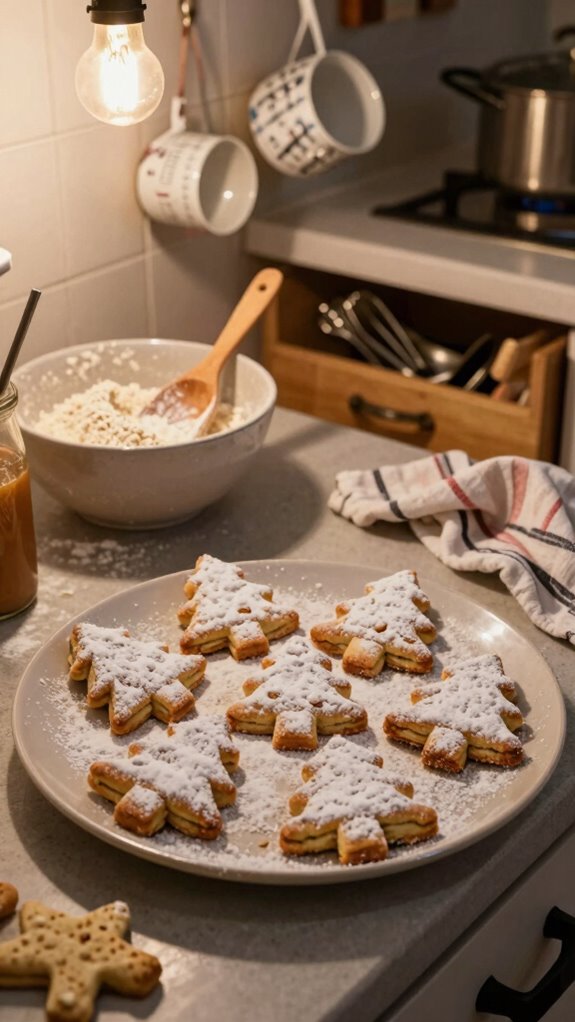
The Gluten-Free Christmas Tree Biscuit is a delightful holiday treat that embodies the festive spirit with its charming tree shape.
This recipe is specifically designed for those with gluten sensitivities, ensuring that everyone can partake in the joy of festive baking. Its unique blend of gluten-free flours yields a crisp texture and a slightly sweet flavor, perfect for decorating with icing and sprinkles.
Ideal for families, this biscuit brings together friends and loved ones, making it a perfect addition to any holiday gathering or cookie exchange.
Preparation Time
| Parameter | Details |
|---|---|
| Difficulty of the Recipe | Easy |
| Preparation Time | 30 minutes |
| Number of Servings | 24 biscuits |
Ingredients
| Ingredient | Quantity |
|---|---|
| Gluten-Free All-Purpose Flour | 2 cups |
| Baking Powder | 1 tablespoon |
| Baking Soda | ½ teaspoon |
| Salt | ¼ teaspoon |
| Ground Cinnamon | 1 teaspoon |
| Ground Ginger | 1 teaspoon |
| Ground Nutmeg | ¼ teaspoon |
| Unsalted Butter (softened) | ½ cup (1 stick) |
| Granulated Sugar | ¾ cup |
| Brown Sugar | ¼ cup |
| Egg | 1 large |
| Vanilla Extract | 2 teaspoons |
| Milk (or non-dairy milk) | 3 tablespoons |
| Powdered Sugar (for decoration) | ½ cup |
| Water (for icing, optional) | 1-2 tablespoons |
| Food Coloring (optional, for decoration) | As desired |
This table outlines all the ingredients you will need to create your Gluten-Free Christmas Tree Biscuits!
Essential Kitchen Equipment
| Tool/Equipment | Purpose | Alternative Option |
|---|---|---|
| Large Mixing Bowl | Used to combine dry and wet ingredients together. | Can use a clean, large pot or container. |
| Medium Mixing Bowl | Ideal for mixing smaller batches or ingredients separately (like spices). | Any medium-sized bowl or even a large mug. |
| Dry Measuring Cups | For accurately measuring dry ingredients like flour and sugar. | Use a standard cup and fill to the desired level. |
| Liquid Measuring Cups | Essential for measuring wet ingredients like milk and vanilla extract. | A regular cup can be used, just be careful with accuracy. |
| Measuring Spoons | For measuring small quantities like baking powder and spices. | Use a small spoon (teaspoon/tablespoon) from your kitchen. |
| Stand Mixer or Hand Mixer | Helps to mix butter and sugars well, creating a smooth and fluffy texture. | Mixing by hand with a whisk works in a pinch, but requires effort. |
| Rubber Spatula | Useful to scrape down the sides of the bowl and fold ingredients together. | A wooden spoon can be used but may not scrape as effectively. |
| Wooden Spoon | Good for mixing batter and dough, especially when the mixture is thick. | Any sturdy spoon can do the job. |
| Baking Sheets (2-3) | For baking the biscuits; multiple sheets allow for batch cooking. | Use any flat, oven-safe trays if baking sheets are unavailable. |
| Parchment Paper or Silicone Mats | Prevent sticking and make for easy cleanup on baking sheets. | Lightly grease the baking sheets with butter or oil as a substitute. |
| Cookie Scoop or Spoon | For portioning out the biscuit dough evenly. | Use two spoons to scoop and shape the dough instead. |
| Cooling Rack | Allows biscuits to cool evenly and prevents sogginess. | A plate can be used, but it won’t cool as effectively. |
| Oven Thermometer | Ensures your oven is at the right temperature for optimal baking. | An oven that is well-calibrated should suffice; use a test batch if needed. |
This table outlines essential kitchen equipment and their roles in making your Gluten-Free Christmas Tree Biscuits, along with budget-friendly alternatives to make baking accessible!
Cooking Steps
- Prepare Your Workspace: Clear and clean your kitchen countertop. Gather all equipment and ingredients listed in the essential kitchen equipment section.
- Mise en Place: Measure out all dry ingredients. Use dry measuring cups to measure 240 g (2 cups) gluten-free flour, 110 g (½ cup) sugar, 1 tsp baking powder, and ½ tsp salt into a large mixing bowl.
- Preheat your Oven: Set your oven to 180 °C (350 °F) and place the oven rack in the middle position. If your oven has convection, adjust the temperature to 165 °C (330 °F).
- Mix Dry Ingredients: Whisk the dry ingredients in the large mixing bowl until combined and set aside.
- Cream Butter and Sugar: In a medium mixing bowl, add 115 g (½ cup) softened butter and the previously measured 110 g (½ cup) sugar. Use a stand mixer fitted with the paddle attachment or a hand mixer on medium speed. Beat until the mixture is light and fluffy, about 3-4 minutes.
- Add Wet Ingredients: Incorporate 1 large egg and 5 ml (1 tsp) vanilla extract into the butter-sugar mixture. Mix on low speed until just combined.
- Combine Mixtures: Gradually add the bowl of dry ingredients to the butter-sugar mixture using a rubber spatula or wooden spoon. Fold gently until a soft dough forms.
- Chill the Dough: Cover the bowl with plastic wrap and refrigerate the mixed dough for at least 30 minutes. This step helps with shaping and prevents spreading during baking.
- Prepare Baking Sheets: Line 2-3 baking sheets with parchment paper or silicone mats while the dough chills. Ensure that each sheet has enough space for cookies to spread.
- Shape the Biscuits: After chilling, remove the dough from the refrigerator. Using a cookie scoop or two spoons, portion out even balls of dough, about 30 g (2 tablespoons) each, and place them 5 cm (2 inches) apart on the prepared baking sheets.
- Bake the Biscuits: Place the baking sheets in the preheated oven. Bake for 10-12 minutes or until the edges are light golden brown, and the centers appear slightly soft and puffy. The aroma of baked dough should fill your kitchen.
- Cool the Biscuits: Once baked, remove the biscuits from the oven. Allow them to cool on the baking sheets for 5 minutes before transferring them to a cooling rack. Let them cool completely; the texture will firm up as they cool.
- Store or Serve: Enjoy the biscuits fresh, or store them in an airtight container at room temperature for up to 5 days.
- Monitor for Doneness: If using an oven thermometer, ensure it reads correctly at the target baking temperature for consistent results.
Variations
- Choco-Mint Delight: Add 50 g (1/4 cup) of cocoa powder and 1 tsp of peppermint extract to the dough for a refreshing mint chocolate flavor.
- Cinnamon-Spice Crinkle: Incorporate 2 tsp of ground cinnamon and 1/4 tsp of nutmeg into the dry ingredients for a warming holiday spice.
- Pumpkin Maple Biscuit: Mix in 120 g (1/2 cup) of canned pumpkin puree and reduce the butter to 85 g (6 tbsp) for a sweet fall twist.
- Almond Joy: Add 75 g (1/2 cup) of shredded coconut and 50 g (1/4 cup) of chopped almonds to the dough for a tropical flavor reminiscent of coconut desserts.
- Dairy-Free Chocolate Chip: Substitute the butter with 115 g (1/2 cup) of coconut oil and fold in 100 g (1/2 cup) of dairy-free chocolate chips for a vegan option.
- Orange Zest Cranberry: Blend in the zest of 1 orange and 100 g (1 cup) of dried cranberries for a festive tartness.
- Maple Pecan Crunch: Fold in 75 g (1/2 cup) of chopped pecans and replace sugar with 120 ml (1/2 cup) of maple syrup for a nutty sweetness.
- Savory Herb Biscuit: Add 1 tbsp of dried herbs (like rosemary or thyme) to create a savory version, perfect for pairing with soups or cheese.
Tips on plating and presentation
Although plating and presentation might seem secondary to flavor, they play a crucial role in enhancing the overall experience of your Gluten-Free Christmas Tree Biscuits.
I like to use simple plating techniques, placing the biscuits on a festive platter. Adding decorative touches like edible glitter or sprinkled powdered sugar creates a charming look.
These small details can elevate your dessert from good to truly special.
What other dishes can I pair it with?
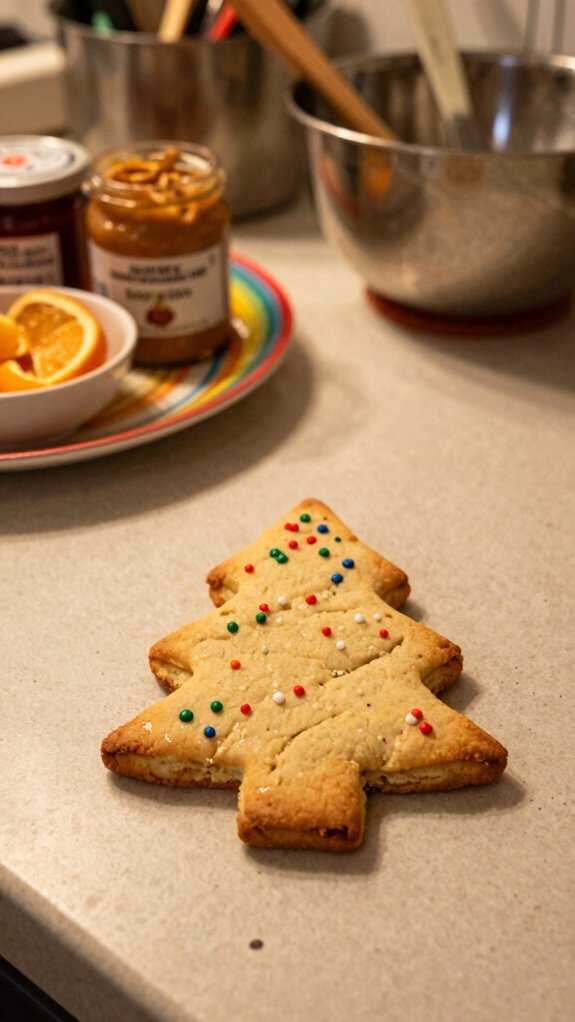
When planning your holiday spread, consider pairing your Gluten-Free Christmas Tree Biscuits with a selection of complementary dishes that enhance the festive spirit.
I love serving them alongside an array of festive cheeses, which add richness. A few sweet dips, like honey or chocolate, create delightful contrasts.
These pairings not only look beautiful but also elevate the entire holiday experience for everyone enjoying them.
What drinks can I pair it with?
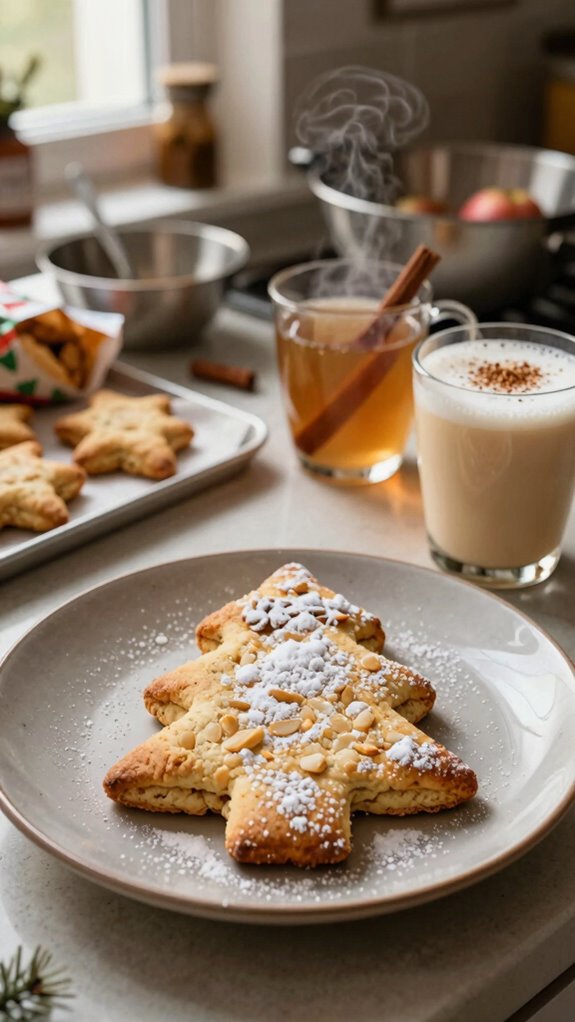
How do you elevate your holiday gatherings with the perfect drink pairings for your Gluten-Free Christmas Tree Biscuits?
I love serving them with warm mulled wine or spiced apple cider for that cozy feel.
For a festive twist, consider festive cocktails like cranberry mimosas or peppermint martinis.
These Christmas beverages not only complement the biscuits but also enhance the overall holiday spirit!
Frequently Asked Questions
Can I Substitute Almond Flour With Another Gluten-Free Flour?
Yes, you can substitute almond flour with alternative gluten-free flours like coconut or oat flour. Just keep in mind that the flour texture might change, so you may need to adjust your recipe accordingly.
How Should I Store Leftover Biscuits?
I recommend using airtight containers for the best storage methods. After they cool, I place my leftover biscuits inside, ensuring no air gets in. This way, they stay fresh and delicious for days!
Are These Biscuits Suitable for Vegans?
These biscuits aren’t typically vegan, but you could use vegan alternatives like coconut oil instead of butter and nut substitutes in place of eggs. I think they’ll still taste great and suit your vegan needs!
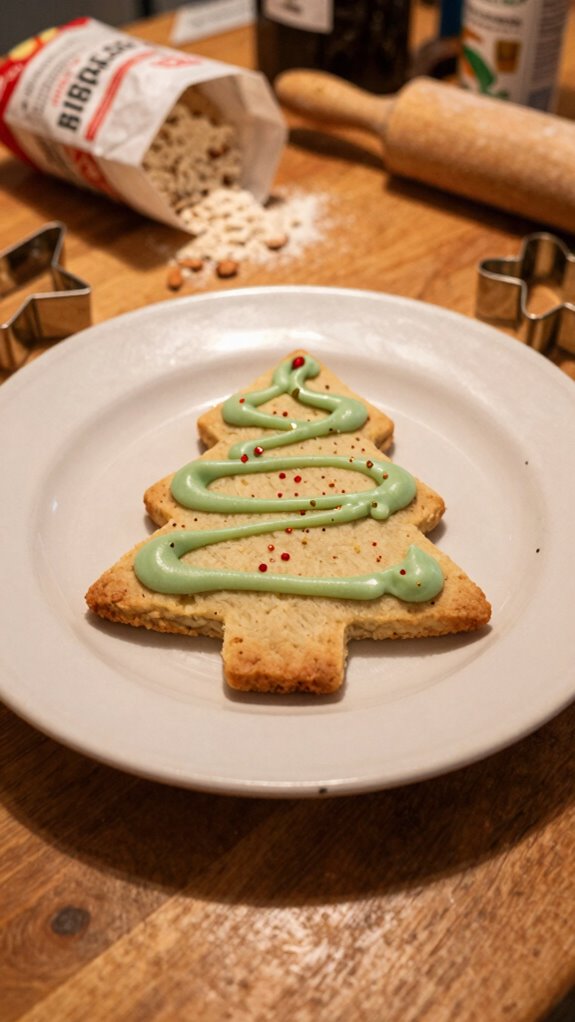
How Do I Make the Biscuits More Festive?
To make the biscuits more festive, I add colorful sprinkles and icing for decorations. I also experiment with cookie flavors like peppermint and gingerbread, creating a delightful twist that brings holiday cheer to my treats!
Can I Freeze the Dough Before Baking?
Absolutely, I freeze the dough before baking all the time! I wrap it tightly in plastic wrap, then store it in an airtight container. This freezing technique keeps the dough fresh for whenever I’m ready to bake.