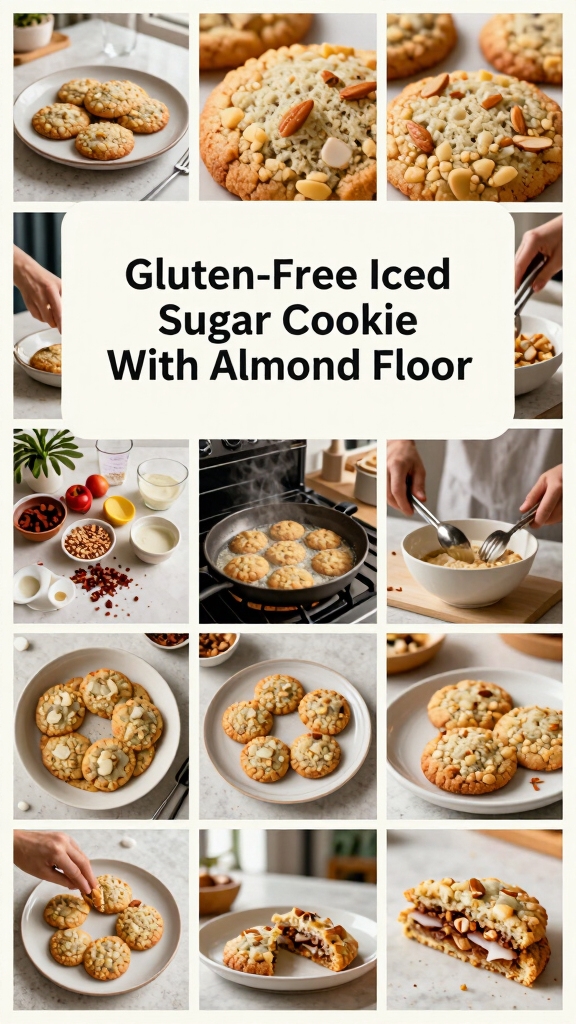
I recently explored gluten-free iced sugar cookies made with almond flour, and I was pleasantly surprised by the results. The almond flour not only adds a subtle nutty flavor but also gives the cookies a chewy texture. I can’t wait to share how to prepare this delightful treat and the best ways to customize it. You might find some inspiration for your next gathering or special occasion. Let’s dive into the details.
What kind of recipe is it?
The Gluten-Free Iced Sugar Cookie is a delightful treat perfect for those who are gluten-sensitive or seeking healthier dessert options.
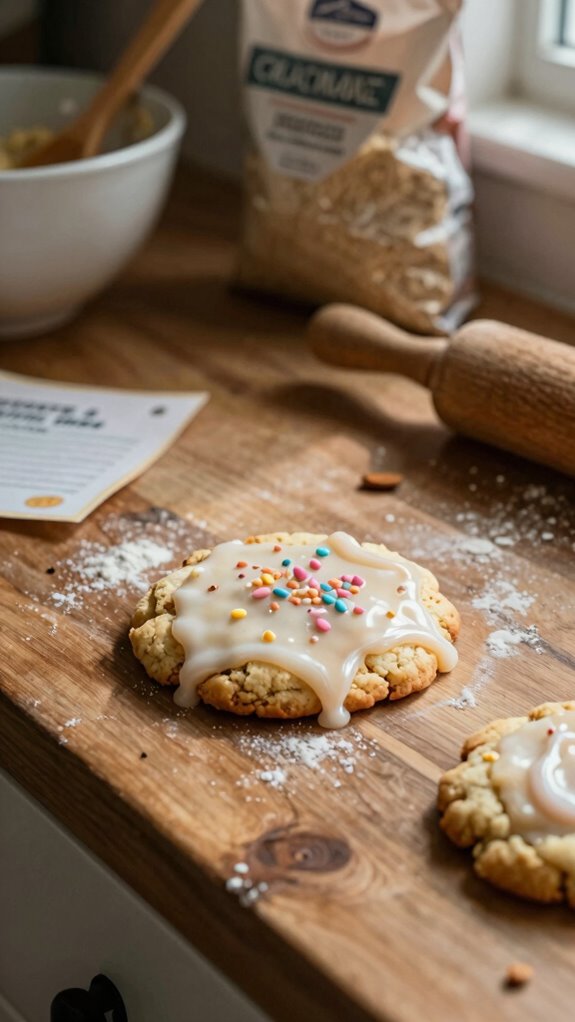
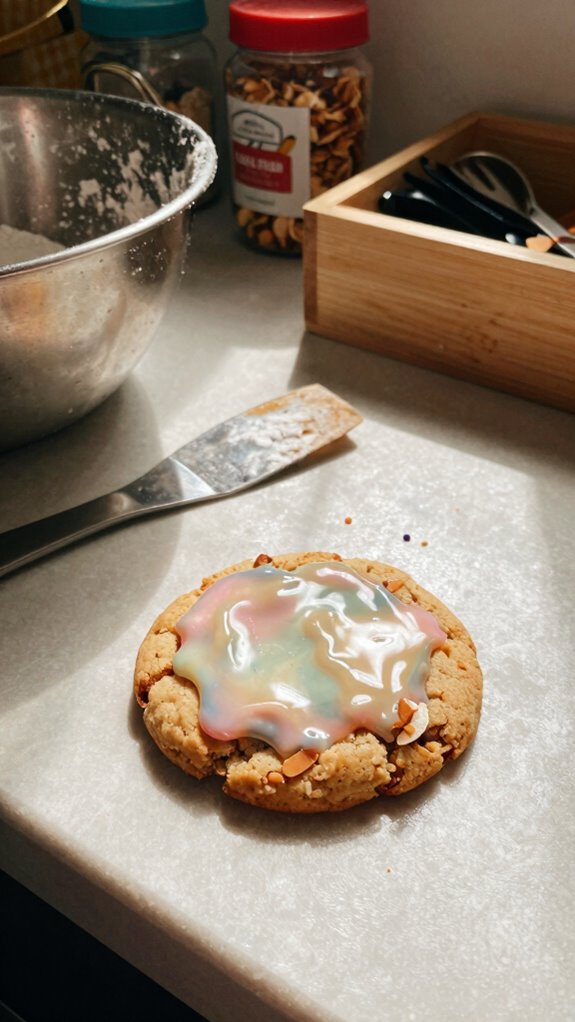
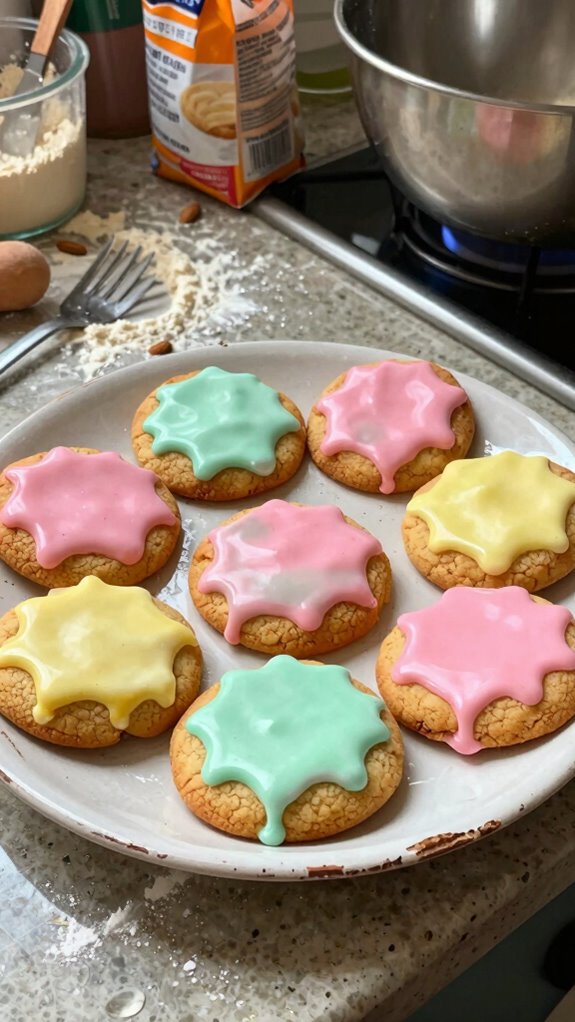
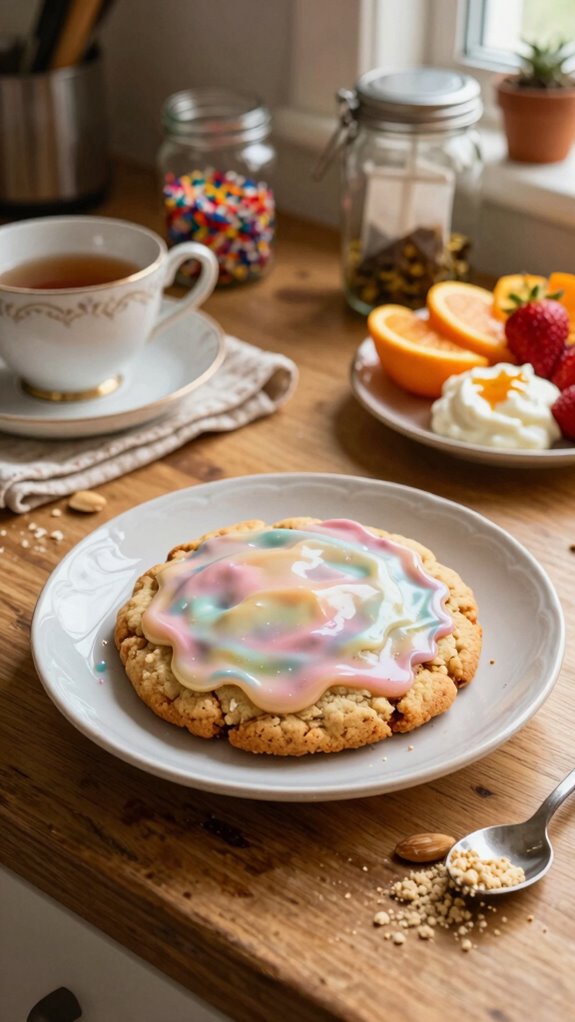
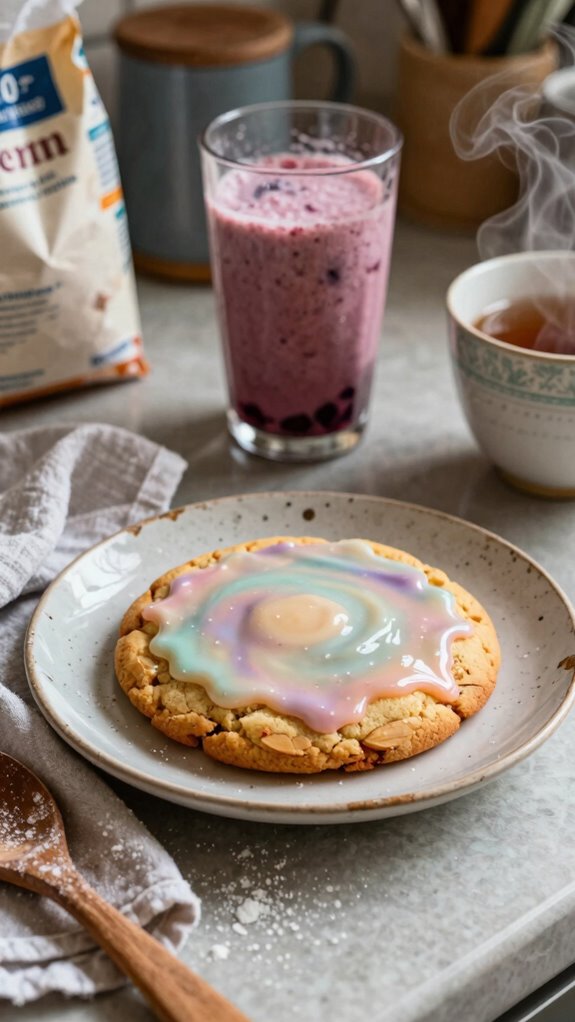
This cookie stands out with its buttery flavor and soft, chewy texture, which is enhanced by a sweet, colorful icing that makes it visually appealing.
Ideal for parties, holidays, or simply as an everyday indulgence, these cookies can be customized with various decorations, making them a fun baking project for families.
Everyone, whether gluten-sensitive or not, will enjoy these delicious cookies!
Preparation Time
| Category | Details |
|---|---|
| Difficulty of the Recipe | Easy |
| Preparation Time | 20 minutes (plus cooling time) |
| Number of Servings | Approximately 24 cookies |
Ingredients
| Ingredient | Quantity |
|---|---|
| All-purpose gluten-free flour | 2 ½ cups |
| Granulated sugar | 1 cup |
| Unsalted butter, softened | ½ cup (1 stick) |
| Egg | 1 large |
| Vanilla extract | 1 teaspoon |
| Baking powder | 1 teaspoon |
| Salt | ½ teaspoon |
| Powdered sugar (for icing) | 2 cups |
| Milk | 2-4 tablespoons (as needed) |
| Food coloring (optional) | As desired |
Essential Kitchen Equipment
| Tool/Equipment | Purpose | Alternative Option |
|---|---|---|
| Mixing Bowls (Large & Medium) | Used for combining ingredients and mixing dough. A large bowl is ideal for the main dough, while a medium bowl can be used for mixing icing. | Any large, deep bowl from your kitchen can work; even a large pot can be used for mixing. |
| Measuring Cups (Dry & Liquid) | Essential for accurately measuring the flour, sugar, and liquids. Ensures the right balance of ingredients. | Use a clear liquid measuring cup for both dry and wet measuring; just fill to the desired amount with dry ingredient. |
| Measuring Spoons | Necessary for measuring smaller quantities of ingredients like baking powder, salt, and vanilla extract. | Use any spoons from your kitchen for approximation; just keep in mind that the standard teaspoon is approximately 5ml. |
| Stand Mixer or Hand Mixer | Helpful for creaming butter and sugar together smoothly and thoroughly. A stand mixer can be more efficient for larger batches. | Whisking by hand is a great workout and works too; just ensure to mix well to achieve a creamy texture. |
| Rubber Spatula | Used for scraping down the sides of bowls and incorporating all ingredients evenly. | A wooden spoon can also work for mixing, but it won’t be as effective for scraping. |
| Wooden Spoon | Ideal for mixing dough by hand, particularly when it’s thick. Also useful for incorporating dry ingredients into wet. | Any sturdy spoon can work, but a fork or whisk can also help with mixing. |
| Baking Sheets (2-3) | Needed for spreading dough to bake cookies evenly. Having multiple sheets allows for staggered baking. | An old, flat oven-safe tray or pizza pan can work if you don’t have adequate baking sheets. |
| Parchment Paper or Silicone Mats | Prevents cookie sticking and promotes even baking; makes cleanup much easier. | Lightly grease the baking sheet instead but be aware this might cause some cookies to stick. |
| Cookie Scoop or Spoon | Helps in portioning out cookie dough to ensure uniform size for even baking. | Use two tablespoons to scoop and shape dough if a cookie scoop is unavailable. |
| Cooling Rack | Allows cookies to cool evenly without becoming soggy; prevents condensation. | Use the back of a baking sheet or the oven rack to cool your cookies if a cooling rack isn’t available. |
| Oven Thermometer | Ensures that your oven is at the correct temperature for baking, which is crucial for baked goods. | If you don’t have one, preheat your oven and do a quick test with a piece of bread to ensure it’s hot enough; adjust baking times accordingly. |
Cooking Steps
- Prepare your work area: Begin by ensuring all your ingredients are measured and ready. This includes 240 g (2 cups) gluten-free all-purpose flour, 120 g (½ cup) granulated sugar, 115 g (½ cup) unsalted butter, softened, 1 large egg, room temperature, and 5 ml (1 tsp) vanilla extract.
- Preheat the oven: Set your oven to 180 °C (350 °F). Position the rack in the middle.
- Prepare baking sheets: Line two baking sheets (each 43 x 30 cm or 17 x 12 in) with parchment paper or silicone mats to prevent sticking.
- Mix the dry ingredients: In a medium mixing bowl, whisk together the gluten-free all-purpose flour, 5 g (1 tsp) baking powder, and a pinch of salt. Set aside.
- Cream the butter and sugar: In a large mixing bowl, use a stand mixer fitted with a paddle attachment on medium speed to cream the softened butter and granulated sugar for about 2-3 minutes, until light and fluffy. If using a hand mixer, continue for approximately 3-5 minutes.
- Add egg and vanilla: Once creamy, add the large egg and 5 ml (1 tsp) vanilla extract to the butter-sugar mixture. Mix until fully incorporated, scraping down the sides as needed.
- Combine wet and dry ingredients: Gradually add the flour mixture to the creamed mixture, mixing on low speed until just incorporated. Don’t overmix; the dough should be soft but not sticky.
- Chill the dough: Cover the mixing bowl with plastic wrap and chill the dough in the refrigerator for 30 minutes to allow it to firm up slightly. This will help the cookies maintain their shape while baking.
- Scoop the dough: Using a cookie scoop or two tablespoons, portion out the dough into equal-sized balls (about 30 g or 1 oz each) and place them about 5 cm (2 in) apart on the prepared baking sheets.
- Bake the cookies: Place the baking sheets in the preheated oven and bake for 10-12 minutes, until the edges are lightly golden and the centers look set but still soft. If using convection mode, reduce the temperature to 165 °C (325 °F).
- Cooling stage: Remove the cookies from the oven and allow them to cool on the baking sheets for 5 minutes before transferring them to a wire cooling rack. This helps them set and reduces the risk of breaking.
- Final cooling: Let the cookies cool completely on the wire rack for about 20-30 minutes before icing or serving. The cookies should be firm to the touch and have a slight sheen.
Complete the icing on the cooled cookies as desired, making sure to allow them to set before stacking or storing.
Variations
- Citrus Zest Cookies: Add the zest of 1 orange or lemon for a refreshing citrus flavor.
- Chocolate Chip Cookies: Mix in 120 g (1 cup) of dairy-free chocolate chips for a sweet, indulgent twist.
- Coconut Macaroon Cookies: Substitute 60 g (¾ cup) of shredded coconut for part of the flour for a chewy texture and tropical flavor.
- Pumpkin Spice Cookies: Incorporate 120 g (½ cup) of pumpkin puree and 5 g (1 tsp) of pumpkin spice for a fall-inspired treat.
- Peanut Butter Cookies: Replace 60 g (¼ cup) of the butter with creamy peanut butter for a nutty flavor and protein boost.
- Almond Flour Cookies: Swap 120 g (1 cup) of gluten-free flour for almond flour for a lower-carb, nutty alternative.
- Vegan Cookies: Use 60 ml (¼ cup) of applesauce instead of egg and a dairy-free butter substitute for a plant-based version.
- Maple Pecan Cookies: Replace granulated sugar with 120 ml (½ cup) of pure maple syrup and add 60 g (½ cup) chopped pecans for a rich, nutty flavor.
Tips on plating and presentation
After experimenting with delicious variations of gluten-free iced sugar cookies, you’ll want to showcase your creations beautifully.
I love using creative plating techniques to elevate my cookies. A simple white plate highlights the vibrant icing colors, while a sprinkle of edible glitter adds a touch of elegance.
For cookie decorating, consider arranging them in a staggered pattern for visual interest. Your guests will be impressed!
What other dishes can I pair it with?
When you’re planning a gathering, I’d recommend pairing your gluten-free iced sugar cookies with a variety of complementary dishes that enhance their sweetness.
Think about cookie pairings like fruity tarts or chocolate mousse to elevate your dessert themes. A colorful fruit platter could also add a refreshing contrast, making your dessert table visually enticing and flavorfully delightful for your guests.
What drinks can I pair it with?
What drinks can truly bring out the delightful flavors of gluten-free iced sugar cookies?
I love pairing them with a refreshing cup of herbal tea, like chamomile or lavender, which enhances their sweetness.
For coffee options, a smooth latte or cold brew provides a perfect balance.
These beverages complement the cookies, making every bite and sip a delicious experience.
Enjoy!
Frequently Asked Questions
Are These Cookies Suitable for Vegan Diets?
They’re not automatically vegan, but I’ve found great success using vegan substitutions like flax eggs and dairy-free icing. There are plenty of delicious plant-based options that can make these cookies perfect for a vegan diet!
Can I Substitute Almond Flour With Another Gluten-Free Flour?
Yes, you can definitely substitute almond flour with other gluten-free flours! I’ve had great success using oat flour or a blend of rice and tapioca flour. Just experiment with ratios for the best results!
How Long Do the Cookies Stay Fresh?
I’ve found that these cookies stay fresh for about five days when stored in an airtight container. For optimal freshness, keep them cool and away from direct sunlight—those storage methods really make a difference!
Are There Nut-Free Alternatives to Almond Flour?
Yes, there are nut-free flours like coconut flour, rice flour, or oat flour. I’ve had success using these alternatives to almond flour in recipes, and they provide great texture without the nut allergens.
Can I Freeze the Iced Sugar Cookies?
Absolutely, I can freeze the iced sugar cookies! I use airtight containers or freezer bags, and I stack them with parchment paper between layers. For the best flavor, I’ll consume them within three months. Enjoy!