I’ve been experimenting with gluten-free baking lately, and I stumbled upon a fantastic recipe for Old-Fashioned Peanut Butter Cookies that use almond flour and no eggs. It’s surprising how well these cookies turn out—chewy and full of peanut butter goodness. If you’re curious about the steps I took, the ingredients I used, and how to elevate these cookies to the next level, keep on. You won’t want to miss the details!
What kind of recipe is it?
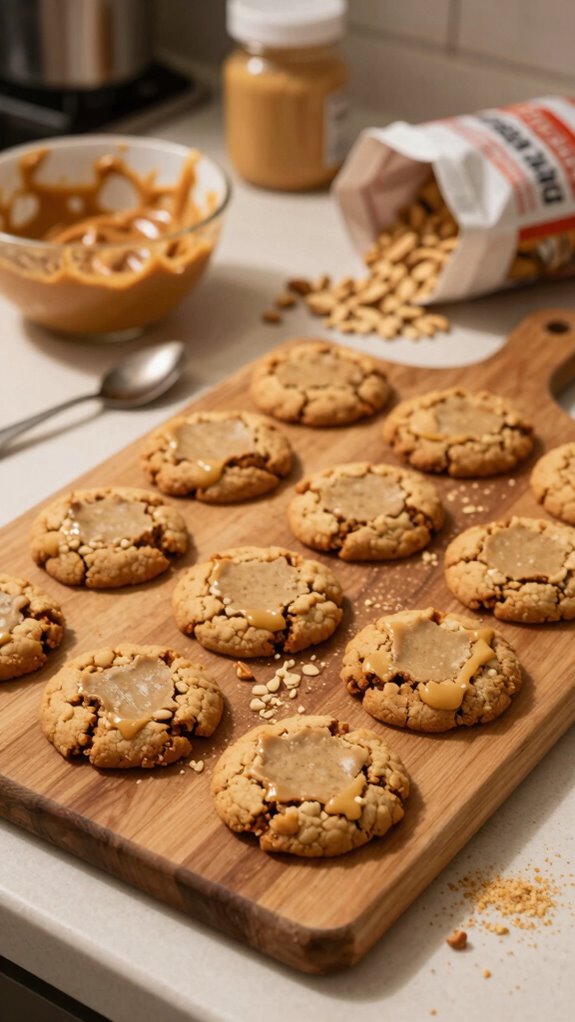
This gluten-free peanut butter cookie recipe is a delightful treat that combines rich, nutty flavors with a chewy texture, making it perfect for anyone craving a classic cookie with a twist.
Its standout characteristic is the use of gluten-free ingredients, making it ideal for those with gluten sensitivities or celiac disease.
Easy to whip up, this recipe is perfect for bakers of all skill levels, and it offers a delicious, satisfying snack that can be enjoyed by both kids and adults alike.
Preparation Time
| Attribute | Details |
|---|---|
| Difficulty of the Recipe | Easy |
| Preparation Time | 15 minutes |
| Number of Servings | Approximately 12 cookies |
Ingredients
| Ingredient | Quantity |
|---|---|
| Peanut butter | 1 cup (smooth or chunky) |
| Granulated sugar | 1 cup |
| Brown sugar | 1/2 cup |
| Egg | 1 large |
| Vanilla extract | 1 teaspoon |
| Baking soda | 1 teaspoon |
| Salt | 1/4 teaspoon |
| Optional: Chocolate chips | 1/2 cup (for added flavor) |
Essential Kitchen Equipment
| Tool/Equipment | Purpose | Alternative Option |
|---|---|---|
| Mixing bowls (large and medium) | Used for combining ingredients and mixing cookie dough. | Large pot or any large container. |
| Measuring cups (dry and liquid) | Essential for accurately measuring ingredients. | Use standard mugs or cups as a guide; ensure they’re consistent in size. |
| Measuring spoons | Needed for measuring small quantities like salt and baking soda. | Use regular teaspoons and tablespoons; just be consistent in their use. |
| Stand mixer or hand mixer | Speeds up the mixing process and ensures thorough blending of ingredients. | Whisk by hand with a large fork or spoon; require a bit more effort. |
| Rubber spatula | Helps scrape down the bowl and fold ingredients without damaging them. | A sturdy spoon may work, but take care with scraping. |
| Wooden spoon | Great for mixing dough, particularly when it’s thick or sticky. | Any durable spoon can work; avoid flimsy utensils. |
| Baking sheets (2-3) | Provides a surface for placing unbaked cookies to ensure even cooking. | Use any flat baking surface; ensure it can withstand high heat. |
| Parchment paper or silicone mats | Prevent cookies from sticking and ensure easy cleanup. | Grease the baking sheets lightly with oil or butter if no alternatives are available. |
| Cookie scoop or spoon | Ensures even portions of dough for uniform cookie sizes. | Two spoons can be used, one for scooping and one for pushing off. |
| Cooling rack | Allows cookies to cool evenly and prevents them from getting soggy. | A wire dish rack or even a clean countertop can work for cooling. |
| Oven thermometer | Ensures the oven is at the correct temperature for optimal baking. | If unavailable, preheat the oven for a longer duration; use a reliable timer. |
Cooking Steps
6. Incorporate egg and vanilla: Add 1 large egg and 5 g (1 tsp) vanilla extract to the peanut butter mixture. Mix on low speed until fully incorporated, about 30 seconds.
7. Combine wet and dry ingredients: Gradually add the dry ingredients to the wet mixture, mixing on low speed until just combined, about 30 seconds. Be careful not to overmix; the dough will be thick.
8. Portion the dough: Using a cookie scoop (approximately 30 ml or 2 tbsp for each portion), place dough balls on the lined baking sheets, spaced about 5 cm (2 in) apart to allow for spreading.
9. Flatten the dough: With a fork, gently press down on each dough ball to create a crisscross pattern while slightly flattening it, about 2 cm (1 in) high.
10. Bake cookies: Place the baking sheets on the center rack of the oven and bake for 10-12 minutes until the edges are set. Cookies should look lightly golden but still soft in the center; they’ll firm up as they cool.
11. Cool on racks: Remove the baking sheets from the oven and let the cookies cool on the sheets for 5 minutes. Then, transfer them to a cooling rack using a spatula to cool completely.
12. Store or serve: Once cooled, the cookies can be served immediately or stored in an airtight container at room temperature for up to one week.
Variations
- Matcha Green Tea: Mix in 5 g (1 tbsp) matcha powder for an earthy, vibrant twist that’s packed with antioxidants.
- Peanut Butter Swirl: After portioning the dough, swirl in 30 g (2 tbsp) of additional melted peanut butter into each ball for extra peanut flavor.
- Air Fryer Method: Cook the dough balls at 180°C (350°F) for 6-8 minutes in an air fryer for a crispy exterior and soft center without using the oven.
Tips on plating and presentation
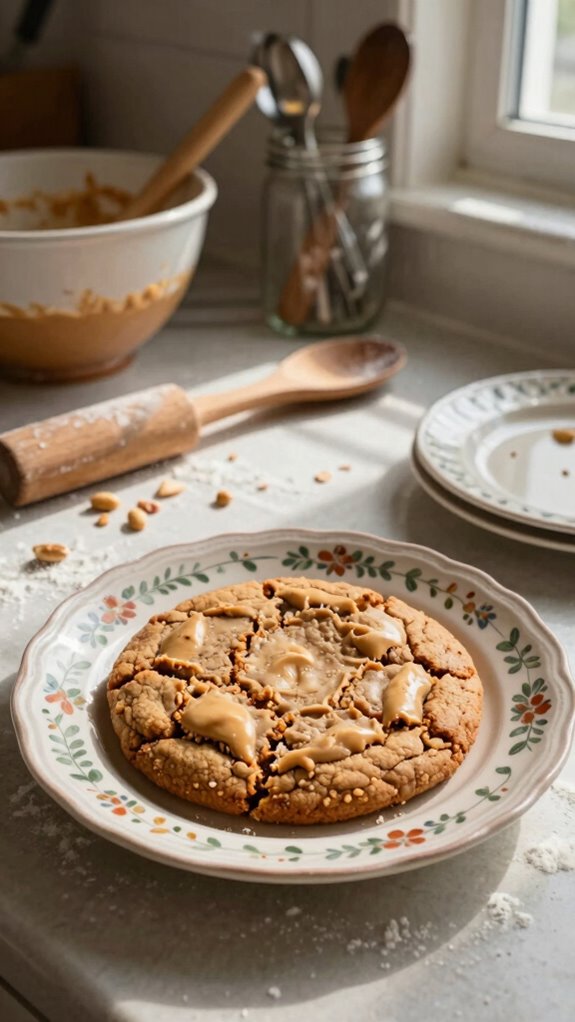
Although it’s tempting to dig into your gluten-free peanut butter cookies as soon as they come out of the oven, taking a moment to plate them nicely can elevate the experience.
Use simple plating techniques like stacking two cookies or arranging them in a neat circle. Add a dusting of powdered sugar for flair, enhancing the overall cookie presentation and making them feel extra special.
What other dishes can I pair it with?
After you’ve plated your gluten-free peanut butter cookies with care, it’s a great idea to think about what other dishes can complement their rich, nutty flavor.
I love pairing them with a scoop of dairy-free ice cream or drizzling them with honey.
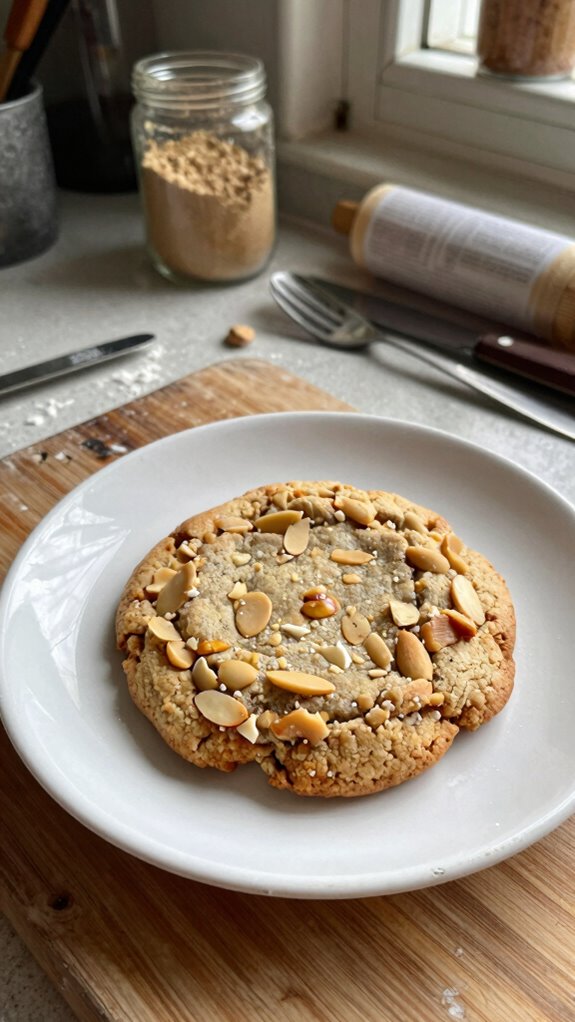
For my favorite toppings, chopped nuts or dark chocolate chips elevate the experience, making these cookies a perfect dessert pairing!
What drinks can I pair it with?
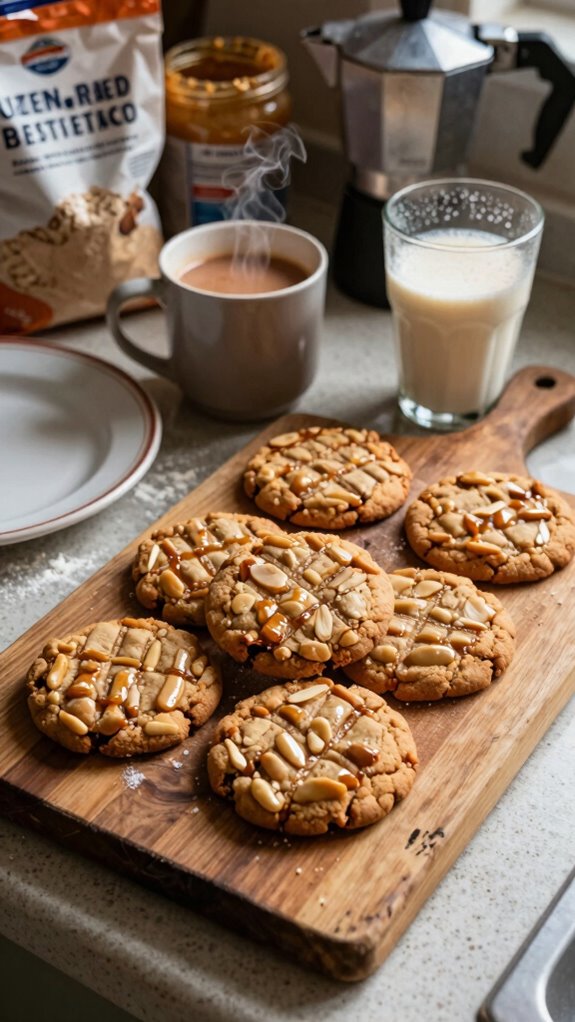
When it comes to drinks that complement gluten-free peanut butter cookies, a few options really stand out.
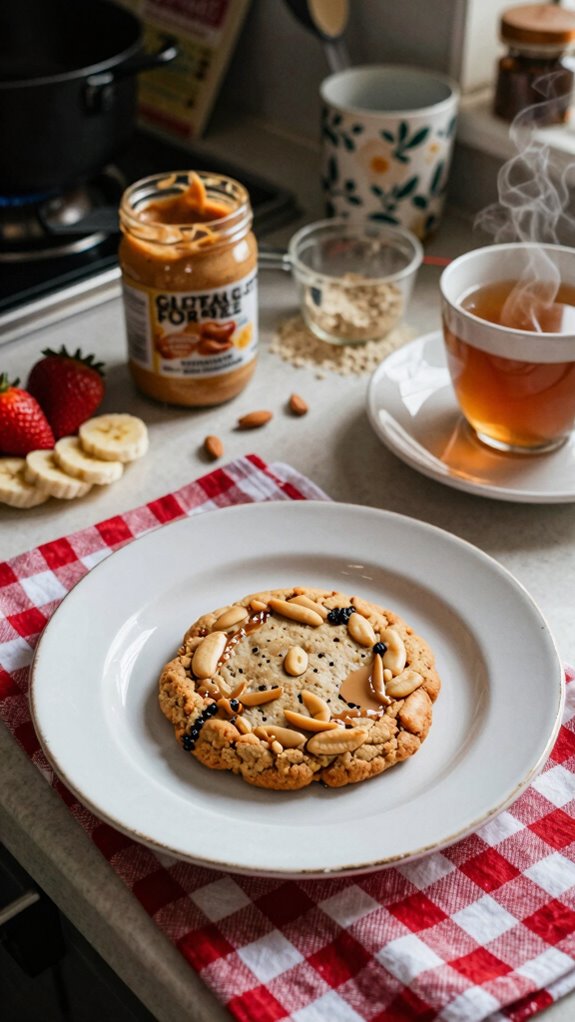
I love pairing them with almond milk for a nutty flavor profile or a rich cup of coffee to balance the sweetness.
For something lighter, try a refreshing herbal tea.
Each beverage pairing enhances the cookie’s flavor profiles and makes for a delightful treat experience!
Frequently Asked Questions
Can I Substitute Almond Flour With Another Gluten-Free Flour?
Absolutely, you can substitute almond flour with coconut flour or oat flour! Just keep in mind that coconut flour absorbs more moisture, so adjust your liquid ingredients accordingly to achieve the right consistency.
How Should I Store Leftover Cookies?
I store leftover cookies in an airtight container to maintain freshness. If I want them to last longer, I freeze them. Just remember to let them thaw before enjoying those delicious treats again!
What Is the Texture of These Cookies Like?
These cookies have crunchy edges and a chewy center that make them irresistible. I love how the contrast between the textures creates a delightful experience with every bite, ensuring each cookie feels uniquely satisfying.
How Many Cookies Does This Recipe Yield?
This recipe yields about 12 cookies, perfect for a small gathering. If you need more, I suggest scaling the recipe up easily; just double the ingredients for a larger cookie serving size. You won’t regret it!
Can I Freeze the Unbaked Cookie Dough?
Yes, you can freeze unbaked cookie dough! Just place the dough in an airtight container or wrap it tightly for dough storage. I’ve found freezing tips help keep the dough fresh for future baking adventures!