When I first tried making Gluten-Free Vanilla Walnut Crescent Cookies with almond flour, I was curious about how the texture would turn out. The combination of buttery flavors and crunchy walnuts intrigued me. I found the preparation surprisingly quick, but the real challenge came in perfecting the balance of taste and presentation. If you’re looking to impress at your next gathering, these cookies could be just what you need. Curious about the process?
What kind of recipe is it?
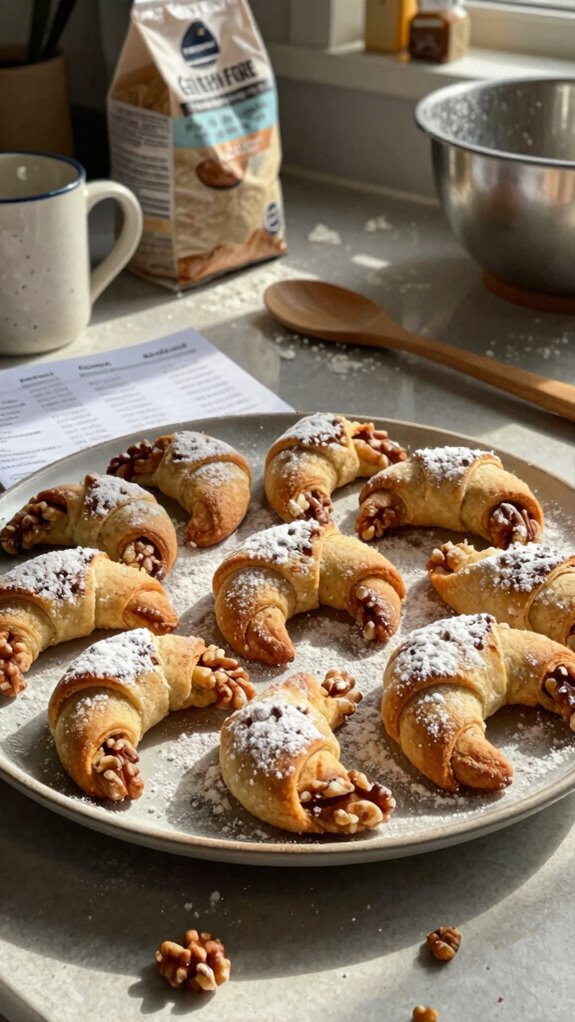
The Gluten-Free Vanilla Walnut Crescent Cookie is a delightful dessert that caters to those with gluten sensitivities while still offering a rich and satisfying flavor.
Characterized by its buttery texture and subtly sweet vanilla notes, these crescent-shaped treats are enhanced with crunchy walnuts, creating a perfect balance of taste and texture.
This recipe is ideal for anyone looking to indulge in a classic cookie that’s both safe for gluten-free diets and enjoyable for all cookie lovers.
It’s a must-try for holiday gatherings or any occasion that calls for a touch of sweetness!
Preparation Time
| Category | Details |
|---|---|
| Difficulty of the Recipe | Easy |
| Preparation Time | 20 minutes |
| Number of Servings | 24 cookies |
Ingredients
| Ingredient | Quantity |
|---|---|
| Gluten-Free All-Purpose Flour | 2 cups |
| Ground Walnuts | 1 cup |
| Powdered Sugar | 1/2 cup |
| Unsalted Butter | 1 cup (2 sticks), softened |
| Vanilla Extract | 1 teaspoon |
| Salt | 1/4 teaspoon |
| Baking Powder | 1/4 teaspoon |
| Milk (dairy or non-dairy) | 2 tablespoons |
| Chopped Walnuts (for topping) | 1/4 cup |
| Additional Powdered Sugar (for dusting after baking) | As needed |
Essential Kitchen Equipment
| Tool/Equipment | Purpose | Alternative Option |
|---|---|---|
| Mixing Bowls (Large and Medium) | Used for combining ingredients like flour, butter, and sugar. | Use any large, deep bowls available at home. |
| Measuring Cups (Dry and Liquid) | Essential for accurately measuring ingredients like flour and milk. | Use a jug with measurement markings or graduated cups. |
| Measuring Spoons | Needed for measuring small quantities of spices or extracts such as vanilla. | Use a regular tablespoon or teaspoon, though accuracy may vary. |
| Stand Mixer or Hand Mixer | Helps in creaming butter with sugar and mixing dough with ease. | Use a whisk or wooden spoon for manual mixing. |
| Rubber Spatula | Ideal for scraping down the sides of the mixing bowl and folding in ingredients. | A wooden spoon can work, but it may not scrape as efficiently. |
| Wooden Spoon | Useful for mixing ingredients or folding in additions like nuts. | Any sturdy spoon can suffice; just ensure it’s heat-resistant. |
| Baking Sheets (2-3) | Needed for placing the cookies to bake in the oven. | Any flat, oven-safe tray can be used, like a pizza tray. |
| Parchment Paper or Silicone Mats | Provides a non-stick surface for easy cookie removal and clean-up. | Grease the baking sheet instead, but expect some sticking. |
| Cookie Scoop or Spoon | Helps in portioning out even cookie amounts for uniform baking. | Use two tablespoons to measure out dough if a scoop is unavailable. |
| Cooling Rack | Allows cookies to cool evenly post-baking, preventing sogginess. | You can cool cookies on the baking sheet, but they’ll retain more heat. |
| Oven Thermometer | Ensures that your oven is at the correct temperature for baking. | Check for any built-in oven temperature settings, or use an oven-safe thermometer if available. |
Cooking Steps
- Prepare your workstation: Gather all necessary ingredients and tools as listed above. Organize your mixing bowls, measuring cups, measuring spoons, and stand or hand mixer on a clean countertop, ensuring your baking sheets are readily available.
- Preheat the oven: Set your oven to 175°C (350°F). Position the oven rack in the center of the oven. If using a fan or convection setting, lower the temperature to 160°C (320°F).
- Line the baking sheets: Place parchment paper or silicone mats on your baking sheets to prevent sticking. If unavailable, lightly grease the sheets with a neutral oil.
- Combine dry ingredients: In a large mixing bowl, whisk together 240 g (2 cups) of gluten-free all-purpose flour, 60 g (½ cup) of finely chopped walnuts, 1 tsp of baking powder, and a pinch of salt until evenly mixed.
- Cream the butter and sugar: In a medium mixing bowl, beat together 113 g (½ cup) of softened unsalted butter and 100 g (½ cup) of granulated sugar using a hand or stand mixer on medium speed for about 2-3 minutes, or until the mixture is light and fluffy.
- Add vanilla: Mix in 1 tsp of pure vanilla extract to the creamed butter and sugar mixture until well blended.
- Incorporate dry ingredients: Gradually add the dry flour mixture to the butter-sugar mixture. Mix on low speed until just combined, ensuring no floury bits remain. Don’t overmix; the dough should be soft and slightly sticky.
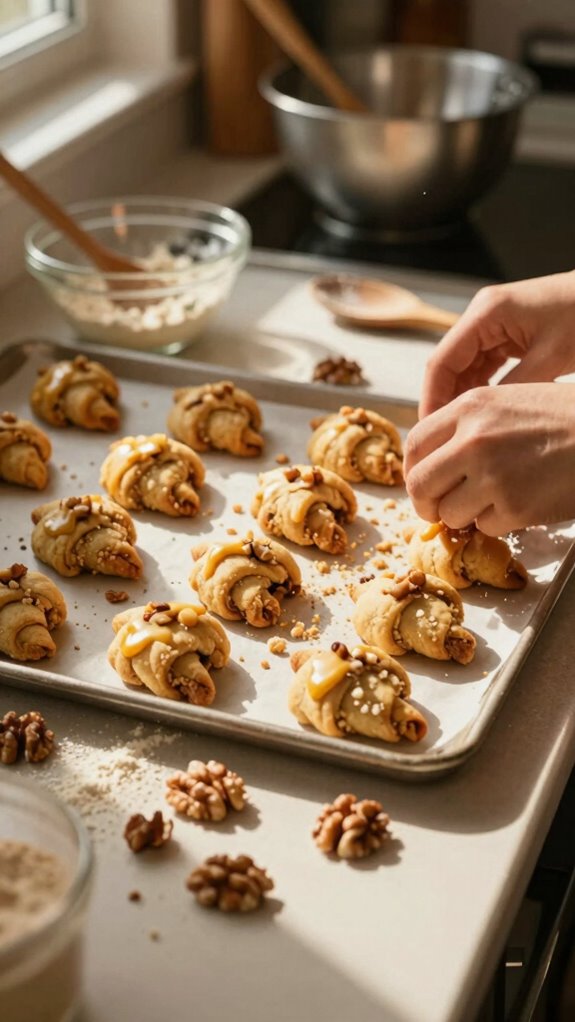
- Shape the cookies: Using a cookie scoop or two tablespoons, portion out the dough and form it into crescent shapes (approximately 30 g each). Place them on the prepared baking sheets, spacing them about 5 cm (2 inches) apart.
- Bake the cookies: Transfer the baking sheets to the preheated oven. Bake for 12-15 minutes or until the edges are lightly golden and the centers are set. The cookies should have a slight firmness to the touch.
- Cool the cookies: Remove the baking sheets from the oven and let the cookies cool on the sheets for 5 minutes before transferring them to a wire cooling rack to cool completely. This prevents sogginess and ensures even cooling.
- Store or serve: Allow the cookies to cool completely at room temperature. Once cooled, serve immediately or store them in an airtight container for up to one week.
Each step focuses on precise actions and desired outcomes for successful cookie preparation, ensuring a delightful gluten-free baking experience.
Variations
- Chocolate Chip Walnut Crescents: Add 100 g (½ cup) of semi-sweet chocolate chips to the dough for a rich, chocolatey flavor.
- Dairy-Free Delight: Substitute the unsalted butter with 113 g (½ cup) of coconut oil or a dairy-free butter alternative for a dairy-free version.
- Vegan Crescents: Use 1 tablespoon of ground flaxseed mixed with 3 tablespoons of water as an egg replacer and replace the butter with a plant-based alternative.
- Spiced Maple Crescents: Incorporate 1 tsp of ground cinnamon and 60 ml (¼ cup) of maple syrup into the dough for a warm, spiced flavor.
- Almond Joy Crescents: Mix in 60 g (½ cup) of shredded coconut and 50 g (⅓ cup) of finely chopped almonds for a tropical twist.
- Lemon Zest Crescents: Add the zest of one lemon and 1 tbsp of lemon juice to the dough for a refreshing citrus flavor.
- Nut-Free Option: Replace walnuts with 60 g (½ cup) of sunflower seeds for a nut-free yet crunchy alternative.
- Air Fryer Crescents: Shape and place the cookies in the air fryer basket, cooking at 160°C (320°F) for 10-12 minutes for a quicker baking method.
Tips on plating and presentation
Have you ever wondered how to make your gluten-free vanilla walnut crescent cookies look as delightful as they taste?
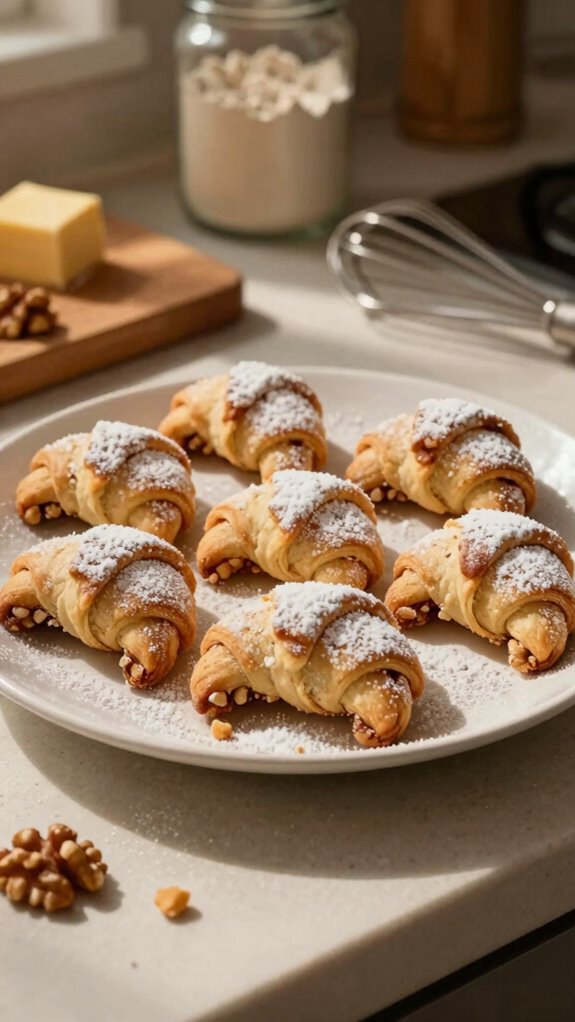
I love using simple garnishing techniques, like a dusting of powdered sugar or a sprinkle of finely chopped walnuts on top.
For serving suggestions, present them on a vibrant plate or in a decorative tin. This adds elegance and makes your cookies irresistible to guests!
What other dishes can I pair it with?
After putting in the effort to present your gluten-free vanilla walnut crescent cookies beautifully, the next step is to think about what dishes complement them perfectly.
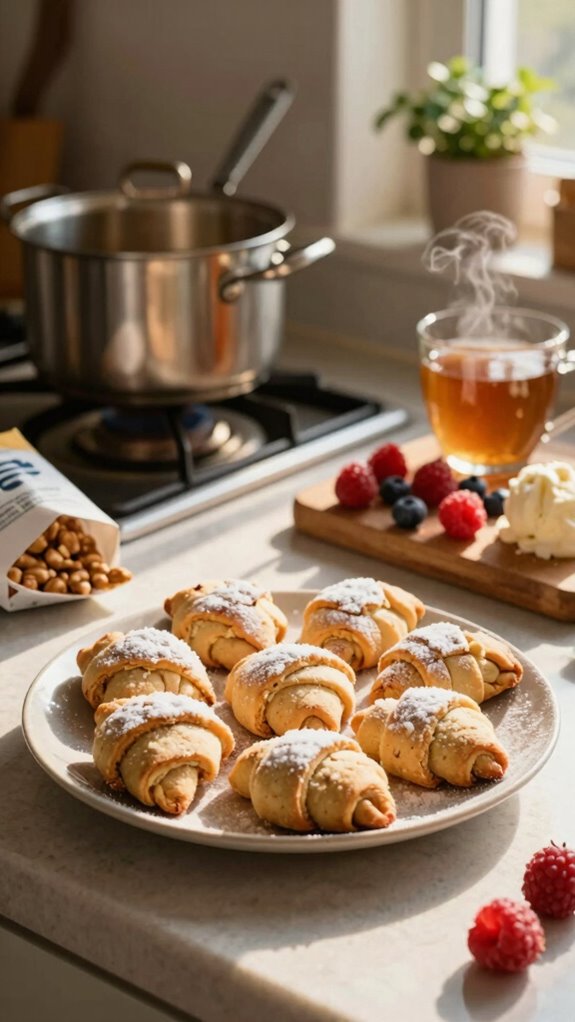
I love pairing these cookies with a light fruit salad or a scoop of dairy-free ice cream. The citrus notes and sweet berries create wonderful dessert pairings, bringing out the complementary flavors of the cookies.
Enjoy experimenting!
What drinks can I pair it with?
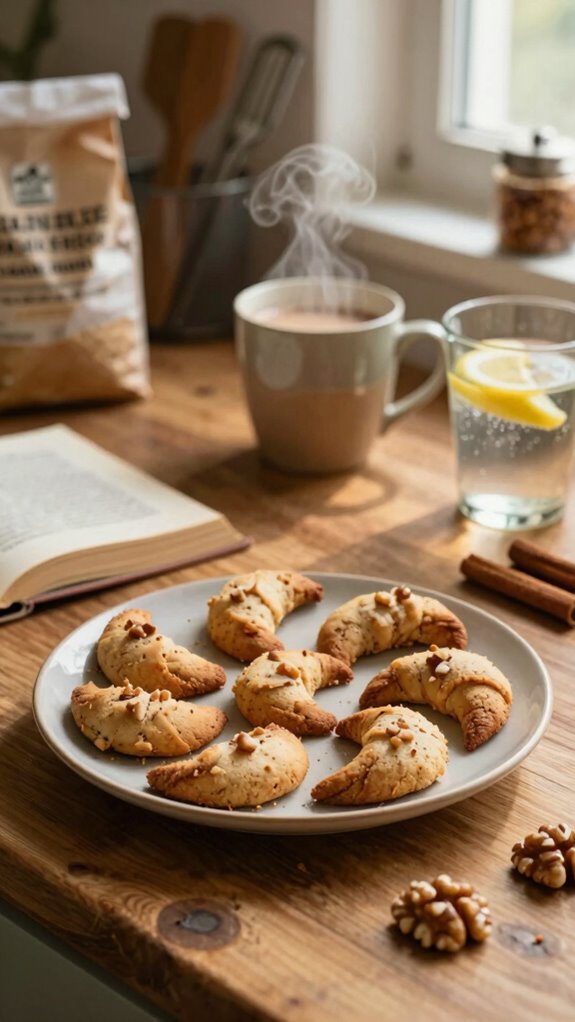
When it comes to drinks that pair well with my gluten-free vanilla walnut crescent cookies, I particularly enjoy a warm cup of herbal tea or a refreshing glass of lemonade.
For those who prefer coffee pairings, a smooth latte complements the cookie’s nutty flavors. If you’re feeling adventurous, try chai tea options for a delightful twist.
Each option enhances the cookie experience beautifully!
Frequently Asked Questions
Can I Substitute Almond Flour With Another Type of Flour?
Sure, you can substitute almond flour with other flour alternatives like coconut flour or oat flour. Just remember to adjust your measurements accordingly—it’s one of my favorite baking tips for successful results!
How Should I Store Leftover Cookies?
I store leftover cookies in airtight cookie containers to keep them fresh. For the best results, I add parchment paper between layers and keep them in a cool, dry place. These storing tips really help!
Are There Any Nut-Free Alternatives for This Recipe?
Absolutely! You can substitute the nuts with coconut flour or sunflower seed flour. Both options work well to maintain the texture, and they’ll create a delicious cookie while keeping it nut-free. Enjoy experimenting!
What Is the Shelf Life of These Cookies?
These cookies stay fresh for about a week at room temperature. For optimal cookie freshness, I recommend storing them in an airtight container. You can also refrigerate them to extend their shelf life a bit longer.
Can These Cookies Be Frozen for Later Use?
Absolutely, I’ve frozen these cookies using airtight bags. After thawing, the cookie texture remains delightful, though they might be slightly softer. Just make sure to cool them completely before freezing for best results!