I’ve been experimenting with gluten-free desserts, and the White Chocolate Snowflake Cookie with Almond Flour caught my attention. These cookies not only offer a unique blend of flavors but also provide a festive touch for any holiday gathering. Their chewy texture and creamy sweetness are hard to resist. If you’re curious about how to make these delightful cookies yourself—or perhaps enhance their presentation—keep following along to uncover some essential details.
What kind of recipe is it?
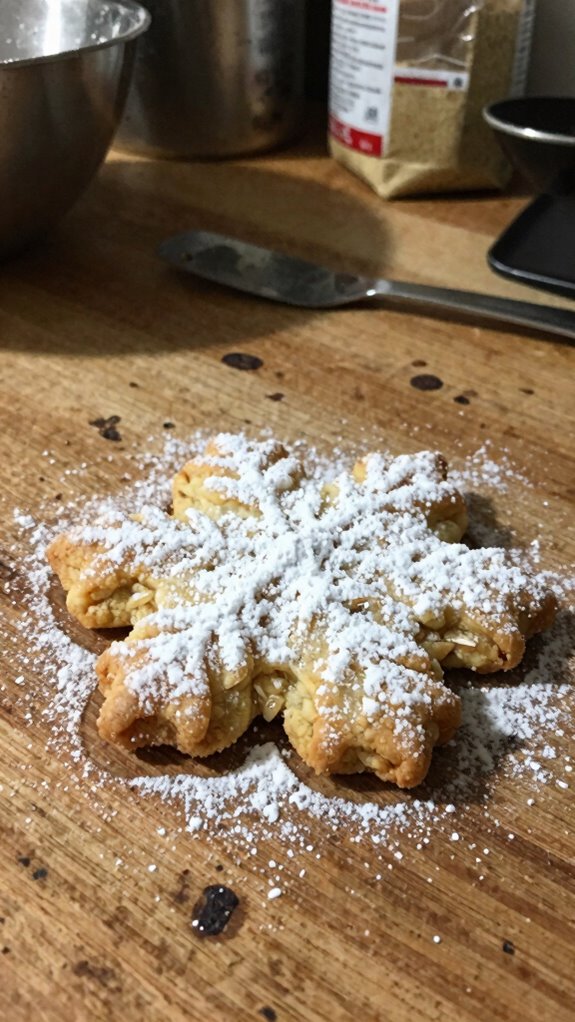
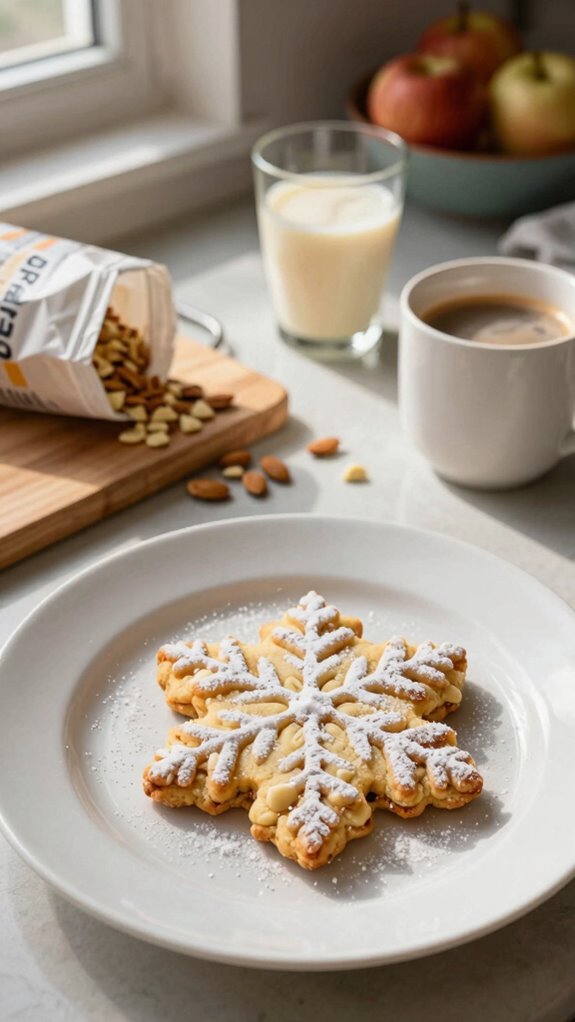
The Gluten-Free White Chocolate Snowflake Cookie is a delightful treat perfect for the holiday season or any festive occasion.
These cookies are characterized by their delicate, snowflake shapes and a rich, creamy white chocolate flavor that melts in your mouth. Ideal for those with gluten sensitivities, this recipe allows everyone to indulge in a sweet dessert without worry.
They’re sure to impress family and friends, making them a must-bake for gatherings or as a thoughtful gift for loved ones.
Preparation Time
| Attribute | Details |
|---|---|
| Difficulty of the Recipe | Medium |
| Preparation Time | 20 minutes |
| Number of Servings | Approximately 24 cookies |
Ingredients
| Ingredient | Quantity |
|---|---|
| Gluten-free all-purpose flour | 2 ½ cups |
| Granulated sugar | 1 cup |
| Brown sugar | ½ cup |
| Unsalted butter | ½ cup (1 stick) |
| Eggs | 2 large |
| Vanilla extract | 1 teaspoon |
| Baking powder | 1 teaspoon |
| Salt | ¼ teaspoon |
| White chocolate chips | 1 cup |
| Powdered sugar (for dusting) | Optional, as needed |
| Edible glitter (for decoration) | Optional, as needed |
Essential Kitchen Equipment
| Tool/Equipment | Purpose | Alternative Option |
|---|---|---|
| Mixing Bowls (Large & Medium) | Used for combining various ingredients like sugars, butter, and eggs as well as flour and dry ingredients. | Use any bowl you have; a large saucepan can also work for mixing. |
| Measuring Cups (Dry & Liquid) | Essential for accurately measuring both dry ingredients (flour, sugar) and liquid ingredients (butter). | Use a standard cup or mug as a rough measurement (1 cup = 240ml). |
| Measuring Spoons | Necessary for measuring small quantities of ingredients like baking powder and salt. | A regular tablespoon or teaspoon can be used for rough measurements. |
| Stand Mixer or Hand Mixer | Makes it easy to cream the butter with sugars and beat in eggs, saving time and effort. | Mixing by hand with a whisk or wooden spoon is an alternative, although it may require more effort. |
| Rubber Spatula | Ideal for scraping down the sides of the mixing bowl and folding in chocolate chips. | A regular spoon can also serve to incorporate ingredients, albeit with less precision. |
| Wooden Spoon | Used for mixing dough or batter, especially thicker mixtures. | Any sturdy spoon can substitute this, as long as it can withstand stirring. |
| Baking Sheets (2-3) | Provides a flat surface for baking the cookies evenly in the oven. | Use a deep roasting pan lined with parchment paper as an alternative. |
| Parchment Paper or Silicone Mats | Prevents cookies from sticking to the baking sheets; facilitates easy clean-up. | Lightly greased baking sheets can work in a pinch if parchment paper or mats are not available. |
| Cookie Scoop or Spoon | Essential for portioning out cookie dough evenly, ensuring consistent cookie sizes. | A regular spoon can be used, though the results might be less uniform. |
| Cooling Rack | Allows cookies to cool down without becoming soggy, ensuring the proper texture. | A plate can substitute temporarily, though it may lead to softer bottoms. |
| Oven Thermometer | Ensures accurate oven temperature for optimal baking results, helping prevent under or over-baking. | If unavailable, rely on your oven’s built-in temperature gauge, but monitor baking closely. |
Cooking Steps
1. Mise en Place: Gather all ingredients—sift 200 g (1 ½ cups) gluten-free all-purpose flour, weigh 100 g (½ cup) granulated sugar, and 50 g (⅓ cup) brown sugar, measure ½ tsp baking powder, ¼ tsp salt, 100 g (½ cup) unsalted butter (softened), and 80 g (½ cup) white chocolate (chopped or chips).
2. Preheat Oven: Preheat your oven to 180 °C (350 °F). Position the oven rack in the middle.
3. Prepare Baking Sheets****: Line 2-3 baking sheets with parchment paper or silicone mats, ensuring they’re completely covered for non-stick purposes.
4. Mix Dry Ingredients: In a medium mixing bowl, combine sifted gluten-free flour, baking powder, and salt. Use a whisk to mix thoroughly and set aside.
5. Cream Butter and Sugars: In a large mixing bowl, combine softened butter, granulated sugar, and brown sugar. Use a stand mixer or hand mixer on medium speed to cream until light and fluffy (approximately 3-4 minutes).
6. Incorporate Eggs: Add in 1 large egg (room temperature) and mix on medium speed until fully integrated.
7. Combine Mixtures: Gradually add the dry ingredient mixture to the creamed butter-sugar mixture. Mix on low speed until just combined to prevent overmixing.
8. Fold in Chocolate: Using a rubber spatula, carefully fold in chopped or chocolate chips until evenly distributed in the dough.
9. Portion Dough: Use a cookie scoop (approximately 30 ml; 2 tbsp) to portion out the dough onto the prepared baking sheets, spacing them about 5 cm (2 inches) apart.
10. Bake Cookies: Insert the baking sheets into the preheated oven on the middle rack. Bake for 10-12 minutes or until edges are lightly golden and centers are set but slightly soft.
The cookies should have a delicate aroma of baked dough and melted chocolate when done.
11. Cool Cookies: Remove the baking sheets from the oven and let the cookies cool on the sheets for 5 minutes. Then, transfer them to a cooling rack to cool completely.
12. Storage: Store cooled cookies in an airtight container at room temperature for up to 1 week.
Variations
- Cocoa Swirl Cookies: Add 30 g (¼ cup) cocoa powder to the dry ingredients for a rich chocolate flavor.
- Vegan Delight: Substitute the egg with a flaxseed egg (1 tbsp ground flaxseed mixed with 3 tbsp water) and use vegan butter.
- Dairy-Free Option: Replace the unsalted butter with coconut oil and use dairy-free white chocolate chips for a fully dairy-free treat.
- Nutty Crunch: Fold in 50 g (½ cup) chopped walnuts or almonds for additional texture and flavor.
- Spiced Winter Cookies: Add 1 tsp cinnamon and ¼ tsp nutmeg to the dry ingredients for a warm spiced flavor perfect for the holidays.
- Lemon Zest Twist: Mix in the zest of 1 lemon for a fresh citrus flavor that enhances the sweetness of the white chocolate.
- Pumpkin Spice Variation: Incorporate 100 g (½ cup) canned pumpkin puree and add 1 tsp pumpkin spice blend for a seasonal twist.
- Baked Doughnut Style: Use a doughnut pan instead of baking sheets to create delightful cookie doughnuts; bake for approximately 12-15 minutes.
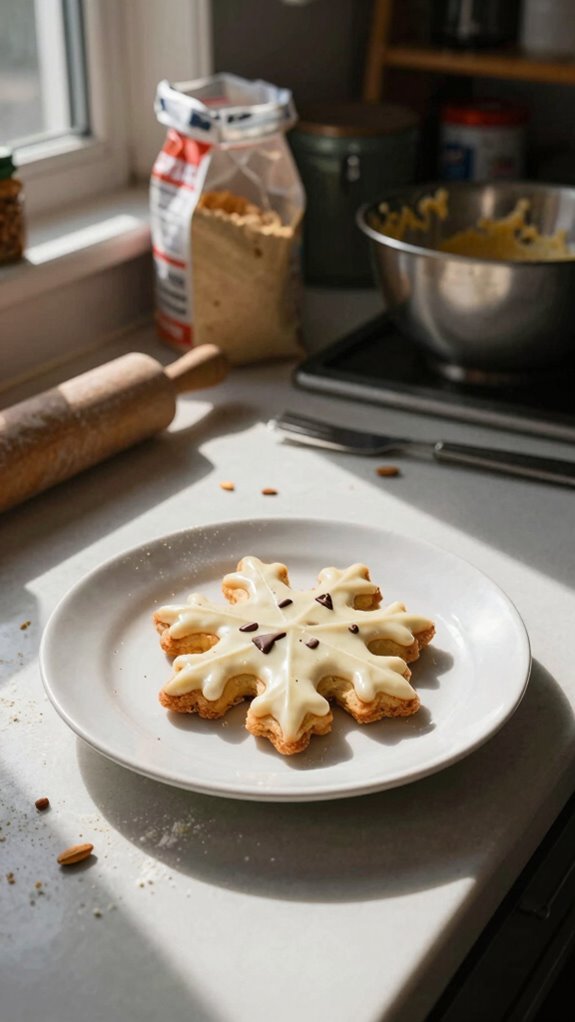
Tips on plating and presentation
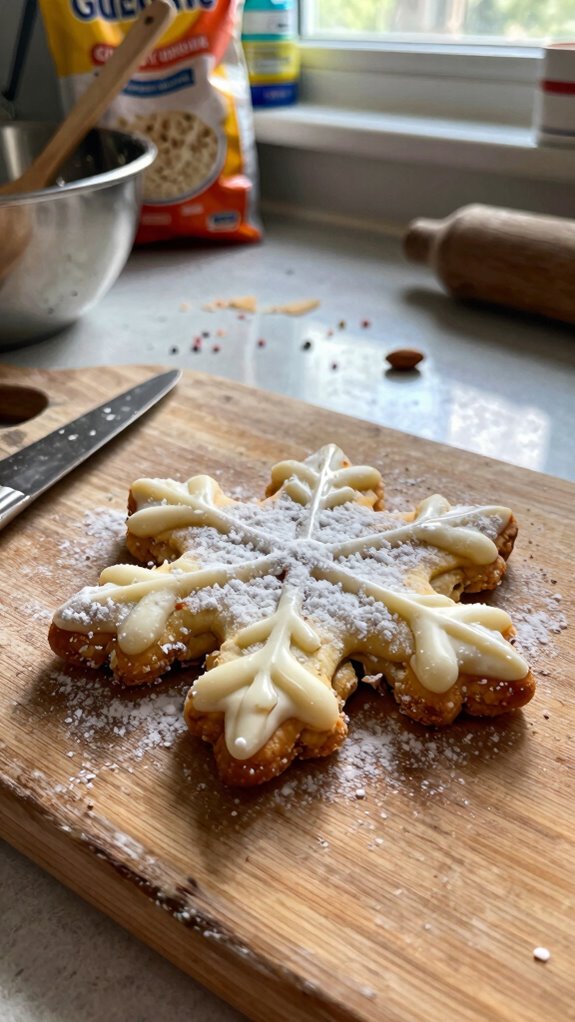
After trying out some delicious variations of the gluten-free white chocolate snowflake cookie, it’s time to think about how to make them look as good as they taste.
For cookie decoration, I love using vibrant icing and edible glitter to enhance their charm.
Plating them on a festive-themed platter, surrounded by seasonal greenery or ornaments, adds an inviting touch to your dessert table.
What other dishes can I pair it with?
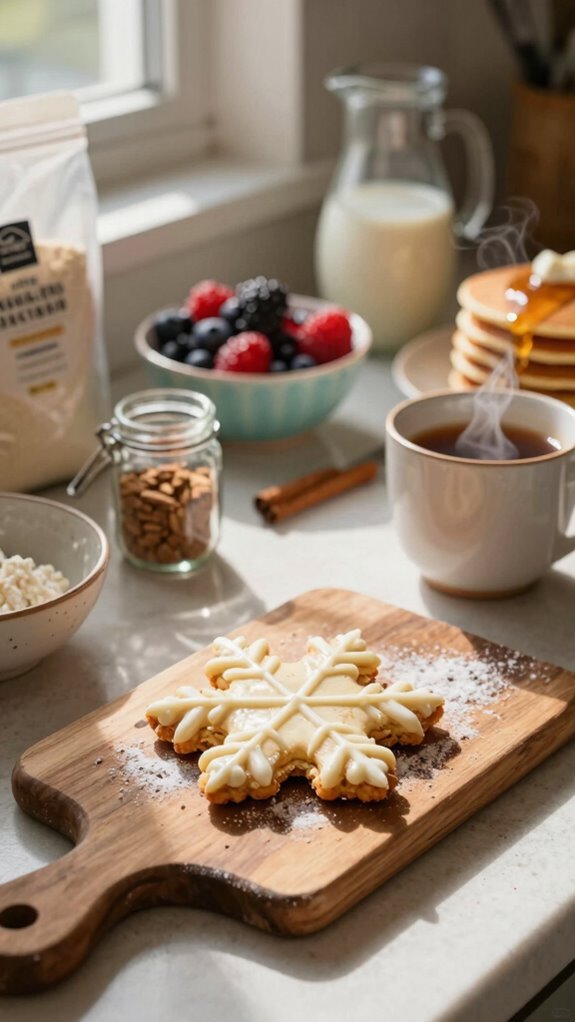
When I’m looking to enhance the festive spirit of my dessert spread, I love pairing my gluten-free white chocolate snowflake cookies with a variety of complementary dishes.
These delightful cookie pairings go wonderfully with rich chocolate mousse, fruit tarts, or a classic cheesecake. Together, they create a vibrant assortment of holiday desserts that everyone will enjoy, making my festivities even more memorable.
What drinks can I pair it with?
To create a delightful pairing with my gluten-free white chocolate snowflake cookies, I often enjoy a carefully selected drink that complements their sweet flavors.
Holiday cocktails, like a spiced rum punch, add a festive touch, while aromatic teas, such as chamomile or peppermint, enhance the cookie’s richness.
Both options elevate the experience and make every bite even more delightful.
Frequently Asked Questions
How Should I Store Leftover Gluten-Free Snowflake Cookies?
I store leftover cookies in airtight containers for the best results. For short-term storage, placing them in a cool, dry place keeps them fresh and delicious, so I can enjoy them longer without losing flavor.
Can I Substitute Almond Flour With Another Gluten-Free Flour?
Yes, you can substitute almond flour with other gluten-free alternatives like coconut flour or oat flour. Just remember, each flour affects texture and flavor differently, so adjust your recipe accordingly to achieve the best results.
Are These Cookies Suitable for a Vegan Diet?
No, these cookies aren’t suitable for a vegan diet. I’d suggest using vegan alternatives like plant-based butter and flaxseed for egg replacements. Cookie modifications like these can help you create a delicious vegan version!
How Many Cookies Does This Recipe Yield?
This recipe yields about 24 cookies, depending on how big you make them. I love experimenting with cookie variations, so feel free to adjust the size and flavors to your taste preferences!
Can I Freeze These Cookies for Later Use?
Yes, I can freeze these cookies for later use! For best results, I wrap them tightly and use proper freezing tips. When I’m ready to enjoy, I thaw them at room temperature for delicious freshness.