I’ve come across a delightful treat that combines the rich flavors of peanut butter and chocolate without the hassle of baking. These No-Bake Peanut Butter Blossom Cookies come together in just 15 minutes, perfect for those busy days. With a simple list of ingredients, they’re easy to whip up. But there’s more to these cookies than just convenience. Let’s uncover their secrets and see how you can elevate your dessert game.
What kind of recipe is it?
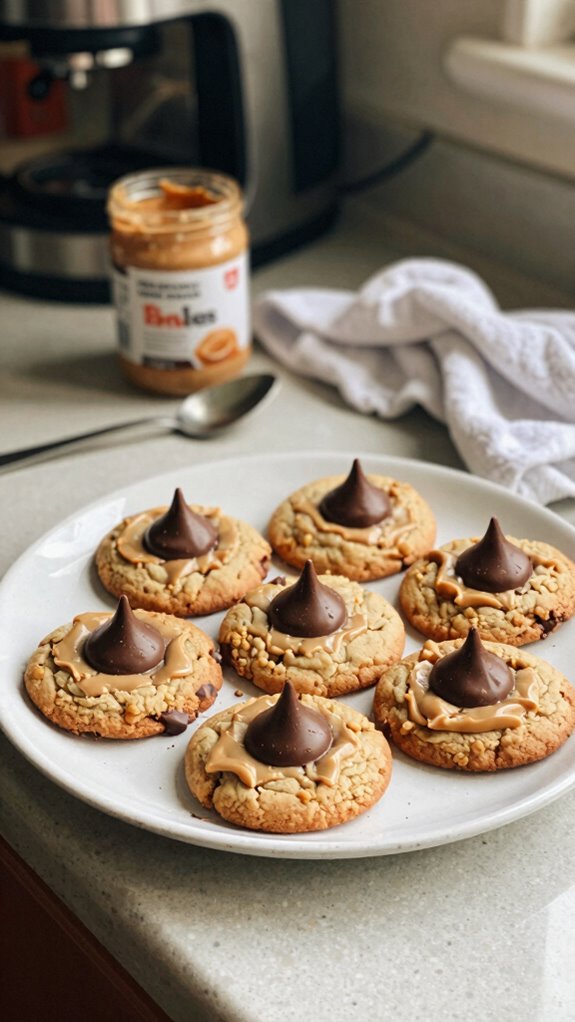
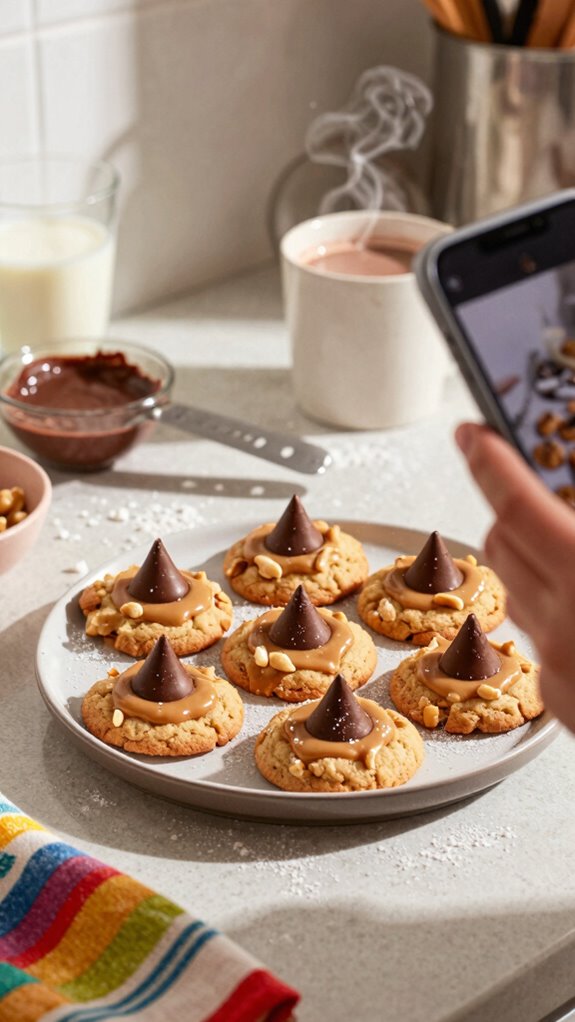
The No-Bake Peanut Butter Blossom Cookie is a delightful twist on a classic treat, perfect for those who love the rich flavor of peanut butter combined with the sweetness of chocolate.
This recipe is special because it doesn’t require any baking, making it a quick and easy option for busy individuals or families.
It’s ideal for kids and adults alike, providing a wholesome, satisfying dessert that can be enjoyed without the hassle of an oven.
With its simple ingredients and minimal preparation time, this cookie is a must-try for any cookie lover!
Preparation Time
| Parameter | Details |
|---|---|
| Difficulty of the Recipe | Easy |
| Preparation Time | 15 minutes |
| Number of Servings | Approximately 12 cookies |
Ingredients
| Ingredient | Quantity |
|---|---|
| Peanut butter (creamy or crunchy) | 1 cup |
| Granulated sugar | 1/2 cup |
| Brown sugar | 1/2 cup |
| Vanilla extract | 1 teaspoon |
| Milk | 1/4 cup |
| Rolled oats | 1 1/2 cups |
| Salt | 1/4 teaspoon |
| Semi-sweet chocolate kisses | 12 pieces (for topping) |
Essential Kitchen Equipment
| Tool/Equipment | Purpose | Alternative Option |
|---|---|---|
| Mixing bowls (large and medium) | To mix and combine the ingredients evenly. Large is for mixing all the ingredients and medium can be used for smaller batches or mixing certain components. | Use any clean, deep bowl you have on hand. |
| Measuring cups (dry and liquid) | To accurately measure the ingredients, ensuring the correct ratios for a well-made cookie. Dry cups are for the solid ingredients and liquid cups for milk. | Use a standard cup or any cup you have, adjusting accordingly. |
| Measuring spoons | For precise measurement of small quantities like vanilla extract and salt. | Use an ordinary spoon, adjusting for approximation. |
| Stand mixer or hand mixer | To mix the ingredients easily and thoroughly without much manual effort. A stand mixer is more powerful and hands-free. | Use a whisk to mix by hand, though it may take longer and require more effort. |
| Rubber spatula | Used to scrape down the sides of bowls and mix in the oats, ensuring no ingredients are left unmixed. | A regular spoon or a plastic spatula can function in place of a rubber one. |
| Wooden spoon | For mixing ingredients by hand, especially when incorporating the oats. It’s sturdy and easy to clean. | Any sturdy spoon can work; even a fork might do in a pinch. |
| Baking sheets (2-3) | For placing cookie dough rounds before setting them to chill, and for easy transport in and out of the fridge/freezer. | Any flat, heat-resistant surface or trays may serve if you lack traditional baking sheets. |
| Parchment paper or silicone mats | To line baking sheets for easy removal of cookies and to prevent sticking. Helps in achieving an even bake. | Lightly grease baking sheets or use aluminum foil to prevent sticking. |
| Cookie scoop or spoon | For portioning out uniform amounts of cookie dough, ensuring even-sized cookies. | A regular tablespoon can be used for scooping instead. |
| Cooling rack | To allow cookies to cool evenly after preparation, preventing them from becoming soggy. | You can use the back of a baking sheet or even a wire shelf from your oven. |
| Oven thermometer | To check that your oven is at the correct temperature for setting cookies, ensuring the best baking results. | A simple way to test is to place a couple of drops of water in the oven; if they sizzle and evaporate quickly, it’s hot enough. |
Cooking Steps
1. Gather all ingredients (such as peanut butter, oats, sugar, vanilla extract) and tools (mixing bowls, measuring cups, stand mixer) for mise en place.
2. Preheat your refrigerator to a cool setting (or freezer if a faster chill is needed).
3. In a large mixing bowl, combine 240 ml (1 cup) of creamy peanut butter and 100 g (1/2 cup) of granulated sugar.
Using a stand mixer (with a paddle attachment) or hand mixer on medium speed, mix until the mixture is smooth and well combined, approximately 2-3 minutes.
4. Add 60 ml (1/4 cup) of milk and 5 ml (1 teaspoon) of vanilla extract to the bowl.
Mix on low speed until incorporated, about 30 seconds.
5. Gradually add 240 g (3 cups) of old-fashioned oats to the mixture.
Use a rubber spatula to scrape down the sides of the bowl and mix until all ingredients are combined. The dough will be thick and sticky.
6. Line two baking sheets with parchment paper or silicone mats.
7. Using a cookie scoop or a tablespoon, portion out uniform amounts of dough (approximately 30 g or 1 tablespoon) and place them evenly spaced on the prepared baking sheets.
8. Chill the cookie dough in the refrigerator for 30 minutes to firm up.
9. After chilling, preheat your oven to 175 °C (350 °F) and position the oven rack in the center.
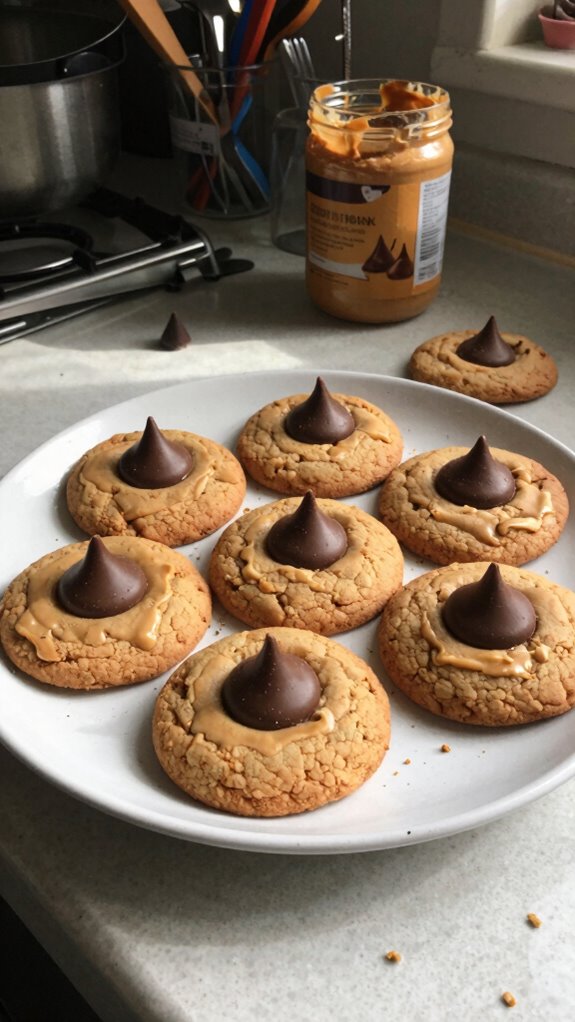
10. Remove the baking sheets from the fridge and press a chocolate kiss candy into the center of each cookie dough mound.
11. Bake in the preheated oven for 10-12 minutes.
The cookies should appear lightly golden and set around the edges but soft in the center.
12. Once baked, remove the sheets from the oven and allow the cookies to cool on the baking sheets for 5-10 minutes.
They should firm up slightly as they cool.
13. After cooling, transfer the cookies to a wire cooling rack to cool completely.
14. Enjoy the cookies once completely cooled; they should have a chewy texture with a rich peanut butter aroma.
Variations
- Chocolate Peanut Butter Swirl: Add 60 g (1/4 cup) of cocoa powder to the peanut butter mixture for a rich chocolate flavor.
- Vegan Delight: Substitute the milk with almond milk (60 ml / 1/4 cup) and use a plant-based chocolate substitute for the kisses.
- Gluten-Free Oats: Use certified gluten-free oats to ensure the cookies are suitable for those with gluten sensitivities.
- Nutty Protein Boost: Mix in 30 g (1/4 cup) of ground flaxseed or protein powder for added nutrition and texture.
- Seasonal Pumpkin Spice: Add 120 g (1/2 cup) of pumpkin puree and 5 ml (1 teaspoon) of pumpkin pie spice for a fall-inspired variation.
- Coconut Bliss: Incorporate 60 g (1/2 cup) of shredded coconut into the dough for a tropical twist.
- Fruit-Infused Cookies: Fold in 80 g (1/2 cup) of mini chocolate chips or dried cranberries for added sweetness and texture.
- Chill and Grill: Instead of baking, form the cookies and freeze them, then enjoy them cold as a refreshing treat.
Tips on plating and presentation
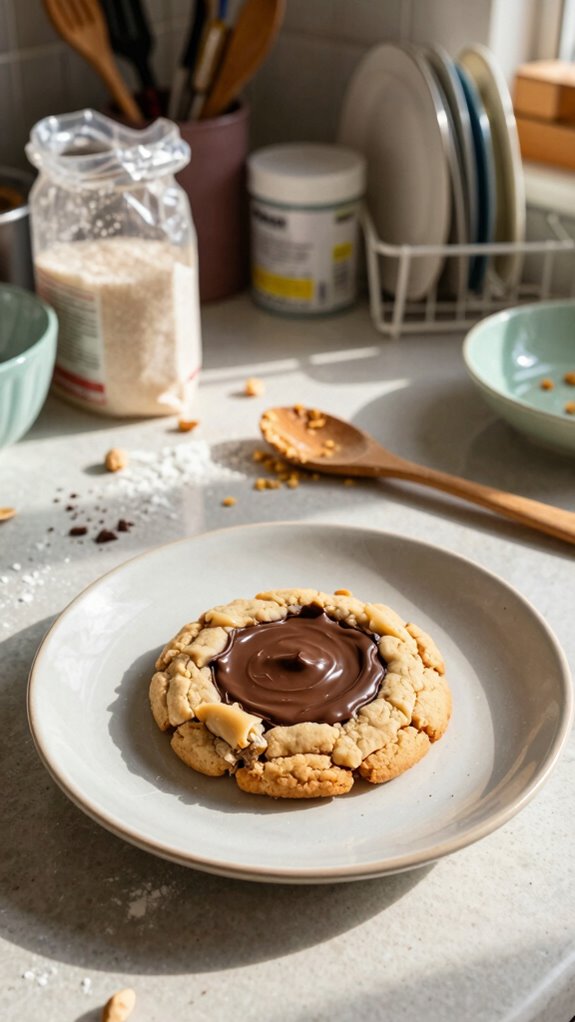
To make your no-bake peanut butter blossom cookies truly shine, consider their presentation just as much as their taste.
Use simple plating techniques like stacking cookies in a clear container or arranging them on a colorful plate.
Add a sprinkle of crushed nuts or a drizzle of chocolate for extra visual appeal.
These little touches will elevate your cookies from tasty to stunning!
What other dishes can I pair it with?
While no-bake peanut butter blossom cookies are delicious on their own, they pair wonderfully with a variety of dishes to create a delightful spread.
I love serving them alongside fruity desserts like chocolate-covered strawberries or a light fruit salad.
For snack suggestions, try them with cheese and crackers to balance the sweetness.
These dessert pairings elevate any gathering with ease!
What drinks can I pair it with?
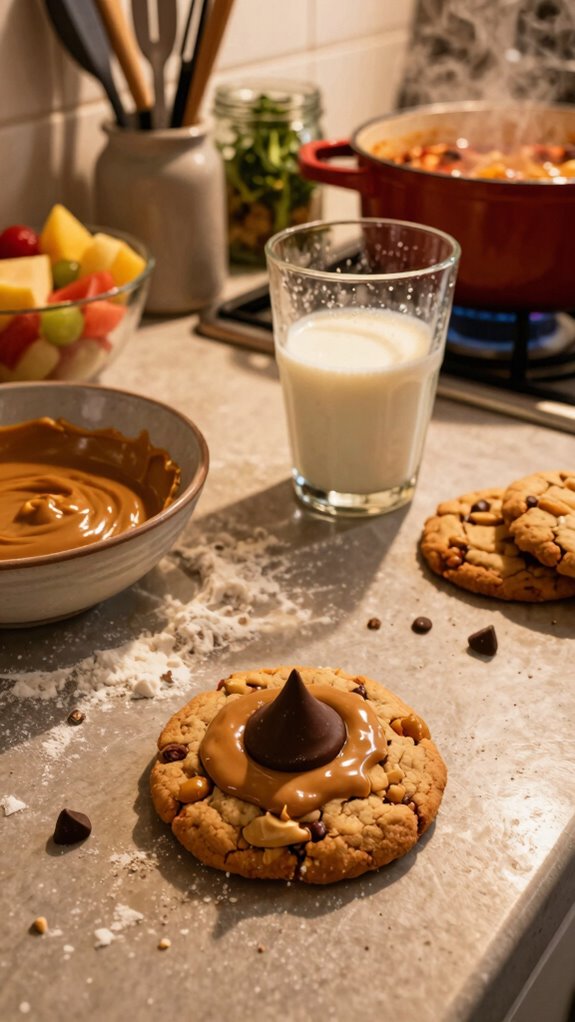
When it comes to drinks that complement no-bake peanut butter blossom cookies, I’ve found a few favorites that really enhance the experience.
A smooth almond milk serves as a great milk alternative, balancing the cookie’s sweetness.
I’ve also enjoyed pairing them with rich coffee blends; the nutty flavors of the coffee perfectly highlight the peanut butter.
These combinations make every bite even more delightful!
Frequently Asked Questions
Can I Substitute Peanut Butter With Other Nut Butters?
Absolutely, I’ve tried almond and cashew butter as nut butter alternatives. Just keep allergen considerations in mind, as substitutions can affect taste and texture. Experimenting is fun, but always check for any allergies you might encounter!
How Should I Store Leftover Cookies?
I store leftover cookies in an airtight container at room temperature. This method preserves freshness while keeping them soft. If I want them to last longer, I’ll refrigerate or freeze them for extended enjoyment.
Are These Cookies Gluten-Free?
Yes, these cookies can be gluten-free! I often use gluten-free options like almond flour. For baking tips, always double-check labels and look for certified gluten-free ingredients to ensure a tasty treat. Enjoy your baking!
How Long Do the Cookies Stay Fresh?
These cookies typically stay fresh for about a week if stored in an airtight container. I love their cookie shelf life, but you’ll want to enjoy their peak freshness duration within those first few days!
Can Kids Help With Making This Recipe?
Absolutely! I love involving kids in the kitchen. They can help with kid-friendly tasks like measuring ingredients and stirring everything together. It’s a fun way for them to learn and enjoy the cooking experience!