I’ve always loved the combination of peanut butter and chocolate, especially in the form of Peanut Butter Blossom Cookies. These gluten-free treats are not just easy to whip up, but they also deliver a nostalgic taste that many cherish. As I think about the perfect way to prepare these cookies, I can’t help but wonder how to elevate their presentation and flavors. Let’s explore the details that will transform your baking experience.
What kind of recipe is it?
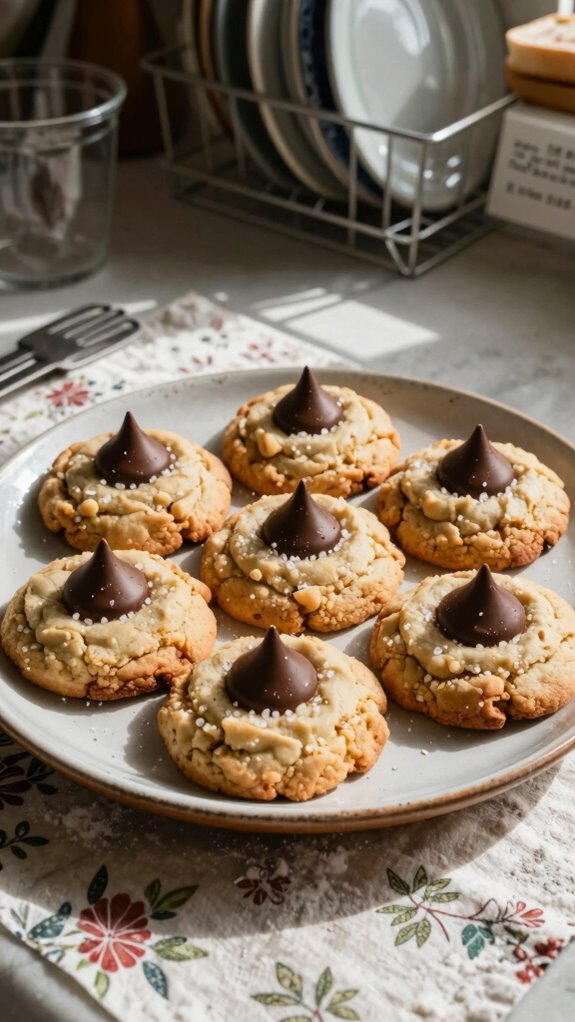
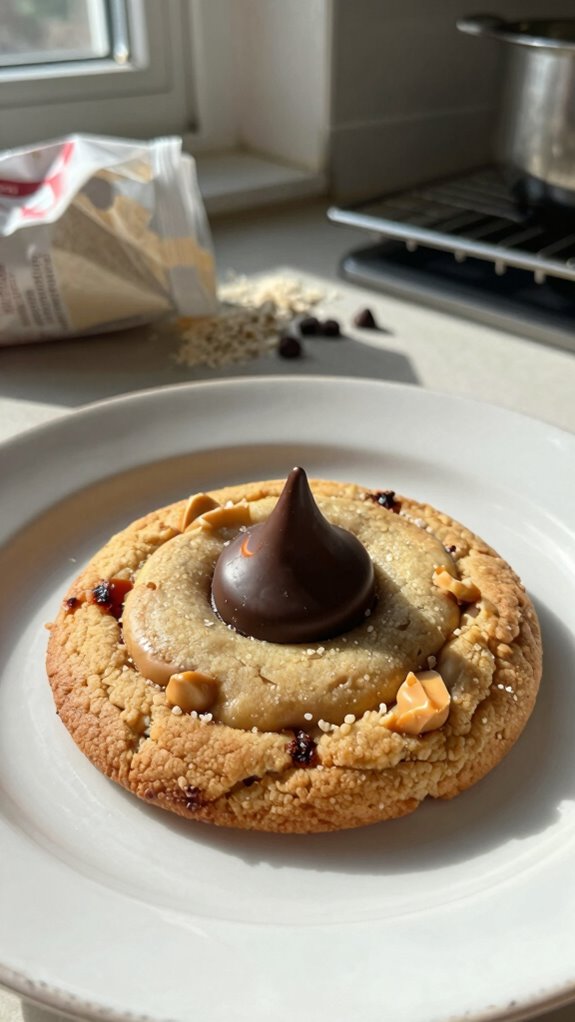
Peanut Butter Blossom Cookies are a delightful combination of classic peanut butter cookies topped with a Hershey’s Kiss, creating a perfect blend of chewy and chocolatey goodness.
This recipe stands out for its simplicity and the irresistible flavor of peanut butter, making it a favorite among both children and adults. Ideal for holiday gatherings, bake sales, or simply a cozy evening treat, these cookies are perfect for anyone who loves a sweet, nostalgic flair in their dessert.
Baking these cookies isn’t just about indulging; it’s a fun activity that brings family and friends together.
Preparation Time
| Aspect | Details |
|---|---|
| Difficulty of Recipe | Easy |
| Preparation Time | 15 minutes |
| Number of Servings | Approximately 24 cookies |
Ingredients
| Ingredient | Quantity |
|---|---|
| All-purpose flour | 2 ½ cups |
| Baking soda | 1 teaspoon |
| Baking powder | 1 teaspoon |
| Salt | ½ teaspoon |
| Unsalted butter | ½ cup (1 stick), softened |
| Granulated sugar | ¾ cup |
| Light brown sugar | ¾ cup, packed |
| Vanilla extract | 1 teaspoon |
| Egg | 1 large |
| Peanut butter | ½ cup, creamy or crunchy |
| Granulated sugar (for rolling) | ¼ cup |
| Milk chocolate kisses | Approximately 24 pieces |
Feel free to add or substitute any ingredients according to your preferences or dietary requirements!
Essential Kitchen Equipment
| Tool/Equipment | Purpose | Alternative Option |
|---|---|---|
| Mixing bowls (large and medium) | Used for combining ingredients, especially for wet and dry components. | Use large pots or deep dishes if mixing bowls aren’t available. |
| Measuring cups (dry and liquid) | Essential for accurate ingredient measurements to ensure the correct texture of cookies. | Use any household cup that can be standardized (like a coffee mug) for approximate measures. |
| Measuring spoons | Needed for precise measurement of smaller quantities of ingredients like baking soda or vanilla extract. | Use a regular spoon for approximation, though it may not be as accurate. |
| Stand mixer or hand mixer | Facilitates efficient mixing of ingredients, especially creaming butter and sugars together. | Mix by hand with a wooden spoon or rubber spatula, but it may require more effort. |
| Rubber spatula | Ideal for scraping down the sides of the bowl and ensuring all ingredients are well combined. | A regular spoon can serve as a satisfactory alternative for mixing and stirring. |
| Wooden spoon | Perfect for blending ingredients and can be used for folding in peanut butter. | Any sturdy spoon or spatula can work in a pinch. |
| Baking sheets (2-3) | Provides a flat surface to bake cookies evenly; multiple sheets can be used for multiple batches. | Use any flat oven-safe dish or sheet if you don’t have a baking sheet. |
| Parchment paper or silicone mats | Prevents cookies from sticking and provides easy cleanup after baking. | Lightly grease the baking sheets with butter or cooking spray if parchment is not available. |
| Cookie scoop or spoon | Ensures even portioning of cookie batter for uniform baking. | Use two spoons to scoop out and shape dough into balls by hand. |
| Cooling rack | Allows cookies to cool evenly and prevents sogginess on the baking sheet. | Use a plate or countertop if a cooling rack is not available. |
| Oven thermometer | Ensures that the oven is at the correct temperature for baking cookies accurately. | If not available, check cookie readiness by visual cues (golden edges and soft centers) rather than relying on timing alone. |
Cooking Steps
- Mise en Place: Gather all ingredients—granulated sugar, brown sugar, unsalted butter, peanut butter, eggs, vanilla extract, all-purpose flour, baking soda, salt, and granulated sugar for rolling the cookies. Measure out and set aside individual portions for easy access.
- Preheat the Oven: Preheat the oven to 175 °C (350 °F). Adjust the oven rack to the middle position. If using convection, reduce the temperature to 165 °C (325 °F).
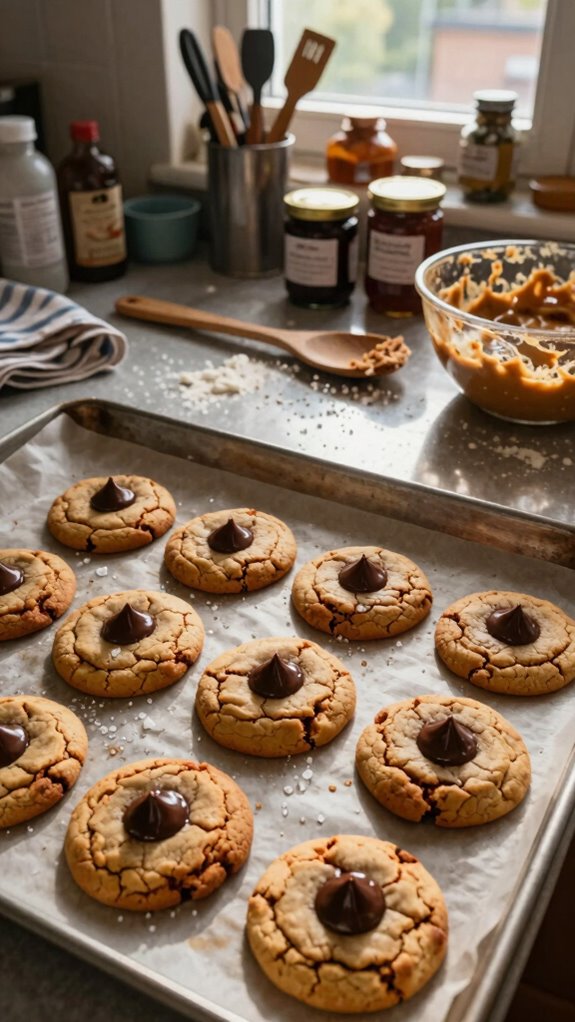
- Prepare Baking Sheets: Line two baking sheets with parchment paper or silicone mats for easier cleanup and to prevent sticking.
- Cream Butter and Sugars: In a large mixing bowl, combine 120 ml (½ cup) of softened unsalted butter, 100 g (½ cup) of granulated sugar, and 100 g (½ cup) of brown sugar. Use a stand mixer or hand mixer on medium speed to cream until light and fluffy, about 2-3 minutes.
- Incorporate Peanut Butter: Add 120 ml (½ cup) of peanut butter to the creamed mixture. Mix on medium speed for an additional 1-2 minutes until fully incorporated.
- Add Eggs and Vanilla: Beat in 1 large egg and 5 ml (1 tsp) of vanilla extract into the mixture. Mix on low speed just until the egg and vanilla are combined without overmixing.
- Combine Dry Ingredients: In a separate bowl, whisk together 190 g (1 ½ cups) of all-purpose flour, 5 g (1 tsp) of baking soda, and 2 g (½ tsp) of salt.
- Combine Wet and Dry Ingredients: Gradually add the dry ingredient mixture to the wet ingredients. Use a rubber spatula to fold until just combined; don’t overmix.
- Scoop the Dough: Use a cookie scoop or spoon to portion out heaping tablespoons of dough (about 30 ml each). Roll each portion into a ball and then roll in granulated sugar before placing them 5 cm (2 inches) apart on the prepared baking sheets.
- Bake the Cookies: Place the baking sheets on the middle oven rack. Bake for 10-12 minutes, or until the edges are golden brown and the centers are set but still slightly soft. The cookies should have a light aroma of toasted sugar as an indicator of doneness.
- Add Chocolate Kisses: Immediately after removing from the oven, gently press a chocolate kiss (or similar candy) into the center of each cookie.
- Cool on Rack: Allow the cookies to cool on the baking sheets for 5 minutes before transferring them to a cooling rack to cool completely. If you don’t have a cooling rack, place them on a plate or countertop.
- Storage: Once cooled, store cookies in an airtight container at room temperature for up to 1 week, ensuring they stay fresh.
Variations
- Chocolate Peanut Butter Blossoms: Swap half of the granulated sugar with cocoa powder (50 g) for a chocolatey twist.
- Gluten-Free Blossoms: Substitute all-purpose flour with a gluten-free flour blend (190 g) to make gluten-free cookies.
- Dairy-Free Delight: Replace unsalted butter (120 ml) with coconut oil or dairy-free butter for a dairy-free option.
- Vegan Peanut Butter Blossoms: Use flax eggs (2 tbsp flaxseed meal + 6 tbsp water) instead of the egg and coconut oil (120 ml) for a vegan adaptation.
- Nutty Crunch: Add 100 g of chopped nuts (such as walnuts or pecans) to the cookie dough for a crunchy texture.
- Seasonal Spice: Mix in 1 tsp (5 g) of cinnamon and ½ tsp (2 g) of ground nutmeg for a warm, spiced flavor in fall.
- Peanut Butter Chocolate Chip Twist: Fold in 100 g of dairy-free chocolate chips into the dough along with the peanut butter for added sweetness.
- Microwave Mug Cookies: Combine ingredients in a microwave-safe mug and cook for 30-40 seconds for a quick cookie dessert.
Tips on plating and presentation
While plating your Peanut Butter Blossom cookies, consider how presentation enhances the overall experience.
Use simple plating techniques, like stacking a few cookies on one side of a beautiful plate. For added flair, dust with powdered sugar or place them on a colorful napkin.
What other dishes can I pair it with?
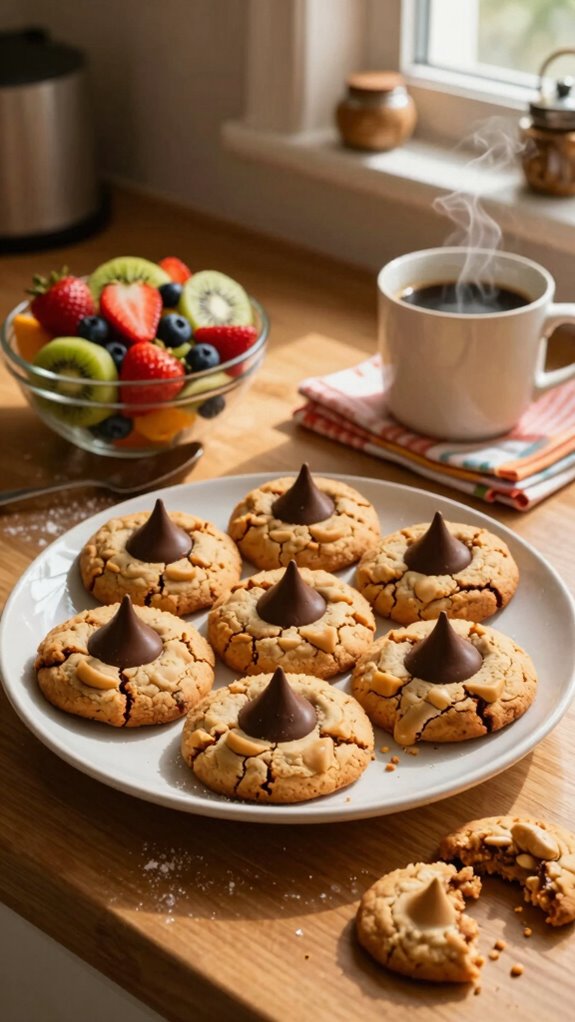
Wondering what to serve alongside your Peanut Butter Blossom cookies?
I love creating delicious dessert combinations!
Try pairing them with a rich chocolate brownie or a scoop of vanilla ice cream for a sweet treat.
For a fun cookie pairing, serve them with a classic sugar cookie or snickerdoodle.
These combinations not only complement their flavors but also add variety to your dessert table!
What drinks can I pair it with?
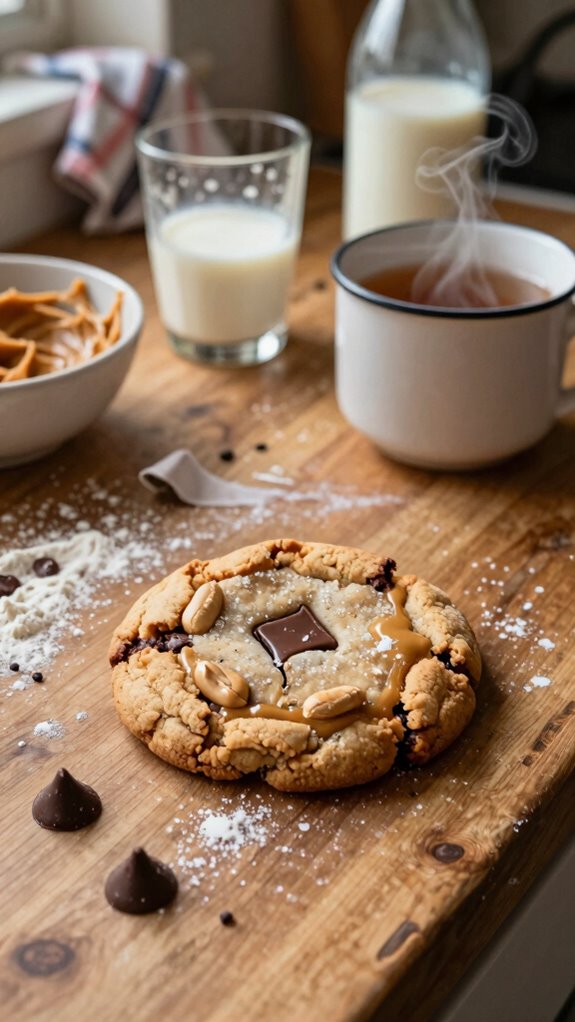
When it comes to relaxing with Peanut Butter Blossom cookies, I’ve found that a glass of cold milk is always a classic choice.
However, if you’re exploring milk alternatives, almond or oat milk can complement those rich flavors beautifully.
For coffee lovers, a smooth latte or espresso pairs wonderfully, enhancing the nutty taste.
Trust me, these combinations take your cookie experience to the next level!
Frequently Asked Questions
What Is the Nutritional Information for Peanut Butter Blossom Cookies?
I recently checked the nutritional information and found the calorie breakdown shows these cookies are rich in protein and healthy fats. They offer some health benefits, but I still enjoy them in moderation!
Can These Cookies Be Frozen for Later Consumption?
Yes, I freeze these cookies using airtight containers or freezer bags. For thawing, I let them sit at room temperature or briefly microwave them. This way, they taste fresh and delicious even after freezing!
How Can I Substitute Peanut Butter for Allergies?
I love using nut butter alternatives like sun butter or soy nut butter for allergy-friendly options. They provide a similar texture and flavor, letting me enjoy delicious treats without worrying about nut allergies. Give them a try!
What Types of Chocolate Can I Use for the Center?
You can use dark chocolate, milk chocolate, or white chocolate for the center. I love dairy-free and vegan options too. Flavored chocolate adds a unique twist, making treats even more delightful and exciting.
How Long Can the Cookies Be Stored?
I keep my cookies stored in an airtight container at room temperature, where they stay fresh for about a week. For longer storage, I freeze them, ensuring cookie freshness for up to three months!