I recently tried making Vegan Iced Sugar Cookies topped with Aquafaba Royal Icing, and the results were surprisingly impressive. The combination of a soft cookie and airy icing provides a unique dessert experience, especially for plant-based diets. What I found intriguing was how aquafaba can transform a traditional recipe into something modern and inclusive. If you’re curious about how to achieve such delightful results, stick around for some essential tips and variations you won’t want to miss.
What kind of recipe is it?
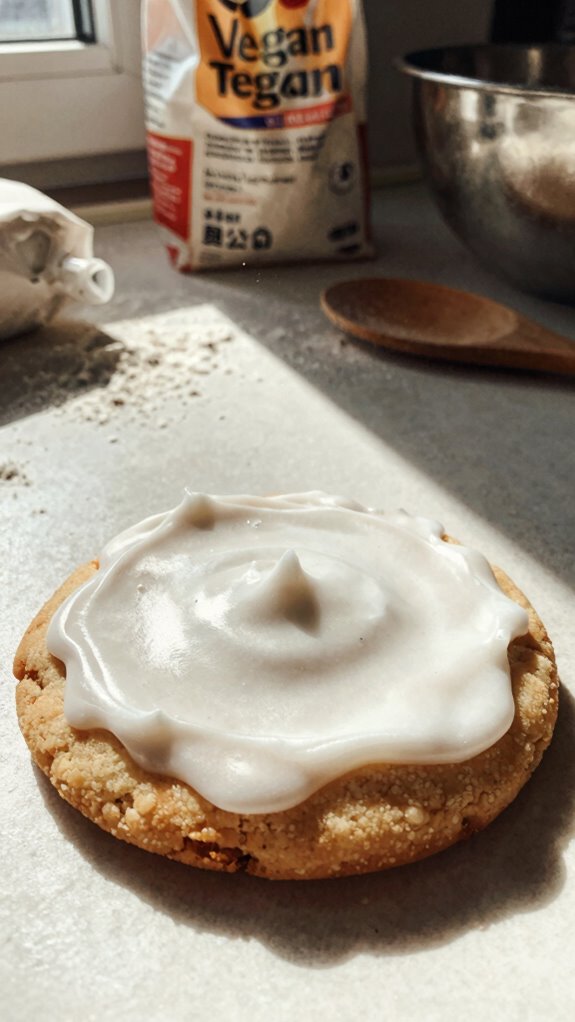
The Vegan Iced Sugar Cookie is a delightful, plant-based treat that offers a perfect blend of sweetness and a light, airy texture.
This recipe is specially crafted for those seeking a dairy-free and egg-free option without sacrificing flavor.
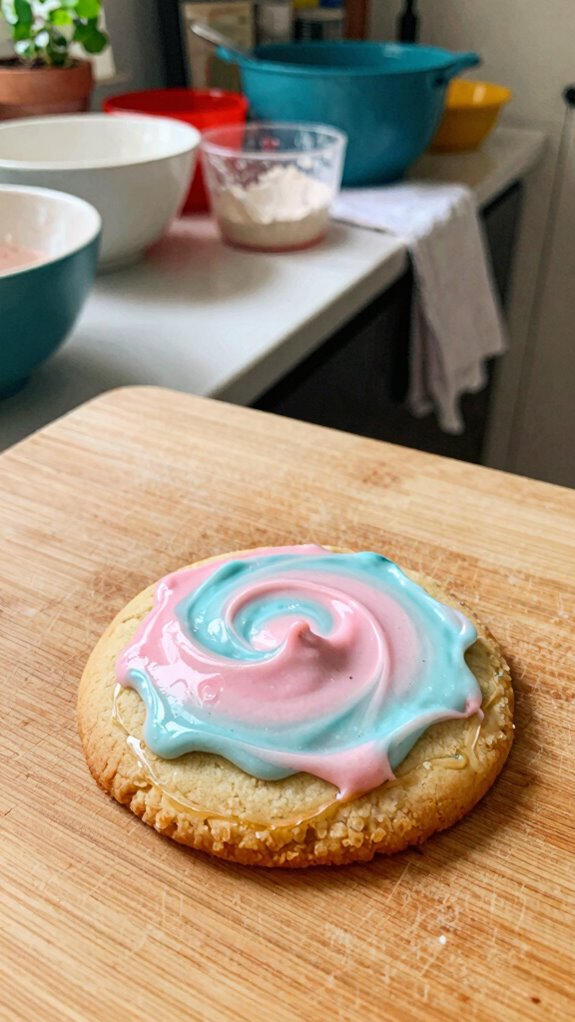
These cookies are characterized by their beautiful, colorful icing and soft crumb, making them perfect for celebrations or casual snacking.
Ideal for vegans, health-conscious individuals, or anyone with food allergies, this dish invites everyone to indulge in a guilt-free dessert that brings joy and creativity to any occasion.
Preparation Time
| Aspect | Details |
|---|---|
| Difficulty of Recipe | Easy |
| Preparation Time | 20 minutes (plus 30 minutes for chilling) |
| Number of Servings | Approximately 12 cookies |
Ingredients
| Ingredient | Quantity |
|---|---|
| All-purpose flour | 2 cups |
| Granulated sugar | 1 cup |
| Baking powder | 1 teaspoon |
| Baking soda | 1/2 teaspoon |
| Salt | 1/4 teaspoon |
| Vegan butter | 1/2 cup (softened) |
| Almond milk (or any plant milk) | 1/4 cup |
| Vanilla extract | 1 teaspoon |
| Powdered sugar | 1 cup (for icing) |
| Almond milk (for icing) | 1-2 tablespoons |
| Food coloring (optional) | Various colors (for decorating) |
This table outlines all the ingredients needed to make Vegan Iced Sugar Cookies, along with their specific quantities.
Essential Kitchen Equipment
| Tool/Equipment | Purpose | Alternative Option |
|---|---|---|
| Mixing bowls (large and medium) | Used to mix dry and wet ingredients thoroughly. | Any large bowls or containers you already have at home. |
| Measuring cups (dry and liquid) | Essential for accurately measuring flour, sugar, and liquids. | Use a kitchen scale to measure by weight if available. |
| Measuring spoons | For precise measurements of smaller ingredients like baking powder and salt. | Use any small spoon, adjusting for the actual measurement when necessary. |
| Stand mixer or hand mixer | Helps to mix ingredients evenly and efficiently, especially for creaming the vegan butter and sugar. | Use a whisk or wooden spoon to mix by hand, though it may take more effort. |
| Rubber spatula | Ideal for scraping down the sides of bowls and folding in ingredients without deflating the batter. | A silicone spatula or any sturdy spoon can work as a substitute. |
| Wooden spoon | Great for mixing doughs and batters, particularly thicker mixtures. | Any sturdy spoon can be used if you don’t have a wooden one. |
| Baking sheets (2-3) | Needed for placing and baking the cookies in the oven. | Use any flat, oven-safe tray, although baking performance may vary. |
| Parchment paper or silicone mats | Prevent cookies from sticking to the baking sheets and help in even baking. | Lightly grease the baking sheets if you don’t have parchment or silicone. |
| Cookie scoop or spoon | Ensures uniform cookie size for even baking and presentation. | Use a regular spoon to drop dough onto baking sheets; just make sure to keep the size consistent. |
| Cooling rack | Allows cookies to cool evenly, preventing sogginess from steam. | Place cookies on a plate or countertop lined with paper towels if you don’t have a rack. |
| Oven thermometer | To check and confirm that the oven temperature is accurate, ensuring proper baking. | If you don’t have one, you can use the built-in oven indicator, but be cautious as it might not be precise. |
This table outlines essential kitchen equipment needed for making Vegan Iced Sugar Cookies, along with their roles in the recipe and budget-friendly alternatives.
Cooking Steps
1. Mise en place: Gather and measure 240 g (2 cups) all-purpose flour, 100 g (½ cup) granulated sugar, 100 g (½ cup) vegan butter (softened), 60 ml (¼ cup) non-dairy milk, 2.5 g (½ tsp) baking powder, 1 g (¼ tsp) baking soda, 1 g (¼ tsp) salt, and 5 ml (1 tsp) vanilla extract.
Prepare a clean workspace and position all ingredients and tools (mixing bowls, measuring cups, rubber spatula) within reach.
2. Preheat Oven: Preheat your oven to 175 °C (350 °F) on a conventional setting. Position the oven rack in the center to ensure even heat distribution.
3. Mix Dry Ingredients: In a large mixing bowl, combine 240 g (2 cups) all-purpose flour, 2.5 g (½ tsp) baking powder, 1 g (¼ tsp) baking soda, and 1 g (¼ tsp) salt.
Whisk together until well blended.
4. Cream Vegan Butter and Sugar: In a medium mixing bowl, place 100 g (½ cup) softened vegan butter and 100 g (½ cup) granulated sugar.
Using a stand mixer or hand mixer on medium speed, cream the mixture for 2-3 minutes or until light and fluffy, with a pale color and soft texture.
5. Incorporate Wet Ingredients: Add 60 ml (¼ cup) non-dairy milk and 5 ml (1 tsp) vanilla extract to the creamed butter mixture.
Mix on low speed until combined.
6. Combine Mixtures: Gradually add the dry ingredients to the wet ingredients in the medium bowl, using a rubber spatula or wooden spoon to fold until just combined.
Be careful not to overmix; the dough should remain soft and somewhat sticky.
7. Chill Dough: Cover the bowl with plastic wrap and refrigerate for a minimum of 30 minutes to 1 hour.
This will help firm the dough, making it easier to shape.
8. Prepare Baking Sheets: Line 2-3 baking sheets with parchment paper or silicone mats to prevent sticking.
9. Form Cookies: Using a cookie scoop or a spoon, portion out roughly 30 ml (2 tablespoons) of dough per cookie and place them about 5 cm (2 inches) apart on the prepared baking sheets.
Flatten each cookie slightly with the palm of your hand.
10. Bake Cookies: Place the baking sheets in the preheated oven and bake for 10-12 minutes.
Look for the edges to be lightly golden and the centers to appear set but still soft. (Dough shouldn’t spread excessively; it should hold its shape.)
11. Cool Cookies: Remove the cookies from the oven and let them cool on the baking sheets for 5 minutes.
Then, transfer them to a cooling rack to cool completely, which will retain their texture and prevent sogginess.
12. Optional Icing: Once cooled, prepare your desired vegan icing to decorate if desired, using powdered sugar and any vegan-friendly liquid (such as non-dairy milk or lemon juice) to achieve the right consistency.
Follow these steps carefully, ensuring each phase is executed as directed for optimal results. Enjoy your Vegan Iced Sugar Cookies!
Variations
- Chocolate Chip Delight: Add 150 g (1 cup) vegan chocolate chips to the dough for a classic cookie twist.
- Lemon Zest: Incorporate the zest of 1 lemon and replace half of the vanilla extract with lemon juice for a refreshing citrus flavor.
- Gluten-Free Version: Substitute 240 g (2 cups) all-purpose flour with a gluten-free flour blend to make the cookies gluten-free.
- Almond Flour Cookies: Replace 100 g (1 cup) of all-purpose flour with 100 g (1 cup) almond flour for added nuttiness and moisture.
- Pumpkin Spice Cookies: Mix in 120 g (½ cup) pumpkin puree and 5 g (1 tsp) pumpkin spice for a seasonal treat.
- Peanut Butter Swirl: Add 80 g (⅓ cup) peanut butter to the butter mixture for a rich and nutty flavor.
- Coconut Crunch: Incorporate 75 g (1 cup) shredded coconut into the dough for a tropical twist.
- No-Bake Version: Create a no-bake cookie by combining the dough with 50 g (½ cup) rolled oats and chilling until firm, then rolling into balls.
Tips on plating and presentation
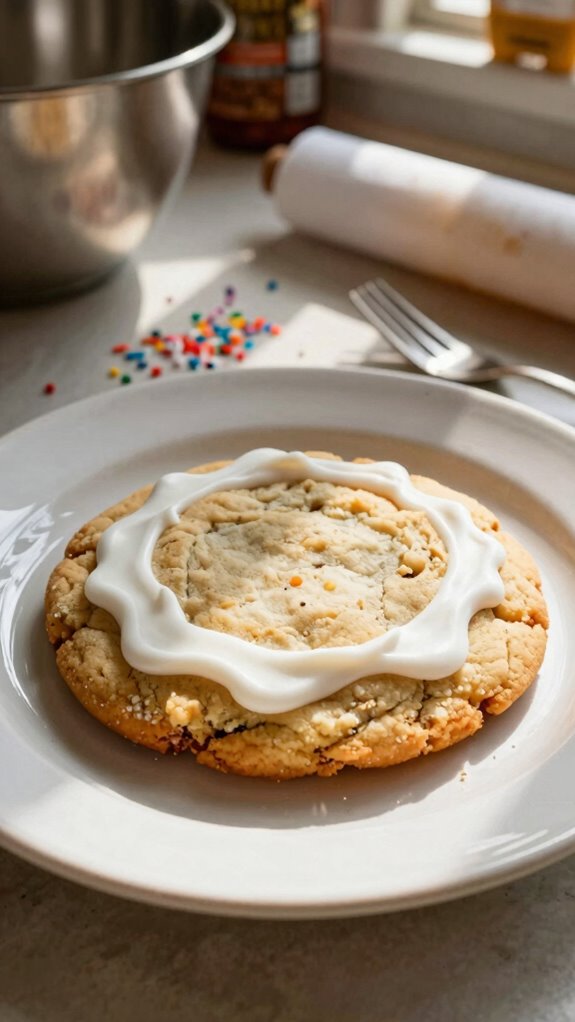
When it comes to plating and presentation, a few simple ideas can elevate your vegan iced sugar cookies.
Use vibrant plating techniques, like serving on colorful platters or adding texture with textured fabrics underneath.
For cookie garnishes, I love adding fresh fruits or edible flowers for a pop of color.
These touch-ups make your cookies not just tasty, but visually stunning too!
What other dishes can I pair it with?

To enhance your vegan iced sugar cookies, I often pair them with a variety of vegan desserts.
They look great on cookie platters alongside fruit tarts or chocolate mousse cups. Adding fresh fruit, like berries or citrus slices, also elevates the presentation.
Each dessert creates a delightful contrast, making my cookie platters appealing and enjoyable for guests, whether at parties or casual gatherings.
What drinks can I pair it with?
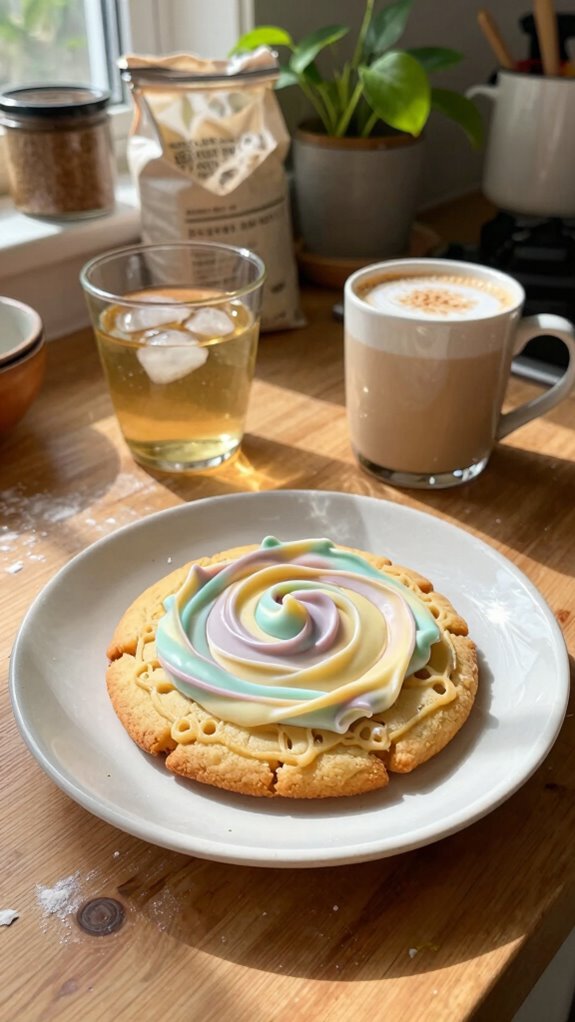
As I enjoy my vegan iced sugar cookies, I love to sip on a refreshing glass of herbal iced tea or a creamy plant-based milkshake.
If I’m in the mood for coffee, I usually opt for a chilled almond milk latte or a rich mocha.
For perfect tea pairings, chamomile or hibiscus enhances the sweetness and balances the cookie’s flavors beautifully.
Frequently Asked Questions
Can I Replace Aquafaba With Another Ingredient?
You can definitely replace aquafaba! I often use flax seed or chia seeds mixed with water to create a similar binding effect. It’s a great way to achieve a delightful texture in my recipes!
How Long Do the Cookies Stay Fresh?
I find that cookies stay fresh for about a week in best storage conditions. For optimal cookie longevity, I recommend sealing them in an airtight container to maintain their delightful texture and flavor longer.
Is This Recipe Gluten-Free?
Yes, this recipe can be gluten-free! I love using gluten-free flours like almond or coconut in my baking. Plus, the vegan substitutes make it easy to enjoy these delicious cookies without any guilt or restrictions!
Can I Freeze the Cookies After Decorating?
Yes, I freeze cookies after decorating! I’ve found wrapping them in plastic wrap helps preserve their look. For decorating tips, let the icing dry completely before stacking to avoid smudging. Enjoy your treats later!
What Are Common Mistakes to Avoid?
I’ve learned to avoid common pitfalls like using the wrong icing consistency, which can lead to flooding or cracking. Ensuring your icing’s thickness is just right makes all the difference for beautiful, decorated cookies.