I find White Chocolate Peppermint Thumbprint Cookies to be a charming holiday indulgence. They strike a great balance between creamy sweetness and refreshing peppermint. Their texture is melt-in-your-mouth, making them perfect for any festive occasion. If you’re curious about how to prepare these delightful treats, the ingredients and steps might surprise you. It’s not just about baking; there are also ways to elevate your presentation and pairing options.
What kind of recipe is it?
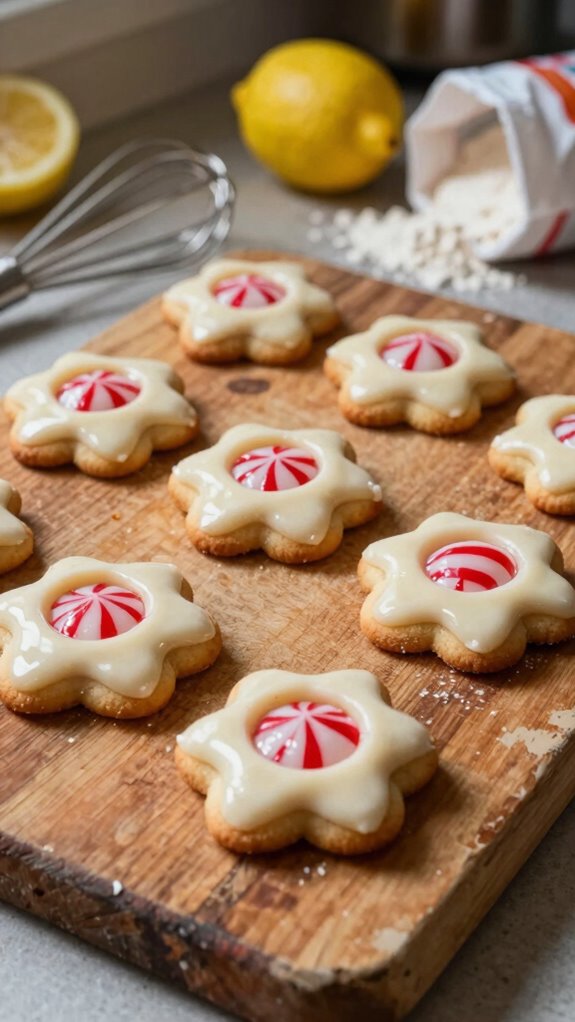
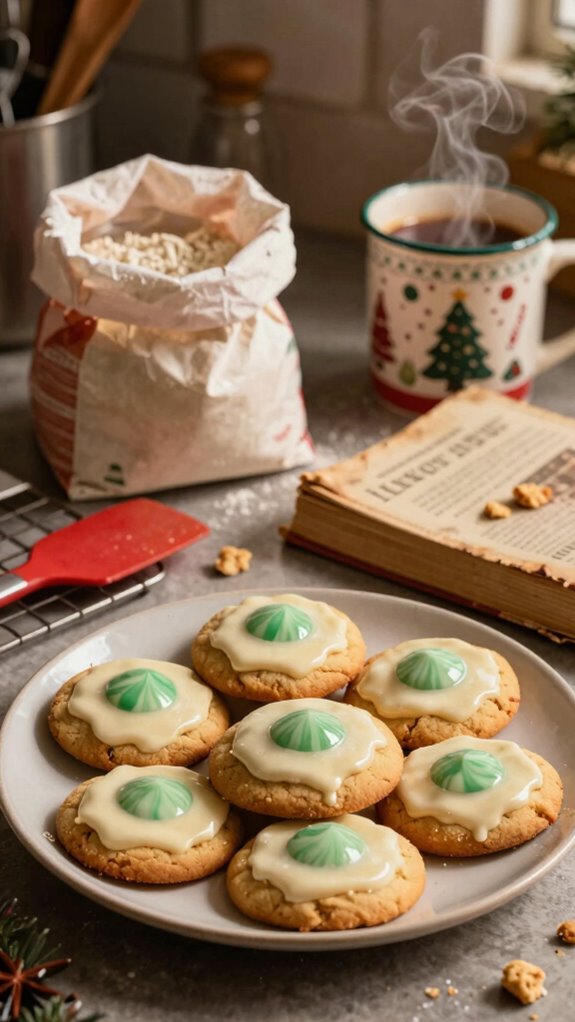
White Chocolate Peppermint Thumbprint Cookies are a delightful holiday treat that perfectly blend rich white chocolate with refreshing peppermint flavors.
These charming cookies are characterized by their melt-in-your-mouth texture, a soft center, and a luscious chocolate topping that adds a festive touch.
Ideal for those who love sweet and minty combinations, they’re perfect for holiday gatherings, cookie exchanges, or simply to indulge in during winter months.
With their appealing appearance and delicious taste, these cookies are sure to impress family and friends alike.
Preparation Time
| Category | Details |
|---|---|
| Difficulty of the Recipe | Easy |
| Preparation Time | 20 minutes |
| Number of Servings | Approximately 24 cookies |
Ingredients
| Ingredient | Quantity |
|---|---|
| All-purpose flour | 2 cups |
| Unsalted butter | 1 cup (softened) |
| Granulated sugar | 3/4 cup |
| Brown sugar | 1/4 cup |
| Large egg | 1 |
| Vanilla extract | 1 teaspoon |
| Salt | 1/2 teaspoon |
| Baking powder | 1 teaspoon |
| White chocolate chips | 1 cup |
| Peppermint extract | 1/2 teaspoon |
| Crushed peppermint candies | 1/2 cup |
| Powdered sugar | For dusting (optional) |
This table outlines all the ingredients required to prepare White Chocolate Peppermint Thumbprint Cookies, along with their respective quantities.
Essential Kitchen Equipment
| Tool/Equipment | Purpose | Alternative Option |
|---|---|---|
| Mixing Bowls (Large and Medium) | To combine and mix ingredients like butter, sugars, and flour. | Use any large containers, such as pots or storage bowls. |
| Measuring Cups (Dry and Liquid) | To accurately measure ingredients like flour, sugar, and liquids. | Use a kitchen scale for weight measurements (grams or ounces). |
| Measuring Spoons | To measure small quantities of ingredients like baking powder and extracts. | Use the end of a regular spoon (though not precise). |
| Stand Mixer or Hand Mixer | To cream butter and sugars and mix dough efficiently. | A whisk and elbow grease can be used for mixing by hand. |
| Rubber Spatula | To fold in ingredients and scrape down the sides of mixing bowls. | Use a wooden or silicone spoon if a spatula is unavailable. |
| Wooden Spoon | To mix and stir the cookie dough. | A spatula can also serve this purpose. |
| Baking Sheets (2-3) | To place the cookies for baking; ensures even baking. | Use any oven-safe flat pans. |
| Parchment Paper or Silicone Mats | To line baking sheets for easy cookie removal and cleanup. | Lightly grease the baking sheets instead. |
| Cookie Scoop or Spoon | To portion out cookie dough on the baking sheets evenly. | A tablespoon can be used for scooping dough. |
| Cooling Rack | To cool cookies after baking, preventing sogginess. | Use a large plate or cutting board instead. |
| Oven Thermometer | To ensure that your oven is at the correct baking temperature. | Rely on oven settings but check regularly as some ovens may not heat evenly. |
This table provides a comprehensive overview of the essential kitchen equipment needed for making White Chocolate Peppermint Thumbprint Cookies, detailing each tool’s purpose and budget-friendly alternatives.
Cooking Steps
- Mise en Place: Measure and prepare all ingredients. Chop 60 g (2 oz) of white chocolate into small pieces. Crush 4-6 peppermint candies into small bits for garnish.
- Preheat Oven: Preheat your oven to 175 °C (350 °F) and set the oven rack to the middle position. If using convection, reduce the temperature to 160 °C (320 °F).
- Pan Preparation: Line two baking sheets (approximately 40 x 30 cm or 16 x 12 in) with parchment paper or silicone mats.
- Cream Butter and Sugars: In a large mixing bowl, using a stand mixer fitted with a paddle attachment or a hand mixer, cream 115 g (1/2 cup) of unsalted butter (softened) with 100 g (1/2 cup) of granulated sugar and 50 g (1/4 cup) of packed brown sugar until light and fluffy, about 2-3 minutes at medium speed.
- Add Flavoring and Egg: Add 5 ml (1 tsp) of vanilla extract and one large egg yolk to the mixture. Beat on low until just combined.
- Combine Dry Ingredients: In a separate medium bowl, whisk together 180 g (1 ½ cups) of all-purpose flour, 2 g (1/2 tsp) of baking powder, and a pinch of salt. Gradually add this dry mixture to the wet ingredients while mixing on low speed until combined.
- Incorporate White Chocolate: Fold in the chopped white chocolate using a rubber spatula until evenly distributed throughout the dough.
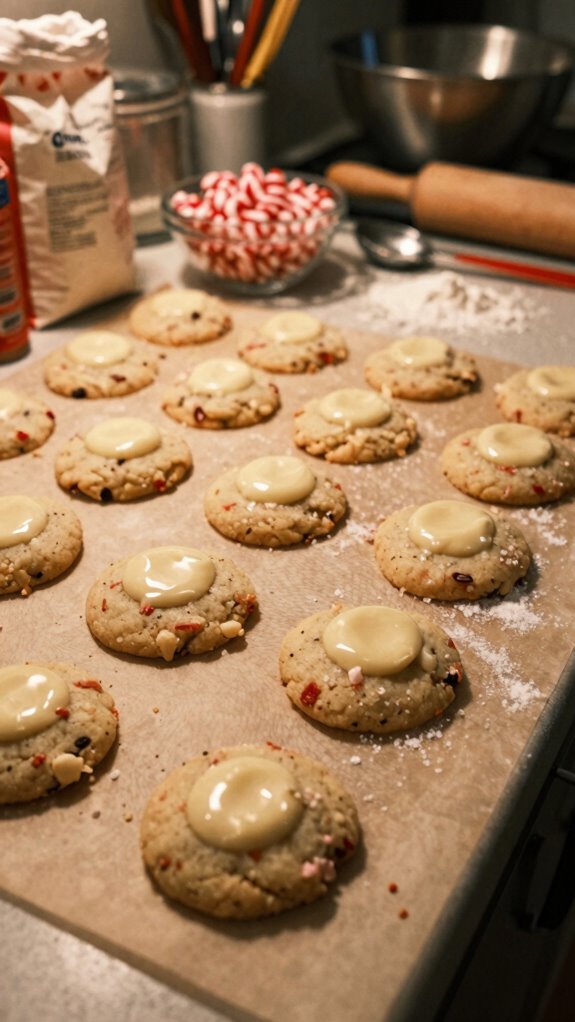
- Scoop Cookie Dough: Using a cookie scoop or a tablespoon, portion out small balls of dough (about 30 g or 2 tablespoons each) and arrange them evenly on the prepared baking sheets, leaving space between each for spreading.
- Create Dents: Using your thumb or the back of a small spoon, press a deep indentation into the center of each dough ball.
- Bake Cookies: Place one baking sheet in the preheated oven on the middle rack. Bake for 10-12 minutes, or until the edges are lightly golden, and the centers appear set.
- Rotate the baking sheet halfway through for even baking.
- Cooling: Once baked, remove the cookies from the oven. Let them sit on the baking sheet for 5 minutes before transferring them to a cooling rack to cool completely.
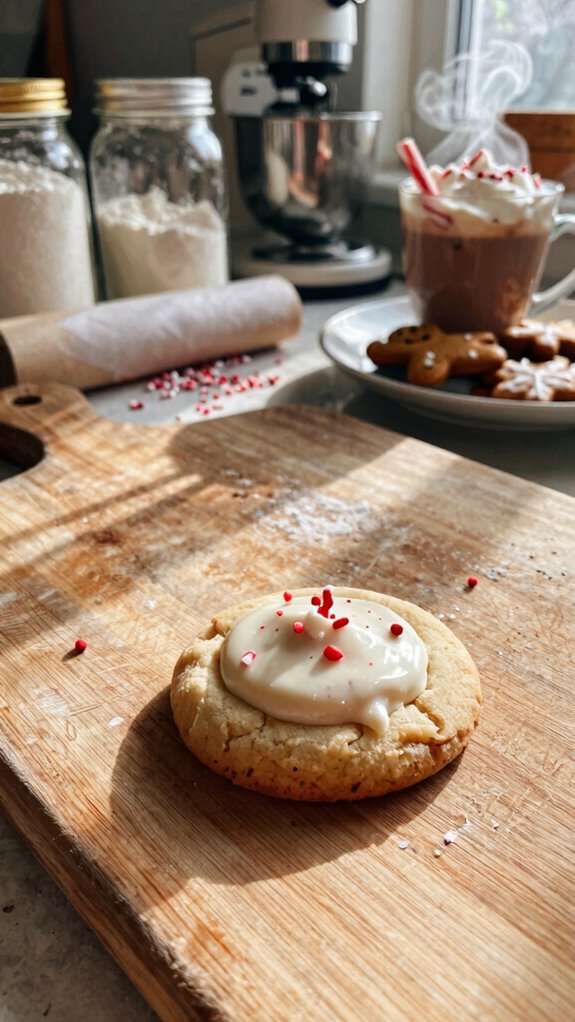
- Fill Cookies: Once cooled, fill each indentation with melted white chocolate. To melt, place an additional 60 g (2 oz) of white chocolate in a microwave-safe bowl, and heat in 15-second intervals, stirring between each until smooth.
- Garnish: Sprinkle the crushed peppermint candies over the melted white chocolate while it’s still soft. Let the chocolate set at room temperature before serving.
- Resting and Serving: Allow cookies to rest for at least 15-20 minutes at room temperature to let the chocolate firm up before storing.
Variations
- Chocolate Mint Thumbprints: Swap white chocolate for dark chocolate (60 g / 2 oz) for a richer flavor profile.
- Vegan Thumbprints: Replace unsalted butter with a dairy-free alternative (115 g / 1/2 cup) and use a flax egg (1 tbsp flaxseed meal + 2.5 tbsp water) instead of the egg yolk.
- Gluten-Free Cookies: Use gluten-free all-purpose flour (180 g / 1 ½ cups) in place of regular flour for a gluten-free adaptation.
- Coconut Macadamia Thumbprints: Incorporate chopped macadamia nuts (60 g / 2 oz) into the dough and top with melted white chocolate and toasted shredded coconut.
- Pumpkin Spice Thumbprints: Add 1 tsp of pumpkin spice to the dry ingredients for a seasonal twist; substitute 60 g (2 oz) of white chocolate with cream cheese frosting in the indentations.
- Lemon Zest Thumbprints: Mix in the zest of one lemon in the dough for a bright, citrusy flavor; fill the cookies with lemon curd instead of chocolate.
- Nutty Protein Swaps: Replace half of the butter (57 g / 1/4 cup) with nut butter (such as almond or peanut) for added protein and richness.
- Air Fryer Thumbprints: Bake the cookies in an air fryer at 160 °C (320 °F) for 8-10 minutes for a quicker cooking method that yields a crispy outer layer.
Tips on plating and presentation
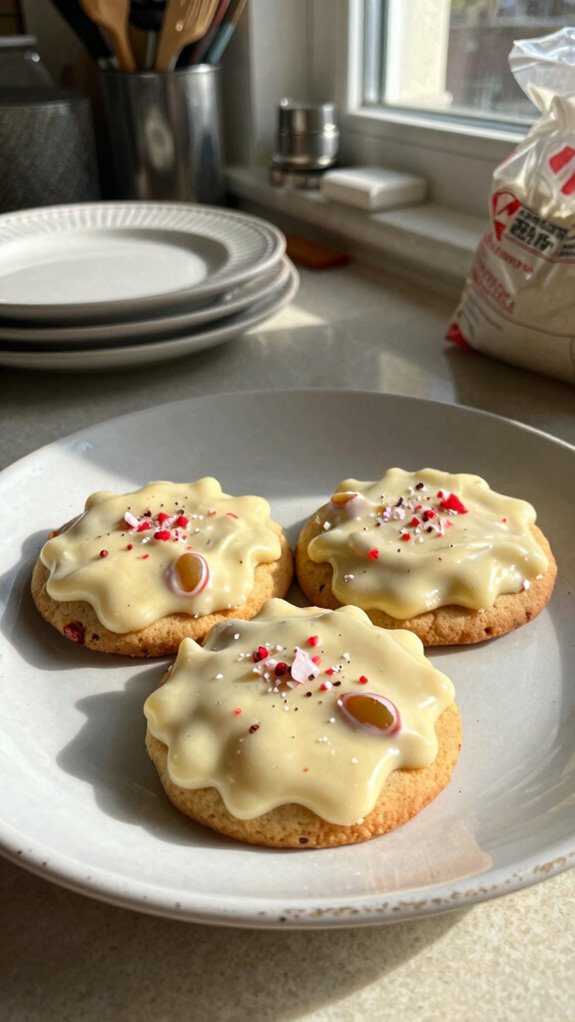
Although it may seem simple, the way you plate and present your White Chocolate Peppermint Thumbprint Cookies can elevate them from delightful treats to stunning desserts.
I love using minimalist plating techniques, like a clean white plate, to let the cookies shine. For presentation ideas, consider adding festive garnishes like crushed candy canes or a drizzle of chocolate for that extra touch of holiday cheer.
What other dishes can I pair it with?
After you’ve plated your White Chocolate Peppermint Thumbprint Cookies with care, it’s time to think about what else you can serve alongside them.
I love pairing these festive desserts with gingerbread cookies or chocolate crinkles. They complement the peppermint flavor beautifully and create delightful cookie pairings.
Adding some peppermint bark can elevate the dessert table even further for a festive touch!
What drinks can I pair it with?
To truly enhance your experience with White Chocolate Peppermint Thumbprint Cookies, consider pairing them with a warm cup of peppermint hot chocolate.
The smooth, rich flavors complement the sweet and minty cookies perfectly. Alternatively, try spiced cider for a festive twist.
The warmth and spices create a cozy atmosphere, making your treat even more delightful during the holiday season. Enjoy!
Frequently Asked Questions
Can I Use Dark Chocolate Instead of White Chocolate?
Absolutely, I’ve used dark chocolate instead of white chocolate before. The dark chocolate flavor adds a rich twist, enhancing the cookie texture. It’s a delightful change that’s definitely worth trying in your baking!
Are There Gluten-Free Options for This Recipe?
Yes, I can definitely make gluten-free options for this recipe! I usually swap all-purpose flour with gluten substitutes like almond flour or coconut flour, ensuring delicious results with a few simple recipe modifications. Enjoy baking!
How Long Do the Cookies Stay Fresh?
These cookies stay fresh for about a week when stored in an airtight container. Their shelf life’s a bit longer in the fridge, but I usually devour them before that! Enjoy them while they’re fresh!
Can I Freeze the Cookies for Later?
Yes, you can freeze the cookies! I recommend using airtight containers for the best results. Wrap them in plastic wrap first. This freezing method keeps them fresh for a few months until you’re ready to enjoy them!
What Is the Best Way to Store These Cookies?
I’ve found the best storage for cookies is in airtight cookie containers. Make sure they’re completely cool before sealing them to maintain freshness. This way, I enjoy my treats for days without losing flavor!